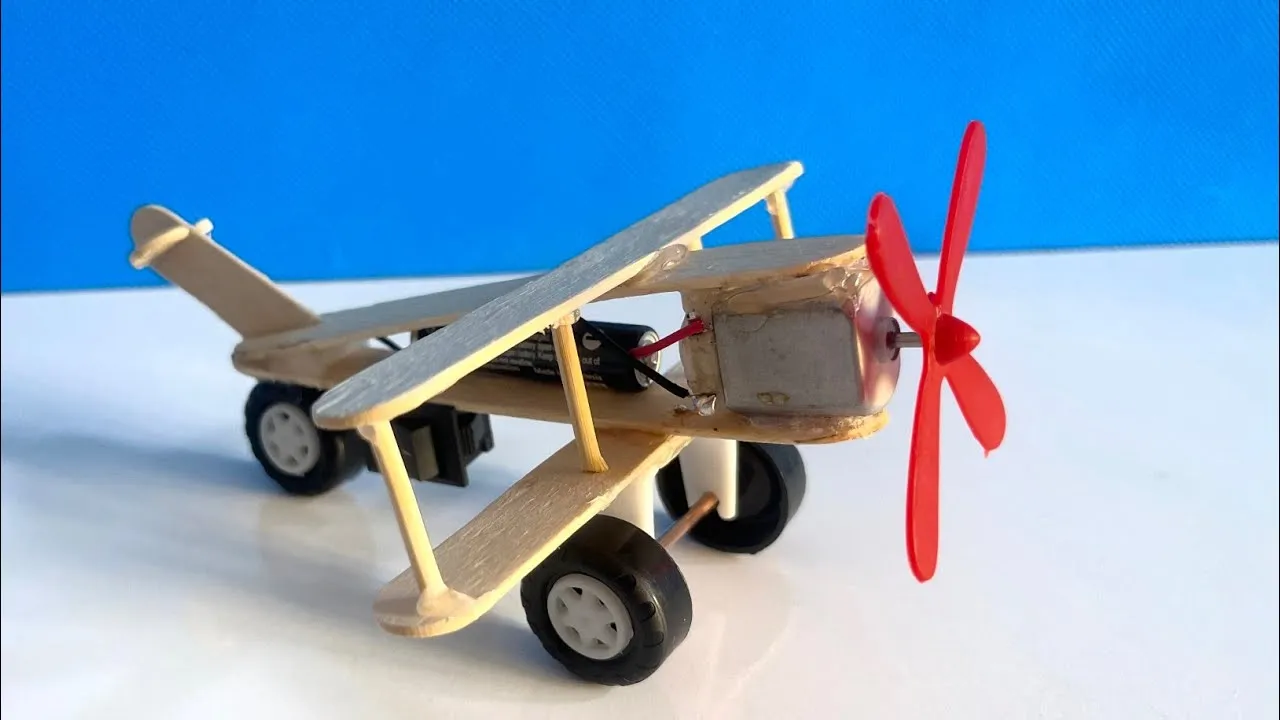
Welcome to this exciting DIY tutorial on how to make your very own motor plane! Whether you’re an experienced builder or a curious beginner, this project is designed to be fun and educational. Not only will you learn about the mechanics of flight, but you’ll also gain hands-on experience that can ignite a passion for aviation. By the end of this tutorial, you’ll have a functional motor plane that you can proudly show off to friends and family. So, let’s dive in and get those creative gears turning!
Materials Needed
Before we get started, it's crucial to gather all the materials you'll need for this project. Having everything on hand will make your building process smoother and more enjoyable. Here’s a comprehensive list of what you’ll require:
- Lightweight wooden sticks: These will serve as the framework for your plane. Balsa wood is a great option due to its light weight.
- Plastic propeller: You can find these at hobby shops or online. Make sure it’s suitable for the size of your motor.
- Small electric motor: A 3V or 6V motor will work perfectly for our DIY plane. Look for one that comes with a shaft.
- Battery pack: A lightweight battery pack is essential to power your motor. AA batteries are a good choice.
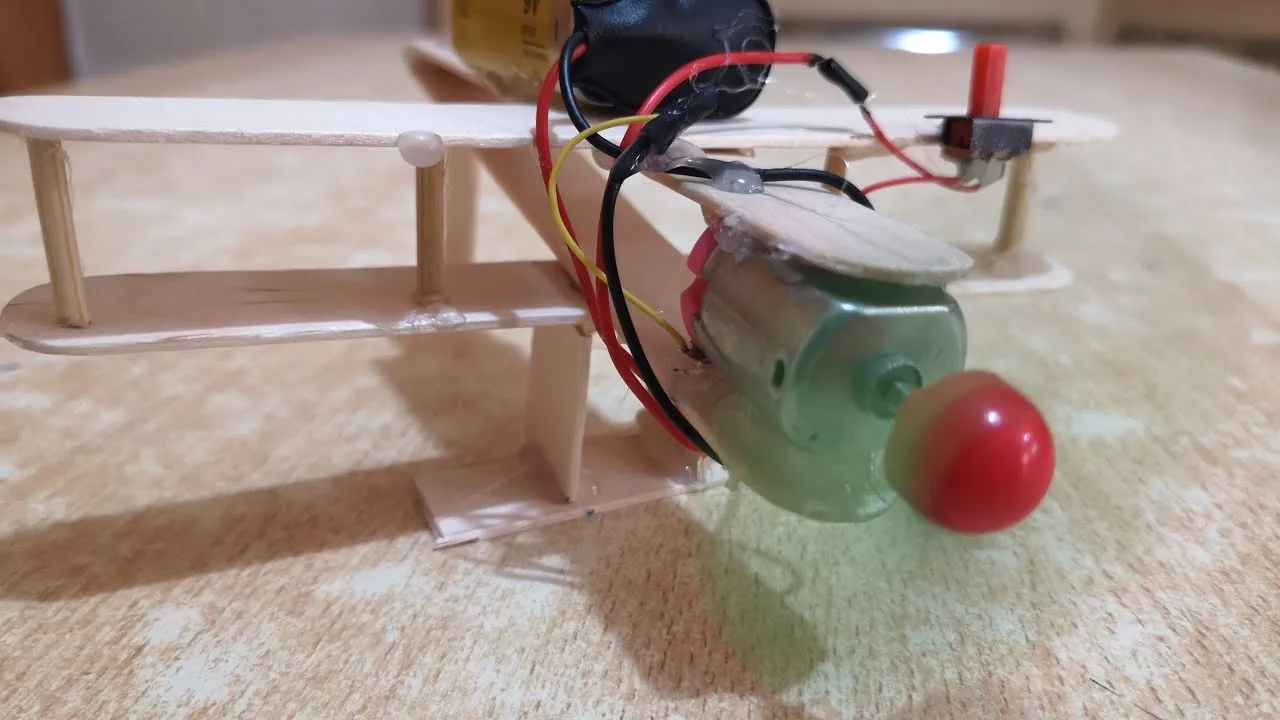
- Adhesives: Use glue or a hot glue gun to securely attach parts together. Make sure it dries clear!
- Wires: A few lengths of wire will be necessary to connect the motor to the battery pack.
- Craft knife and scissors: For cutting materials to the right size.
- Paint or markers: For decorating your plane and adding a personal touch.
Once you have all these materials ready, you’re set to embark on your motor plane adventure! Happy building!
Also Read This: Approval Journey: How Long Does iStock Take to Approve Photos?
3. Step-by-Step Instructions
Building a motor plane can be an exciting project, especially if you enjoy hands-on activities! Follow these step-by-step instructions to create your own flying masterpiece.
- Gather Your Materials: Before you start, gather all the necessary materials. You'll need:
- Lightweight balsa wood or foam board
- Mini electric motor
- Propeller
- Battery pack (preferably LiPo)
- Wires and connectors
- Glue (hot glue or super glue)
- Scissors and a craft knife
- Ruler and pencil
Also Read This: Crafting an Engaging Job Description for LinkedIn to Attract Top Talent
4. Testing Your Motor Plane
Congratulations on building your motor plane! Now it's time for the most thrilling part: testing it out. Here’s how to ensure your first flight is a success.
- Choose an Open Space: Find a clear, open area away from trees, buildings, and crowds. A park or a large backyard works well.
- Check the Weather: Ensure the weather is calm. Windy days can make your plane difficult to control, so aim for a light breeze at most.
- Perform a Safety Check: Before launching, double-check all connections and ensure the motor is securely mounted. Make sure the propeller rotates freely.
- Power On: Turn on the battery pack and watch for the propeller to spin. If it doesn’t, you may need to check your wiring.
- Launch: Hold your plane firmly at a slight upward angle. Give it a gentle throw forward while the motor is running. Start with a moderate speed for your first attempt.
- Observe and Adjust: Watch how the plane flies. If it veers off course, slight adjustments to the wings or weight distribution may be necessary. Keep experimenting until you achieve a steady flight.
Remember, practice makes perfect! Happy flying!
Also Read This: 1988 Royal Rumble Match Winner Revealed
Tips for Success

Building a motor plane can be an exhilarating adventure, but a few tips can make the process smoother and more enjoyable. Here are some essential pointers to keep in mind:
- Choose the Right Materials: Opt for lightweight yet sturdy materials like balsa wood or foam for the body. This will help your plane fly better.
- Follow the Instructions Carefully: Stick to the tutorial and double-check each step before moving on. This ensures accuracy and saves you time later.
- Test Your Motor: Before final assembly, test the motor to ensure it runs smoothly. A faulty motor can lead to flight failures.
- Balance Your Plane: Proper weight distribution is key. Adjust the placement of the motor and battery to achieve a balanced center of gravity.
- Start with Short Flights: When it's time to test fly, start with short, controlled flights to gauge performance and make necessary adjustments.
- Document Your Process: Keep a record of what worked and what didn’t. This not only helps you learn but can be a great resource for future projects.
Conclusion
Creating your motor plane is not just about the final product; it’s about the journey and learning along the way. By following this DIY tutorial, you’ve taken a step into the exciting world of model aviation.
Remember, the key to success lies in patience, attention to detail, and a willingness to experiment. Whether you're a beginner or a seasoned builder, each plane you create enhances your skills and brings you closer to mastering aerodynamics.
So, grab your tools, let your creativity soar, and enjoy the thrill of watching your DIY motor plane take flight. Happy building!