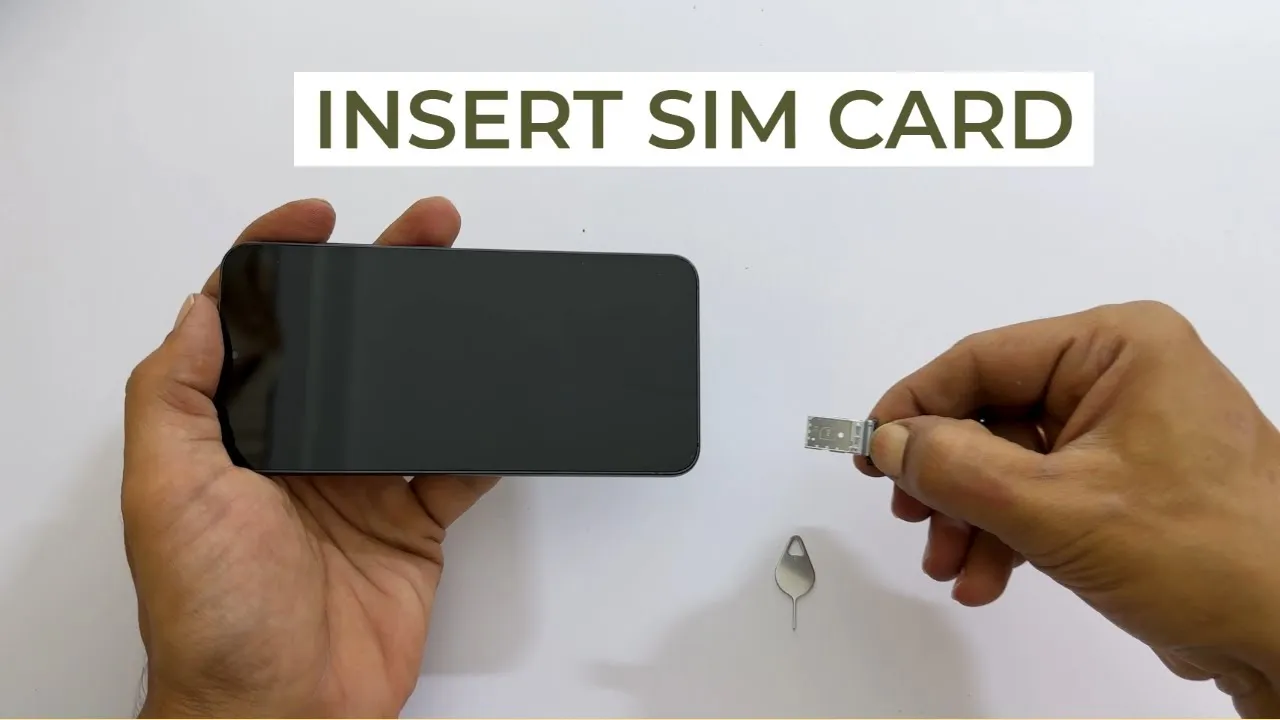
In today’s digital age, inserting a SIM card into your smartphone is a crucial task that many of us encounter. Whether you’re setting up a new device or switching carriers, knowing how to properly insert a SIM card can save you time and hassle. This guide walks you through the various smartphone models and provides tips for inserting SIM cards, ensuring you're connected to your network without a hitch.
Understanding SIM Card Types
Before diving into the insertion process, it's essential to understand the different types of SIM cards available. SIM cards come in various sizes and formats, designed to fit diverse smartphone models. Here’s a breakdown:
- Standard SIM: The largest size, measuring 15mm x 25mm. Rarely used in modern smartphones, primarily found in older models.
- Micro SIM: Smaller than the standard SIM, measuring 12mm x 15mm. Introduced around 2010, it's commonly used in many mid-range smartphones.
- Nano SIM: The smallest size, measuring 8.8mm x 12.3mm. Most current smartphones use this format due to its compact design.
- eSIM: Embedded SIM technology that eliminates the need for a physical card. Available in newer models, allowing users to switch carriers without needing to change a SIM card.
Understanding these types is vital as they directly affect compatibility with your device. For instance, trying to insert a nano SIM into a slot designed for a standard SIM will not work. Always check your smartphone's specifications to determine the required SIM type before proceeding.
By familiarizing yourself with these SIM card types, you can ensure a seamless setup process and enjoy uninterrupted connectivity on your smartphone.
Also Read This: Working on Behance tutorial
3. Tools You May Need
Before you dive into inserting a SIM card into your smartphone, it’s crucial to gather a few tools that will make the process smooth and hassle-free. Here’s a handy list of what you might need:
- SIM Card Ejector Tool: This tiny tool usually comes with your smartphone. It looks like a small pin and is specifically designed to eject the SIM tray without damaging your device.
- Paperclip: If you can't find your SIM ejector tool, a standard paperclip can work just as well. Simply straighten one end to create a small point to push into the SIM tray hole.
- Clean Cloth: To avoid dust and smudges on your SIM card and smartphone, have a clean cloth handy for a quick wipe down.
- Static-Free Mat: If you’re particularly cautious, a static-free mat can prevent any static electricity from damaging your phone’s internals while you’re working.
Having these tools ready will not only make the process easier but also protect your device from any accidental damage. Now, let’s move on to the actual steps involved in inserting your SIM card!
Also Read This: Making Money on Picfair: A Comprehensive Guide
4. Step-by-Step Guide for Popular Smartphone Brands
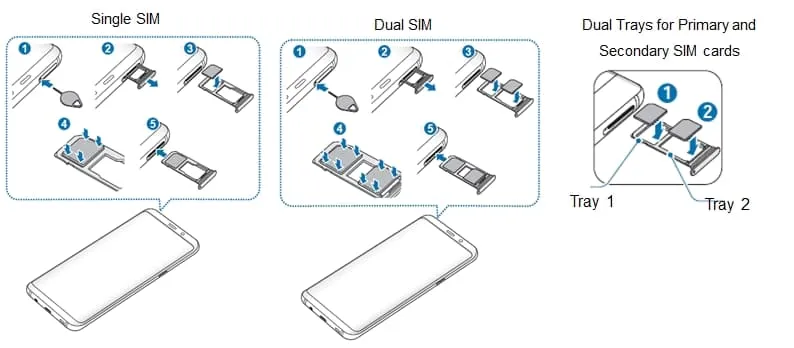
Inserting a SIM card might seem daunting, but fear not! Here’s a detailed guide tailored for some of the most popular smartphone brands:
| Smartphone Brand | Steps |
|---|---|
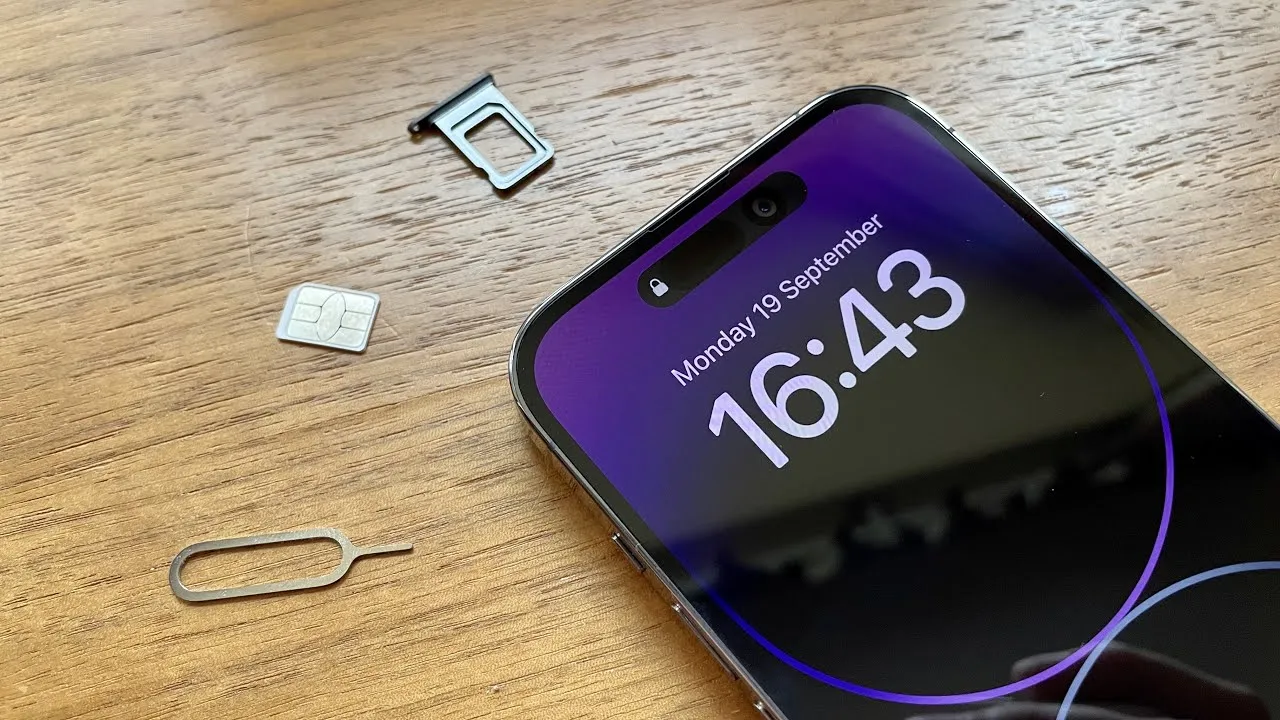
| Apple iPhone |
|
| Samsung Galaxy |
|
| Google Pixel |
|
By following these simple steps, you’ll have your SIM card inserted in no time. Remember, patience is key, so take your time and handle your device gently!
Also Read This: How to Tag People in a LinkedIn Post
Troubleshooting SIM Card Insertion Issues
Inserting a SIM card should be a straightforward process, but sometimes things don’t go as planned. If you're facing issues, don’t worry! Here are some common problems and simple solutions to help you get back on track.
- SIM Card Not Recognized: If your phone isn’t recognizing the SIM card, ensure it’s properly seated in the tray. Remove the tray and reinsert it, making sure the gold contacts are facing down.
- SIM Card Insertion Errors: Sometimes, you might see an error message after insertion. Double-check if you're using the correct size SIM card for your model. For instance, a Nano SIM in a Micro SIM slot will cause issues.
- Physical Damage: Inspect your SIM card for any visible signs of damage, such as cracks or bending. If it’s damaged, you might need a replacement card from your carrier.
- Software Glitches: Restart your phone to refresh the system. Sometimes, a simple reboot can resolve temporary software issues causing the SIM card to not work.
- Network Lock: Ensure your phone isn’t locked to a specific carrier. If you’ve recently switched providers, your phone may require unlocking.
By following these steps, you can usually pinpoint the issue and get your SIM card working smoothly again. If the problem persists, consider reaching out to your phone’s manufacturer or your service provider for further assistance.
Conclusion
Inserting a SIM card might seem like a minor task, but it’s an essential part of keeping you connected. Whether you’re switching phones, traveling, or simply upgrading your SIM, knowing the correct procedure can save you time and hassle.
Remember the key steps: identify the right SIM type, handle the tray carefully, and troubleshoot any issues if they arise. Here’s a quick recap:
- Check your SIM type and size.
- Use the right tools for insertion.
- Troubleshoot any issues that come up.
With these tips in your toolkit, you should be well-equipped to handle any SIM card insertion scenario. Stay connected, and don’t hesitate to seek help if needed. Happy connecting!