
When I began using Behance to display my creations I didn't pay much attention to the dimensions of my images. I would share pictures assuming that larger images were always superior. However I quickly realized that my projects were taking longer to load and my viewers were losing interest. It's important to grasp the significance of image size not only for visual appeal but also for enhancing the overall user experience.
When it comes to showcasing your work on Behance the dimensions of your images play a role in how it is perceived. Using images might hinder your projects loading speed leading to viewer frustration and possibly causing them to leave. Conversely opting for images can result in faster loading times and encourage engagement. Here's a brief summary.
- File Size: This is the amount of data your image contains, typically measured in kilobytes (KB) or megabytes (MB).
- Dimensions: The width and height of your image, usually measured in pixels.
- Aspect Ratio: The proportional relationship between the width and height of your image.
By keeping these things in mind, you can enhance the way your audience enjoys your content resulting in increased involvement and recognition for your efforts.
Importance of Using Smaller Images
Throughout my artistic path I’ve come to understand the impact of images. At first I believed that the more detailed an image was the more it would captivate my viewers. However I soon discovered that smaller images bring their own unique benefits to the table. Allow me to share with you the significance of incorporating images.
- Faster Loading Times: Smaller images load quickly, keeping your viewers engaged. In today's fast-paced digital world, every second counts!
- Improved User Experience: A smooth, quick experience encourages viewers to explore more of your work.
- Better Compatibility: Smaller images are easier to share and display on various devices, ensuring your audience can access your work from anywhere.
Keep in mind that you want your audience to appreciate your originality rather than getting distracted by slow loading times. Choosing the image size can assist you in striking that harmony.
Also Read This: 10 Twitter Trends You Need to Follow Right Now
Techniques for Resizing Images
I’ve tried out different methods for resizing images to showcase on Behance and I wanted to share some that I think work really well.
- Using Editing Software: Software like Adobe Photoshop or GIMP allows you to adjust image size and resolution. Simply open your image, select 'Image Size,' and enter your desired dimensions. I often reduce the resolution to 72 DPI for online use, which maintains decent quality while minimizing file size.
- Online Resizing Tools: Websites like PicResize and ResizeImage offer user-friendly options to resize images without needing software. You upload your image, choose your dimensions, and download the resized version.
- Batch Processing: If you have multiple images, consider using batch processing features in software like Adobe Lightroom. This saves time and ensures consistency across your images.
Based on what I've seen using a mix of these approaches lets you resize your content effectively without compromising its quality. Don't forget to keep your original files saved just in case you want to refer back to them later!
Also Read This: WireImage’s Role in Documenting Pop Culture Through the Years
Using Online Tools for Image Compression
When I started sharing images online I used to struggle with balancing quality and file size. Luckily I found some handy online image compression tools that became my go to solution. They make it easy to shrink image size without sacrificing quality. I still recall the thrill of stumbling upon these tools; it was like uncovering a secret stash that simplified my life significantly.
Here are a few online resources I enjoy using to reduce the size of my images.
- TinyPNG: This tool uses smart lossy compression techniques to reduce the file size of your PNG and JPEG images. The interface is simple, and the results are impressive.
- CompressJPEG: A handy tool that allows you to upload multiple JPEG images and compress them in one go. It’s perfect for those busy days when you have a lot of images to process.
- ImageResize.org: Besides resizing, this tool offers various compression options to suit your needs. You can choose how much compression to apply, ensuring you retain the quality you desire.
Utilizing these resources has really helped me out in terms of saving time and energy. All you have to do is upload your picture tweak the settings if necessary and watch the tool do its thing. In just a few clicks you can have stunningly compressed images prepared for your Behance projects!
Also Read This: How to Vanish a Coin in Your Hand with a Simple Magic Trick for Beginners
Adjusting Settings in Behance
A pivotal moment in my artistic path was discovering how changing settings on Behance could make a difference. Initially I simply uploaded my visuals without considering the platforms settings. However as I delved deeper I realized that fine tuning a few choices could significantly elevate the way my work was showcased.
Here are some key settings to consider:
- Image Quality Settings: Behance allows you to choose the quality of images when you upload. Opt for a balance that maintains clarity while keeping file sizes manageable.
- Project Settings: Make sure to organize your projects neatly. Group similar images together and create engaging descriptions. This not only looks professional but also invites viewers to explore more.
- Visibility Options: Choose who can see your projects. Making your work public can attract a larger audience, but ensure you’re comfortable with the exposure.
Tinkering with these settings has really improved the way I showcase my work resulting in increased recognition and appreciation. Dont overlook the impact of these minor tweaks; they can truly transform the outcome!
Also Read This: What Are the Safest Methods for Downloading Shutterstock Images Without Watermarks?
Best Practices for Uploading Smaller Images
Through my experiences I've come to realize that sharing images on Behance isn't solely about cutting down file sizes; it's also about showcasing your creations in the way. Keeping some guidelines in mind can greatly improve how your audience perceives your work.
Here’s what I recommend:
- Choose the Right Format: Use JPEG for photographs and PNG for graphics with transparency. This ensures you’re using the most efficient file types for your needs.
- Optimize Your Workflow: Create a standard process for resizing and compressing images before uploading. This can save you time and help maintain consistency across your projects.
- Preview Before You Publish: Always preview your images on different devices to see how they look. This helps you catch any issues before your audience does.
- Engage with Your Audience: Encourage feedback on your images. This can provide insights on what works and what doesn’t, allowing you to improve over time.
By following these tips my time on Behance has been greatly enhanced. Not only do my visuals appear more appealing but I also feel more assured when showcasing my creations. Keep in mind that it’s all about establishing a bond with your viewers and showcasing your work effectively is the initial stride!
Also Read This: How to Block Someone on Behance
Common Mistakes to Avoid
Throughout my time as a creator on Behance I've encountered a few challenges that can impact the quality of my work. It's all part of the process and by highlighting these mistakes I hope to spare you from facing similar setbacks. Reflecting on my beginnings I can't help but laugh at some of the errors I made along the way but each misstep taught me something valuable.
Here are a few errors that are worth being mindful of.
- Neglecting Image Size: Many artists, myself included, often upload large files without considering the consequences. This can slow down load times and deter viewers. Aim for a balance between quality and size.
- Ignoring Image Quality: It’s tempting to save time by using low-quality images, but this can diminish the perceived value of your work. Always choose images that reflect your skill and effort.
- Overlooking Metadata: Forgetting to add relevant tags and descriptions can lead to your work being lost in the crowd. Properly tagging your projects enhances visibility.
- Skipping Previews: Failing to preview your projects before publishing can lead to unexpected surprises. Always take a moment to see how your images appear on different devices.
Steering clear of these blunders has really enhanced my time on Behance. Keep in mind that every little aspect matters when it comes to displaying your artistic flair!
Also Read This: Understanding the Duration of Telegram Bans
FAQs about Smaller Images in Behance
While exploring Behance and delving into the intricacies of handling image dimensions I found myself pondering over various queries. I believe that sharing some of the commonly asked questions can assist you in embarking on your own path to showcasing your work in a compelling manner.
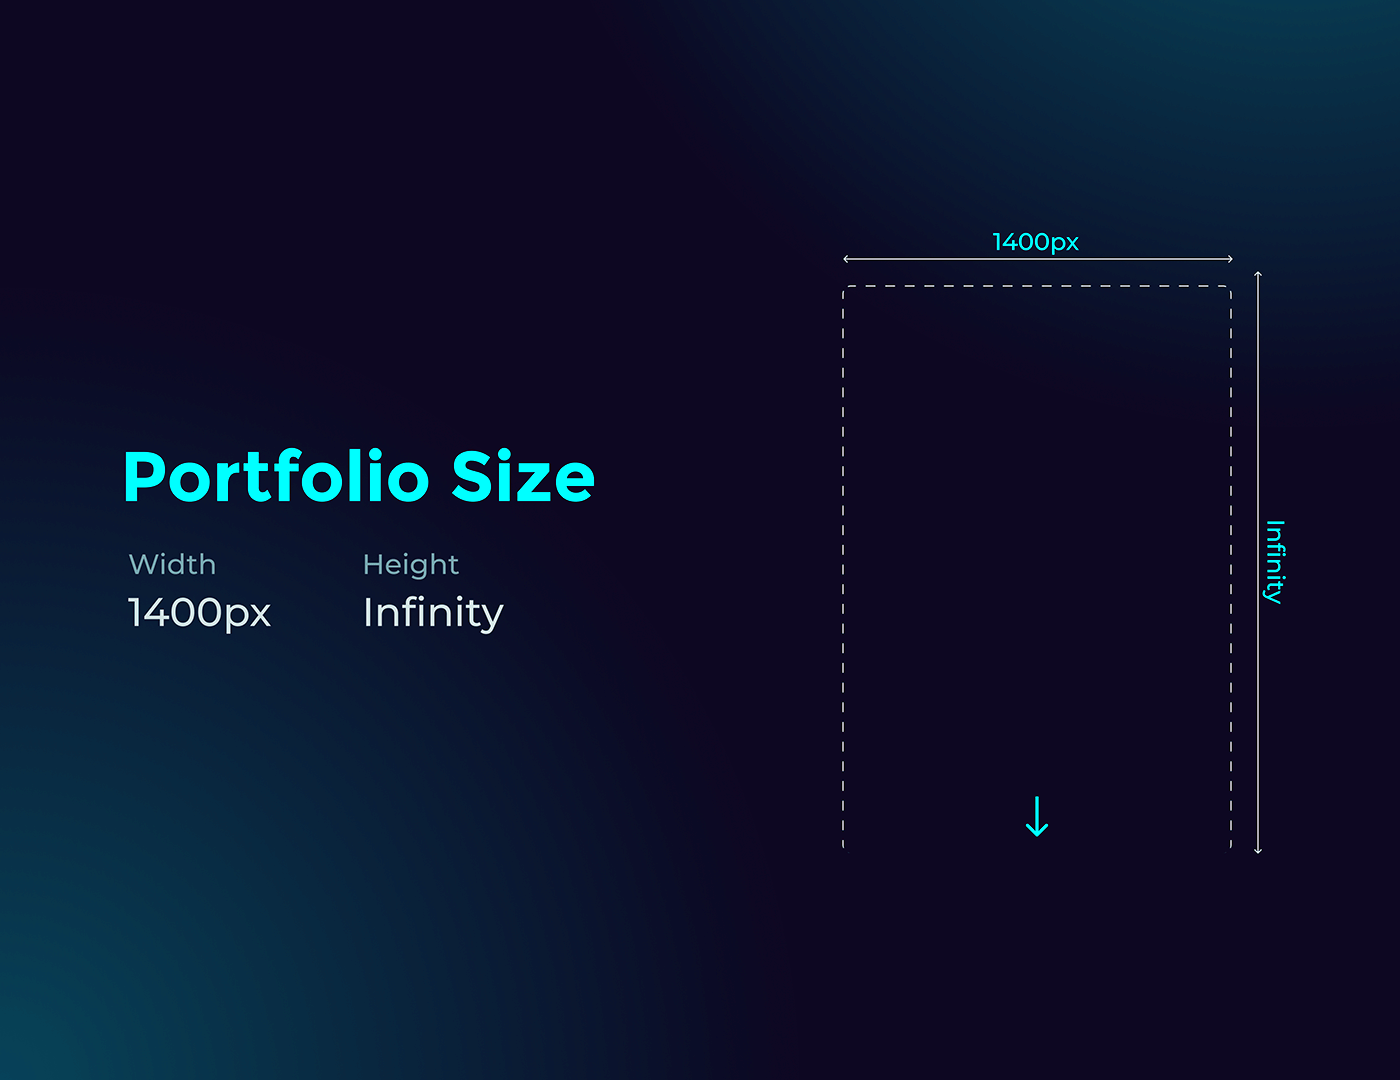
- What’s the ideal size for images on Behance?
While there’s no one-size-fits-all answer, aiming for images under 1MB usually works well. A resolution of 72 DPI is often sufficient for online viewing. - How do I know if my image is too large?
If your project takes more than a few seconds to load, consider resizing your images. The loading speed can impact viewer engagement. - Can I edit images after uploading?
Yes, you can edit your project details, including images, even after it’s published. This is a great way to make adjustments based on feedback. - Will smaller images affect my work's quality?
Not necessarily. If you compress images correctly, you can maintain quality while reducing size. Just be mindful of how much compression you apply.
These frequently asked questions can assist you in making choices while exploring Behance. Keep in mind that each inquiry presents a chance to gain knowledge!
Conclusion on Managing Image Sizes in Behance
Looking back on my path, handling image sizes on Behance has played a role in shaping my creative workflow. Since the moment I shared images until now, I've come to appreciate the significance of showcasing my creations with care and impact. Every stage, from adjusting dimensions to selecting the formats has enhanced the way my audience engages with my content.
In summary, here are a few takeaways:
- Prioritize Speed: Smaller images lead to faster loading times, which keeps your audience engaged.
- Maintain Quality: Strive for a balance between file size and image clarity.
- Be Proactive: Regularly review and adjust your projects based on feedback and performance.
As you start your adventure with Behance keep in mind that every little thing counts. When you focus on the dimensions of your images you not only improve your work but also leave a memorable impact on those who see it. Enjoy the process of creating!