Have you ever thought about harnessing the power of water to generate electricity right at home? It might sound like something out of a sci-fi movie, but with a little bit of knowledge and some simple tools, you can tap into this renewable energy source. In this post, we'll explore how you can generate electricity from water using straightforward scientific principles. Whether you're looking to power small devices or simply want to learn more about sustainable energy options, you've come to the right place!
Understanding the Science Behind Water Electricity Generation
Generating electricity from water typically involves a process called hydroelectric power generation. This is based on the principle of converting the kinetic energy of flowing or falling water into electrical energy. Let's break it down into simpler components:
- Kinetic Energy: This is the energy that an object possesses due to its motion. When water flows or falls, it has kinetic energy that can be captured and converted.
- Hydraulic Turbines: These devices are essential in converting the kinetic energy of water into mechanical energy. When water hits the blades of a turbine, it causes them to spin.
- Generator: Attached to the turbine, the generator converts the mechanical energy produced by the spinning turbine into electrical energy through electromagnetic induction. This is the same principle that powers many household appliances.
To get a bit more technical, here's a simple table summarizing the conversion process:
| Step | Energy Conversion |
|---|---|
| 1 | Kinetic Energy of Water → Mechanical Energy (Turbine) |
| 2 | Mechanical Energy (Turbine) → Electrical Energy (Generator) |
By understanding these basic concepts, you're already on your way to figuring out how to create a small-scale hydroelectric power system for your home. It’s a fascinating blend of engineering and natural science that can lead to sustainable energy solutions!
Also Read This: Step-by-Step Guide to Uploading Videos on Dailymotion
Essential Materials and Tools Required
Before diving into the exciting world of generating electricity from water, it’s crucial to gather all the necessary materials and tools. Having everything ready will make the process smoother and more enjoyable. Here’s a handy list to help you out:
- Water Wheel or Turbine: This is the heart of your generator. You can either purchase a pre-made turbine or create your own using materials like plastic bottles or wooden spoons.
- Generator: A small DC motor works great for this project. It will convert the mechanical energy produced by the water wheel into electrical energy.
- Batteries: Rechargeable batteries are essential for storing the electricity you generate.
- Wires: Insulated copper wires will help connect the generator to the battery and any other components.
- Diode: This little component ensures that the current flows in the right direction and protects your batteries from discharging.
- Container for Water: You’ll need a basin or a barrel to hold the water that will flow over your wheel or turbine.
- Tools: A basic toolkit is necessary, including a screwdriver, wire cutters, and pliers. You might also need a drill if you’re making your own turbine.
Gathering these materials will prepare you for the next step in this electrifying project. Remember, it’s all about having fun and experimenting with what you have!
Also Read This: Will YouTube Ever Shut Down? Examining the Future of the Worldâs Largest Video Platform
Step-by-Step Guide to Building Your Water Electricity Generator
Now that you have all your materials, it’s time to get hands-on and build your water electricity generator! Follow these steps, and you’ll be on your way to creating clean energy at home:
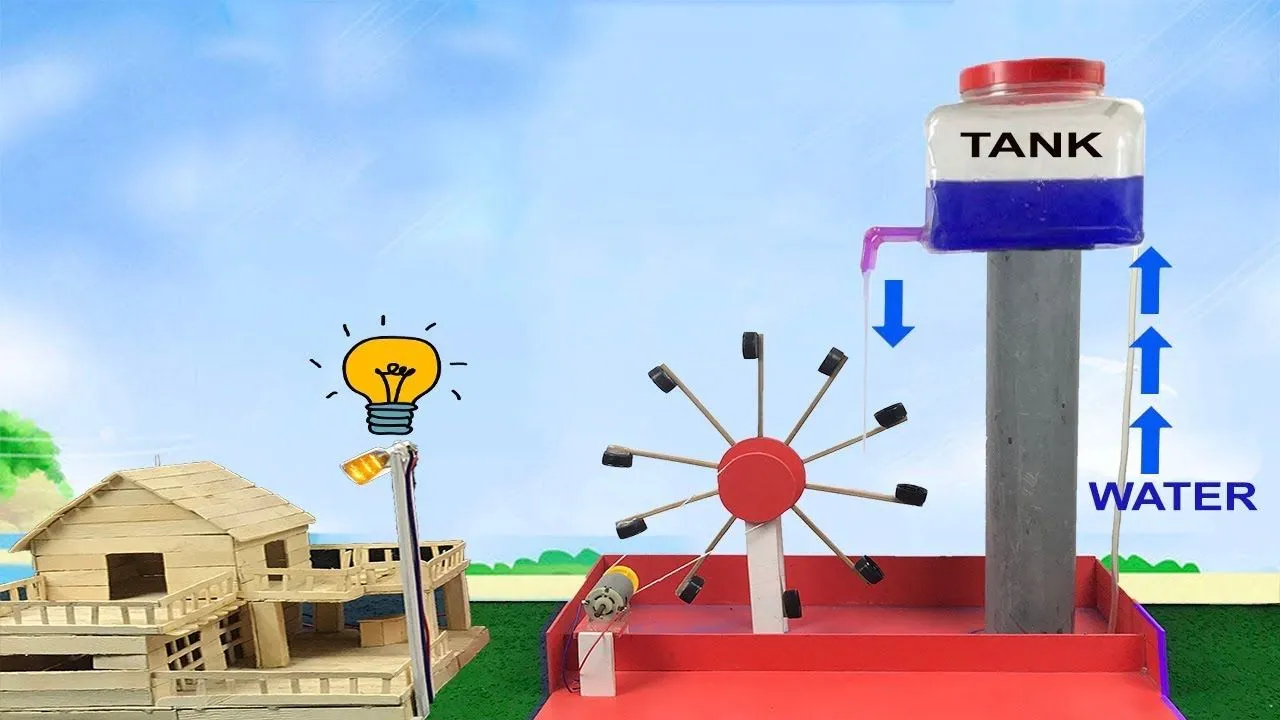
- Prepare Your Water Source: Find a suitable location for your water wheel or turbine. This could be a stream or a simple setup using a hose that can provide a steady flow of water.
- Construct the Water Wheel/Turbine: If you’re making your own, use plastic bottles or wood to create blades that can catch the water flow. Make sure it's sturdy and balanced.
- Attach the Generator: Secure the DC motor to your turbine. The axle of the turbine should connect to the motor’s shaft, allowing it to spin and generate electricity as water flows over it.
- Set Up the Battery System: Connect the wires from the generator to the batteries. Make sure to include the diode in the circuit to prevent backflow.
- Test Your Setup: Turn on the water flow. If everything is connected correctly, you should see the generator’s LED light up, indicating that it’s producing electricity!
Take your time with each step, and don’t hesitate to make adjustments as needed. This project is all about experimenting, so feel free to tweak your design for better efficiency. Happy generating!
Also Read This: How Much to Charge for Shutterstock Footage
Safety Precautions to Consider
When you're diving into the exciting world of generating electricity from water at home, it's crucial to prioritize safety. After all, you're working with water and electrical components, and proper precautions can prevent accidents and injuries. Here are some essential safety tips to keep in mind:
- Use Waterproof Materials: Ensure that all materials used in your generator are waterproof or water-resistant. This includes wiring, connectors, and any housing for electrical components.
- Keep Electrical Components Dry: Make sure that any electrical connections are kept above the water level to avoid short circuits. If possible, use waterproof enclosures for sensitive components.
- Install Ground Fault Circuit Interrupters (GFCIs): These devices can help prevent electrical shock by interrupting the flow of electricity if a ground fault is detected. They are especially important in wet environments.
- Check for Leaks: Regularly inspect your system for any leaks. Water and electricity don’t mix, and even small leaks can lead to dangerous situations.
- Follow Local Regulations: Ensure that your setup complies with local laws and regulations regarding electricity generation. This may include specific safety standards or permits.
- Educate Yourself: Take the time to learn about basic electrical safety and the principles of water generation. Knowledge is your best defense against accidents.
By following these precautions, you'll create a safer environment for your DIY electricity generation project, allowing you to focus on the fun and innovative aspects of harnessing energy from water!
Testing Your Water Electricity Generator
Once you've built your water electricity generator, it's time to see if all your hard work pays off! Testing your generator is an exciting step that helps you gauge its efficiency and functionality. Here’s a straightforward guide to effectively testing your setup:
- Visual Inspection: Before turning it on, conduct a thorough visual inspection of your setup. Look for any loose connections, signs of wear, or potential leaks. Make sure everything is securely fastened.
- Water Flow Check: Ensure that the water source is stable and flowing at the desired rate. The amount of water flow directly affects the energy output, so a consistent flow is crucial.
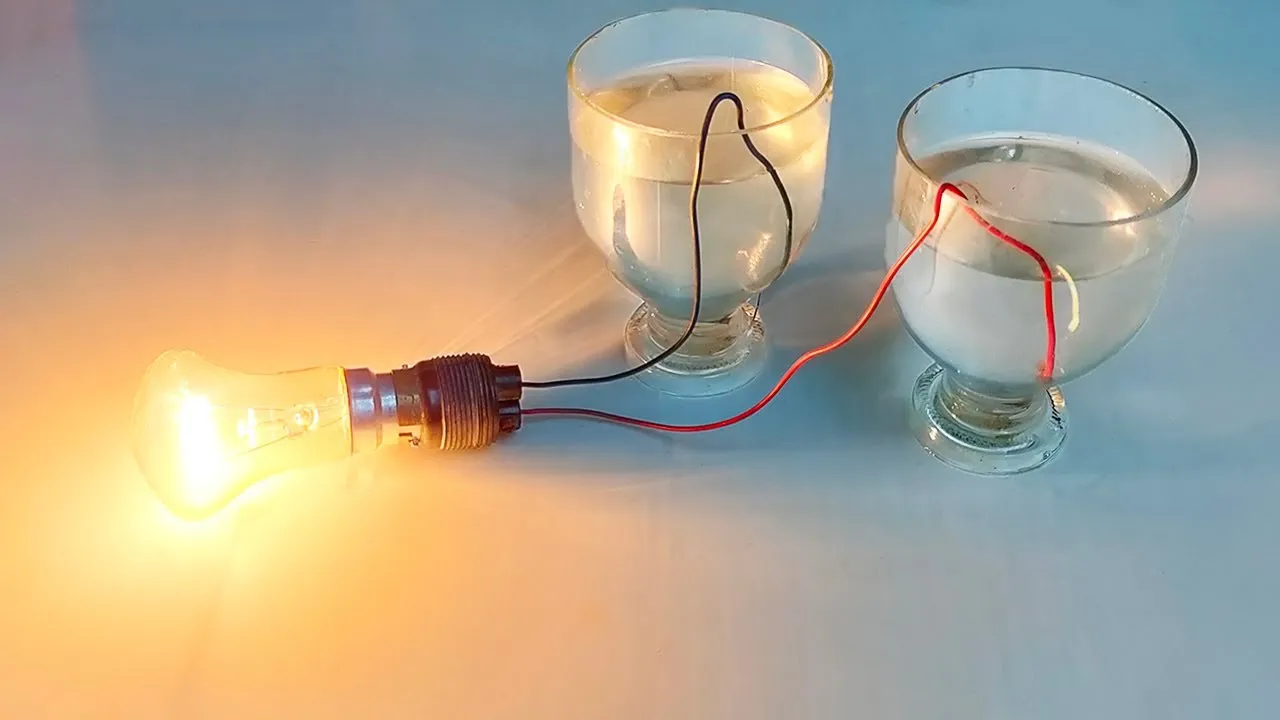
- Measure Voltage Output: Use a multimeter to measure the voltage output from your generator. Connect the multimeter to the output terminals of your generator. A successful setup should generate some voltage—if not, double-check your connections and components.
- Load Testing: Once you have a voltage reading, connect a small load (like an LED light or a small fan) to see if your generator can power it. This step is essential to determine if your generator is functional under real-world conditions.
- Monitor Performance: Keep track of the voltage and current over time. This will help you understand how well your generator performs under different water flow conditions.
Testing your water electricity generator not only validates your hard work but also helps you identify areas for improvement. Don’t be discouraged if things don’t work perfectly at first; tweaking and optimizing your setup is part of the fun!