Hand embroidery is a charming craft that allows you to create stunning designs on fabric using just a needle and thread. It's a fantastic way to express your creativity, and the best part? You don’t need to be an expert to get started! Many beginners find hand embroidery both relaxing and rewarding. Whether you want to embellish clothing, create unique home decor, or craft personalized gifts, hand embroidery offers endless possibilities. So, let’s dive into the basics and discover how you can begin this delightful journey!
Essential Tools and Materials Needed
Before you start your embroidery adventure, you’ll need a few essential tools and materials. Here’s a handy list to get you set up:
- Embroidery Hoop: This holds your fabric taut, making it easier to stitch. Choose a size that suits your project.
- Embroidery Needles: These are specially designed with a larger eye for thicker threads. A size 7 or 8 needle works well for most projects.
- Embroidery Floss: This is a six-strand cotton thread. You can separate the strands for different effects—two strands for a subtle look, four for a bolder effect.
- Fabric: Start with cotton or linen, which are easy to work with. Consider pre-washing your fabric to avoid shrinkage later.
- Scissors: A small, sharp pair is essential for cutting threads cleanly.
- Water-Soluble Marker or Fabric Pen: Use this for marking your design on the fabric before you start stitching.
- Patterns: Choose simple designs or motifs to begin with. There are plenty of free patterns available online!
Having these tools at your fingertips will set you up for success. Once you have everything ready, you’ll feel more confident to dive into the world of hand embroidery!
Also Read This: Locating Your Photos on iStock.com
Basic Embroidery Stitches to Get Started
Embroidery is all about the stitches, and as a beginner, you’ll want to start with a few basic ones that will form the foundation of your skills. Here are some essential stitches you should master:
- Running Stitch: This is the simplest stitch. Just remember to go in and out of the fabric in a straight line. It’s perfect for outlines!
- Backstitch: Great for creating solid lines. Instead of going straight, you go back one stitch and then forward. It gives a more defined look.
- Chain Stitch: This stitch looks like a series of connected loops. It’s visually appealing and adds texture to your designs.
- Cross Stitch: This stitch creates an 'X' shape. It’s widely used for decorative patterns and is quite versatile.
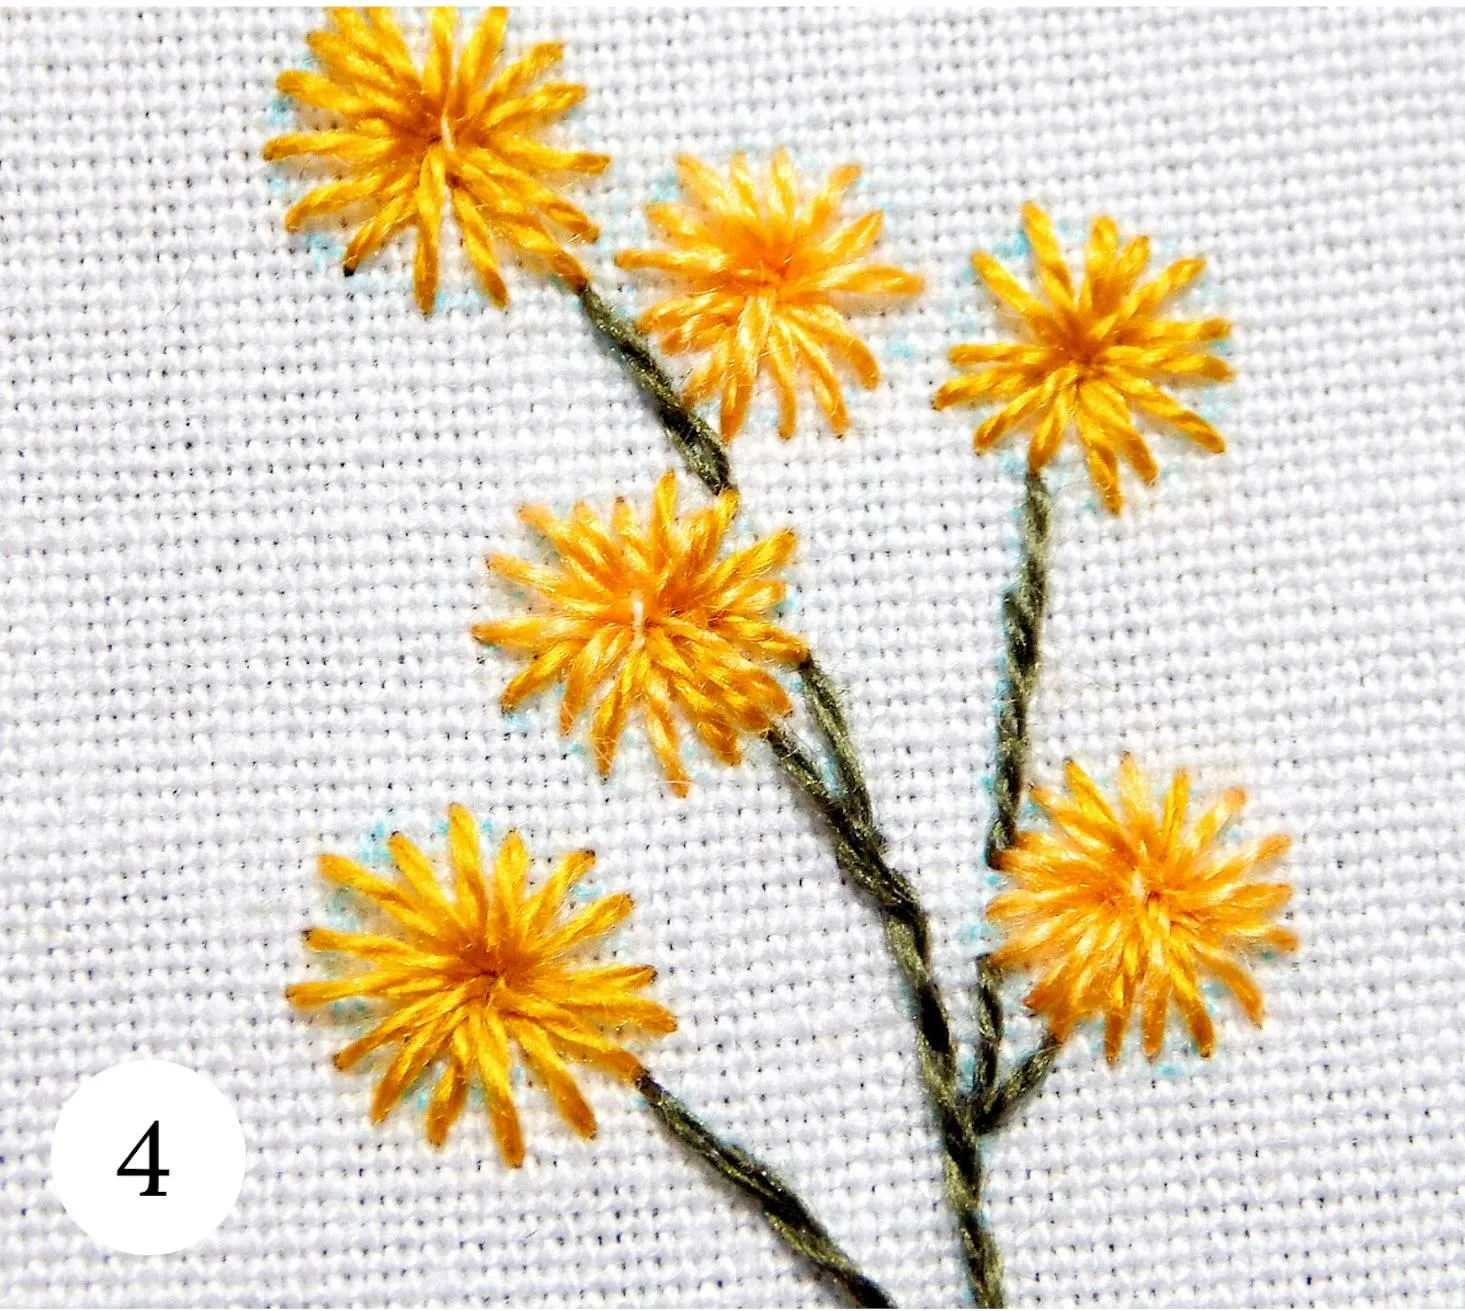
- French Knot: These little knots can add a fun, 3D effect. They’re excellent for flower centers or other decorative touches.
Practicing these stitches will empower you to take on a variety of embroidery projects. Remember, it’s all about practice and patience!
Also Read This: How "Iron Man 3" Should Have Ended: Dailymotion Explains the Alternate Ending
Step-by-Step Guide to Your First Embroidery Project
Ready to dive into your first embroidery project? Let’s break it down into simple steps to make it enjoyable and stress-free!
- Choose Your Design: Pick a simple design, like a small flower or your initials. You can find plenty of free patterns online!
- Gather Materials: You’ll need embroidery floss, a needle, fabric (like cotton), and an embroidery hoop. Don’t forget scissors!
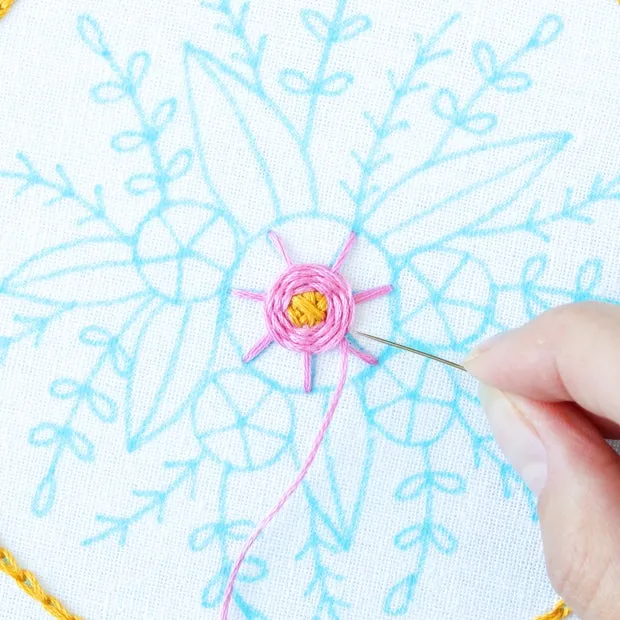
- Transfer the Design: Lightly trace your pattern onto the fabric with a pencil or fabric marker. This will guide your stitches.
- Set Up Your Hoop: Place your fabric in the embroidery hoop, ensuring it’s taut. This keeps your fabric stable while you stitch.
- Start Stitching: Begin with your chosen stitches, following your design. Take your time and enjoy the process.
- Finishing Touches: Once you’re done, tie off your thread securely on the back, and trim any excess thread.
Congratulations! You’ve completed your first embroidery project. Don’t be shy about showing it off!
Also Read This: Artistic Adventures: Create and Share Art on DeviantArt
5. Tips for Maintaining and Caring for Your Embroidery
Taking care of your embroidery not only preserves its beauty but also ensures its longevity. Here are some essential tips to keep your hand-stitched pieces looking fresh and vibrant:
- Keep It Clean: Always hand wash your embroidered pieces with a gentle detergent. Avoid machine washing as it can distort your stitches.
- Avoid Direct Sunlight: When displaying your work, keep it out of direct sunlight to prevent fading. Consider using UV-protective glass if framing.
- Iron with Care: If your embroidery needs smoothing, place a thin cloth over it and use a low heat setting on your iron. Never iron directly on the stitches!
- Store Properly: For pieces you aren’t displaying, store them flat or rolled in a clean, dry place. Avoid folding them, which can create creases.
- Regular Inspections: Periodically check your embroidery for loose threads or signs of wear. If you notice any issues, address them promptly to avoid further damage.
By following these simple tips, you can maintain the integrity and beauty of your hand-embroidery for years to come!
6. Conclusion and Encouragement for Beginners
Embarking on your hand embroidery journey can feel daunting at first, but it’s truly a rewarding craft! Remember, every expert was once a beginner. The key is to enjoy the process and allow yourself to learn and grow. Here are some encouraging thoughts to keep in mind:
- Practice Makes Perfect: Don’t be afraid to make mistakes. Each stitch is a learning opportunity!
- Find Your Style: Experiment with different stitches and fabrics. Your unique touch will shine through with time.
- Join a Community: Connect with fellow embroidery enthusiasts online or in local groups. Sharing tips and experiences can boost your confidence.
- Celebrate Progress: Take pride in your work, no matter how small. Each completed piece is a testament to your dedication and creativity.
So, pick up that needle, choose your favorite thread, and let your imagination run wild! The world of embroidery is waiting for your unique flair.