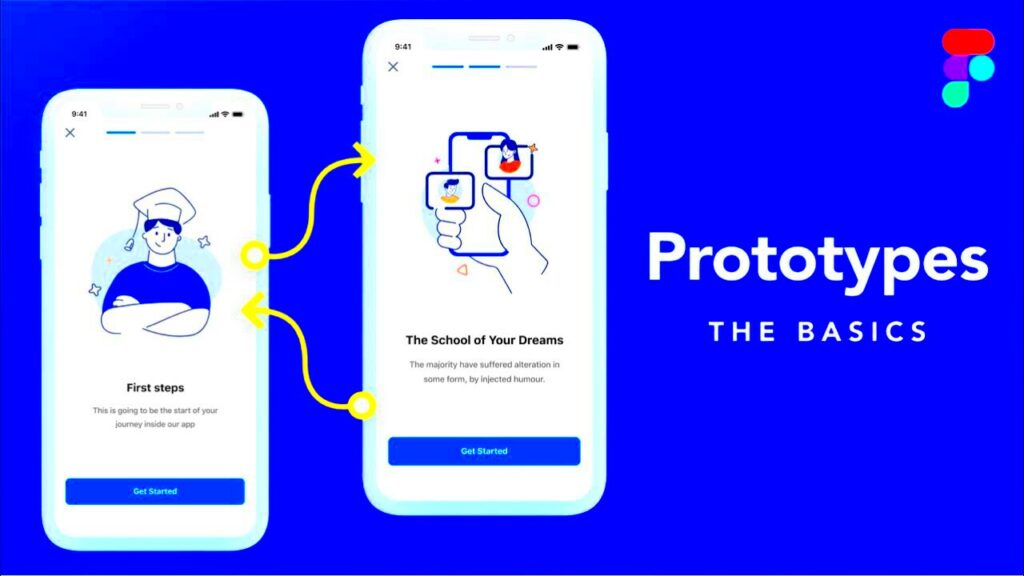
In the realm of design we frequently navigate various tools and platforms, each offering its own advantages. Figma has become a beloved choice among designers and there's a solid rationale behind it. With Figma prototypes we can breathe life into our creations turning still visuals into engaging interactions. This is where the enchantment unfolds!
Consider this. When we present a design to a client, we often notice a hint of doubt in their gaze. They may question how the product will truly feel to use. However, the moment we unveil a prototype, their expressions change completely! It’s like they’re catching a glimpse of the future of their project. Prototypes play a role in shaping concepts, collecting input and fine tuning our creations.
Additionally Figma's collaboration tools enable teams to collaborate smoothly regardless of their location. You can collect feedback instantly saving us from the constant exchange of emails. This seamless connection simplifies the process of creating prototypes that not only meet but surpass expectations.
Getting Started with Figma: A Quick Overview
Getting started with Figma is a breeze! To kick things off you’ll want to set up an account. Simply visit their website register and ta da! You’re all set to jump into the realm of design.
The layout of Figma is neat and easy to navigate, making it easier to get accustomed to. Let me give you a brief overview of what to expect.
- Canvas: This is your playground, where you can create and arrange your designs.
- Layers Panel: Keep track of all your elements and organize them efficiently.
- Toolbar: Access various tools like shapes, text, and frames to aid your design process.
- Assets Panel: Quickly find and use components, icons, and other design elements.
A couple of lessons and some hands on experience and you'll be maneuvering through it like an expert before you know it. I recall my initial days; I was truly impressed by how swiftly I could craft a design that appeared refined and sophisticated!
Also Read This: Hacker Typer from AllColorScreen.com: Unleash Your Inner Movie Hacker
Step-by-Step Guide to Creating Your Figma Prototype

Building a prototype in Figma is quite easy. Follow these steps to get started.
- Set Up Your Frames: Start by creating frames for each screen of your design. Think of frames as the pages of your prototype.
- Add Design Elements: Populate your frames with images, text, and shapes. This is where you can get creative!
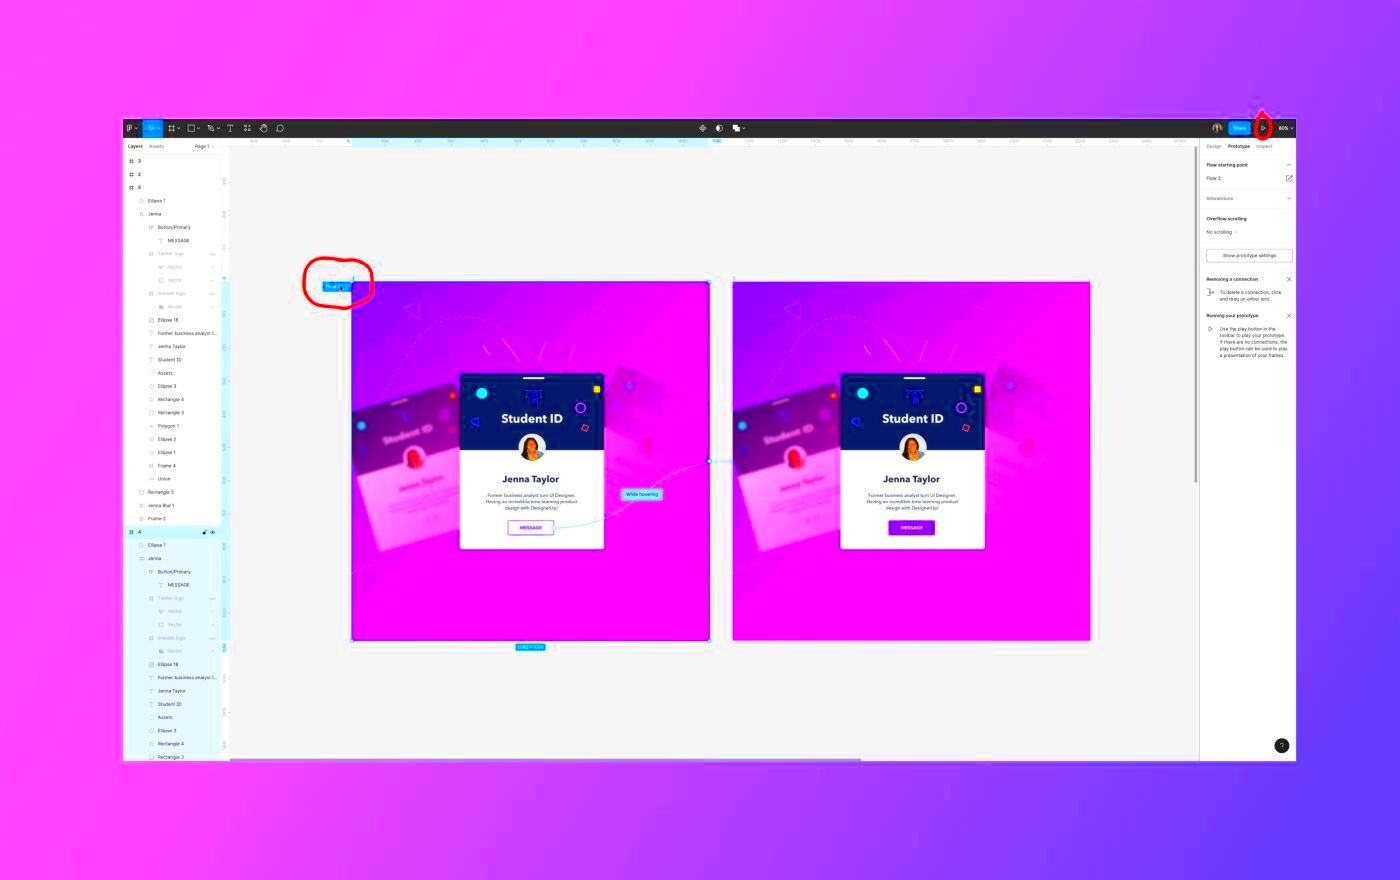
- Create Connections: Use the prototyping tool to link frames together. You can set up interactions like taps and swipes to simulate user behavior.
- Preview Your Prototype: Click on the play button to see your prototype in action. This is the exciting part!
- Gather Feedback: Share your prototype with colleagues or clients to get their input. You can use Figma’s commenting feature to make this process seamless.
Keep in mind that prototyping is a process where you continuously improve your work. It’s perfectly fine to tweak and enhance your design based on the feedback you get. In one of my projects we went through multiple versions before settling on the final design and that’s totally normal!
By following these steps you’ll be making progress in crafting prototypes that captivate and involve your audience. Enjoy the design process!
Also Read This: Adjusting Volume on Dailymotion for an Enhanced Viewing Experience
How to Export Your Figma Prototype for Behance
Exporting your Figma prototype can feel intimidating initially, but believe me it becomes effortless once you familiarize yourself with it. I recall my nerves when I had to export a prototype for a Behance project worrying about compromising on quality and intricacy. However to my delight Figma streamlines this procedure making it easy and hassle free.
First make sure your prototype is all set. Take a look at your design and tweak it if needed. When you feel happy with it go ahead and export by following these steps.
- Select the Frame: Click on the frame you want to export. You can choose an individual frame or multiple frames if you wish to export several at once.
- Access Export Settings: In the right panel, scroll down to find the "Export" section. Click on the plus icon to add export settings.
- Choose File Format: You can export your prototype as PNG, JPG, or even PDF. I usually opt for PNG for its clarity.
- Export: Hit the "Export" button, and your selected frames will be downloaded to your device.
Now that you have your prototype files it’s time to show off your creations on Behance. Keep in mind that the quality of your export is important. Strive for high resolution images to make sure your designs appear crisp and polished!
Also Read This: How to Cancel Your YouTube TV Subscription Hassle-Free
Embedding the Figma Prototype in Your Behance Project
Once you’ve exported your Figma prototype it’s the perfect moment to showcase it on Behance. By embedding your prototype you not only elevate your project but also give viewers the opportunity to interact with your design firsthand. I can still remember the excitement of embedding a prototype for the time and witnessing how people engaged with my work felt like pure magic!
Here’s a straightforward step by step approach to incorporating your Figma prototype into your Behance portfolio.
- Open Your Behance Project: Log in to your Behance account and either create a new project or edit an existing one.
- Get Your Figma Embed Link: Go back to your Figma prototype and click on the "Share" button in the top-right corner. Make sure to select “Anyone with the link can view” before copying the embed code.
- Add an Embed Block: In your Behance project editor, choose the embed option from the blocks menu. This allows you to paste your Figma link directly into the project.
- Paste Your Embed Code: Paste the link you copied from Figma into the embed block. Adjust the size as necessary to fit your project layout.
After integrating your prototype be sure to check out a preview of your project. This last step gives you a chance to see how everything works in harmony. When I previewed my project for the time with the embedded prototype I was excited to witness everything come together smoothly!
Also Read This: Delicious Iced Coffee Recipes to Try at Home
Tips for Showcasing Your Prototype Effectively
When it comes to showing off your prototype how you present it matters. Through my experiences I’ve realized that it’s not only about the aesthetics but also about how you convey your narrative. Here are a few suggestions to make sure your prototype grabs attention.
- Use High-Quality Images: As mentioned earlier, always opt for high-resolution images. Your audience deserves to see your hard work in the best light.
- Tell a Story: Don’t just present your design; narrate the journey. Share your thought process, challenges, and what inspired your choices.
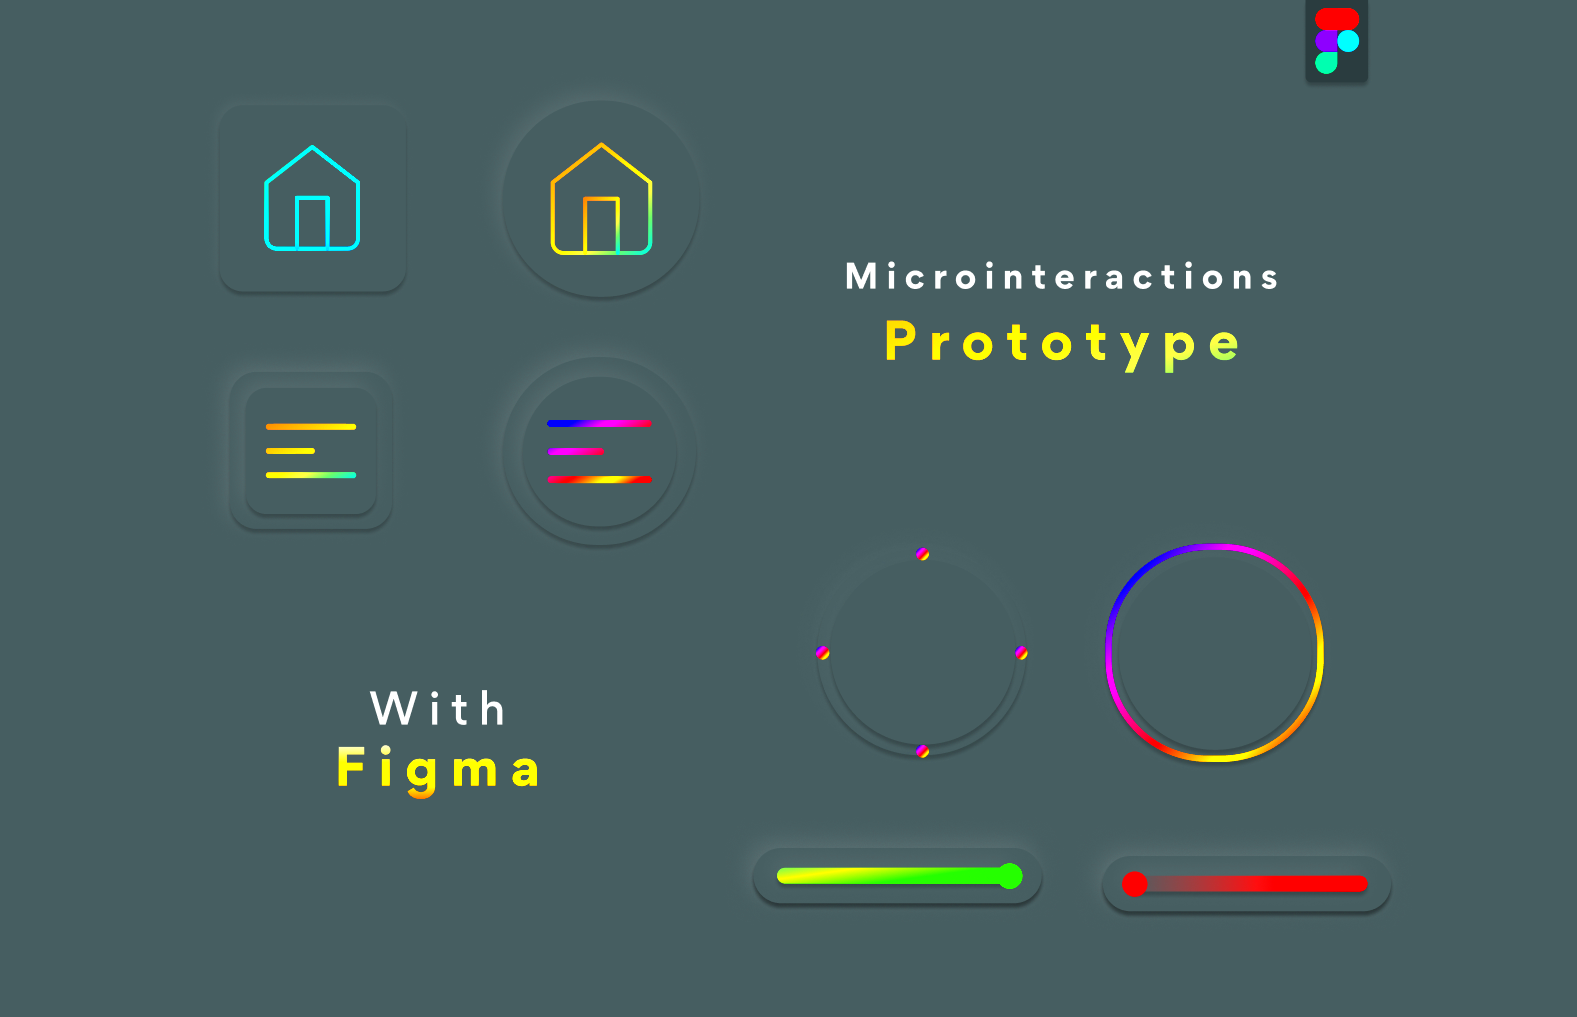
- Highlight Interactivity: If your prototype has unique interactive elements, be sure to showcase them. This is what sets your design apart!
- Seek Feedback: Before going live, share your project with peers for feedback. Fresh eyes can spot things you might have missed.
- Keep it Clean: Avoid cluttering your project with unnecessary elements. A clean, organized presentation makes it easier for viewers to focus on your design.
Ultimately keep in mind that each design carries a narrative. By implementing these suggestions you’ll be on track to present your Figma prototypes in a manner that engages and motivates your viewers!
Also Read This: How to Remove Adobe Stock Watermarks in Adobe Spark
Common Challenges and How to Overcome Them
Every designer understands that the road is not always easy. Whether you're a newbie to Figma or an experienced expert facing hurdles is just part of the process. I remember a project where I found myself overwhelmed trying to manage prototypes. It felt like I was going in circles! However during that time I gained insights that I would be thrilled to pass on to you.
Here are a few obstacles you may encounter along with suggestions to help you navigate through them.
- Understanding Prototyping Tools: It can be tricky to grasp the full range of features available. To tackle this, invest some time in watching tutorials or exploring Figma’s extensive documentation. A few well-chosen videos made all the difference for me!
- Feedback Overload: Receiving feedback is crucial, but too much can lead to confusion. I suggest organizing feedback sessions with clear objectives. Keep your audience focused on specific aspects, which helps in filtering out noise.
- Collaboration Hurdles: Working with a team can sometimes feel like herding cats. Set clear expectations and roles from the get-go. Using Figma’s collaborative features effectively can save a lot of headaches!
- Exporting Issues: Sometimes the exported file doesn’t match what you see on your screen. Double-check your export settings and consider doing test runs before the final export to catch any discrepancies.
By acknowledging these obstacles and getting ready for them you'll discover that you can navigate the design journey with greater self assurance and smoothness. Keep in mind that every setback is merely a stepping stone towards enhancing your skills as a designer!
Also Read This: 3 Ways to Cite a Photograph in APA Format wikiHow
Frequently Asked Questions
As you start your adventure with Figma and Behance you might find yourself with some questions. Here are a few common queries I have come across along with my thoughts on them:
- Can I use Figma for free? Yes, Figma offers a free plan with essential features. However, premium features are available with a paid subscription, which can be worth it if you're serious about design.
- How can I share my Figma prototype with others? Simply click the "Share" button in Figma, adjust the link settings to allow viewing or editing, and share the link. It's straightforward!
- What file formats can I export my designs in? You can export your designs as PNG, JPG, SVG, and PDF. Choosing the right format depends on your project needs.
- How can I improve my Behance project visibility? Engaging with the Behance community by commenting on others’ projects, sharing your work on social media, and using relevant tags can significantly increase visibility.
If there are any questions you have that aren't addressed in this text feel free to reach out to the lively design community or utilize Figma's support options for assistance!
Wrapping Up: Final Thoughts on Figma and Behance
As we wrap up our conversation about Figma and Behance Id like to pause and think back on the path weve taken. These two tools have become essential in my design process. Theyve not only assisted me in crafting stunning prototypes but have also linked me up with a community of fellow creative minds.
Dont forget that design goes beyond looking good its about conveying a message. Your mockups convey a narrative and showcasing them on platforms such as Behance enables you to connect with individuals who share your perspective. I still hold dear the input and support I received on my initial projects as it motivated me to continue challenging my limits.
While you dive into these resources, be open to the process of acquiring new skills. There will be moments of success and setbacks along the way, but each obstacle presents a chance for personal development. Continue to try things out, exchange ideas and connect with others. The more you expose yourself to experiences, the greater your growth and transformation will be as a creative professional.
Feel free to unleash your creativity share your work and let your designs stand out. Your distinct viewpoint brings depth to the realm of design and Im excited to witness the path your journey will lead you on!