Are you an artist, designer, or creative looking to showcase your work? Behance is a fantastic platform that allows you to share your projects with a global audience. In this guide, we’ll walk you through the steps of downloading your own images onto Behance. Whether you’re sharing illustrations, photography, or graphic design, we’ve got you covered. So, let’s dive into the first step: creating your
Creating a Behance Account
Before you can upload your stunning images to Behance, you need to set up an account. Here’s how to do it in a few simple steps:
- Visit the Behance Website: Go to Behance.net in your web browser.
- Click on “Sign Up”: Look for the “Sign Up” button, usually located in the top right corner of the homepage.
- Choose Your Sign-Up Method: You can sign up using an email address, or through your Adobe or Google account. Choose the option that suits you best.
- Fill in Your Details: If you choose to sign up with email, provide your name, email address, and a secure password. Make sure your password is a mix of letters, numbers, and symbols for added security.
- Agree to the Terms: Read through Behance’s terms and conditions, and if you’re comfortable, check the box to agree.
- Verify Your Email: Behance will send you a verification email. Click the link in that email to confirm your account.
- Complete Your Profile: Once you’re logged in, take a moment to fill out your profile. Add a profile picture, a bio, and links to your social media or personal website.
And there you have it! You’re now officially a member of the Behance community. With your account set up, you’re ready to start showcasing your amazing work. Stay tuned for the next steps on how to upload your images!
Also Read This: Essential Tips for Choosing the Perfect Lifestyle Photos for Your Next Project
Preparing Your Images for Upload
Before you dive into uploading your images to Behance, it's essential to ensure that they're ready for the spotlight. A bit of preparation can make a world of difference in how your work is perceived. Here are some tips to get your images primed for upload:
- Resolution Matters: Aim for high-resolution images, ideally 72 DPI (dots per inch) for web display. This ensures your visuals look crisp and professional, even on high-definition screens.
- Optimal Size: While Behance supports various sizes, a width of 1400 pixels is a good benchmark. If your images are too large, they might take longer to load, which can deter viewers.
- File Format: Save your images in formats like JPEG or PNG. These formats strike a balance between quality and file size, making them perfect for online use.
- Edit for Impact: Use editing software to enhance your images. Adjust brightness, contrast, and saturation to make your work pop. Remember, first impressions are key!
- Watermarking: If you’re concerned about image theft, consider adding a subtle watermark. Just make sure it doesn’t distract from your artwork.
By taking the time to prepare your images, you're not just uploading pictures; you’re showcasing your art in the best light possible. Once you're satisfied with your images, it's time to move on to the fun part – uploading them to Behance!
Also Read This: How to Become a Contributor on Getty Images
Uploading Images to Behance
Now that your images are prepped and primed, let's get them onto Behance! The uploading process is straightforward, but there are a few tips to ensure everything goes smoothly:
- Log In to Your Account: Start by logging into your Behance account. If you don’t have one yet, creating an account is quick and easy!
- Create a New Project: Once logged in, navigate to your profile and click on the “Create a Project” button. This is where the magic happens!
- Drag and Drop: You can easily drag and drop your prepared images into the upload area. Behance supports multiple uploads, so don’t hesitate to share a series of images!
- Arrange Your Images: After uploading, you can rearrange your images by dragging them into the desired order. Think about how you want your audience to experience your project.
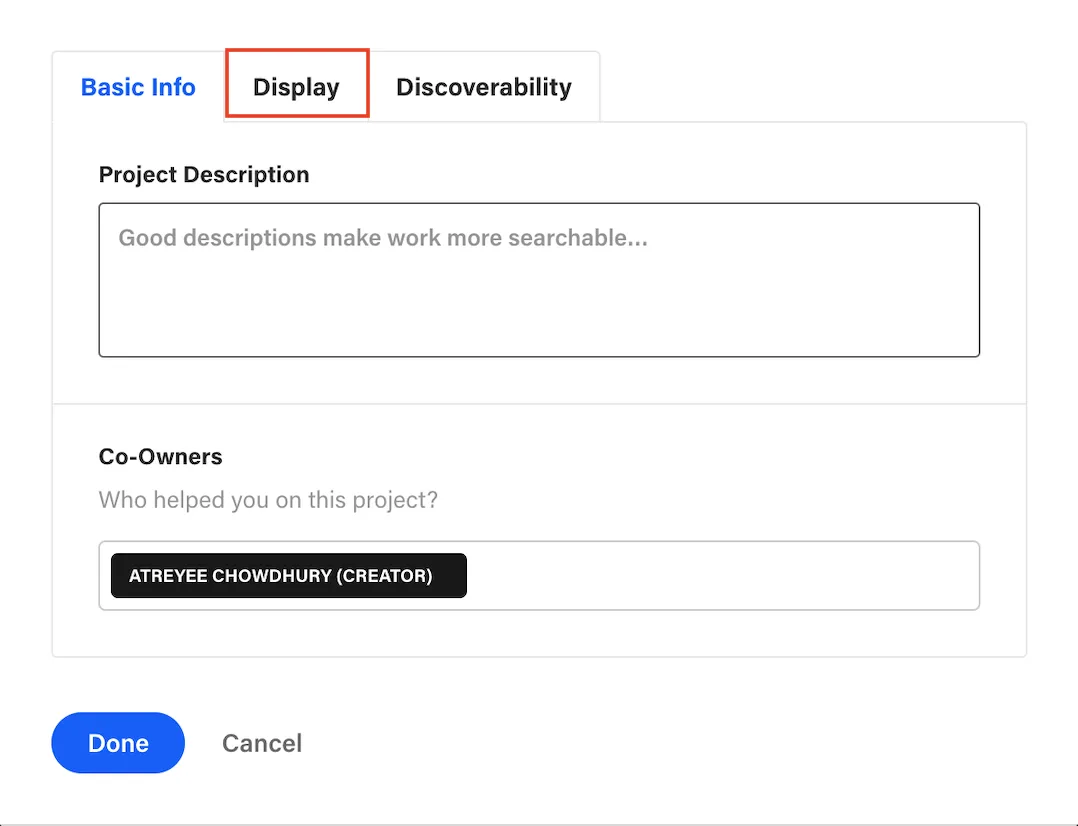
- Add Titles and Descriptions: For each image, consider adding titles and descriptions. This context helps your audience understand your artistic vision and the story behind the images.
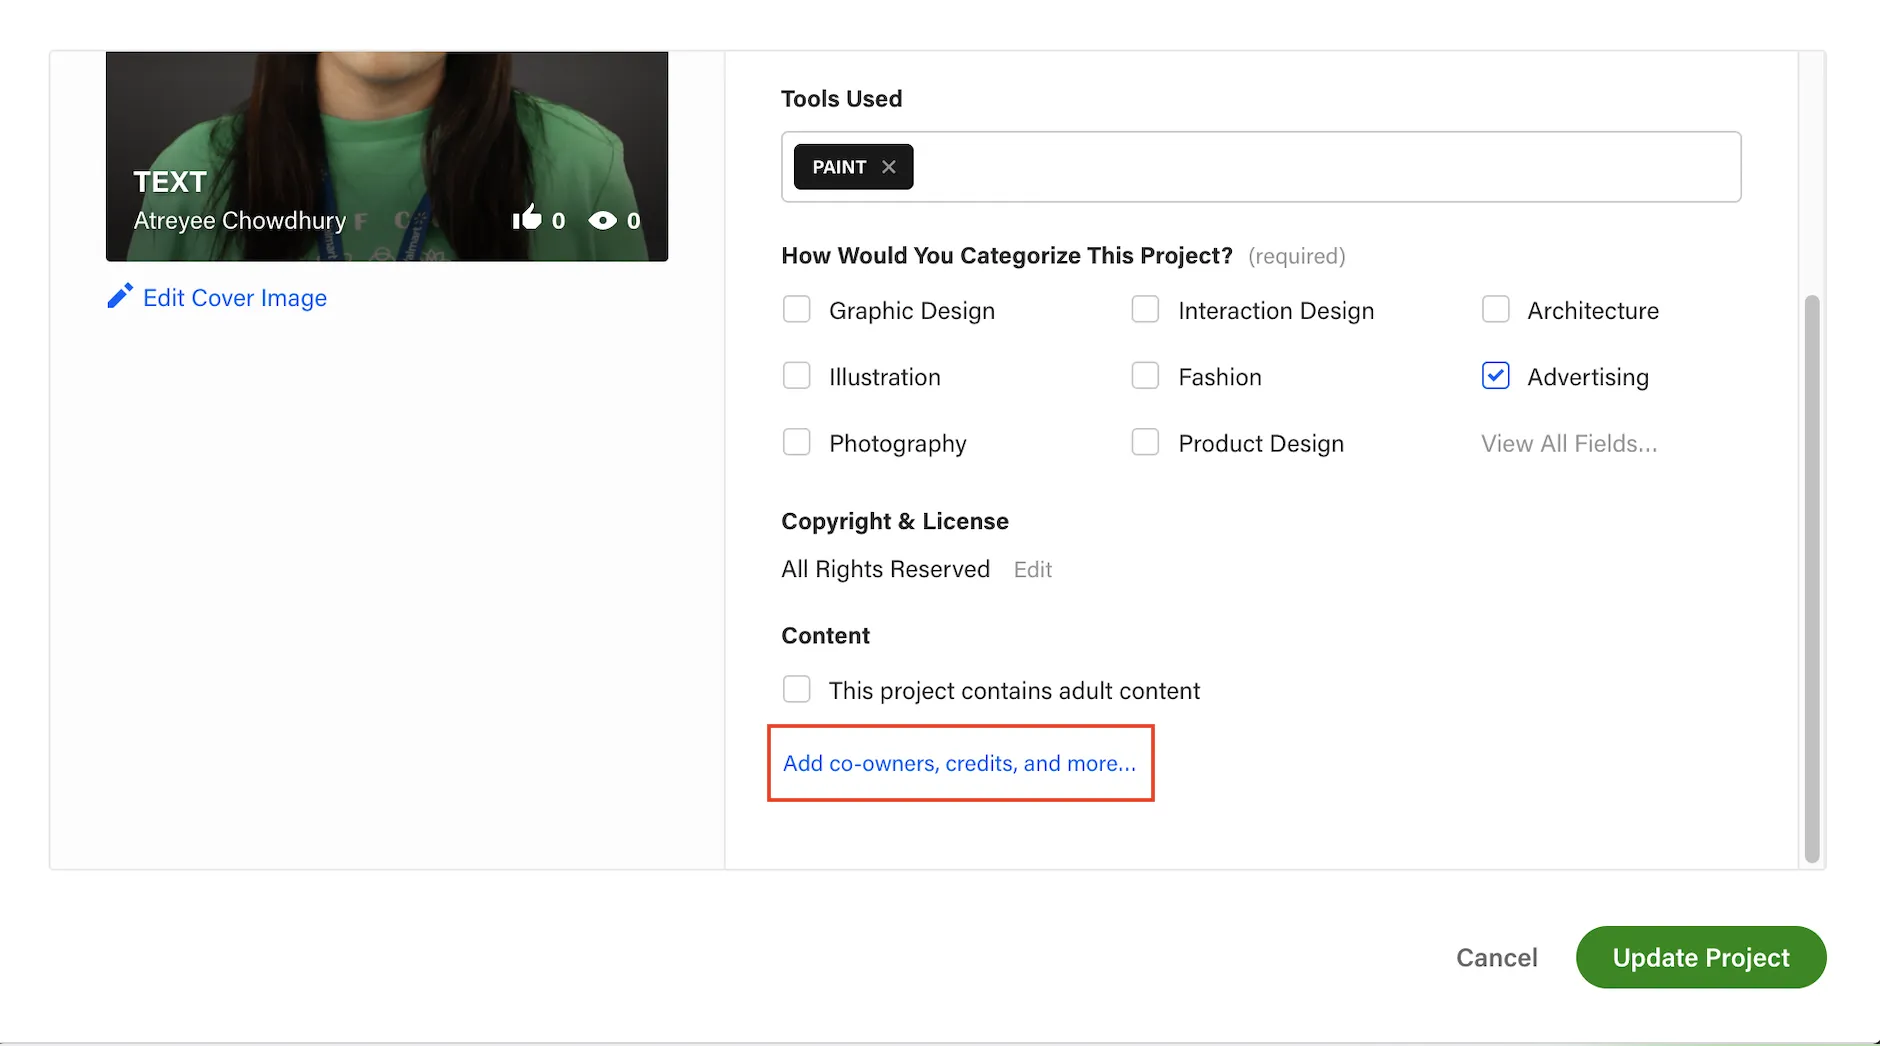
- Choose Tags: Tags are your best friends on Behance! Use relevant keywords to make your project discoverable. Think about what your target audience might be searching for.
- Hit Publish: Once you’re satisfied with your project, click the “Publish” button. Your work is now live for the world to see!
And there you have it! Uploading images to Behance is a breeze once you know the steps. With your images now showcased, get ready for feedback, engagement, and maybe even a few admirers!
Also Read This: How to Change Privacy on Behance
5. Organizing Your Project
Organizing your project on Behance is crucial for showcasing your work effectively. A well-structured project not only makes it easier for viewers to navigate but also highlights your professionalism. Here are some tips to help you keep everything in order:
- Use Clear Titles and Descriptions: Start by giving your project a descriptive title. Follow it up with a concise description that provides context. This helps viewers understand your work at a glance.
- Group Similar Images: If your project contains multiple images, group them in a way that tells a cohesive story. You can separate images into sections based on themes, color palettes, or techniques.
- Utilize Tags: Tags are a great way to categorize your work. Add relevant tags that accurately describe your project. This helps potential viewers find your work through search.
- Arrange Your Images Thoughtfully: The order of your images matters. Start with a strong visual that captures attention. Follow up with supporting images that complement your main piece.
- Incorporate Text and Annotations: Adding text to your images can provide insights into your creative process or the techniques used. This not only adds depth but also engages the viewer.
By keeping your project organized, you not only enhance the viewer's experience but also demonstrate your attention to detail and commitment to your craft.
Also Read This: How to Wear Hijab for Round Face with Style Tips
6. Sharing and Promoting Your Work
Once you've uploaded and organized your project on Behance, it’s time to share and promote your work! This is where the real magic happens, as sharing your work can lead to greater visibility and opportunities. Here are some effective strategies to get your work noticed:
- Leverage Social Media: Share your Behance project on platforms like Instagram, Twitter, and Facebook. Use eye-catching visuals and engaging captions to attract your audience.
- Join Creative Communities: Participate in online forums and groups related to your field. Share your project in these communities to reach like-minded individuals who may appreciate your work.
- Engage with Other Creatives: Follow and comment on other artists’ projects on Behance. Building relationships can lead to reciprocal promotion and increased visibility for your own work.
- Utilize Behance Features: Use Behance's built-in sharing tools to easily post your project on other platforms. You can also feature your work in collections or submit it for curatorial consideration.
- Send Direct Links: Don’t hesitate to send a direct link to your project to friends, family, and professional connections. Personal recommendations can be powerful!
Remember, promoting your work is just as important as creating it. So get out there and let the world see what you can do!
How to Download Your Own Images onto Behance
Behance is a popular platform for showcasing and discovering creative work. If you are looking to share your own images or portfolio, downloading your images onto Behance is a simple and effective process. Below, we outline the steps you need to follow to successfully upload your images.
Steps to Download Your Own Images onto Behance
- Create an Account: If you don’t already have an account, visit Behance.net and sign up for free.
- Log In: Once your account is set up, log in to your Behance account.
- Start a New Project: Click on the "Create a Project" button located on your profile page.
- Upload Images: You can drag and drop your images into the upload area or click on the “Upload” button to select files from your device.
- Edit Your Images: After uploading, you can edit each image by adding titles, descriptions, and tags to enhance visibility.
- Organize Your Project: Arrange the images in the order you want them to be displayed. You can also add text descriptions or other media elements.
- Publish: Once you are satisfied with your project, click the "Publish" button to make it live on your Behance profile.
Best Practices for Uploading Images
- Use High-Quality Images: Ensure your images are of high quality to attract more viewers.
- Optimize File Size: Compress images to reduce loading times without sacrificing quality.
- Add Relevant Tags: Use tags to help others find your work in searches.
By following these straightforward steps, you can effectively share your creative work on Behance and reach a wider audience. Remember to keep your portfolio updated and engage with the community to maximize your exposure.