Before diving into the world of curls, it’s essential to prepare your hair properly. Trust me, this makes a world of difference! Here’s how to get started:
- Start with Clean Hair: Wash your hair with a good quality shampoo and conditioner. Clean hair holds curls better and looks shinier.
- Dry Your Hair: Make sure your hair is completely dry before you start curling. If you have time, air-drying works great, but if you’re in a hurry, a blow dryer will do the trick.
- Use a Heat Protectant: This step is crucial! Apply a heat protectant spray or serum to shield your locks from heat damage. Look for products that offer thermal protection.
- Brush It Out: Run a wide-tooth comb or a brush through your hair to remove any tangles. This ensures that the straightener glides smoothly and prevents snags.
- Section Your Hair: Divide your hair into manageable sections. Generally, working with smaller sections (about 1 inch wide) will give you tighter, more defined curls. Use clips to keep the other sections out of the way.
By following these simple steps, you’ll set a solid foundation for achieving beautiful curls with your straightener. Ready to get curling?
Step-by-Step Curling Technique
Now that your hair is prepped and ready, let’s get into the nitty-gritty of curling with a straightener. Here’s a detailed guide:
- Heat Up Your Straightener: Set your straightener to the right temperature for your hair type. For fine hair, 250°F to 300°F is ideal, while thicker hair might need around 350°F to 400°F.
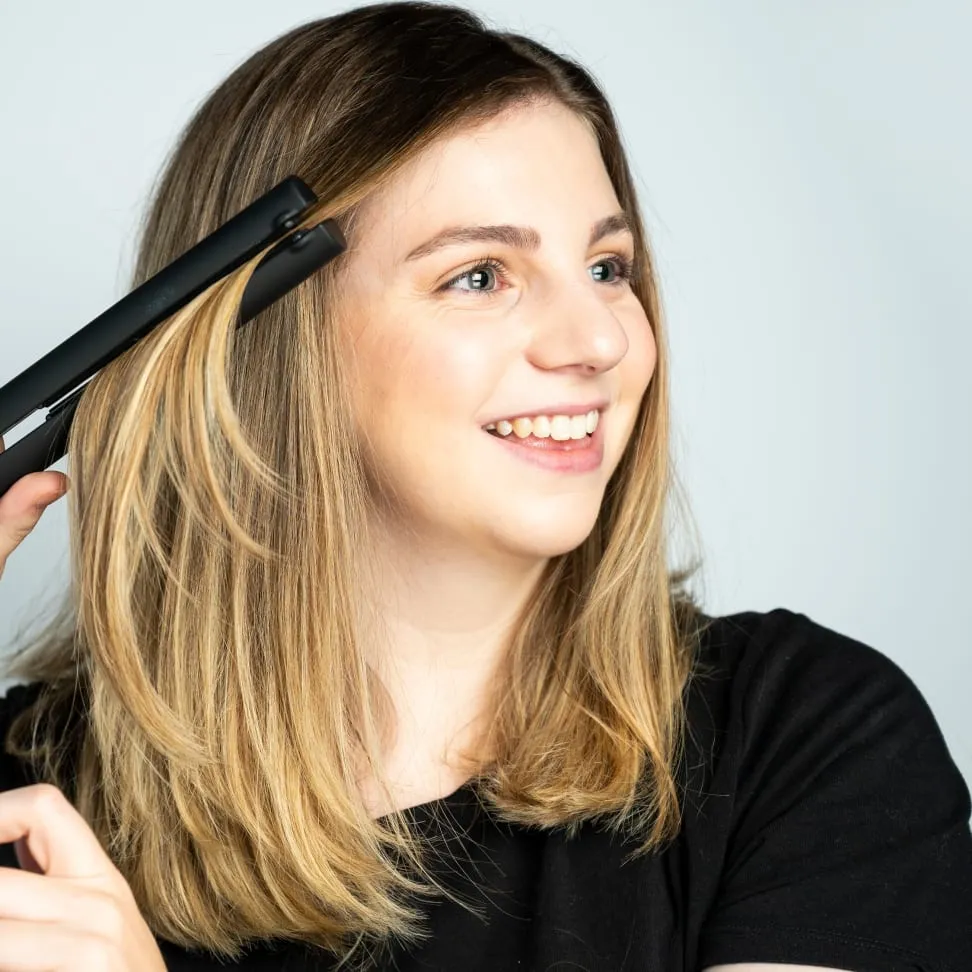
- Take a Small Section: Grab a small section of hair (about 1 inch wide) and hold it with your non-dominant hand.
- Clamp the Straightener: Place the straightener about halfway down the section of hair and clamp it shut. Make sure the hair is positioned between the plates.
- Twist and Pull: Gently twist the straightener away from your face while pulling it downwards. The key is to maintain a steady motion without jerking.
- Release the Curl: Once you've reached the ends, slowly release the clamp and let the curl fall. For more defined curls, hold the curl in your hand for a few seconds before letting it go.
- Repeat: Continue this process with the remaining sections of hair, alternating the direction of the curls for a more natural look.
And voilà! With a little practice, you'll master the art of curling your hair with a straightener. Remember, it’s all about patience and finding the technique that works best for you. Happy curling!
Also Read This: Understanding YouTube Bans and Violations: The Case of Steve
Tips for Long-Lasting Curls
So, you’ve mastered the art of curling your hair with a straightener, but what’s the point if those beautiful curls fall flat in a couple of hours? Here are some handy tips to help your curls stay bouncy and gorgeous all day long:
- Start with Clean, Dry Hair: Dirty or damp hair can make it harder for curls to hold. Make sure your hair is clean and completely dry before you start curling.
- Use a Heat Protectant: Always apply a heat protectant spray or serum before using your straightener. This not only protects your hair from damage but also helps in maintaining the shape of your curls.
- Choose the Right Temperature: Different hair types require different heat settings. Fine hair does well at lower temperatures, while thick hair may need higher heat. Experiment to find the best temperature for your hair type.
- Let Your Curls Cool: Once you’ve curled a section of hair, hold it in place for a few seconds and let it cool before releasing it. This helps set the curl in place.
- Use Hairspray: A light mist of hairspray after curling can work wonders. Just don’t overdo it; you want your hair to look natural, not crunchy!
- Pin Curls for Extra Hold: For maximum longevity, pin your curls up in a bun while they cool down. This can help them keep their shape longer.
- Refresh with Dry Shampoo: If your curls start to lose volume throughout the day, a bit of dry shampoo can add texture and lift.
Also Read This: Boosting Discoverability on Alamy by Optimizing Your Portfolio
Common Mistakes to Avoid
Curling your hair with a straightener can feel tricky, especially if you’re new to it. Here are some common mistakes that could be sabotaging your efforts:
- Not Sectioning Hair: Trying to curl all your hair at once can lead to uneven curls. Always section your hair into manageable parts before you start curling.
- Using Too Much Hair: Taking large sections of hair can result in flat, lifeless curls. Smaller sections yield tighter, more defined curls that last longer.
- Rushing the Process: Curling hair takes time—don’t rush it! Take your time to ensure each curl is set properly before moving on to the next section.
- Forgetting to Cool: Releasing a curl too soon can cause it to fall flat. Always wait for the curl to cool before letting it down.
- Using the Wrong Straightener: Not all straighteners are created equal. Make sure yours has rounded edges and is designed for curling to achieve the best results.
- Neglecting to Experiment: Don’t be afraid to try different techniques or angles when curling. What works for one person may not work for you, so be open to experimenting!
How to Curl Your Hair with a Straightener
Curling your hair with a straightener is a versatile and creative way to achieve beautiful curls without needing a separate curling iron. This method offers a range of curls, from tight ringlets to loose waves, all depending on how you use your straightener. Here’s a step-by-step guide to help you master this technique.
What You’ll Need:
- Flat iron (straightener)
- Heat protectant spray
- Hair clips
- Hairbrush or comb
- Hair spray (optional)
Step-by-Step Instructions:
- Prepare Your Hair: Start with clean, dry hair. Apply a heat protectant spray to shield your hair from damage.
- Section Your Hair: Divide your hair into sections using hair clips. Working with smaller sections will give you more defined curls.
- Heat Up the Straightener: Set your straightener to a medium heat setting, usually around 300°F to 350°F, depending on your hair type.
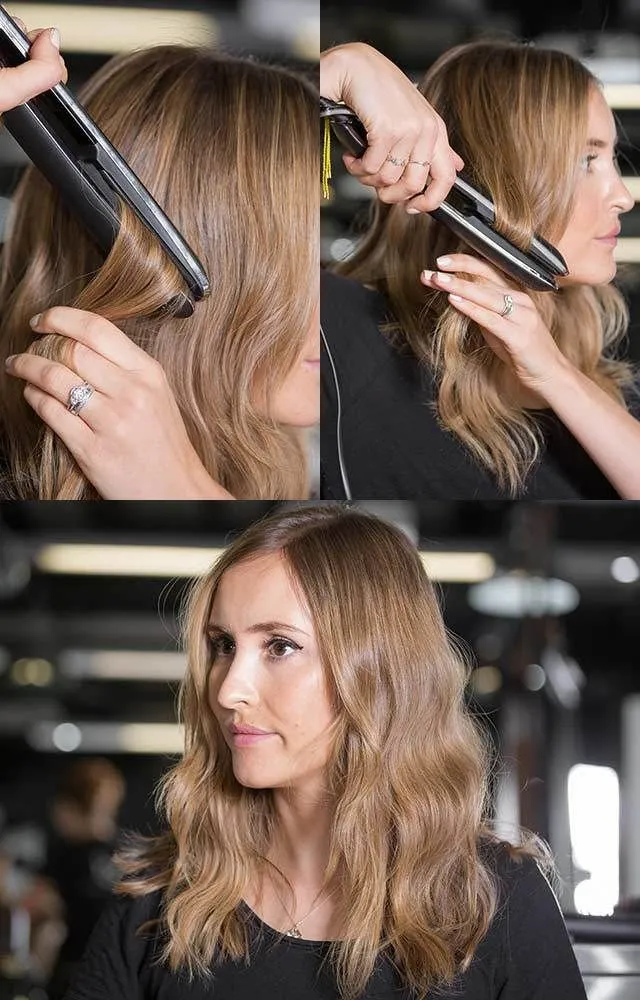
- Begin Curling: Take a section of hair, clamp the straightener at the roots, and twist it away from your face while gliding it down to the ends. The amount you twist will determine the tightness of the curl.
- Release and Style: Let go of the hair and allow the curl to cool. Repeat this process for the entire head.
- Finish with Hairspray: Once all curls are done, lightly spritz with hairspray for hold and longevity.
Tips for Best Results:
- Experiment with different sizes of hair sections for varied curl styles.
- Practice makes perfect; don’t be discouraged if it doesn’t work perfectly the first time.
- Use a straightener with rounded edges for easier curling.
In conclusion, curling your hair with a straightener is a simple yet effective technique that can create stunning hairstyles with minimal tools. With practice and the right technique, you can achieve beautiful curls that last throughout the day.