Curling your hair with a flat iron might sound a bit unconventional, but trust me, it's a game-changer! Whether you're aiming for soft beachy waves or tight ringlets, the flat iron can deliver stunning results. With just a little practice, you can achieve those perfect waves that look effortlessly chic. So, let’s dive into the essentials to get you started on your hair curling journey!
Tools and Products You'll Need
Before you begin curling, it’s essential to have the right tools and products at hand. Here’s a handy checklist to ensure you’re fully prepared:
- Flat Iron: Choose a high-quality flat iron with a smooth surface. A width of 1 to 1.5 inches works best for creating waves.
- Heat Protectant Spray: This is crucial! Protect your hair from heat damage by applying a heat protectant before styling. Look for one that also adds shine.
- Hair Clips: Keep your hair organized by sectioning it off. Clips help manage your strands and make the curling process smoother.
- Comb or Brush: A wide-tooth comb is ideal for detangling your hair gently before styling.
- Hairspray: For holding your beautiful waves in place, a good hairspray is a must. Opt for a flexible hold to keep your curls bouncy!
- Optional: Curling Serum or Mousse: These can help enhance curl definition and add extra texture to your waves.
Having these tools and products will set the foundation for achieving gorgeous waves with your flat iron. So gather your supplies, and let’s get ready to create some stunning hairstyles!
Also Read This: Write and Publish Your Ebook with Canva Ebook Templates
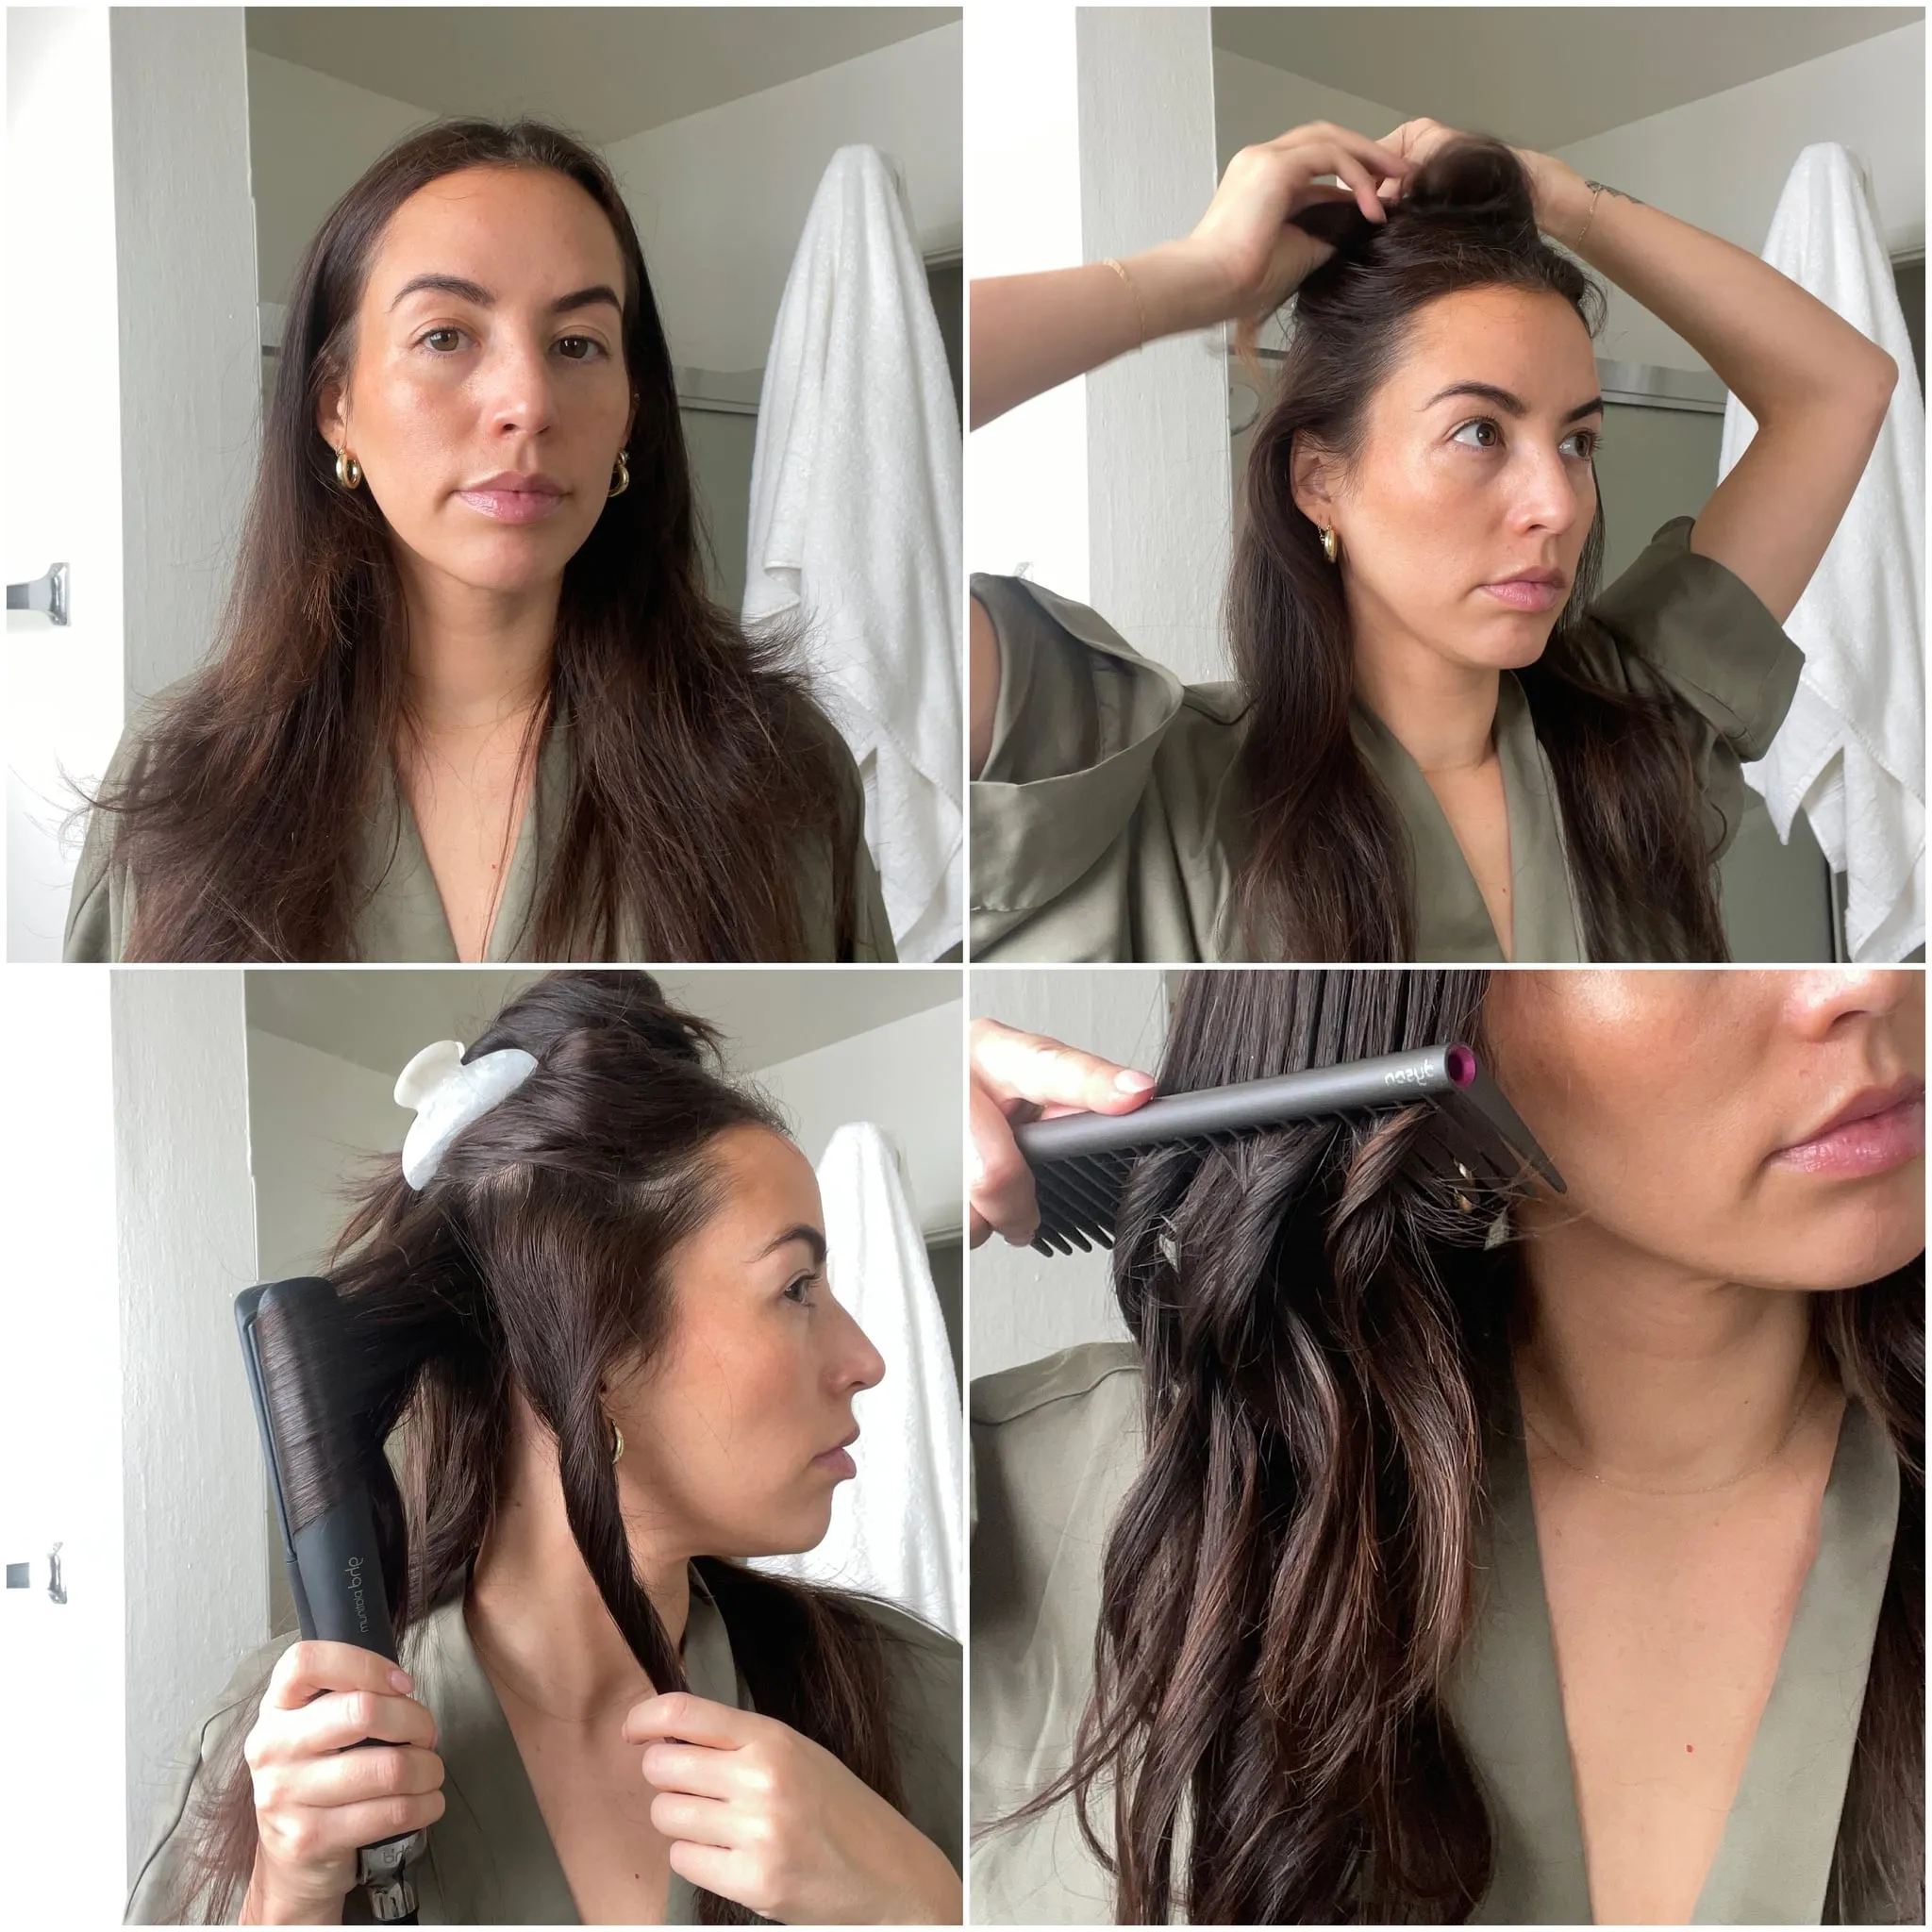
Preparing Your Hair for Curling
Before you dive into curling your hair with a flat iron, proper preparation is key to achieving those perfect waves. Here’s a quick checklist to ensure your hair is primed and ready:
- Start with Clean Hair: Wash your hair with a sulfate-free shampoo and conditioner. This helps remove any product buildup and keeps your curls looking fresh.
- Dry Your Hair Completely: Make sure your hair is 100% dry. Wet hair and flat irons are not a good combo; it can lead to damage. You can use a blow dryer or air dry your hair.
- Apply Heat Protectant: Always use a heat protectant spray. This creates a barrier between your hair and the heat, preventing damage. Look for products containing ingredients like argan oil or silk proteins.
- Detangle Your Hair: Use a wide-tooth comb or a brush to gently detangle your hair. This helps in getting even curls without any snags.
- Section Your Hair: Divide your hair into manageable sections. This makes it easier to curl and ensures that every strand gets its turn. Typically, 2-4 sections work well, depending on your hair thickness.
Taking these steps not only helps in achieving beautiful curls but also protects your hair from heat damage, leaving it healthier in the long run!
Also Read This: The Number of Socs at the Rumble in The Outsiders Movie Analysis
Step-by-Step Guide to Curling Your Hair with a Flat Iron
Curling your hair with a flat iron might seem intimidating at first, but follow these simple steps, and you’ll be on your way to fabulous waves!
- Heat Up Your Flat Iron: Set your flat iron to the appropriate temperature based on your hair type. For fine hair, aim for around 300°F, while thicker hair may need around 400°F.
- Take a Section: Grab a 1-inch section of hair from the bottom layer. The smaller the section, the tighter the curl will be.
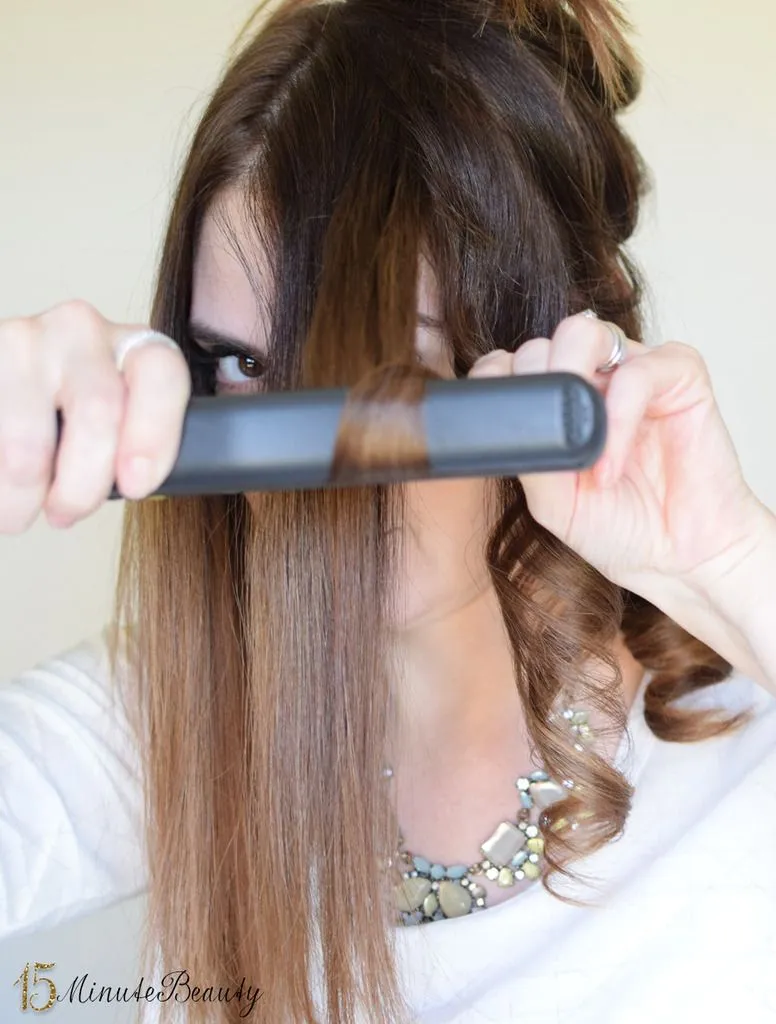
- Clamp and Twist: Place the flat iron close to the roots, clamp it down, and twist it away from your face about 180 degrees. This creates a beautiful, natural wave.
- Slide Down: Slowly glide the flat iron down the length of your hair while maintaining the twist. The key is to move steadily; too fast can leave your hair straight.
- Release the Curl: Open the flat iron and gently pull your hair out. If you want tighter curls, hold the curl in your hand for a few seconds before releasing.
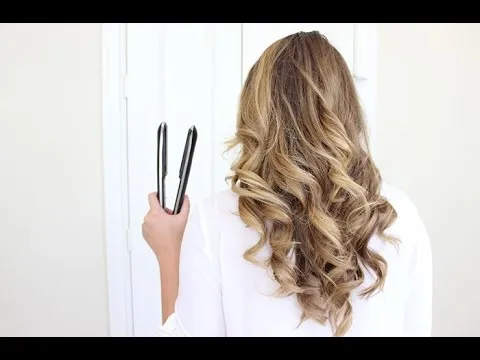
- Repeat: Continue this process for the rest of your hair, alternating the direction of curls for a more natural look.
Once you’re done, you can tousle your curls with your fingers for a beachy vibe and finish with a hairspray to hold the waves in place!
Also Read This: Understanding Alamy's Ownership and Its Implications
5. Tips for Achieving the Best Curls
When it comes to curling your hair with a flat iron, a few tricks can make all the difference. Here are some essential tips to help you achieve those perfect waves:
- Choose the Right Flat Iron: Make sure your flat iron has rounded edges. This design helps create smooth curls rather than sharp bends.
- Heat Settings Matter: Use a temperature that suits your hair type. For fine hair, a lower setting (around 300°F) is ideal, while thicker hair may require higher heat (up to 400°F). Always start low and adjust as necessary.
- Section Your Hair: Divide your hair into manageable sections (about 1-2 inches wide). This helps ensure even curls and makes the process much easier.
- Twist for Texture: As you clamp the flat iron down, twist it a quarter turn away from your face. This technique gives your curls a more natural look.
- Don’t Rush: Take your time! Allow each section to heat up for a few seconds before releasing it. This ensures the curl holds its shape.
- Use a Heat Protectant: Always apply a heat protectant spray before styling. It protects your hair from damage and helps your curls stay intact longer.
Also Read This: How to Post a Video on Dailymotion
6. Styling and Finishing Touches
Once you've mastered curling your hair with a flat iron, it’s time to add the finishing touches for that salon-fresh look. Here are some styling tips to elevate your waves:
- Allow Curls to Cool: After curling, let your hair cool completely before touching it. This helps set the curls and enhances their longevity.
- Finger Comb for Volume: Use your fingers to gently separate the curls for a more relaxed, beachy look. Avoid brushes, as they can lead to frizz.
- Use Hair Spray: Lightly mist a flexible hold hairspray over your curls to keep them in place without making them stiff.
- Add Shine: Finish with a shine serum or oil, applying it sparingly to avoid greasiness. This will give your waves a healthy, polished appearance.
- Experiment with Accessories: Consider adding hair accessories, like clips or headbands, to enhance your style. They can elevate the look, making it perfect for any occasion.
With these tips and finishing touches, you’ll have gorgeous waves that last all day!
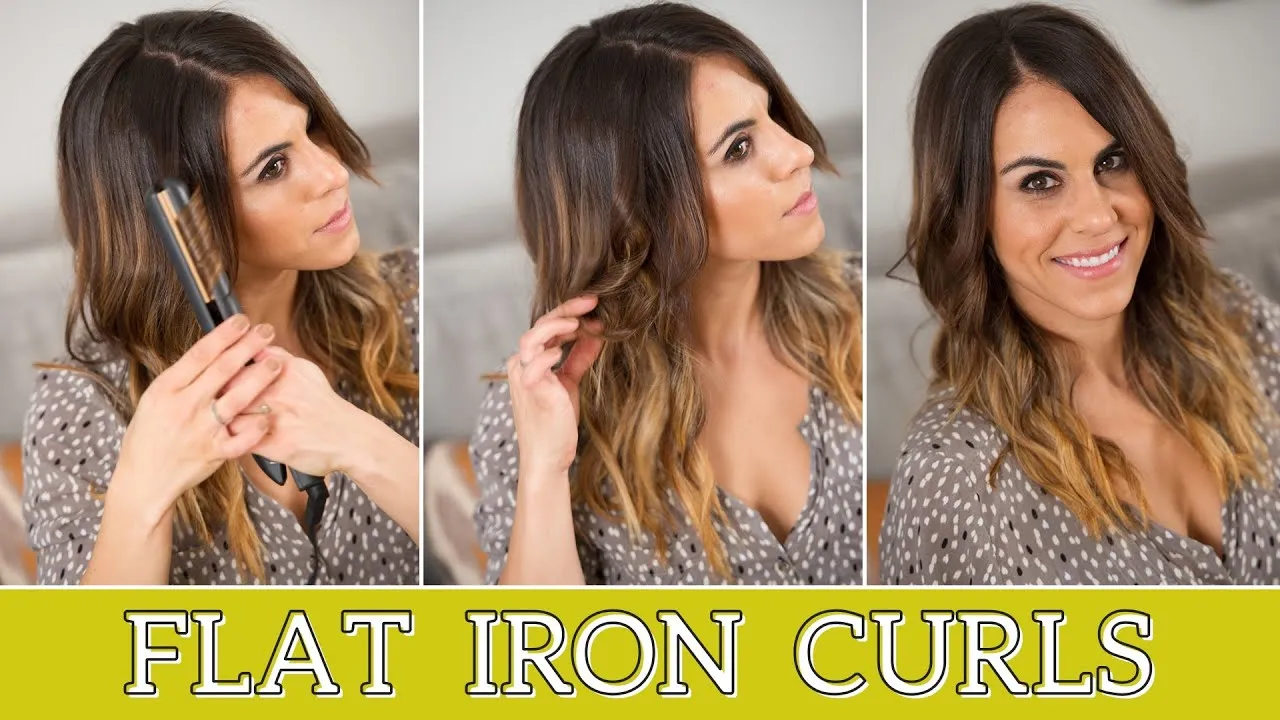
How to Curl Your Hair with a Flat Iron for Perfect Waves
Curling your hair with a flat iron can seem daunting, but it’s a skill worth mastering for beautiful, beachy waves. This method not only gives you stunning curls but also allows for versatility in your hairstyle. Here’s a detailed guide on how to achieve those perfect waves using a flat iron.
What You'll Need
- Flat Iron (preferably with rounded edges)
- Heat Protectant Spray
- Hair Clips
- Hairbrush or Comb
- Hair Spray or Texturizing Spray
Step-by-Step Instructions
- Prep Your Hair: Start with clean, dry hair. Apply a heat protectant spray to shield your hair from damage.
- Section Your Hair: Divide your hair into manageable sections using clips. This will make the curling process easier and more organized.
- Heat Up the Flat Iron: Set your flat iron to a suitable temperature based on your hair type (typically around 300°F for fine hair and 400°F for thick hair).
- Curling Technique:
- Take a 1-inch section of hair.
- Clamp the flat iron at the top of the section.
- Twist the iron away from your face and slowly pull it down to the ends.
- Repeat: Continue curling all sections of hair, alternating directions for a more natural look.
- Finish Off: Once all hair is curled, gently separate the waves with your fingers and apply hair spray or texturizing spray to set the style.
Tips for Best Results
| Hair Type | Temperature Setting |
|---|---|
| Fine Hair | 300°F |
| Medium Hair | 350°F |
| Thick Hair | 400°F |
With practice, curling your hair with a flat iron can become a quick and easy process. Not only will you achieve gorgeous, defined waves, but you'll also find that using a flat iron gives you the flexibility to create a variety of styles. Enjoy experimenting with different techniques and settings to find what works best for you!