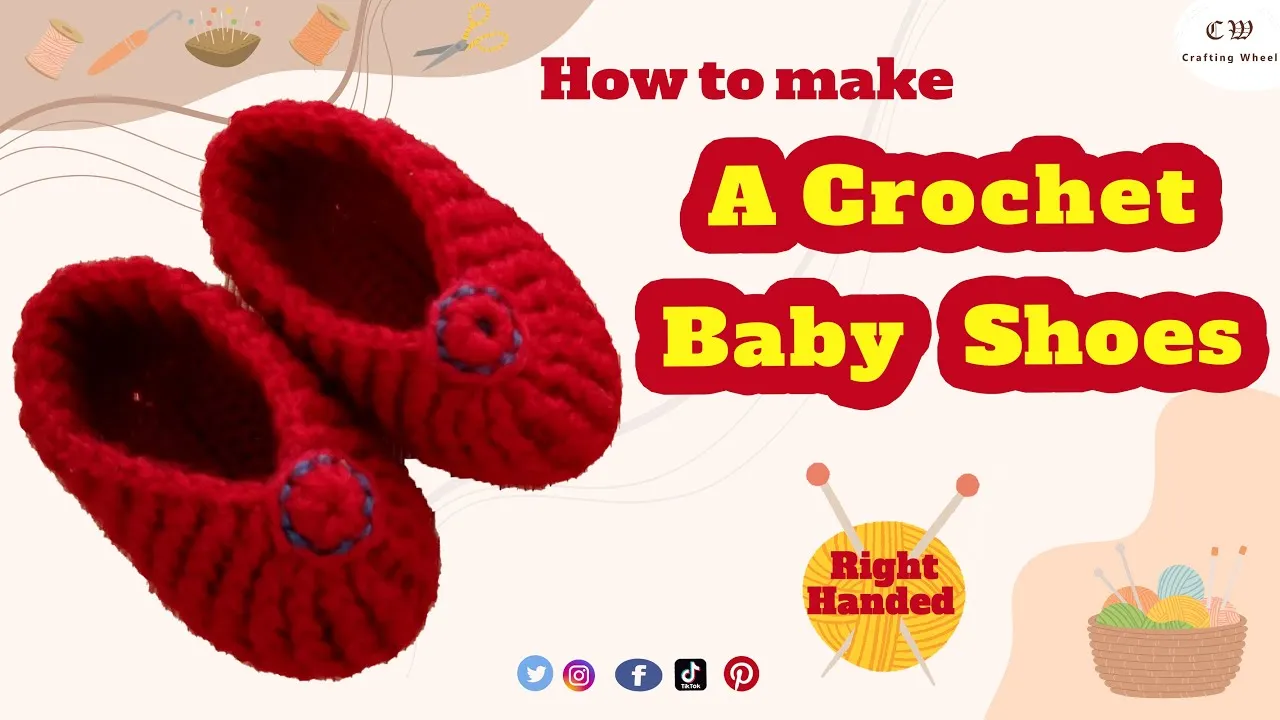
Welcome to the delightful world of crocheting baby shoes! If you’re a beginner looking to create something special for a little one, you’re in the right place. Crocheting baby shoes is not only a fun and rewarding project, but it also allows you to express your creativity while making a thoughtful gift. Imagine the joy on a parent’s face when they receive a pair of adorable, handmade shoes! In this guide, we’ll walk you through the basics of crocheting baby shoes, ensuring you have all the tips and tricks you need to succeed.
Materials Needed for Crocheting Baby Shoes
Before diving into your crochet project, it's essential to gather the right materials. Having everything ready will make the process smooth and enjoyable. Here’s a handy list of what you’ll need:
- Yarn: Choose soft, baby-friendly yarn. Cotton or acrylic blends work well. A light worsted weight is ideal.
- Crochet Hook: A size H (5mm) or I (5.5mm) hook is commonly used, but check your yarn label for recommendations.
- Scissors: For cutting your yarn at the end of your project.
- Tapestry Needle: Useful for weaving in ends and sewing pieces together.
- Stitch Markers: Helps keep track of your rounds or important stitches.
- Measuring Tape: To ensure the shoes fit perfectly.
Here’s a quick comparison of yarn types:
| Type | Pros | Cons |
|---|---|---|
| Cotton | Soft, breathable, easy to wash | Can be less stretchy |
| Acrylic | Durable, colorful, budget-friendly | Can be less breathable in warm weather |
With the right materials in hand, you are well on your way to creating adorable and cozy baby shoes. Let's get started on this lovely journey of crocheting!
Also Read This: Editing Text in Adobe Premiere Stock Videos to Enhance Your Projects
Basic Crochet Stitches to Get Started
Before you dive into crocheting adorable baby shoes, it's essential to familiarize yourself with a few basic crochet stitches. These stitches form the foundation of your project and will help you create beautiful patterns efficiently. Here’s a rundown of the most common stitches you’ll need:
- Chain Stitch (ch): This is the very first stitch you’ll learn. It involves making loops that serve as the base for your work. Simply yarn over and pull through the loop on your hook.
- Single Crochet (sc): A fundamental stitch that creates a tight and dense fabric. Insert your hook into the stitch, yarn over, pull through, yarn over again, and pull through both loops on your hook.
- Double Crochet (dc): This stitch gives a looser texture and adds height to your work. Yarn over, insert your hook, yarn over again to pull through, and continue pulling through the loops in stages.
- Slip Stitch (sl st): Great for joining stitches or moving to another part of your project without adding height. Simply insert your hook, yarn over, and pull through both the stitch and the loop on your hook.
These basic stitches will be your best friends as you work through your baby shoe project. With a little practice, you’ll be able to create stunning shoes that are both functional and cute!
Also Read This: Exploring Possible Venues for the Royal Rumble 2025
Step-by-Step Instructions for Crocheting Baby Shoes
Ready to start crafting those adorable baby shoes? Follow these simple step-by-step instructions, and you'll be well on your way:
- Gather Your Materials: You’ll need soft yarn, a suitable crochet hook (typically size G or H), scissors, and a yarn needle for weaving in ends.
- Make a Foundation Chain: Start by creating a slip knot and chaining 10 (or adjust according to your desired size).
- Row 1 – Single Crochet: Starting from the second chain from the hook, work a single crochet into each chain. You should have 9 single crochets at the end of the row.
- Row 2 – Increase: Chain 1, turn your work, and make two single crochets in the first stitch, then one single crochet in each remaining stitch. This will help shape the shoe.
- Rows 3-5 – Continue Stitching: Keep adding rows, alternating between single and double crochet as preferred, until you reach the desired height for the shoe.
- Creating the Sole: To make the sole, crochet a few more rows in the same manner, ensuring it’s wide enough to cover the bottom of the shoe.
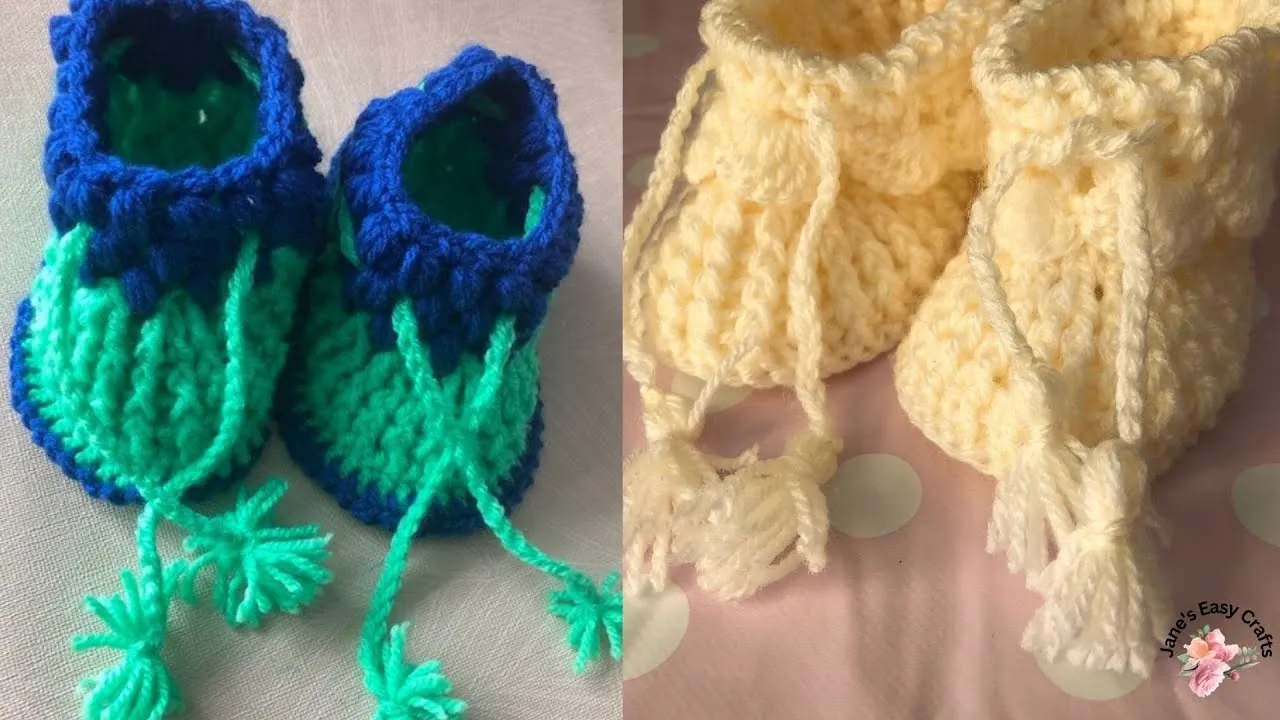
- Finishing Touches: Once you’ve reached your desired height, fasten off your yarn, weave in any loose ends, and consider adding embellishments like buttons or bows for a cute finish!
And there you have it! With these simple steps, you can create beautiful baby shoes that make perfect gifts or keepsakes. Happy crocheting!
Also Read This: How to Create a Front Puff on Dailymotion
5. Tips and Tricks for Successful Baby Shoes
Creating adorable baby shoes can be a delightful experience, especially when you follow a few expert tips and tricks to enhance your crocheting skills. Here are some handy suggestions to ensure your baby shoes turn out just right:
- Choose the Right Yarn: Opt for soft, breathable yarn that is gentle on a baby's delicate skin. Cotton or acrylic blends work wonderfully.
- Swatch Before You Start: Making a small swatch can help you gauge your tension and ensure your shoes will fit perfectly. It’s a quick step that can save you time later!
- Pay Attention to Gauge: Always check the pattern’s gauge. If you’re off, adjust your hook size accordingly. The right gauge ensures the shoes fit snugly but comfortably.
- Use Stitch Markers: These handy tools can help you keep track of your rounds and prevent mistakes. Place them in the first stitch of each round for easy identification.
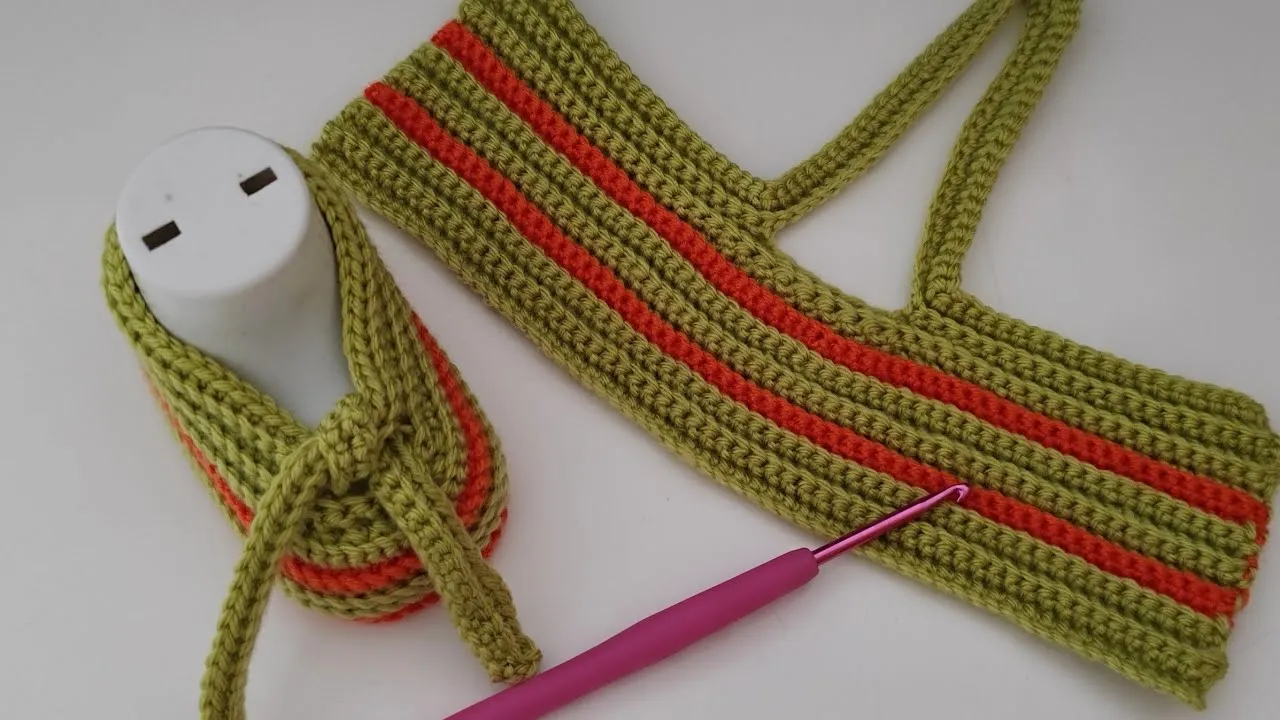
- Try Different Soles: Experimenting with sole patterns can add unique flair. A solid sole provides stability, while a textured one can enhance grip.
- Finish with Flair: Consider adding embellishments like buttons, bows, or flowers. These details not only personalize the shoes but also make them extra special.
Remember, the journey of crocheting baby shoes is just as important as the finished product. Enjoy the process and don’t hesitate to try new techniques!
Also Read This: How to Download a Project from Behance
6. Common Mistakes to Avoid When Crocheting
Crocheting baby shoes can be challenging, especially for beginners. Here are some common pitfalls to steer clear of, ensuring your project runs smoothly:
- Ignoring the Pattern: It's tempting to freestyle, but following the pattern closely is crucial for the right fit and design.
- Too Tight or Too Loose Stitches: Maintaining consistent tension is key. If your stitches are too tight, the shoes will be uncomfortable; too loose, and they may not hold shape.
- Not Counting Stitches: Losing track of your stitches can lead to uneven shapes. Always count as you go!
- Skipping the Blocking Step: Blocking helps shape your finished shoes and ensures they look polished. Don't skip this step, as it can make a significant difference.
- Forgetting to Weave in Ends: Leaving yarn ends can ruin the aesthetic. Take a moment to weave them in securely to finish your shoes neatly.
- Not Trying Them On: If possible, try the shoes on a baby’s foot before finishing. This allows for adjustments to size and fit if necessary.
Avoiding these common mistakes will help you create beautiful, well-fitting baby shoes that you'll be proud of. Happy crocheting!
How to Crochet Baby Shoes - A Simple Dailymotion Guide for Beginners
Crocheting baby shoes is a delightful and rewarding project for beginners. Not only do these tiny shoes make perfect gifts for newborns, but they also allow you to practice your crochet skills. This guide will walk you through the basic steps needed to create adorable baby shoes, with an emphasis on easy-to-follow instructions and helpful resources.
Materials Needed
- Yarn: Choose a soft, baby-friendly yarn (preferably cotton or acrylic).
- Crochet Hook: A size suitable for your chosen yarn (typically 3.5mm to 5mm).
- Scissors: For cutting the yarn.
- Tapestry Needle: To weave in loose ends.
- Measuring Tape: To ensure the right size.
Basic Steps to Crochet Baby Shoes
- Choose a Pattern: Look for beginner-friendly patterns online or on Dailymotion videos.
- Make the Sole: Start by crocheting a flat oval shape, which forms the sole of the shoe.
- Create the Body: Work up from the sole, using stitches that create a snug fit around the foot.
- Add a Closure: Incorporate a button or a strap for easy wearing.
- Finishing Touches: Weave in loose ends and add embellishments, like bows or flowers, if desired.
Helpful Tips
| Tip | Description |
|---|---|
| Practice Basic Stitches | Before starting, familiarize yourself with basic crochet stitches like chains, single crochet, and double crochet. |
| Watch Tutorials | Use Dailymotion to find video tutorials that visually guide you through the process. |
| Check Sizing | Measure the baby’s foot to ensure the shoes are the correct size. Adjust your pattern accordingly. |
In conclusion, crocheting baby shoes is a fun and practical way to express your creativity while making something special for a little one. With the right materials, a good pattern, and a bit of practice, you can create charming and personalized footwear that will be cherished by parents and babies alike.