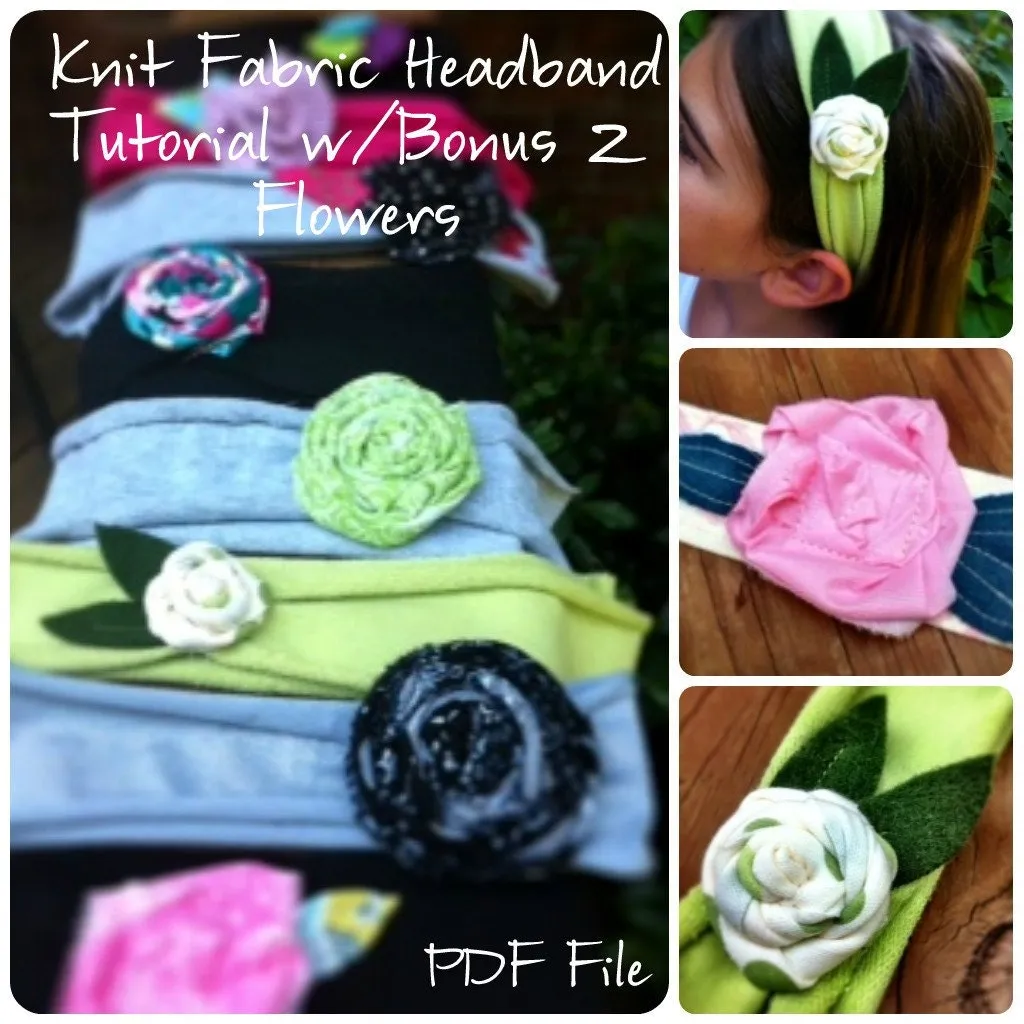
Creating fabric flowers for headbands is a delightful and creative project that can add a personal touch to your accessories. Whether you're looking to make a beautiful gift or simply want to accessorize your outfit, fabric flowers are a fun and versatile option. This DIY project allows you to experiment with different fabrics, colors, and styles, making each flower unique. Plus, it's a great way to use up scrap fabric you may have lying around. So, let’s dive into what you’ll need to get started on this crafty adventure!
Materials Needed
Before you begin your fabric flower-making journey, it’s essential to gather all the necessary materials. Here’s a handy list to ensure you’ve got everything you need:
- Fabric: Choose a variety of fabrics like cotton, felt, or chiffon. Different textures can create interesting effects!
- Scissors: A good pair of fabric scissors will make cutting much easier.
- Hot glue gun: This will be your best friend for attaching your flower pieces together.
- Headband: You can use a plain fabric headband or a plastic one, depending on your preference.
- Needle and thread: For extra durability, you might want to sew some pieces together instead of just gluing.
- Button or embellishments: A cute button in the center of your flower can add a nice finishing touch!
- Measuring tape or ruler: Helpful for cutting uniform petals.
- Chalk or fabric marker: Use this to mark your fabric before cutting.
Once you have all these materials ready, you’re set to start crafting your stunning fabric flowers. Each piece you create will not only reflect your unique style but also give you a sense of accomplishment. Let’s get crafting!
Also Read This: Streaming YouTube Content on Your Sonos System
Step-by-Step Instructions
Creating fabric flowers for headbands can be a fun and rewarding project! Let’s get into the nitty-gritty of how to make your own stunning fabric flowers. Just follow these simple steps:
- Gather Your Materials: You will need:
- Fabric (cotton, silk, or felt work well)
- Scissors
- Hot glue gun and glue sticks
- Flower templates or patterns
- Headband base (plain or embellished)
- Beads or buttons (for embellishment)
And there you have it! A beautiful fabric flower ready to brighten up your headband.
Also Read This: How Much Is Shutterstock Extended License
Tips for Crafting Perfect Fabric Flowers
Crafting fabric flowers is all about creativity and experimentation. Here are some handy tips to help you create the perfect bloom for your headbands:
- Choose the Right Fabric: Different fabrics give different results. For a soft, delicate flower, opt for silk or chiffon. For sturdier flowers, cotton or felt works best.
- Mix and Match Colors: Don’t be afraid to combine various colors and patterns. Layering different fabrics can add dimension and interest to your flowers.
- Experiment with Sizes: Vary the sizes of your petals to create a more dynamic and full flower. Remember, nature isn’t uniform, so neither should your flowers be!
- Practice Your Technique: If you’re new to crafting, don’t be discouraged if your first few flowers don’t turn out perfectly. Keep practicing, and you’ll improve over time!
- Use a Variety of Shapes: Instead of sticking to traditional petal shapes, try experimenting with scalloped edges or even freehand shapes. This adds uniqueness to your creations.
- Finish with a Personal Touch: Adding your personal flair can make your flower even more special. Consider using embellishments that reflect your style, like vintage buttons or trendy beads.
With these tips in mind, you’re well on your way to creating stunning fabric flowers that will make your headbands stand out beautifully!
Also Read This: Effective Strategies for Removing iStock Watermarks from Videos
5. How to Attach Flowers to Headbands
Attaching your beautiful fabric flowers to headbands is the moment where all your hard work really comes together. It’s quite simple, and there are several methods you can use depending on the look you want and what materials you have on hand. Let’s dive into some popular techniques!
- Hot Glue: This is the most straightforward method. Just apply a generous amount of hot glue to the back of the flower and press it firmly onto the headband. Make sure to hold it in place for a few seconds until the glue sets.
- Needle and Thread: If you’re looking for a more secure attachment, sewing the flowers onto the headband is a great option. Use a needle and thread to stitch through the base of the flower and into the headband. This method allows for more durability, especially if you plan to wear your headband often.
- Hair Clips: Another fun way to attach flowers is to use hair clips. Just glue or sew your flowers onto a hair clip, which you can then easily snap onto the headband. This allows for versatility, as you can change out the flowers based on your outfit or mood!
- Elastic Bands: For a playful twist, you can create a flower cluster on an elastic band. Simply attach several flowers in a bunch and then secure the entire assembly onto the elastic. This method is perfect for a more casual, bohemian vibe.
Whichever method you choose, just make sure your attachment is secure, especially if you plan on wearing your headband for an extended period. Happy crafting!
Also Read This: How to Download from Behance
6. Variations and Customization Ideas
Creating fabric flowers for headbands is a delightful process, and the fun doesn’t stop at just making them! There are endless ways to customize and vary your creations to suit your personal style or the occasion. Here are some exciting ideas to inspire your next project:
| Customization Idea | Description |
|---|---|
| Fabric Choice: | Experiment with different fabrics such as cotton, lace, or felt. Each material brings a unique texture and look to your flowers. |
| Color Schemes: | Choose colors that match your outfit or go for seasonal themes—pastels for spring, warm tones for fall, or bright hues for summer. |
| Flower Types: | Try making various types of flowers like roses, daisies, or peonies. Mixing flower types can create a stunning floral arrangement on your headband. |
| Embellishments: | Add beads, sequins, or rhinestones to your flowers for some sparkle. You can also use buttons or vintage brooches for a unique touch. |
| Layering: | Layer different sizes of flowers together for a more dramatic effect. This adds depth and interest to your headband. |
Remember, the key is to have fun and let your creativity shine! There are no wrong choices in crafting, so mix and match ideas until you find the perfect combination that reflects your personality. Happy customizing!
How to Create Fabric Flowers for Headbands
Creating fabric flowers for headbands is a fun and creative project that can add a personal touch to your accessories. These flowers can be made from various types of fabric and can be customized to match any outfit. Follow these simple steps to make your own fabric flowers for headbands.
Materials Needed
- Fabric (cotton, felt, or any other material of your choice)
- Scissors
- Hot glue gun and glue sticks
- Headband (plain or embellished)
- Button or bead (for the center of the flower)
- Needle and thread (optional for added detail)
Steps to Create Fabric Flowers
- Cut the Fabric: Cut several circles of fabric in varying sizes. A good starting point is to have 3-5 circles of different diameters (e.g., 2", 3", 4").
- Shape the Petals: Take each circle and fold it in half, then in half again to create a petal shape. You can round off the edges for a softer look.
- Layer the Petals: Start layering the petals from the largest at the bottom to the smallest on top. Use hot glue to secure each layer as you build your flower.
- Add the Center: Glue a button or bead in the center of the flower to give it a finished look.
- Attach to Headband: Using hot glue, attach the completed flower to the headband. Allow to dry completely before wearing.
Tips for Success
Experiment: Try different fabric types, colors, and patterns to create unique designs.
Mix and Match: Combine different flower styles and sizes for a more eclectic look.
Creating fabric flowers for headbands is a delightful way to express your creativity and make personalized accessories. Not only do these flowers enhance your style, but they also make for thoughtful gifts for friends and family.