Creating engaging animations for your Behance portfolio can elevate your work and showcase your skills in a dynamic way. Behance is a platform that thrives on creativity, and animations can help you stand out in a sea of static images. By incorporating animations, you’re not just displaying your work; you’re telling a story and capturing the attention of potential clients and collaborators. In this post, we’ll dive into the essentials of creating captivating animations that will make your
Choosing the Right Animation Tools
When it comes to creating animations, the tools you choose can make all the difference. Here’s a rundown of some popular animation tools that cater to different skill levels and project requirements:
- Adobe After Effects: This industry-standard software is perfect for motion graphics and visual effects. Its vast array of features allows for intricate animations, making it ideal for professionals.
- Adobe Animate: If you’re looking to create vector animations, Adobe Animate is a great option. It’s user-friendly and offers a timeline and layer system that’s easy to navigate.
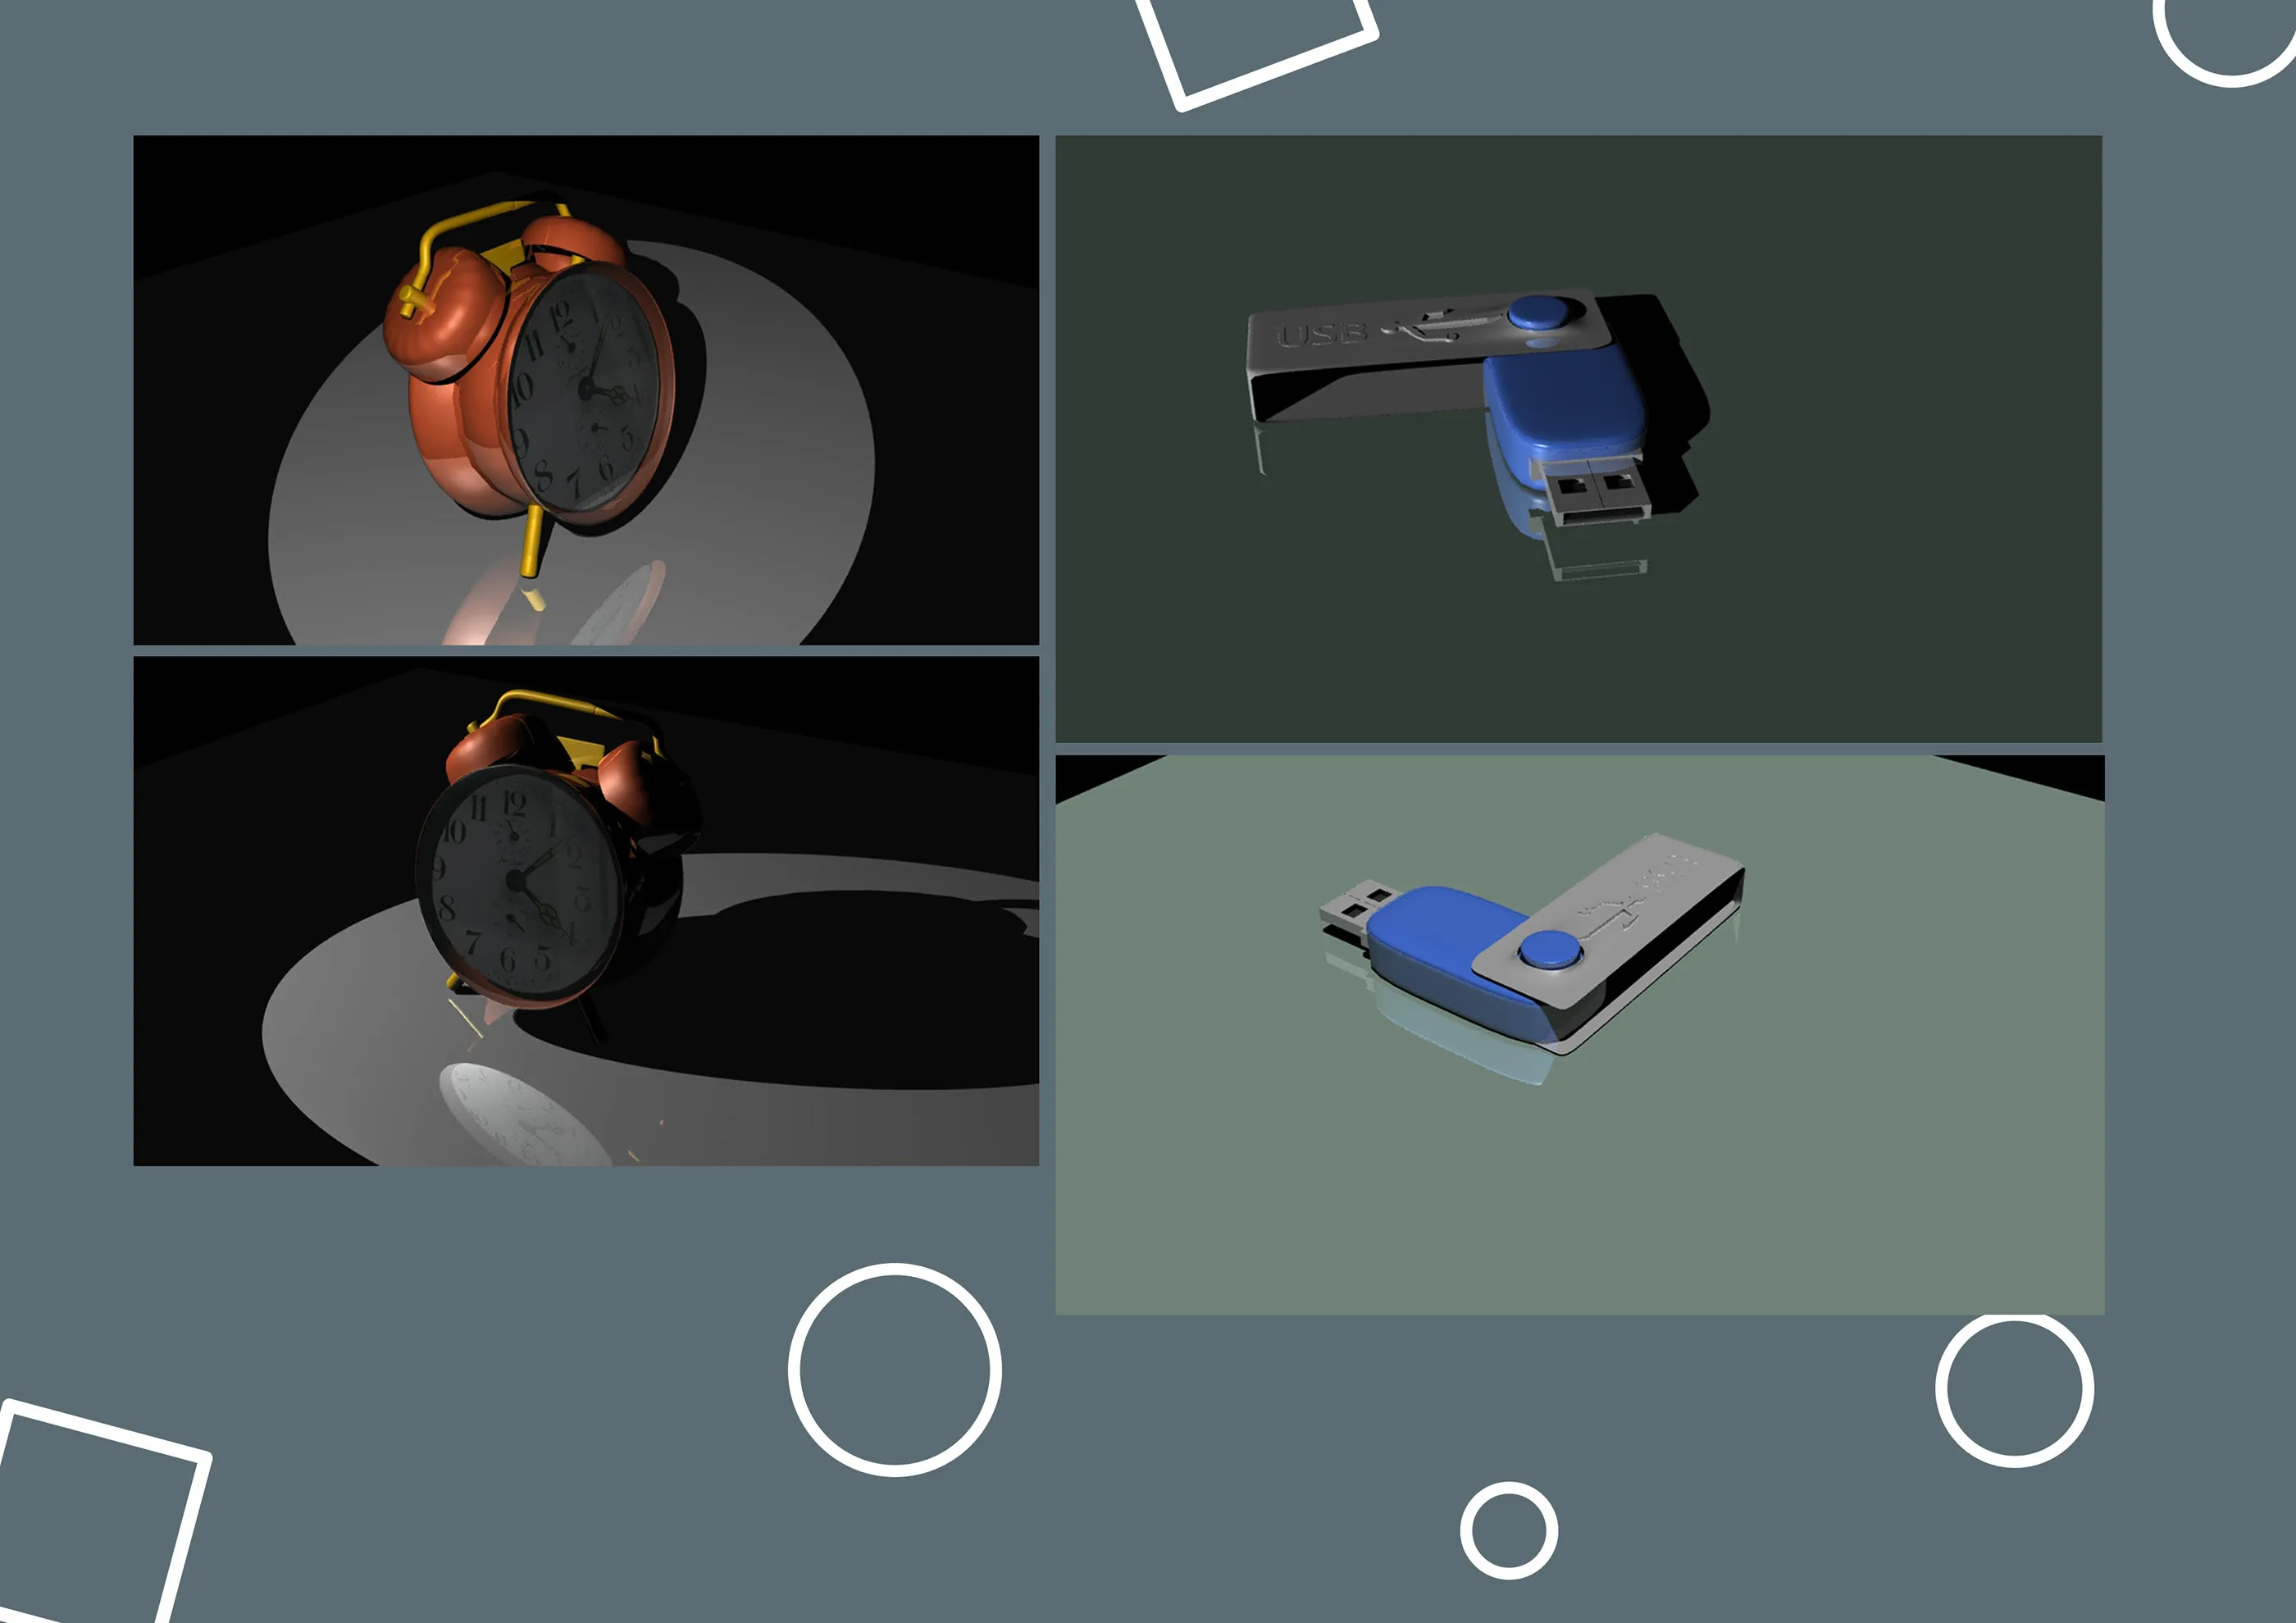
- Blender: For those interested in 3D animations, Blender is a fantastic free tool. It may have a steeper learning curve, but it’s incredibly powerful for creating stunning visuals.
- Procreate: If you're an iPad user, Procreate offers a simple way to create frame-by-frame animations. It’s perfect for illustrators who want to add a bit of movement to their artwork.
- Canva: For beginners, Canva’s animation features are straightforward and accessible. You can easily animate text and images for quick, engaging content.
When selecting the right tool, consider your goals, the complexity of the animation, and your existing skills. Each tool offers unique benefits, so take some time to explore and find the one that best fits your creative vision!
Also Read This: Inviting Friends to My Hero Ultra Rumble Explained
Steps to Create Animated Content
Creating engaging animations for your Behance portfolio is an exciting journey! It involves a blend of creativity, technical skills, and an understanding of your audience. Here’s a step-by-step guide to help you get started:
- Define Your Concept: Start with a clear idea. What message do you want to convey? Sketch out your ideas or create a mood board to visualize your thoughts.
- Choose Your Tools: Depending on your skill level and the type of animation, select the right software. Popular options include:
- Adobe After Effects
- Blender
- Toonly
- Procreate (for frame-by-frame animations)
- Create a Storyboard: Plan out your animation scene by scene. This will serve as a blueprint and help you visualize the flow of your animation.
- Design Your Assets: Create the graphics or characters you'll be animating. Make sure they are visually appealing and aligned with your concept.
- Animate: Bring your assets to life! Use keyframes and motion paths to create smooth transitions. Don’t forget to add timing and pacing to keep your viewers engaged.
- Sound Design: Consider adding sound effects or background music to enhance the emotional impact of your animation. Just ensure you have the rights to any audio you use.
- Review and Finalize: Watch your animation multiple times. Look for any inconsistencies or areas for improvement. Make necessary edits to ensure a polished final product.
With these steps in mind, you can create animations that not only showcase your skills but also captivate your audience!
Also Read This: Complete Guide to Viewing Adult Content on Dailymotion for Mature Audiences
Uploading Your Animation to Behance
Once you've created your stunning animation, the next step is sharing it with the world on Behance! This platform is perfect for showcasing your work, but there are a few things to keep in mind when uploading your animation:
- Export Your Animation: First, export your animation in a supported format. Common formats include .MP4, .MOV, or .GIF. Make sure the quality is high enough to showcase your work effectively.
- Create a Project: Log in to your Behance account and click on the “Create a Project” button. This is where your animation will live.
- Add a Cover Image: Choose an eye-catching cover image that represents your animation. This is the first thing viewers will see, so make it count!
- Upload Your Animation: Click on the "Add Media" button to upload your animation file. Make sure to give it some time to upload properly, especially if it’s a large file.
- Write a Description: Craft a brief description that explains the concept behind your animation. This is a great opportunity to engage with your audience and provide context about your work.
- Tags and Categories: Use relevant tags and select appropriate categories so that your project is discoverable by others. Think about what keywords your target audience might search for.
- Publish: Once everything looks good, hit the “Publish” button! Share your project on social media to attract more viewers and feedback.
By following these steps, you’ll not only have a polished animation but also a well-presented project on Behance that can truly engage your audience!
Also Read This: How to Sign Up for Getty Images to Submit Photos
5. Tips for Showcasing Your Animated Projects
When it comes to showcasing your animated projects on Behance, the presentation can make all the difference. Here are some tips to ensure your animations grab attention and keep viewers engaged:
- Choose the Right Thumbnail: Your thumbnail is the first thing potential viewers will see. Make it eye-catching! Use a frame from your animation that highlights its best feature or a striking color palette.
- Write a Compelling Description: Don’t just list technical details; tell a story. Explain the concept behind the animation, the challenges you faced, and your creative process. This adds depth and invites viewers into your world.
- Use High-Quality Video: Always upload the best quality version of your animation. A crisp, clear video allows viewers to appreciate the details you’ve worked hard on.
- Break it Down: If the animation is complex, consider creating a breakdown video. This can show your process, from sketching and storyboarding to final animation. It helps viewers understand the effort and skill involved.
- Engage with Your Audience: Respond to comments and feedback on your projects. This interaction can build a community around your work and encourage others to share your animations.
Remember, showcasing your work isn’t just about the visuals; it’s about creating a narrative that resonates with your audience.
6. Conclusion and Next Steps
Creating engaging animations for your Behance portfolio is an exciting journey! As you wrap up your project, here are a few concluding thoughts and next steps to keep your momentum going:
- Review and Reflect: Take a moment to look back at your animation. What worked well? What could be improved? This reflection is key to growth.
- Expand Your Skillset: Consider learning new animation techniques or tools that can enhance your work. Online courses and tutorials can be a great way to discover new styles and methods.
- Network with Other Creatives: Join communities or forums related to animation. Sharing your work and getting feedback from fellow creatives can be invaluable.
- Update Regularly: Keep your Behance portfolio fresh. Regular updates with new projects show that you’re active and evolving as an artist.
- Promote Your Work: Utilize social media to share your Behance projects. Creating buzz around your animations can help attract a larger audience.
By following these steps, you’ll not only enhance your portfolio but also grow as an animator. Now, go out there and let your creativity shine!