Pop up cards are a delightful twist on traditional greeting cards that add an element of surprise and creativity. Imagine the joy on a loved one’s face when they open a card and a beautiful, three-dimensional design springs to life! These cards can be tailored for any occasion, from birthdays to holidays, and they're a fantastic way to express your feelings in a unique way. Plus, making pop up cards is not just for the seasoned crafter; it’s an enjoyable project for anyone, regardless of skill level. In this guide, we’ll walk you through the fun world of pop up card creation!
Materials Needed for Making Pop Up Cards
Creating your own pop up card is an exciting project that requires just a few basic materials. Here’s a handy list to get you started:
- Cardstock: Choose a sturdy cardstock in your favorite colors. This will be the base of your card.
- Scissors: A good pair of scissors will help you cut intricate designs. Alternatively, you could use a craft knife for more precision.
- Glue: A strong adhesive, such as PVA glue or a glue stick, will hold your designs in place.
- Ruler: For measuring and ensuring your folds are even.
- Pencil: Use a pencil to sketch out your designs before cutting.
- Decorative materials: Stickers, markers, or washi tape can add flair to your card!
- Bone folder: This tool helps create crisp folds, making your card look professional.
With these materials in hand, you're ready to unleash your creativity and start crafting beautiful pop up cards that will surely impress anyone who receives them!
Also Read This: How to Add a Watermark to Your Photos in ShootProof
Step-by-Step Guide to Creating Your First Pop Up Card
Creating your first pop-up card can be an exciting journey into the world of creative card making. Grab your supplies, and let’s get started! Here’s a simple guide to help you through the process:
- Gather Your Materials: You’ll need cardstock, scissors, a craft knife, a ruler, a pencil, and glue. Optional items include markers, stickers, and decorative paper to jazz up your design.
- Choose Your Card Size: A standard size is 5x7 inches, but feel free to customize! Cut a piece of cardstock to your desired dimensions for the card base.
- Design the Pop-Up Mechanism: This is where the magic happens! Cut a rectangle out of a separate piece of cardstock (around 4x2 inches). Fold it in half; this will be your pop-up element. You can create shapes like hearts or flowers to make it visually appealing.
- Attach the Pop-Up: Open your card base and make two small cuts along the fold of the pop-up mechanism, about an inch apart. Slide the ends of the pop-up through these cuts and secure them with glue.
- Decorate the Card: Now comes the fun part! Use markers, stickers, and decorative paper to personalize your card. Think about the occasion and write a heartfelt message inside.
- Final Touches: Allow the glue to dry completely. Once it’s secure, your pop-up card is ready to be gifted!
Remember, practice makes perfect! Don’t be afraid to experiment with different shapes and designs as you gain confidence.
Also Read This: Who Will Be Attending VidCon 2024? A Sneak Peek
Design Ideas for Pop Up Cards
When it comes to pop-up cards, the design possibilities are endless! Here are some fun and creative ideas to inspire your next project:
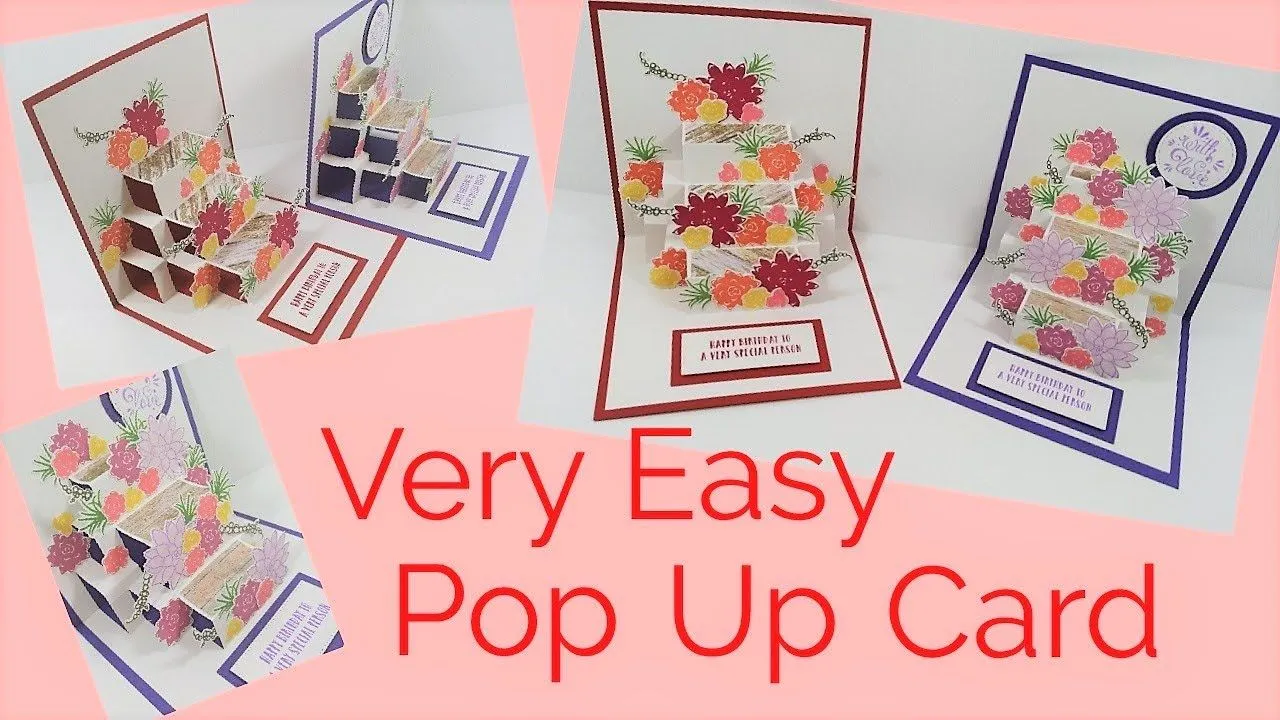
- Floral Explosion: Create a beautiful bouquet of flowers that springs up when the card is opened. Use different colored paper for each flower and layer them for a 3D effect.
- Birthday Cake: Design a pop-up birthday cake with layers. Add small cut-out candles that can be placed on top, making it a festive surprise!
- Animal Theme: Craft adorable animals like puppies or kittens that pop up with a simple mechanism. Use bright colors to make them stand out.
- Travel Memories: Create a pop-up card that showcases a famous landmark, like the Eiffel Tower or the Statue of Liberty. It’s perfect for travel lovers!
- Seasonal Fun: Design cards for different seasons, like snowflakes for winter or leaves for autumn. Change up the colors and shapes based on the time of year.
Feeling bold? Try combining different elements from these ideas to make a unique creation! The key is to let your imagination run wild and have fun with it.
Also Read This: Review Your Year with Canva Year in Review Template
Common Mistakes to Avoid When Making Pop Up Cards
Creating pop-up cards can be a delightful experience, but it's easy to trip up if you're not careful. Here are some common mistakes to steer clear of:
- Skipping the Planning Phase: Jumping straight into cutting and folding can lead to chaos. Always sketch your design first.
- Using Poor Quality Materials: Thin paper can tear easily, and glue that’s not strong enough can ruin your card. Invest in quality supplies for a polished finish.
- Incorrect Measurements: Precision is key! Double-check your dimensions to ensure everything fits together seamlessly. Even a tiny error can throw off the entire card.
- Neglecting the Base: The base of the card is crucial. If it’s not sturdy enough, your pop-up elements may struggle to stand upright.
- Forgetting About Movement: Make sure your pop-up elements can move freely. If they’re too close to the edges, they might get stuck.
- Overcomplicating Designs: While it’s tempting to go all out, sometimes simpler is better. Complex designs can be frustrating and might not have the desired impact.
By being mindful of these common pitfalls, you can save time and enhance the joy of creating your pop-up cards!
Also Read This: How to Effectively Communicate with Recruiters on LinkedIn
Tips for Personalizing Your Pop Up Cards
Adding a personal touch to your pop-up cards makes them truly special. Here are some tips to help you personalize your creations:
- Choose Themes that Reflect the Recipient: Consider the interests and hobbies of the person receiving the card. A music lover might appreciate a guitar pop-up, while a nature enthusiast would love a blooming flower.
- Incorporate Personal Messages: Handwritten notes add warmth. Include heartfelt messages or inside jokes that will make the recipient smile.
- Use Photos or Drawings: Incorporate personal photos or hand-drawn illustrations related to shared memories. This adds a unique touch that’s hard to replicate.
- Experiment with Colors: Select colors that resonate with the recipient. Their favorite color or seasonal shades can enhance the card's appeal.
- Include Interactive Elements: Consider adding pull tabs or sliders that reveal secret messages or additional images. This adds an element of surprise!
Personalizing your pop-up cards not only showcases your creativity but also shows your thoughtfulness. These little details can turn an ordinary card into a heartfelt treasure!
Also Read This: Central Purpose of Fortiguard Downloader Labs
7. Where to Share Your Pop Up Card Creations
Once you've crafted your beautiful pop-up cards, the next exciting step is sharing them with the world! There are numerous platforms and communities eager to appreciate your creativity. Here are some popular options:
- Social Media: Platforms like Instagram, Pinterest, and Facebook are perfect for showcasing your creations. Use hashtags like #PopUpCards and #CardMaking to reach a wider audience.
- Crafting Blogs: Consider writing a guest post on a crafting blog. Share your process, tips, and include photos of your projects to inspire others.
- Online Craft Communities: Websites like Reddit (in subreddits like r/handmade or r/crafts) and forums like Splitcoaststampers are great places to share and get feedback.
- Craft Fairs and Local Events: Participate in local crafting events or fairs. It’s a fantastic way to meet fellow crafters and showcase your work in person.
- YouTube Tutorials: If you’re comfortable with video, consider creating a tutorial to share your techniques. This helps others learn while giving your cards more visibility.
Engaging with others in the crafting community not only helps you share your work but also allows you to learn and grow as a creator!
8. Conclusion and Encouragement to Get Crafting
In conclusion, making pop-up cards is a delightful way to express your creativity, and the best part? It’s easier than you might think! With just a few materials and a sprinkle of imagination, you can create cards that truly stand out. Whether for birthdays, holidays, or just to say "I care," pop-up cards add a personal touch that recipients will cherish.
So, what are you waiting for? Grab your scissors, some colorful paper, and start crafting! Remember, the more you practice, the better you’ll get. Don’t hesitate to experiment with different designs and materials—every creation is a step towards mastering your craft.
Lastly, share your journey! The crafting community is full of kindred spirits who love to celebrate creativity. Happy crafting!