Creating DIY birthday invitation cards at home is a fun and rewarding experience! Not only do you get to express your creativity, but you also save some money while adding a personal touch to your invitations. Whether you’re planning a grand celebration or a cozy gathering, handmade cards make your guests feel extra special. Let’s dive into this creative journey together and learn how to craft your unique birthday invitations that will surely impress everyone!
Materials Needed
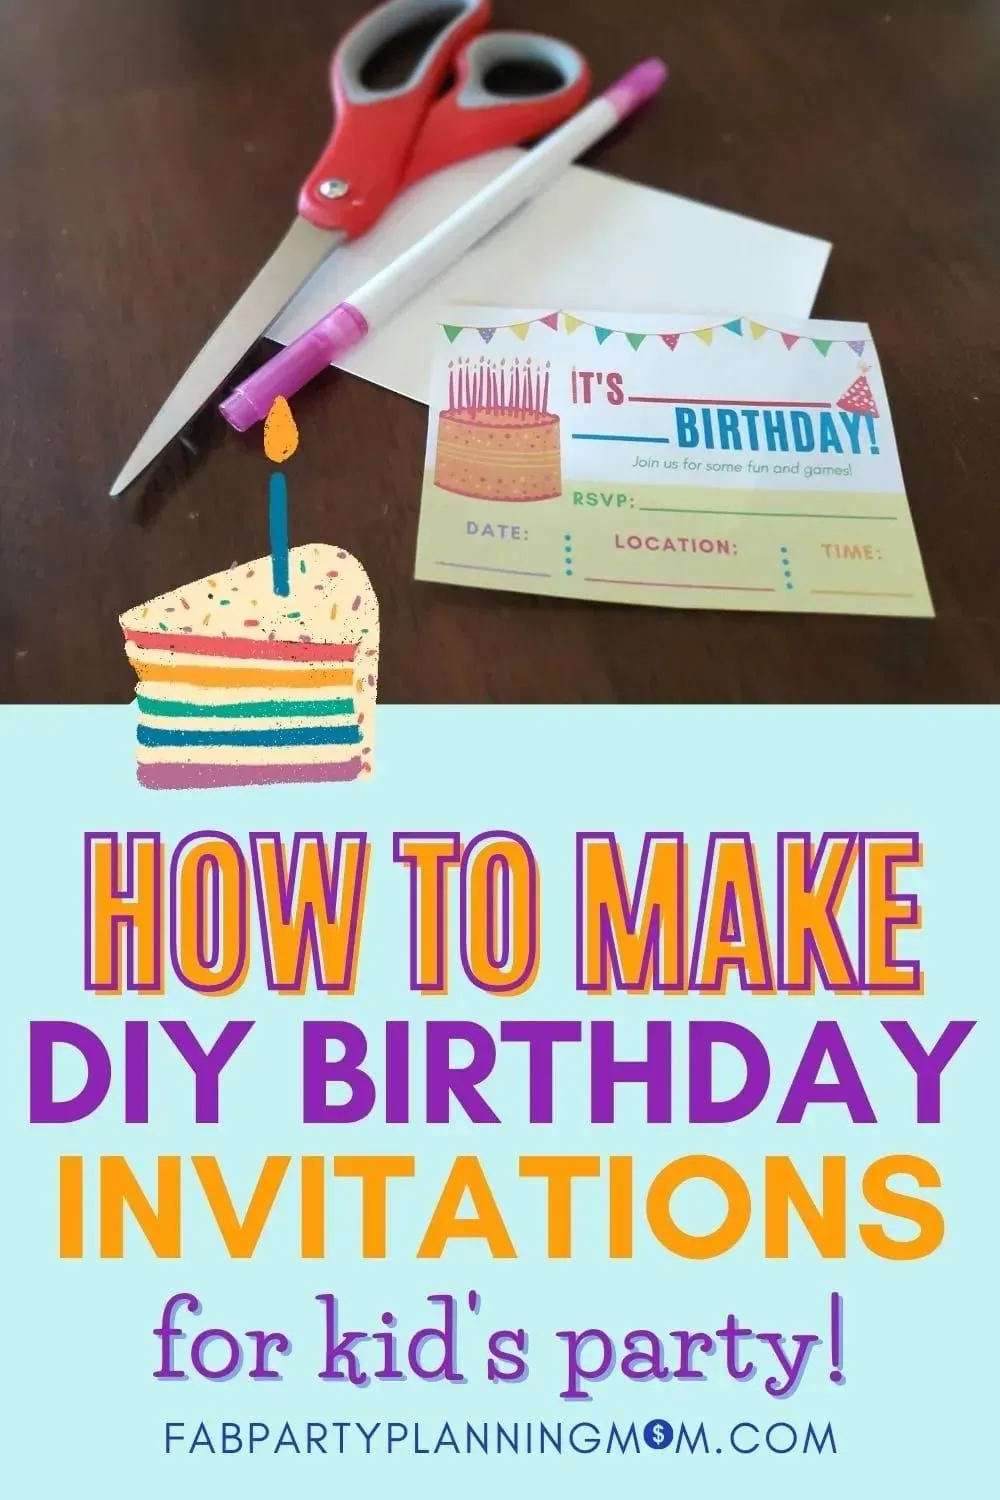
Before you embark on your DIY birthday invitation journey, it’s essential to gather all the materials you’ll need. Here’s a comprehensive list to help you get started:
- Cardstock Paper: Choose a sturdy cardstock for the base of your invitations. You can opt for classic white or any color that matches your party theme.
- Markers and Pens: Use colorful markers or gel pens to write the invitation details. Consider metallic or glitter pens for a touch of sparkle!
- Scissors: A good pair of scissors is vital for cutting your paper into the desired shapes.
- Glue or Double-Sided Tape: These will help adhere any embellishments or additional layers to your invitations.
- Decorative Items: Think stickers, washi tape, ribbons, or even dried flowers to jazz up your cards.
- Templates: Have some design templates ready (you can find them online) to inspire your card layout.
- Envelopes: Don’t forget to get matching envelopes to send your beautiful creations!
With these materials on hand, you're all set to unleash your creativity and craft some delightful birthday invitation cards that reflect your unique style!
Also Read This: How to Make Chocolate Chips at Home with Simple DIY Steps
Choosing a Design
When it comes to creating DIY birthday invitation cards, the design is key! It's the first impression your guests will have, so let's make it memorable. Here are some factors to consider when choosing your design:
- Theme: Think about the birthday person's interests. Are they into superheroes, princesses, or perhaps a favorite color scheme? A cohesive theme can tie everything together.
- Color Palette: Choose colors that resonate with the birthday personality. For a vibrant feel, consider bright hues like turquoise and fuchsia. If you prefer something elegant, opt for pastels or metallics.
- Layout: Decide whether you want a traditional card or a fun foldable one. A simple rectangular card can fit within an envelope, while a creative pop-up card can surprise your guests!
Once you have a theme in mind, sketch out a few ideas. You can use online platforms like Canva or Adobe Spark, which offer free templates that can be customized. Or grab some colored pencils and paper to doodle your design manually! Remember, your design should reflect the essence of the celebration and be visually appealing.
Also Read This: How to Purchase a Photo Through Shutterstock and What to Know
Step-by-Step Instructions
Now that you've settled on a design, let’s dive into the step-by-step process of creating your DIY birthday invitation cards!
- Gather Your Materials: You’ll need:
- Cardstock or thick paper
- Scissors
- Glue or double-sided tape
- Markers or colored pencils
- Stickers or embellishments (optional)
| Detail | Information |
|---|---|
| Name: | Emma's 10th Birthday Bash! |
| Date: | Saturday, June 5th |
| Time: | 2 PM - 5 PM |
| Location: | 123 Party Lane, Fun City |
And there you have it! With a little creativity and effort, you’ll have beautiful DIY birthday invitations that will surely delight your guests.
Also Read This: Understanding the Connection Between FreeImages.com and iStock
5. Personalizing Your Invitations
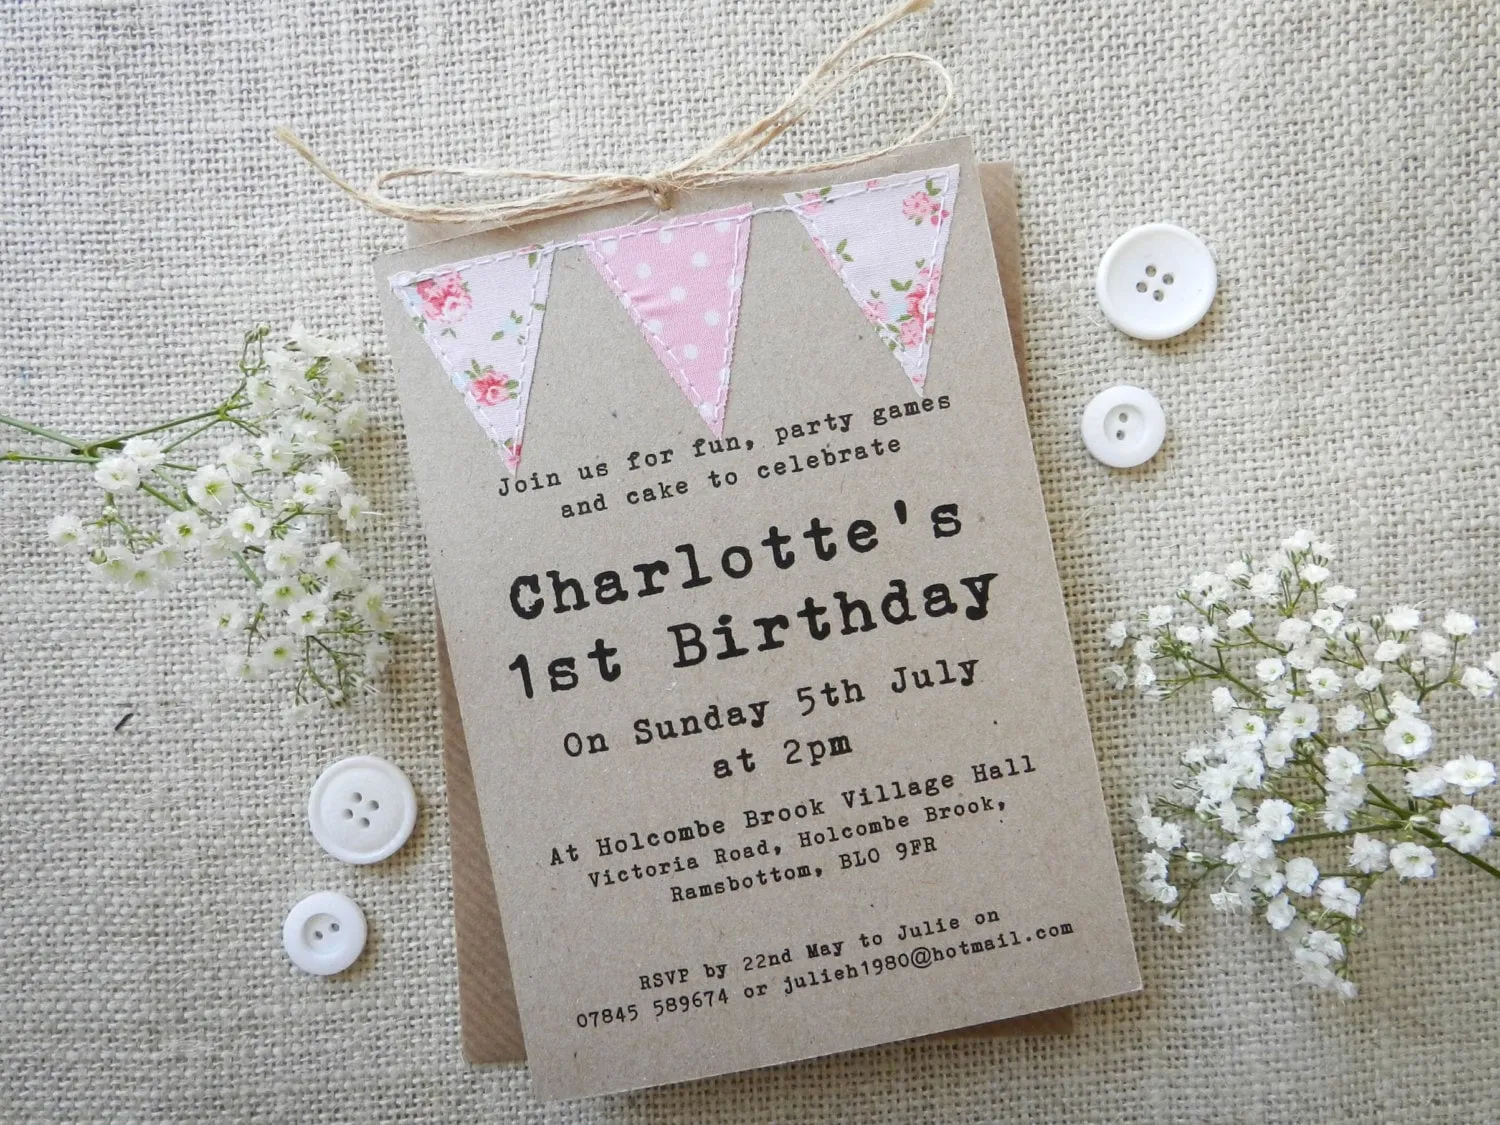
Personalizing your birthday invitation cards is what transforms a simple invite into a cherished keepsake. It shows your guests that you’ve put thought into each card, making them feel special. Here are some creative ways to add that personal touch:
- Use Names: Handwrite or print your guests' names on each invitation. This small detail makes it feel exclusive and personal.
- Include a Personal Message: A few heartfelt words can go a long way. Write a short note about why you’re excited to celebrate with them.
- Photo Memories: Incorporate a fun picture from a previous birthday celebration or a memorable moment with the guest. This not only personalizes it but also evokes warm memories.
- Theme Coordination: Tailor the design of your card to match your party theme. Whether it’s a color scheme, specific graphics, or a particular vibe, alignment with the party theme adds a cohesive feel.
- Choose Meaningful Quotes: Quotes that resonate with you or relate to your birthday celebration can add depth. Think about what the day means to you and select words that reflect that sentiment.
Remember, personalizing doesn’t have to be complicated. Even simple touches can make your invitations feel unique and special!
Also Read This: Understanding YouTube Earnings for Creators with 100k Subscribers
6. Printing Your Invitations
Once you’ve designed your DIY birthday invitations, it’s time to bring them to life through printing. This step is crucial as it sets the tone for your entire celebration. Here are some tips to ensure your printed invitations look fantastic:
- Choose Quality Paper: Opt for heavier cardstock to give your invitations a professional feel. Glossy or matte finishes can also enhance the overall look.
- Printer Settings: Before hitting print, check your printer settings. Use a high-quality setting to ensure the colors are vibrant and the text is sharp.
- Test Print: Always do a test print on regular paper first. This allows you to catch any formatting errors or design inconsistencies before committing to your fancy cardstock.
- Consider Professional Printing: If you want a polished finish, consider using a local print shop or online service. Many offer custom options and can help with paper choices, sizes, and finishes.
- DIY Printing Tips: If you decide to print at home, do so in batches. Print a few at a time to avoid overwhelming your printer and ensure quality.
With these tips in mind, you’re all set to create beautiful printed invitations that will impress your guests and set the stage for a memorable birthday celebration!
Also Read This: Assessing the Trustworthiness of Dailymotion and Its Reliability
7. Final Touches and Presentation
Once your DIY birthday invitation cards are complete, it’s time to add those final touches that transform them from good to outstanding! Here’s how you can elevate your invitations to make them shine:
- Personalized Messages: Handwrite a short, heartfelt message on each card. This adds a personal touch that digital invitations can’t replicate.
- Embellishments: Consider adding ribbons, washi tape, or small stickers that match your theme. A pop of color or some texture can make a huge difference!
- Envelope Art: Decorate your envelopes with doodles, stamps, or stickers. It sets the tone for the invitation before it’s even opened!
- Seal of Approval: Use wax seals or decorative stickers to seal the envelopes closed. It gives an elegant finish and a sense of anticipation.
Remember, presentation matters! Think about how you plan to distribute your invitations. If you’re handing them out in person, consider using a beautiful box or basket. If you’re mailing them, choose a vibrant envelope that reflects the theme of the party.
Finally, take a moment to review your work. Check for spelling errors, ensure all the details are correct, and confirm that every card looks cohesive. Your guests will appreciate the effort you put into creating something special just for them!
8. Conclusion
Creating DIY birthday invitation cards at home is not just a fun crafting session; it’s a heartfelt way to invite friends and family to celebrate your special day. By following these steps, you can customize invitations that reflect your personality and the vibe of the party.
Throughout this process, you’ve learned to:
- Select a theme that resonates with you.
- Choose the right materials and tools.
- Design captivating layouts and graphics.
- Incorporate final touches that bring your cards to life.
So, gather your supplies, let your creativity flow, and enjoy the process! Your guests will be thrilled to receive a one-of-a-kind invitation that showcases your talents and sets the stage for an unforgettable celebration. Happy crafting!