Creating beautiful tissue paper flowers is not just a fun DIY project; it's a delightful way to add a splash of color and creativity to your space. Whether you're decorating for a party, sprucing up your home, or even crafting a unique gift, these vibrant blooms are sure to impress. Plus, the best part? They're incredibly easy to make! This guide will walk you through the step-by-step process, making it perfect for beginners and seasoned crafters alike. So, grab your materials, roll up your sleeves, and let’s dive into the whimsical world of tissue paper flowers!
Materials Needed
Before we get started on crafting our beautiful tissue paper flowers, let's gather all the materials you'll need. Don’t worry; you won’t need anything too fancy! Here’s a handy list to ensure you have everything on hand:
- Tissue Paper: Choose a variety of colors to create stunning flowers. You’ll need about 6-8 sheets per flower.
- Scissors: A sharp pair will help you cut the tissue paper easily.
- Floral Wire: This will serve as the stem for your flowers. You can also use pipe cleaners as a fun alternative!
- Floral Tape: This tape will help secure the petals to the stem and give it a polished look.
- Glue (optional): Use glue for added security, especially if you want to attach embellishments.
- Ruler: For measuring and cutting uniform sheets.
- Pencil or Pen: For marking measurements if needed.
Once you have all these materials, you’re ready to start crafting your tissue paper flowers! Don’t hesitate to mix and match colors and adjust sizes to create unique designs that reflect your personal style.
Also Read This: How to Download HD Videos from YouTube
Step-by-Step Instructions
Creating beautiful tissue paper flowers is not only relaxing but also a fantastic way to add a pop of color to your space. Follow these simple steps to make your very own! Ready? Let’s dive in!
- Gather Your Materials: You’ll need:
- Tissue paper (in various colors)
- Floral wire or pipe cleaners
- Scissors
- Adhesive tape or glue (optional)
- Wire cutters (if using floral wire)
And voilà! You now have a stunning tissue paper flower ready to brighten up any space.
Also Read This: How to Remove Your LinkedIn Account Completely
Creative Variations
Once you’ve mastered the basic tissue paper flower, it’s time to get creative! Here are some fun variations you can try to personalize your creations:
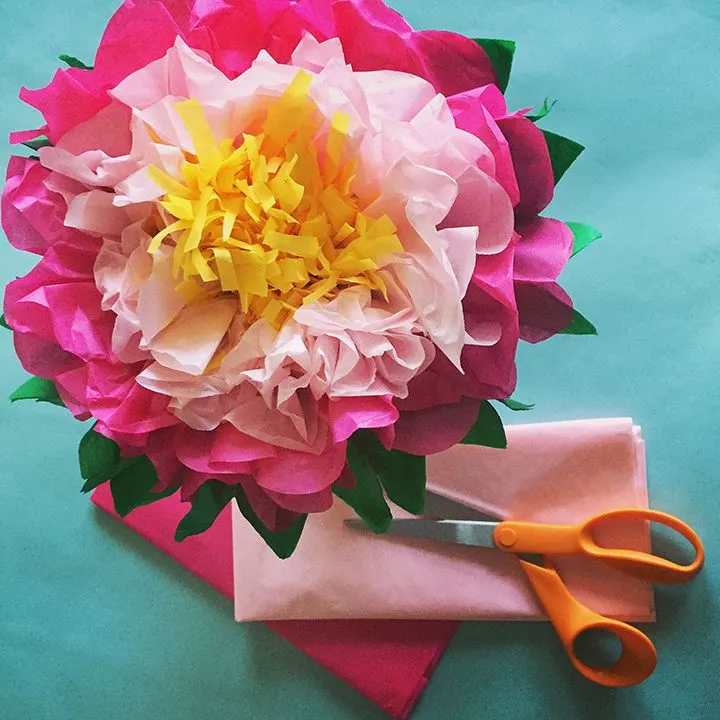
- Color Blends: Use ombre shades by stacking tissue papers in gradient colors. This results in a beautiful blend that adds depth to your flowers.
- Different Shapes: Instead of a standard round flower, try cutting the edges into scallops or points for unique petal shapes.
- Layering Sizes: Make a bouquet with flowers of varying sizes. Combine small, medium, and large blooms for a more dynamic display.
- Wired Stems: For a more realistic look, use floral tape to wrap the floral wire stems, giving them a green, leafy appearance.
- Embellishments: Add buttons, glitter, or beads in the center of the flowers for a charming detail. You can also attach leaves made from green tissue paper!
Don’t hesitate to mix and match these ideas. The beauty of DIY is that you can make it your own!
Also Read This: How to Submit a Delist Request with Fortiguard Downloader
Tips for Successful Tissue Paper Flowers
Creating stunning tissue paper flowers can be a delightful experience, and with a few handy tips, you can elevate your crafting game. Here are some essential pointers to keep in mind:
- Choose Quality Tissue Paper: Opt for high-quality tissue paper that is thicker and more vibrant. This will help your flowers hold their shape and color better.
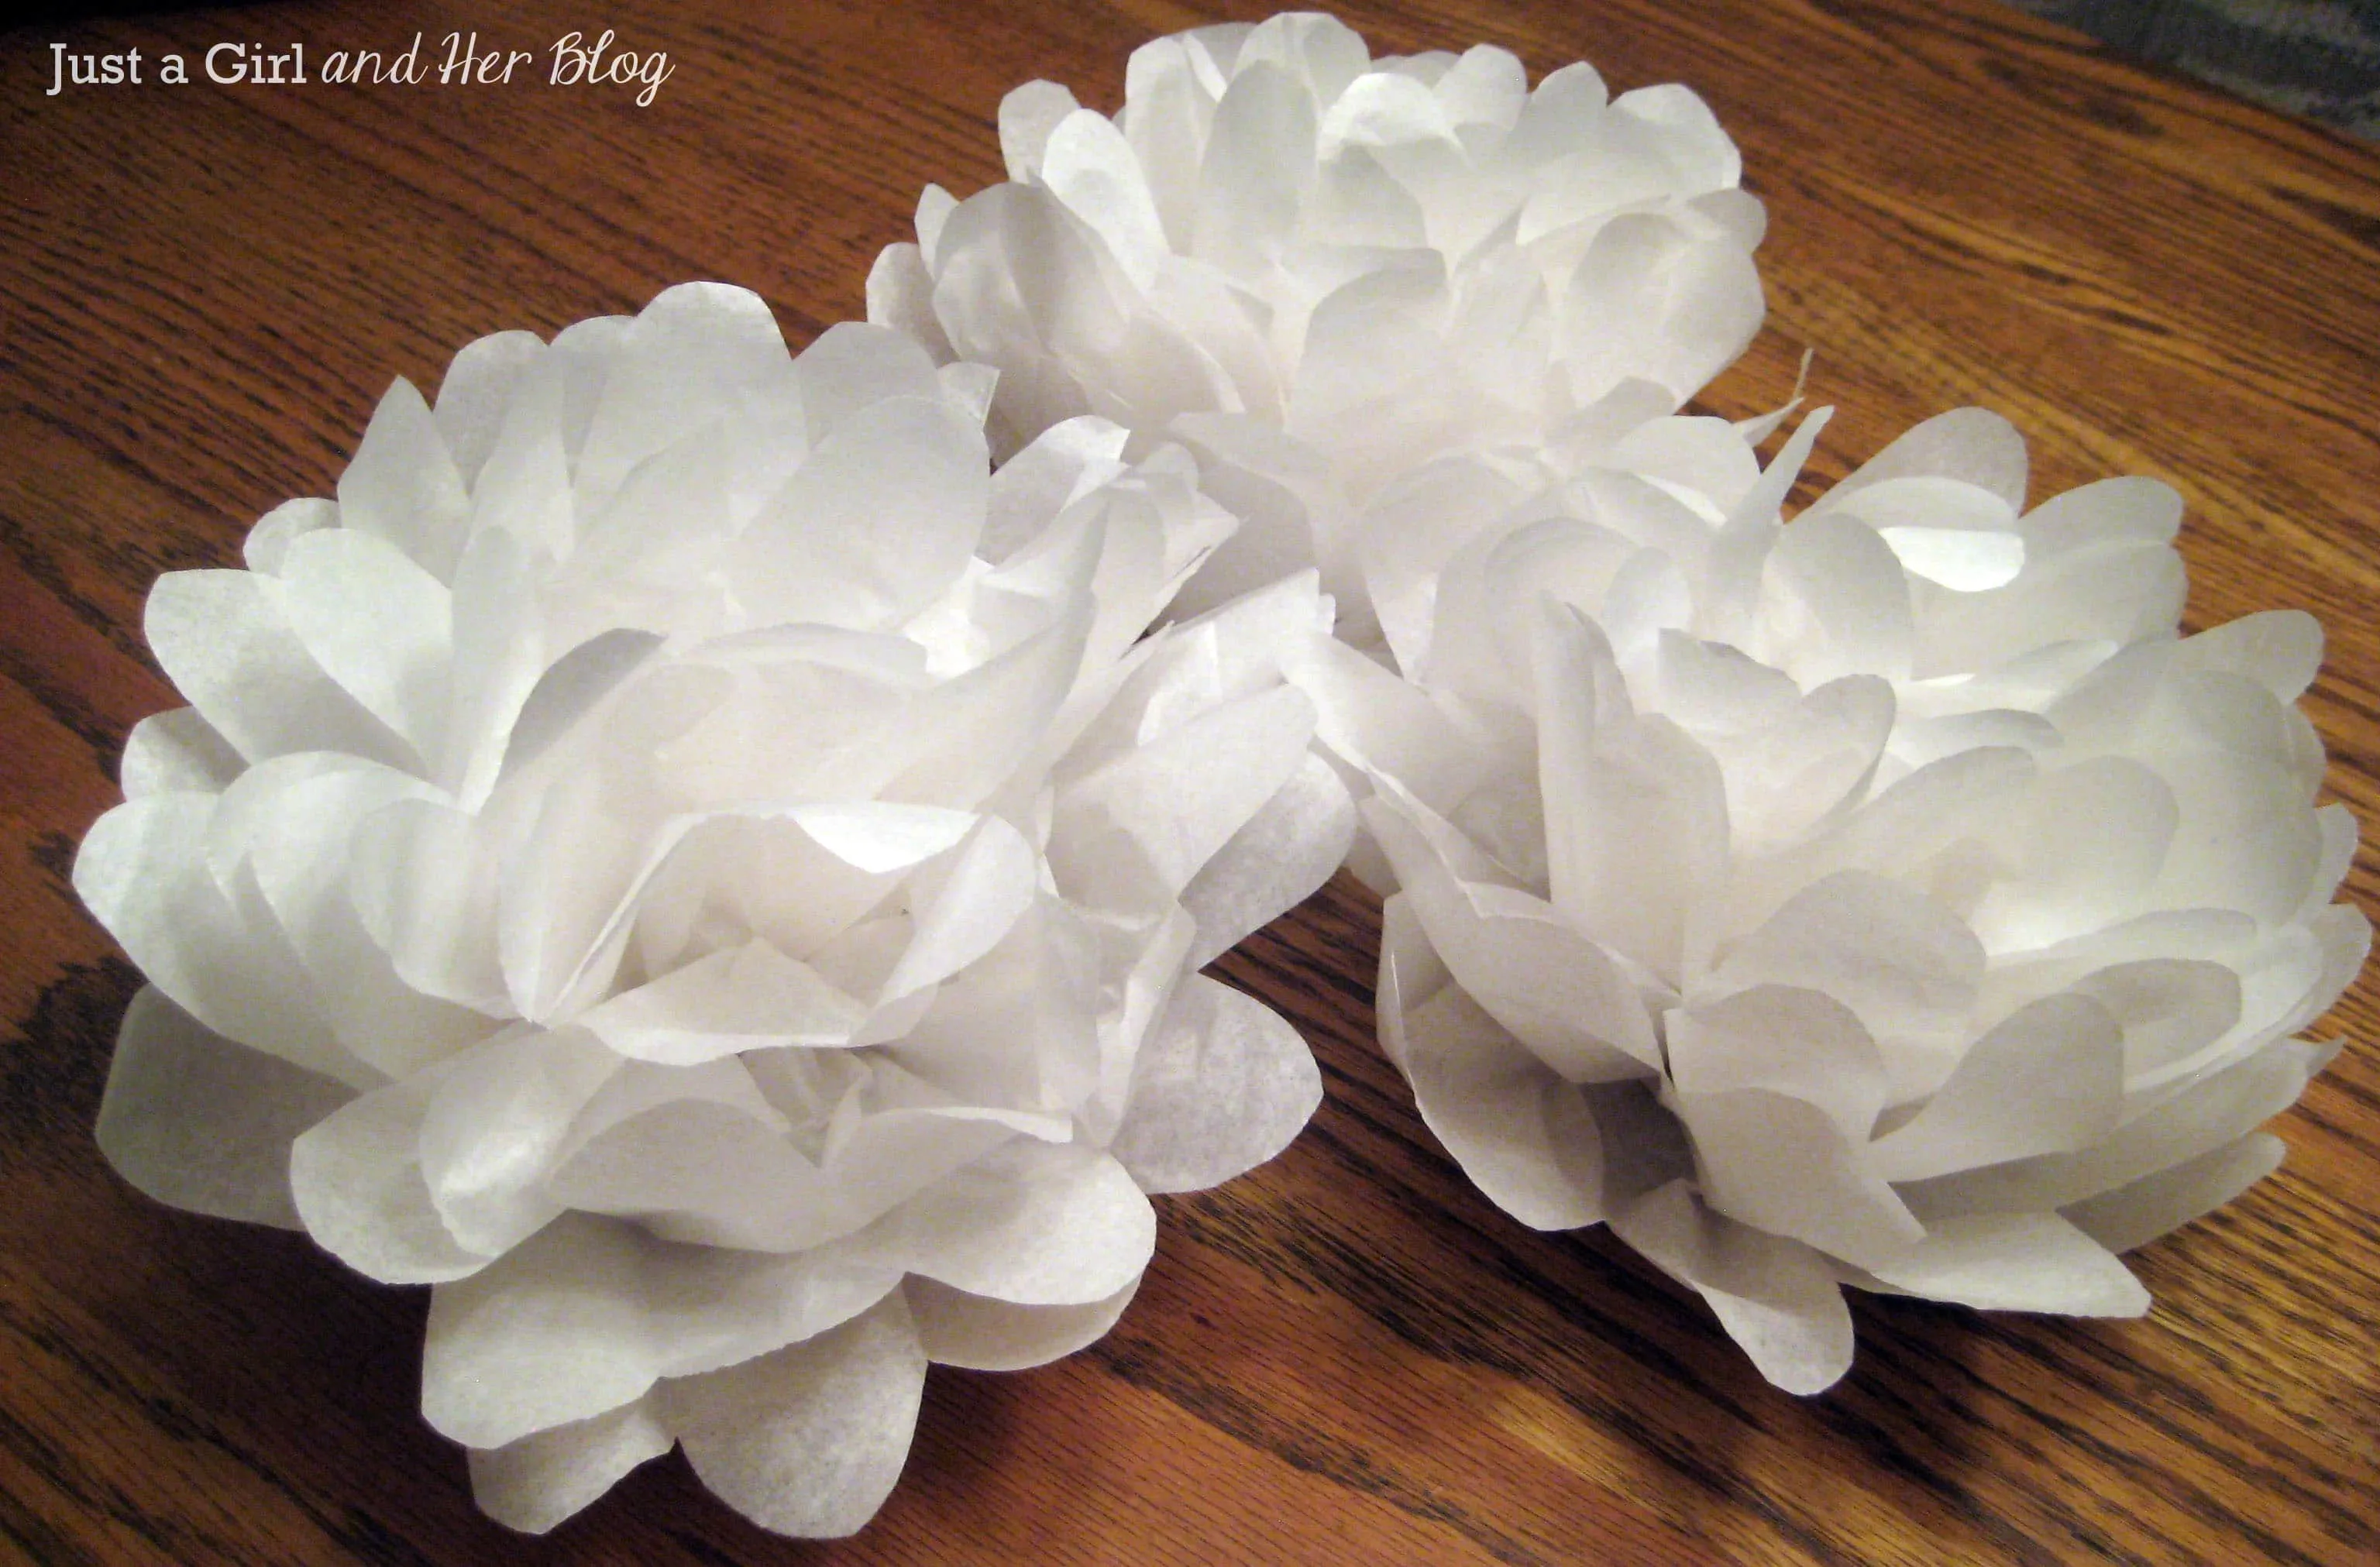
- Layering is Key: For a fuller flower, use multiple sheets of tissue paper. Aim for at least 6-8 layers to achieve a lush, blooming effect.
- Experiment with Colors: Don't hesitate to mix and match colors! Layering different hues can create beautiful ombre effects that add depth to your flowers.
- Cut Uniformly: When cutting petals, make sure to keep your shapes consistent. This ensures that your flowers look polished and professional, rather than haphazard.
- Fluffing Technique: After you’ve shaped your flower, give it a good fluff! Carefully pull apart the layers from the center to create a more natural bloom.
- Secure Tightly: Use floral wire or string to tightly secure the base of your flower. This will help maintain its shape and prevent the layers from separating.
- Practice Patience: Crafting takes time, especially when you're learning. Don’t rush; enjoy the process of creating each flower!
Conclusion
Creating beautiful tissue paper flowers is not just a fun DIY project; it's a fantastic way to express your creativity and add a personal touch to your decor. Whether you're making them for a celebration, a gift, or simply to brighten up your space, the satisfaction that comes with crafting your own floral arrangements is unparalleled.
Remember, the beauty of these flowers lies not just in their appearance but also in the joy of making them. So, gather your supplies, invite some friends over, and turn this project into a delightful crafting session. As you practice, you'll discover your unique style and technique, leading to even more fabulous creations.
So, get ready to bring a splash of color and a touch of whimsy into your life with tissue paper flowers. Happy crafting!