Creating an Apple ID is essential for accessing a multitude of features and services offered by Apple. Whether you want to download apps, purchase music, or sync your devices, an Apple ID serves as your gateway to the Apple ecosystem. If you're in Pakistan and wondering how to create one for free, you’ve come to the right place! In this guide, we’ll walk you through the process step-by-step, ensuring you can enjoy all that Apple has to offer without any hassle.
What is an Apple ID?
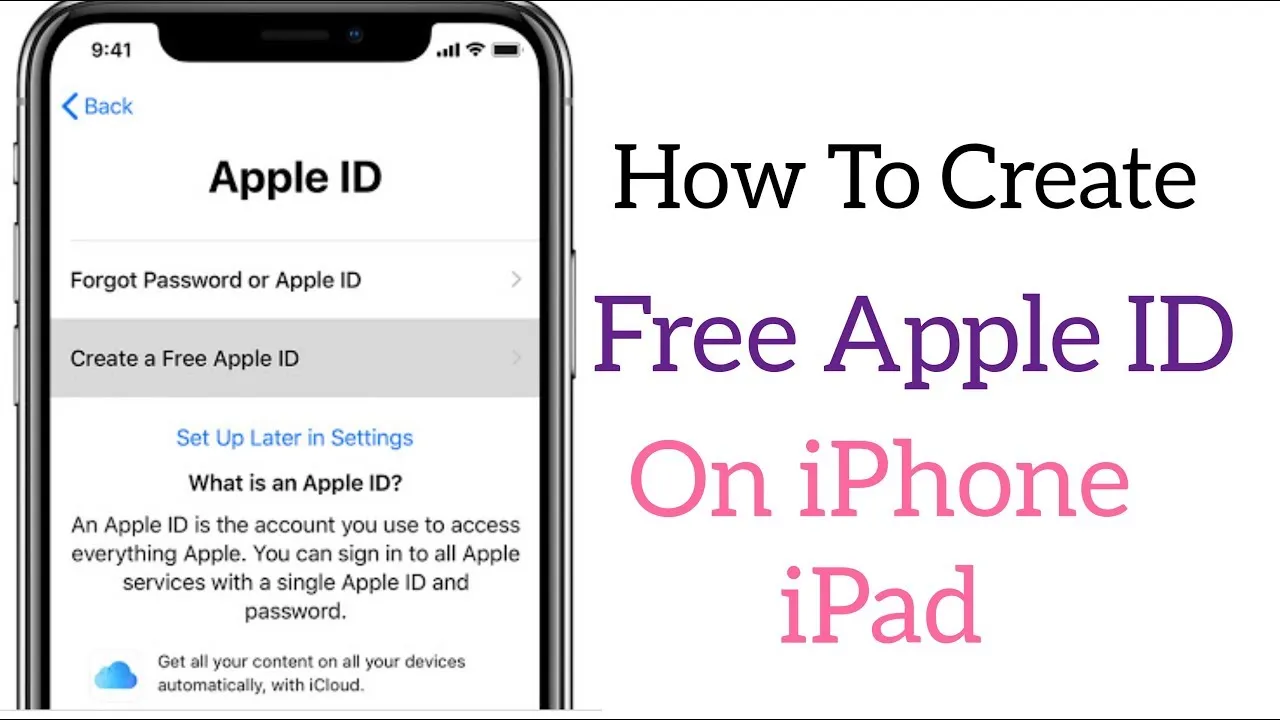
An Apple ID is essentially your personal account for everything Apple. It’s like a key that unlocks a treasure trove of services and features. Here's what you need to know:
- Identity Verification: Your Apple ID is unique to you and helps Apple verify your identity across their services.
- Access to Services: With an Apple ID, you can access the App Store, iCloud, Apple Music, and more.
- Device Synchronization: It allows you to sync your data across various Apple devices, ensuring everything stays up-to-date.
- Purchasing Power: You can make purchases from Apple’s digital storefronts, including apps, music, and movies.
- iCloud Storage: Your Apple ID gives you access to iCloud, where you can store photos, documents, and backups securely.
In short, your Apple ID is a crucial part of the Apple experience. It opens up a world of possibilities, making it easier to enjoy the products you love. Whether you’re using an iPhone, iPad, or Mac, having an Apple ID is indispensable. So, let's dive into how you can create one for free in Pakistan!
Also Read This: Ghosts of Artists: View Deactivated DeviantArt Accounts
Benefits of Having an Apple ID
Having an Apple ID opens up a world of opportunities and conveniences for Apple users. Whether you're using an iPhone, iPad, Mac, or any other Apple device, an Apple ID is your gateway to a seamless experience. Here are some *key benefits* of creating an Apple ID:
- Access to the App Store: With your Apple ID, you can download and install apps from the App Store, giving you access to millions of applications tailored for your device.
- iCloud Services: An Apple ID allows you to use iCloud, which means you can store photos, documents, and backups securely in the cloud and access them from any device.
- Sync Across Devices: Having an Apple ID enables you to sync your data across multiple Apple devices. This means your contacts, calendars, and notes will always be up-to-date no matter what device you’re using.
- Apple Music and Apple TV: Enjoy music streaming or watch movies and shows with Apple Music and Apple TV subscriptions, all linked to your Apple ID.
- Find My iPhone: If you ever misplace your device, the Find My iPhone feature linked to your Apple ID can help you locate it quickly.
- Enhanced Security: Apple ID provides two-factor authentication, adding an extra layer of security to your account and personal information.
In essence, having an Apple ID enriches your Apple experience, making it more integrated and user-friendly.
Also Read This: How to Make AC at Home Without Electricity
Requirements for Creating an Apple ID
Creating an Apple ID is a simple process, but there are a few requirements you need to keep in mind to ensure everything goes smoothly. Here’s what you’ll need:
- An Apple Device: You can create an Apple ID on any Apple device like an iPhone, iPad, or Mac. Alternatively, you can use a web browser on a PC.
- Email Address: You need a valid email address that isn’t already associated with another Apple ID. This will become your Apple ID username.
- Password: Create a strong password that meets Apple’s security requirements. It should include a mix of letters, numbers, and symbols.
- Security Questions: For added security, Apple will ask you to choose security questions that can help recover your account if you forget your password.
- Verification Code: You may need to verify your identity through a code sent to your email or phone number.
Before starting the process, ensure you have all the necessary details at hand. Once you have everything ready, you can easily set up your Apple ID and enjoy all the benefits it has to offer!
Also Read This: How Pepsi Is Made Behind-the-Scenes Videos on Dailymotion
5. Step-by-Step Guide to Create an Apple ID
Creating an Apple ID is a straightforward process, and the best part is that it’s completely free! Whether you're setting it up for the first time or just need a new one, following these steps will help you get your Apple ID in no time. Let’s break it down:
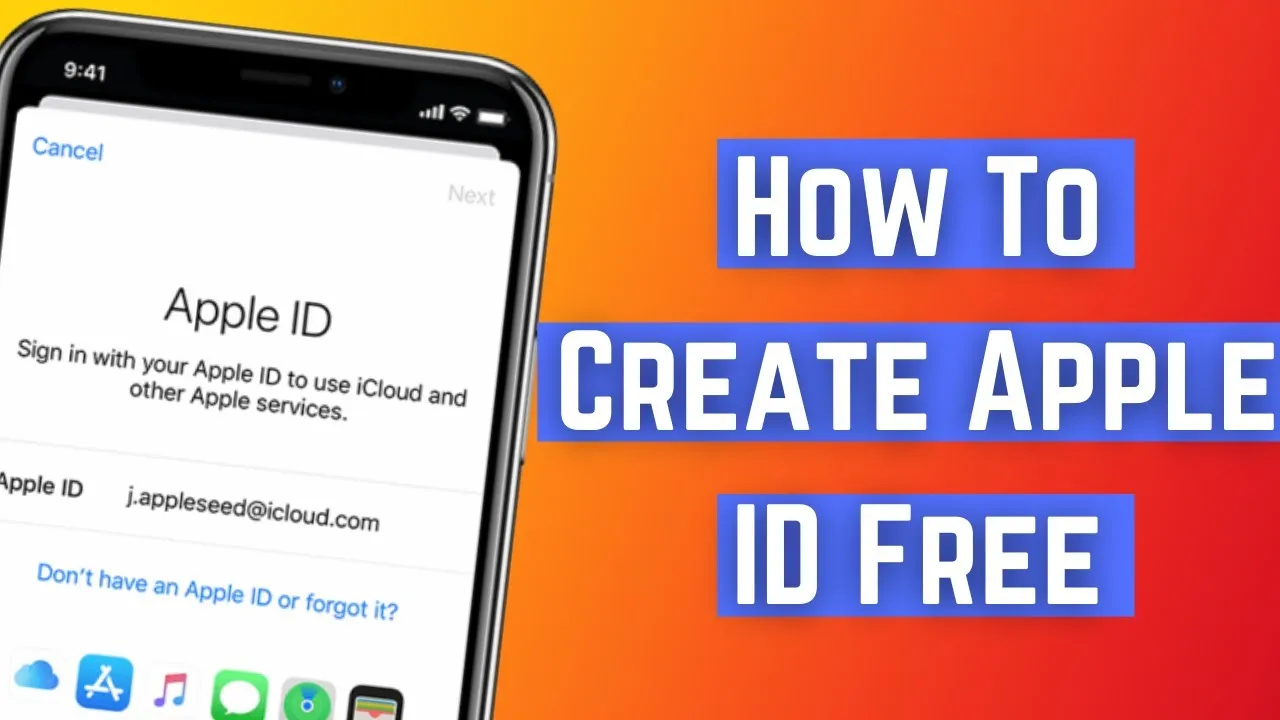
- Open the Apple ID Sign Up Page: Start by visiting the Apple ID sign-up page. You can do this on your computer or mobile device.
- Fill in Your Details: You'll see a form asking for your personal information. This includes your name, email address (make sure it’s one you can access), and a password. Make sure your password is strong!
- Select Security Questions: Apple will prompt you to choose security questions and provide answers. These questions will help you recover your account if you ever forget your password.
- Input Your Date of Birth: Enter your date of birth. This is important for security reasons and to ensure you meet age requirements for certain services.
- Agree to the Terms and Conditions: Take a moment to read through Apple’s terms and conditions. If you agree, tick the box to proceed.
- Verification: After hitting ‘Continue,’ Apple will send a verification code to the email address you provided. Check your inbox and enter the code when prompted.
- Final Touches: Once verified, you may be asked to set up two-factor authentication for added security. Follow the prompts and complete the setup.
And there you have it! You've successfully created your Apple ID. It might seem like a lot, but just take it step by step, and you'll be good to go!
6. Verifying Your Apple ID
Now that you’ve created your Apple ID, it’s time to verify it. Verification is crucial as it ensures that you have access to your account and can use all the features Apple has to offer. Here’s how to do it:
- Check Your Email: After you created your Apple ID, you should have received a verification email from Apple. Open your email inbox and look for this message.
- Open the Email: Click on the email from Apple. It should contain a link that says something like “Verify your email address.”
- Click the Verification Link: By clicking the link, you’ll be directed to a page confirming that your email has been verified. If you don’t see the email, check your spam or junk folder.
- Sign In to Your Apple ID: Once verified, go back to your Apple device and sign in with your new Apple ID. This is a good opportunity to test if everything is working smoothly.
- Set Up Additional Security: If you haven’t already, consider setting up two-factor authentication for an extra layer of security. It’s a simple process that adds peace of mind.
Verification is a quick but essential step in ensuring that your Apple ID is secure and fully functional. If you encounter any issues, you can always return to the Apple support page for assistance!