Creating a rubber band bracelet is not just a fun activity; it's a fantastic way to express your creativity! With the help of Dailymotion’s simple tutorial, you can learn to craft colorful and stylish bracelets in no time. Whether you’re a beginner or have some experience, this guide will walk you through the process seamlessly. Let’s dive into the materials you’ll need before we start crafting your unique bracelet!
Materials Needed
Before you embark on your rubber band bracelet-making journey, it's essential to gather all the necessary materials. Here’s a comprehensive list to ensure you're fully equipped:
- Rubber Bands: Choose a variety of colors! Having multiple colors will add vibrancy to your bracelet. You can find packs of rubber bands at craft stores or online.
- Bracelet Loom: A loom makes the process significantly easier. If you don’t have one, you can use your fingers or a simple fork.
- Hook Tool: This tool helps in pulling the rubber bands through each other to create the design. It's usually included with bracelet looms.
- C-Clips or S-Clips: These small clips are essential for securing the ends of your bracelet. Make sure to have a few on hand.
- Scissors (optional): While not always necessary, scissors can help trim any excess bands if needed.
- Work Surface: A flat, clean area is ideal for crafting your bracelet without interruptions.
Having these materials ready will set you up for a successful bracelet-making experience. So, gather your supplies, and let’s get ready to create something beautiful together!
Also Read This: How to Add Your Resume on LinkedIn
Step-by-Step Instructions
Creating a rubber band bracelet can be a fun and rewarding activity! Follow these simple steps to bring your design to life:
- Gather Your Materials: You will need rubber bands, a loom (or your fingers), a hook (if using a loom), and a clip to secure your bracelet.
- Choose Your Colors: Select a few colors of rubber bands. This is where your creativity shines! Feel free to mix and match!
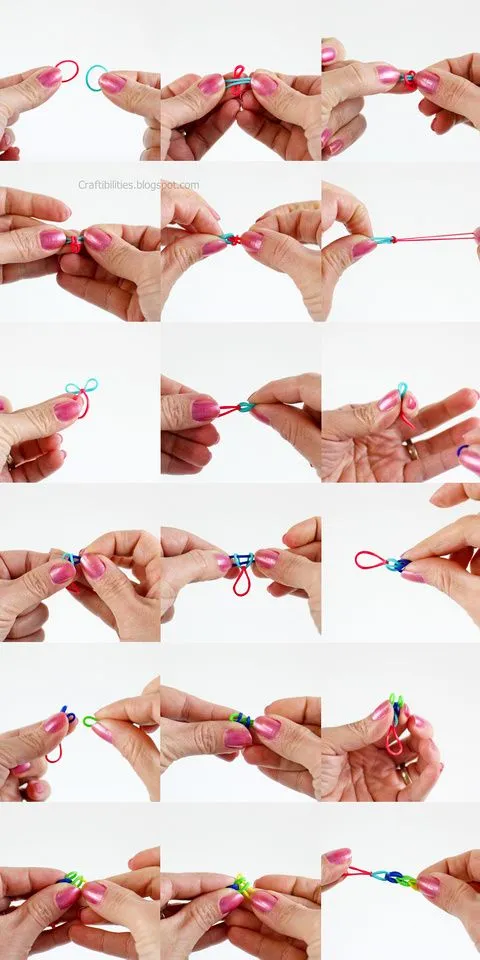
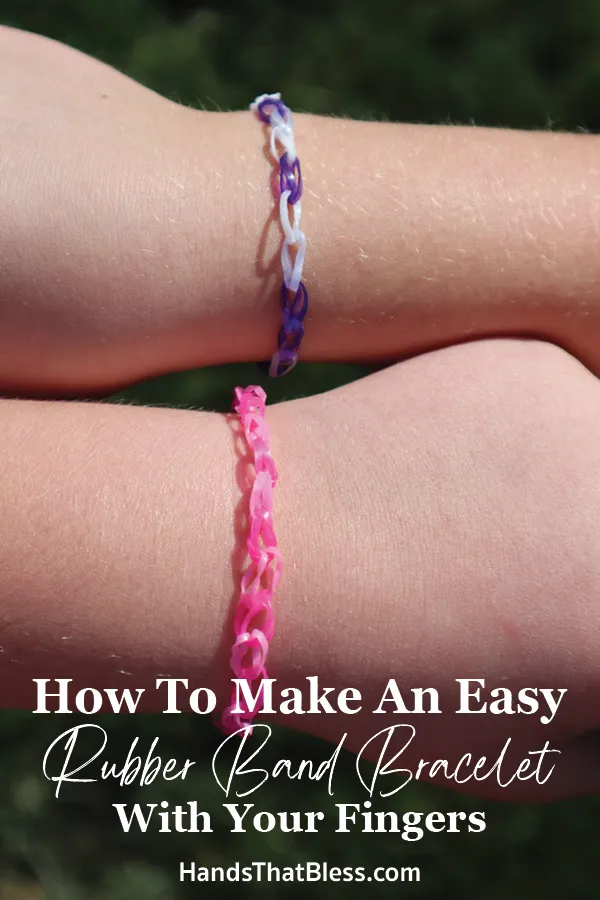
- Start Looming: If you’re using a loom, place the first rubber band on the loom in a figure-eight shape. If you're using your fingers, wrap the band around your fingers similarly.
- Add More Bands: Continue adding rubber bands, making sure to follow the pattern you want. Remember to keep your bands tight but not too tight! This ensures that your bracelet remains stretchy.
- Using the Hook: If you’re using a loom, take the hook and lift the bottom rubber band over the top band. This creates the weaving effect that gives your bracelet its charm.
- Repeat the Process: Keep adding and weaving until your bracelet reaches the desired length. A typical bracelet is about 6-8 inches long.
- Secure Your Bracelet: Once you’re happy with the length, use a clip to secure the last band and gently slide the bracelet off the loom or your fingers.
Congratulations! You’ve created your very own rubber band bracelet. Now, let’s dive into some tips that can help you make your design even more fabulous!
Also Read This: Diverse Design Assets Await: Exploring Pikbest’s Free Toolbox
Tips for Designing Your Bracelet
Designing a unique rubber band bracelet is all about creativity and experimentation. Here are some tips to inspire your next creation:
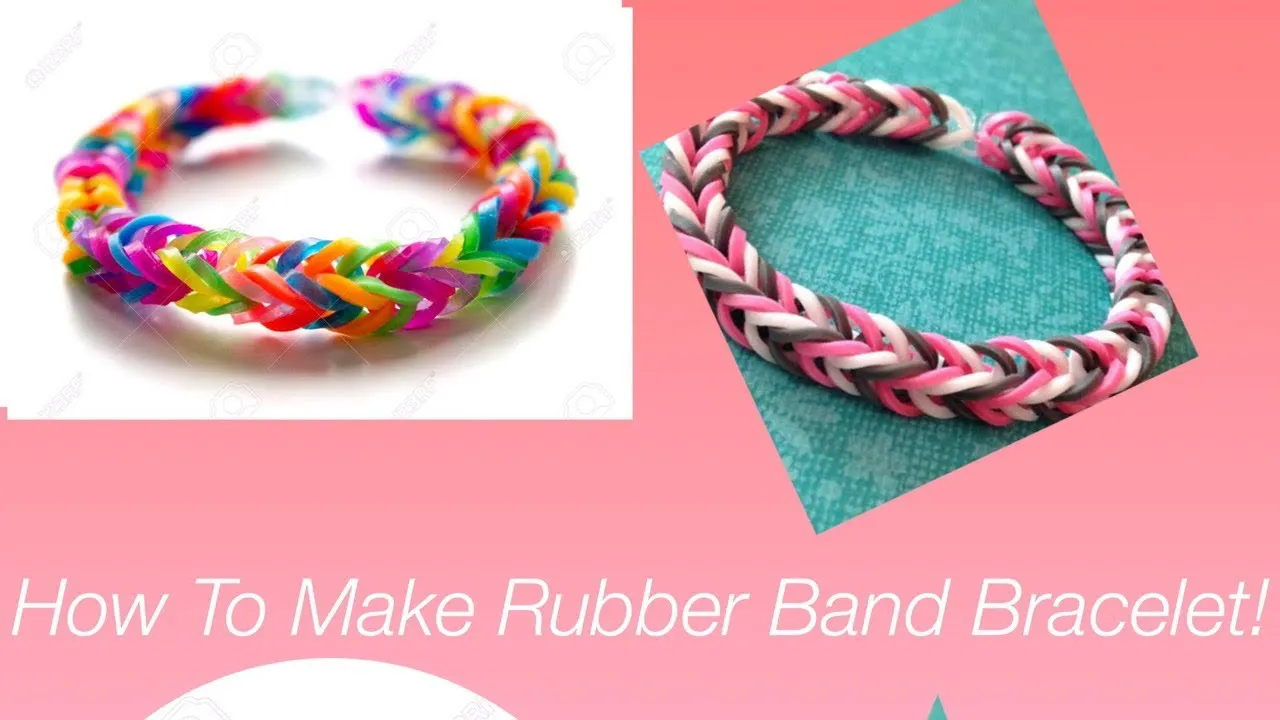
- Color Combinations: Experiment with different color combinations to find what you love. A gradient effect from light to dark or alternating colors can create stunning results.
- Patterns and Textures: Try using different kinds of bands, like glittery or patterned ones, to add texture to your bracelet. Stripes, chevrons, and spirals can make your design pop!
- Use Charms: Adding charms or beads can personalize your bracelet. You can easily thread a charm onto your rubber band for a special touch.
- Mix Techniques: Don’t hesitate to mix different techniques, such as the fishtail or zigzag methods, to create a more intricate design.
- Keep It Balanced: When selecting colors, try to balance them evenly throughout the bracelet to avoid clashing or uneven distribution.
Remember, the key to a beautiful rubber band bracelet is to have fun! Every bracelet you make will be unique and a reflection of your personal style.
Also Read This: How to Properly Credit Enhanced License Adobe Stock Graphics for Compliance
Troubleshooting Common Issues
Creating a rubber band bracelet can be a fun and rewarding experience. However, you might encounter a few hiccups along the way. Here’s a handy guide to troubleshoot common issues you might face while crafting your bracelet:
- Bands Breaking: If your rubber bands snap frequently, it could be due to using old or low-quality bands. Try investing in premium bands or ensure that the ones you’re using are fresh and flexible.
- Bracelet Too Tight: If your bracelet feels constricted, consider using fewer bands in each section. Additionally, check if you’re pulling the bands too tight while weaving.
- Bands Slipping Off the Loom: If your bands aren’t staying in place, make sure you’re using the correct tension. Some crafters recommend using a clip to hold the bands in position while working.
- Difficulty in Removal: When it’s time to take your bracelet off the loom, gently wiggle the bands loose. If they’re stuck, try using a toothpick or a similar tool to nudge them out carefully.
Remember, practice makes perfect! Each time you create a bracelet, you’ll get better at identifying and solving these issues.
Conclusion
In conclusion, creating a rubber band bracelet is more than just a craft; it's a delightful way to express your creativity. With Dailymotion’s simple tutorial, you have all the tools you need to get started. Remember to follow the steps closely, and don’t shy away from experimenting with different designs and colors!
Whether you’re making these bracelets for yourself, as gifts, or even as a fun group activity, the possibilities are endless. Here are a few key takeaways:
- Patience is key—don’t rush the process!
- Get creative: Use different materials or add charms for a personal touch.
- Keep practicing, and soon you'll be able to create intricate designs with ease.
So, gather your bands, grab your loom, and let your imagination run wild! Happy crafting!