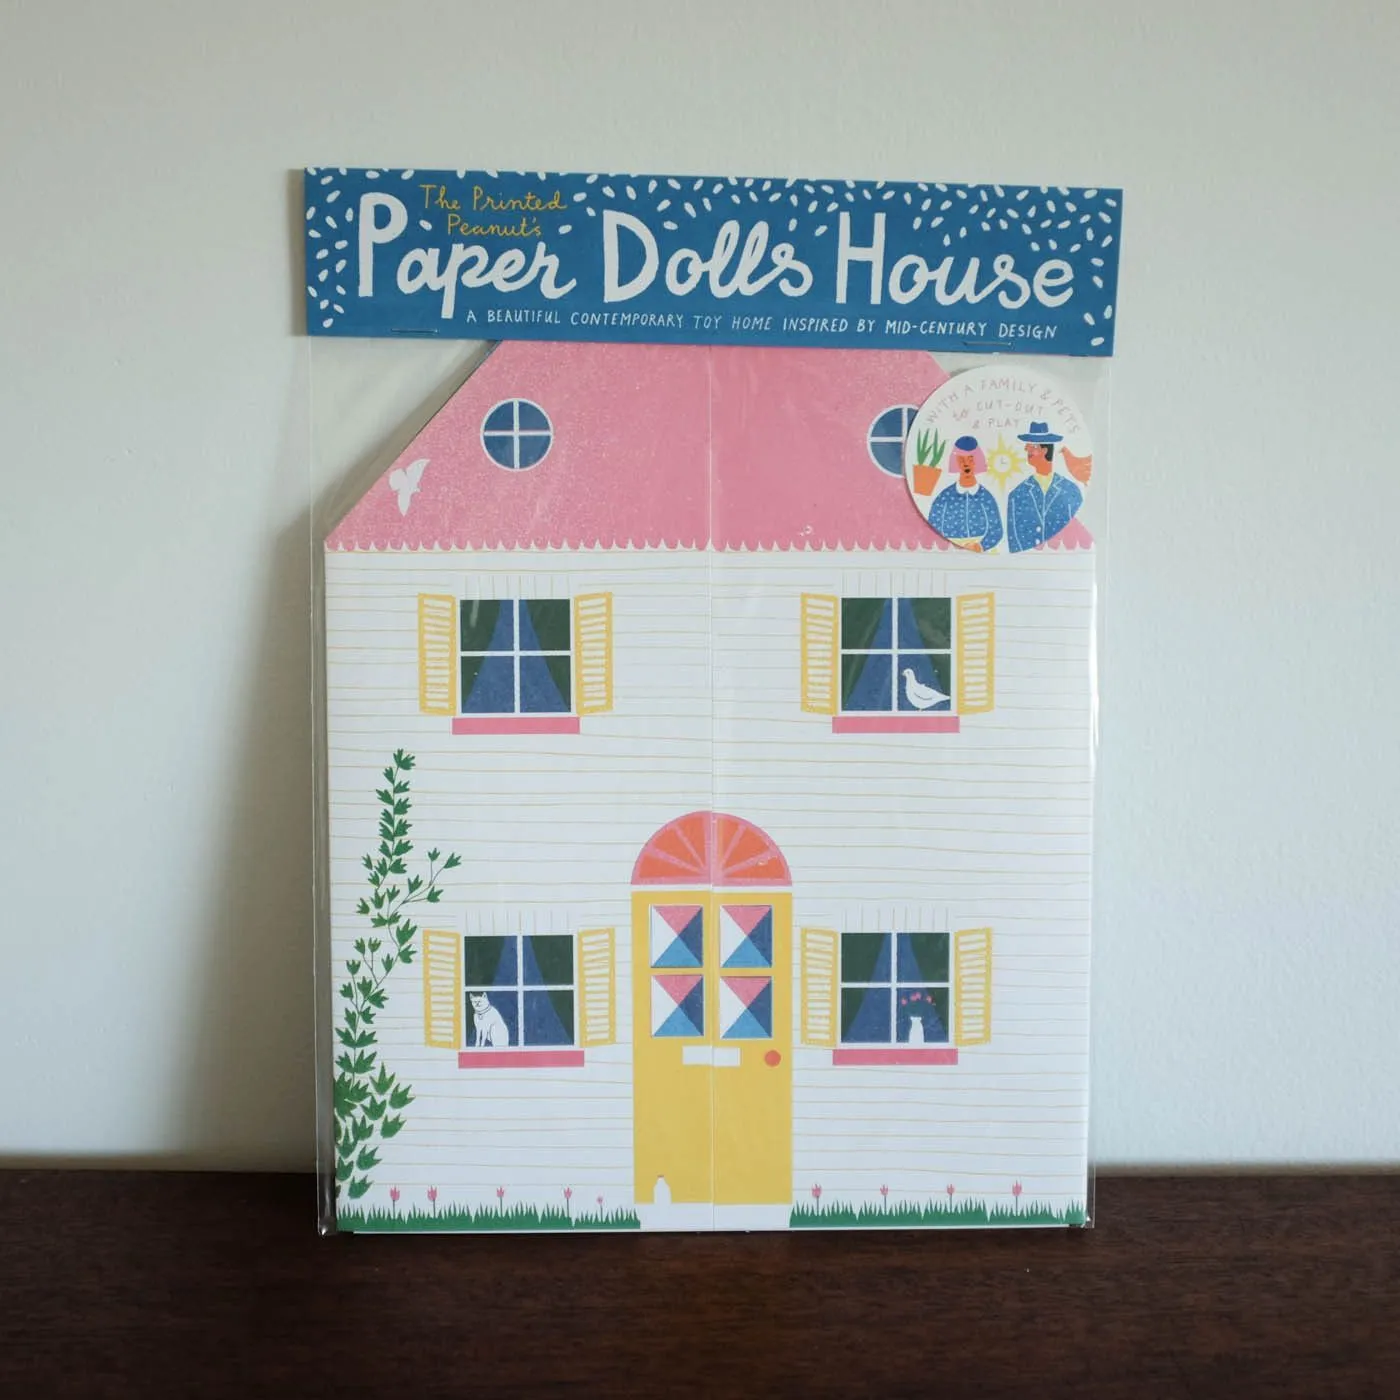
Creating a paper dollhouse is a delightful project that combines creativity with a touch of nostalgia. Whether you're looking to entertain your kids or relive your childhood, this DIY activity is both fun and rewarding. It’s like building a miniature world right from your living room! With just a few materials and simple steps, you can create a charming dollhouse that your little ones will adore. Let’s dive into the world of paper crafting and explore how you can make your very own paper dollhouse!
Materials Needed
Before you start your paper dollhouse project, it’s essential to gather all the materials you’ll need. Here’s a handy list to ensure you have everything on hand:
- Paper: Cardstock or heavy-duty paper works best for durability.
- Scissors: A sharp pair for precise cutting.
- Glue: Liquid glue or a glue stick to assemble your house.
- Pencil: For sketching your designs and measurements.
- Ruler: Helps in measuring and drawing straight lines.
- Markers or Colored Pencils: For adding color and detail to your dollhouse.
- Decorative Materials: Stickers, washi tape, or fabric scraps for personal touches.
Here’s a simple table summarizing the materials:
| Material | Purpose |
|---|---|
| Paper | Structure of the dollhouse |
| Scissors | Cutting out shapes and pieces |
| Glue | Assembling the dollhouse |
| Pencil | Sketching designs |
| Ruler | Measuring and creating straight edges |
| Markers/Colored Pencils | Adding color and details |
| Decorative Materials | Personalizing your dollhouse |
With these materials gathered, you’re ready to embark on your creative journey of building a paper dollhouse! Let's get started on the fun part!
Also Read This: How to Make the Perfect Coffee in a Coffee Maker
3. Step-by-Step Instructions
Creating a paper dollhouse is a fun and engaging project that can spark creativity in both kids and adults. Let’s break it down into simple, easy-to-follow steps:
- Gather Your Materials: You’ll need some heavy paper or cardstock, scissors, glue, markers or colored pencils, and any decorative items you want to include, like stickers or fabric scraps.
- Design Your Dollhouse: Start by sketching a basic layout on paper. Think about how many rooms you want and their size. A simple two-story house with a living room, kitchen, bedroom, and bathroom is a great starting point.
- Cut Out Your House Structure: Using your design as a guide, cut out the walls, floors, and roof from the heavy paper. Ensure all pieces fit together nicely. You can use a ruler for straight lines!
- Assemble the Structure: Begin gluing your walls together. Hold them in place for a few seconds to let the glue set. After the walls are up, attach the floors and roof following the same gluing process.
- Add Doors and Windows: Cut out door and window shapes in the walls. You can create frames using colored paper for a pop of color!
- Secure Everything: Once everything is glued and dried, reinforce edges with tape if necessary. This will keep your dollhouse sturdy.
And there you have it! Your very own paper dollhouse is taking shape. Ready to make it uniquely yours?
Also Read This: Understanding Elephant Birth Through Educational Videos on Dailymotion
4. Decorating Your Doll House
Now that you have the structure of your paper dollhouse, it’s time to bring it to life with decoration! This is where your creativity can really shine. Here are some tips to make your dollhouse feel like a home:
- Choose a Theme: Decide on a theme for your dollhouse. It could be anything from a cozy cottage to a modern apartment. This will guide your color choices and decor style.
- Paint and Color: Use markers or paint to color the walls, floors, and roof of your dollhouse. Pastel colors can create a soft, welcoming feel, while bright colors can add energy.
- Furniture and Accessories: Create furniture using paper, such as tables, chairs, and beds. You can also use small items like beads or buttons as decorative accessories.
- Textiles: Add fabric scraps for curtains, rugs, and bedding. You can cut small pieces to fit the windows and floors, making everything more homey.
- Personal Touches: Include family photos or artwork. Draw pictures or print them out to hang on the walls. This adds a personal touch to your space!
Remember, decorating is all about having fun and expressing yourself. Don’t be afraid to experiment with different styles and materials!
Also Read This: Edit Fun Chip Bags Using Canva Editable Chip Bag Template
5. Tips for Crafting Success
If you’re diving into the world of crafting your very own paper doll house, you’re in for a delightful journey! To make your experience smoother and more enjoyable, here are some handy tips:
- Plan Before You Start: Sketch out your design! Having a blueprint can guide you in placing walls, rooms, and decorative elements.
- Choose Quality Materials: Use thicker paper or cardstock for sturdier walls. This will help your dollhouse withstand a bit of playtime adventure.
- Be Mindful of Scale: If you have mini furniture or dolls, ensure your house is proportionate. A well-scaled house looks more appealing!
- Use Double-Sided Tape: It’s a cleaner way to attach parts without the mess of glue. Plus, it’s easier to reposition elements if needed.
- Incorporate Personal Touches: Add photos, patterns, or even tiny messages in your dollhouse. These details make it feel uniquely yours!
Remember, crafting is about enjoying the process, so don’t stress over perfection. Each mistake is a chance to innovate!
6. Conclusion
Creating a paper doll house isn’t just a fun craft; it’s an opportunity to unleash your creativity and storytelling skills. Whether you’re doing it solo or with friends and family, this project can spark joy and foster connections.
As you wrap up your dollhouse, take a moment to admire your handiwork. Each room, each tiny detail tells a story waiting to be explored. You might even find that you’re inspired to create new stories with each dollhouse adventure!
So gather your materials, follow the steps outlined, and let your imagination run wild. With a little bit of patience and a lot of creativity, you can create a charming paper doll house that will delight for years to come. Happy crafting!