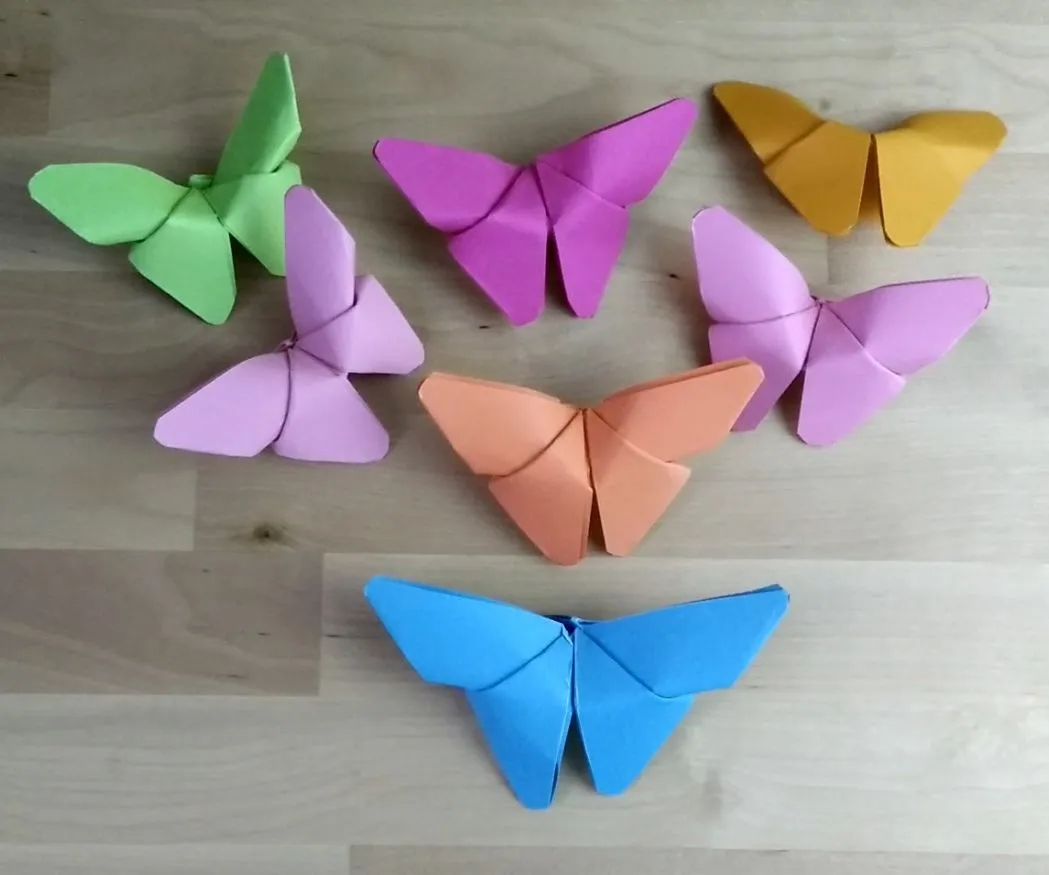
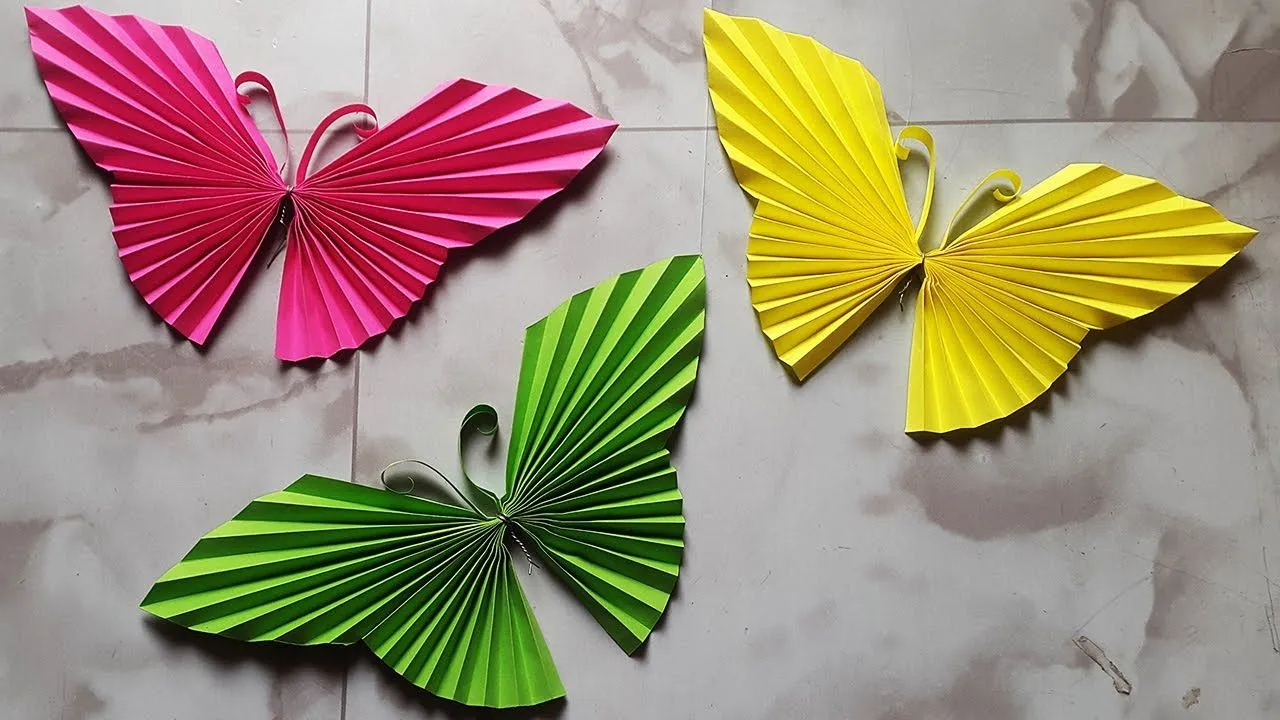
Creating a paper butterfly craft is not just a fun activity; it's a wonderful way to express creativity and bring a touch of nature indoors! Whether you're looking for a relaxing hobby, a project to do with kids, or a beautiful decoration for your home, paper butterflies can be a delightful choice. These colorful creatures are simple to make and can be customized in countless ways, making them perfect for all ages and skill levels.
In this blog post, we'll walk you through the steps to create your own stunning paper butterflies. You’ll soon find that this craft isn’t just about folding and cutting paper; it’s also about enjoying the process and perhaps even discovering a new passion for crafting. So, gather your materials, unleash your imagination, and let’s flutter into the world of paper butterflies!
Materials Needed for the Project

Before we dive into crafting those lovely paper butterflies, let’s gather all the materials you’ll need. Having everything ready at hand will make your crafting experience smooth and enjoyable. Here’s a list of the essentials:
- Colored Paper: Choose various colors and patterns to make your butterflies vibrant and unique. Construction paper, scrapbook paper, or even old magazines can work well.
- Scissors: A good pair of scissors is essential for precise cutting. If you're crafting with kids, consider using safety scissors.
- Glue or Tape: You'll need glue for sticking parts together. Double-sided tape can also work for a quick and clean finish.
- Pencil: For sketching your butterfly shapes before cutting—this helps in getting the design just right!
- Markers or Paints: Use these to add details, patterns, or even glitter to your butterflies after they’re cut out.
- Pipe Cleaners (optional): These can be used to create antennae or add dimension to your butterflies.
- Craft Wire (optional): This can be used if you want to create freestanding butterflies or add a touch of elegance.
Once you have all your materials ready, you’ll be set to start crafting your beautiful paper butterflies. The best part? You can mix and match colors and designs to create a whole garden of butterflies that reflect your personal style!
Also Read This: What Is Apex Rumble – A New Take on Battle Royale Games
Step-by-Step Instructions

Creating a beautiful paper butterfly craft is easier than you might think! Just follow these simple steps, and you'll have a delightful decoration in no time. Grab your materials first—let’s get started!
- Gather Your Materials: You will need:
- Colored paper (construction paper works great)
- Scissors
- Glue stick or tape
- Markers or crayons for decoration
- Pencil
- Optional: Glitter or stickers for extra flair
- Cut Out the Butterfly Shape:
Start by folding your colored paper in half. Draw half of a butterfly shape on one side, making sure to include the body and wings. Once you're satisfied with your design, cut along the lines while the paper is still folded. Unfold it, and you’ll have a symmetrical butterfly!
- Decorate Your Butterfly:
Now comes the fun part! Use markers or crayons to add patterns and colors to your butterfly. You can draw swirls, dots, or even add some glitter for sparkle. Be creative; there’s no wrong way to decorate!
- Assemble the Butterfly:
If you'd like to make a 3D effect, gently fold the wings upwards. Use a glue stick or tape to attach a small strip of paper (the body) in the center to hold the wings in place.
- Display Your Creation:
Finally, find a lovely spot to show off your beautiful paper butterfly! You can hang it on the wall, place it on your desk, or even attach it to a gift as a special touch.
Also Read This: How to Use YouTube TV in Multiple Locations and Stream Without Restrictions
Creative Variations to Try
Once you've mastered the basic butterfly craft, why not explore some creative variations? Here are a few fun ideas that can add a twist to your paper butterflies:
- Use Different Materials: Experiment with various types of paper like scrapbook paper, origami paper, or even old magazines. Each material will give your butterflies a unique look!
- Add a Nature Touch: Glue real leaves or flower petals onto the wings for a beautiful, natural effect. This can make your butterflies look like they just fluttered out of the garden!
- Make a Butterfly Garland: Create a series of butterflies in different sizes and colors. String them together using yarn or a ribbon for a stunning garland that can brighten up any room.
- Try 3D Butterflies: Instead of a flat design, create a 3D butterfly by cutting two shapes and attaching them at the center with a brad (a type of fastener). This allows the wings to flap!
- Personalize It: Consider adding names or special messages on the butterflies as gifts for friends or family. This adds a personal touch that makes them extra special.
These variations not only amplify your creativity but also make crafting more engaging. So, gather your materials and let your imagination soar with these delightful paper butterflies!
Also Read This: Lovepik: Your Ticket to Stunning Design without Spending a Dime
Tips for a Successful Crafting Experience
Crafting can be a delightful experience, but it often comes with its own set of challenges. To ensure that your paper butterfly craft turns out beautifully and that you have fun along the way, here are some useful tips:
- Choose the Right Paper: Opt for colorful, sturdy paper. Construction paper or scrapbook paper works well. If you want to add some flair, consider patterned paper or even recycled materials.
- Use Sharp Scissors: A good pair of scissors makes all the difference. Dull scissors can cause frustration and jagged edges, so ensure yours are sharp.
- Take Your Time: Rushing can lead to mistakes. Enjoy the process! Allow yourself ample time to create, decorate, and customize your butterflies.
- Experiment with Designs: Don’t hesitate to try different shapes and sizes. Butterflies come in various forms, so let your imagination soar!
- Involve Others: Crafting can be more enjoyable when shared! Invite friends or family to join in, especially children—they’ll love the opportunity.
- Keep Your Workspace Organized: A clutter-free space can enhance your focus and creativity. Have all your materials within reach before you start.
By following these tips, you’ll set yourself up for a fun and successful crafting experience. Remember, the journey is just as important as the final product!
Conclusion and Final Thoughts
Creating a paper butterfly craft is not just about making a beautiful decoration; it’s also about embracing your creativity and enjoying the process. Whether you’re making these butterflies for a specific occasion or just for fun, the joy lies in the details and the memories you create along the way.
As you wrap up your crafting session, take a moment to appreciate your handiwork. Display your butterflies in your home, gift them to loved ones, or even use them in party decorations. Here are some final thoughts to keep in mind:
- Be Proud: No matter how your butterflies turn out, be proud of your effort. Crafting is a personal expression, and every creation is unique.
- Keep Practicing: Like any skill, crafting improves with practice. Don’t hesitate to try new techniques or styles in future projects.
- Share Your Craft: Consider sharing your butterflies on social media or in crafting communities. You might inspire others to join you in this enjoyable hobby.
In the end, the most important part is to have fun and let your creativity flourish. Happy crafting!