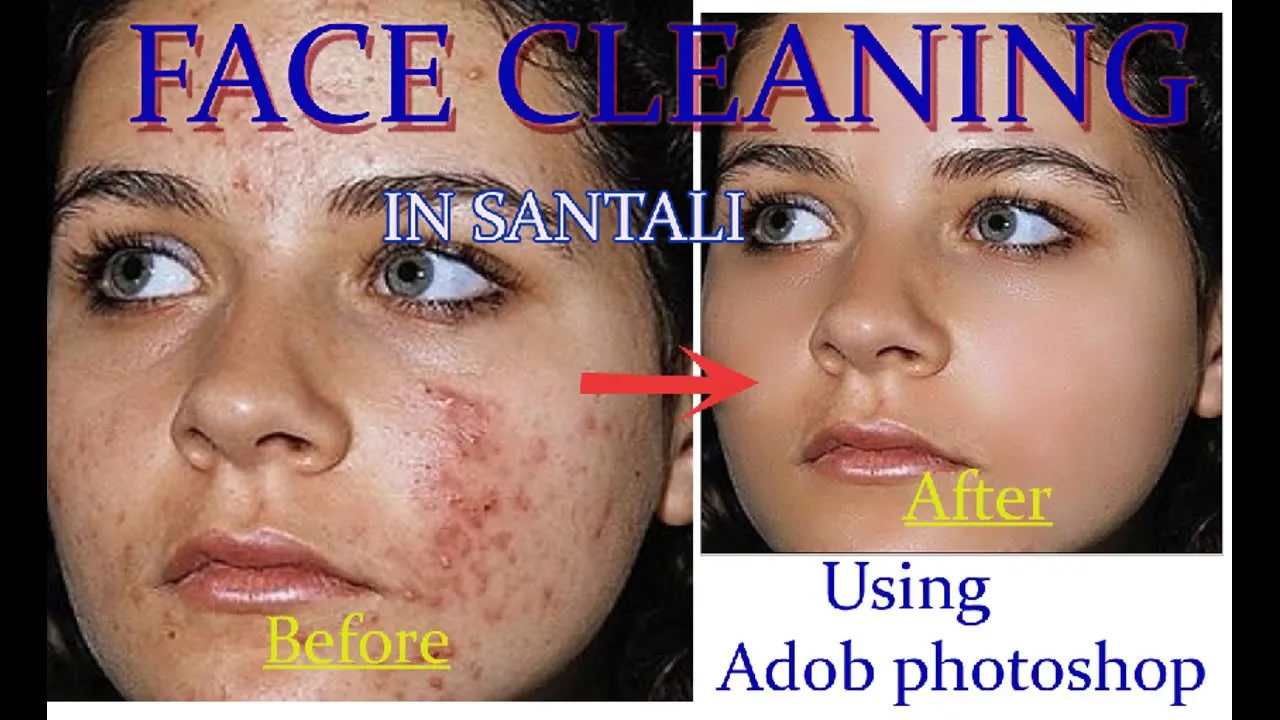
Cleaning your face in Adobe Photoshop 7.0 can seem daunting at first, but it doesn't have to be! Whether you're touching up a portrait, preparing an image for social media, or simply experimenting with your photos, understanding the basics of face cleaning can significantly enhance your editing skills. In this guide, we'll walk you through the essential steps and tools you'll need to achieve a polished look. So grab your favorite image and let’s dive into the world of digital touch-ups!
Essential Tools for Cleaning Faces
When it comes to cleaning faces in Photoshop 7.0, having the right tools at your disposal can make all the difference. Below is a breakdown of the essential tools you’ll be using:
- Clone Stamp Tool: This tool allows you to sample pixels from one part of the image and apply them to another. It's perfect for removing blemishes or imperfections.
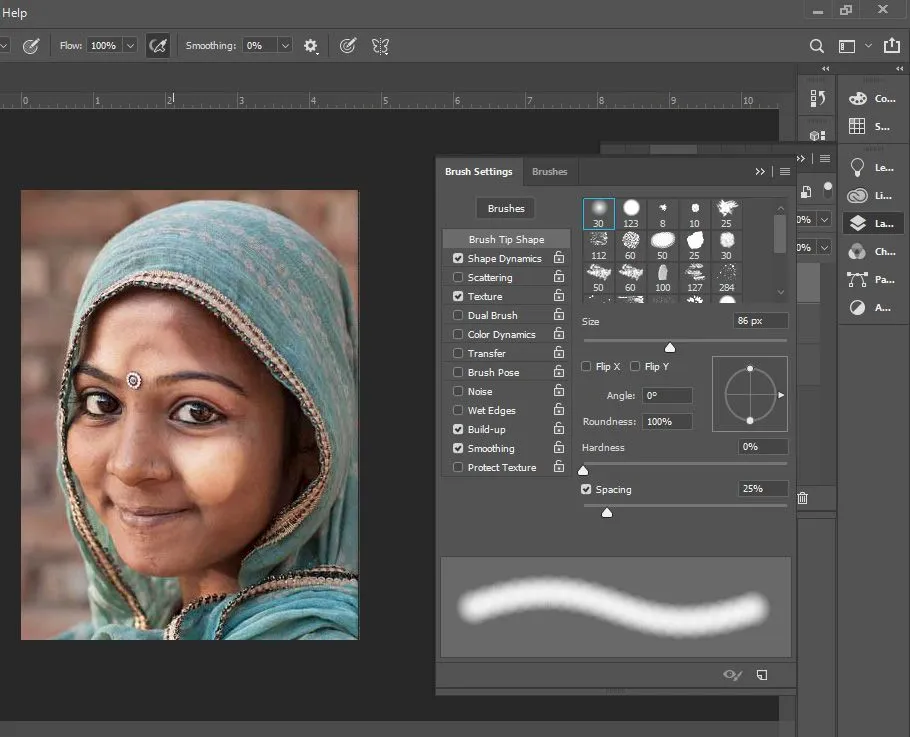
- Healing Brush Tool: Similar to the Clone Stamp, but smarter! The Healing Brush blends the sampled area with the surrounding pixels, making it ideal for skin retouching.
- Spot Healing Brush Tool: This tool automatically samples from the surrounding pixels, making it super easy to fix small blemishes without worrying about matching textures.
- Patch Tool: This is particularly useful for larger areas of skin that need correction. You can select an area and drag it to a cleaner part of the skin to blend.
- Burn and Dodge Tools: Use these to enhance or darken specific areas of the face, helping to define features and add depth.
- Blur Tool: This tool can soften harsh lines or areas that appear too sharp, giving a smoother look to the skin.
By mastering these tools, you can effectively clean your images and achieve a beautiful, natural finish. Experimenting with each tool will help you discover which ones work best for your style and the specific needs of your images.
Also Read This: How LinkedIn Works for Beginners and Job Seekers
3. Step-by-Step Guide to Cleaning Your Face

Cleaning your face in Adobe Photoshop 7.0 can seem daunting at first, but with a little practice, you’ll find it’s as easy as pie! Here’s a straightforward step-by-step guide to help you through the process:
- Open Your Image: Start by launching Photoshop 7.0 and opening the image you want to clean. Go to File > Open and select your image.
- Create a Duplicate Layer: To keep your original image intact, duplicate your layer. Right-click on the layer in the Layers palette and select Duplicate Layer.
- Zoom In: Use the zoom tool (shortcut: Z) to zoom in on the areas you want to clean. This will give you a better view of any blemishes or imperfections.
- Select the Healing Brush Tool: Choose the Healing Brush Tool from the toolbox. It looks like a band-aid! Adjust the brush size according to the area you’re working on.
- Sample an Area: Hold down the Alt key and click on a clean area of skin to sample it. This is the area that will be used to cover the blemish.
- Apply the Brush: Click over the blemish or unwanted spot. Photoshop will blend the sampled area with the surrounding skin, making it look natural.
- Repeat as Necessary: Continue sampling and applying the brush until you’re satisfied with the skin’s appearance.
- Save Your Work: Don’t forget to save your edited image! Go to File > Save As to keep both the original and edited versions.
And there you have it! You’ve successfully cleaned up your face in Photoshop 7.0. Remember, practice makes perfect, so don’t hesitate to experiment!
Also Read This: Effective Strategies to Catch Recruiters' Attention on LinkedIn
4. Using the Clone Stamp Tool
The Clone Stamp Tool is one of Photoshop's most powerful features for cleaning up images, particularly when it comes to retouching your face. Let’s break down how to effectively use this tool:
What is the Clone Stamp Tool? It allows you to paint over an area of your image by sampling pixels from another part. Think of it as a way to “clone” a clean area over blemishes or unwanted marks!
Here’s how to use the Clone Stamp Tool:
- Select the Tool: In the toolbox, select the Clone Stamp Tool. It looks like a rubber stamp!
- Adjust Brush Settings: Before you start, adjust the brush size and hardness in the options bar. A softer brush can help create smoother transitions.
- Sample the Area: Hold down the Alt key and click on an area of clean skin to sample it. This will be the area that’s “cloned” over the blemish.
- Start Painting: Release the Alt key and carefully paint over the imperfections. You’ll see the sampled pixels appearing where you paint!
- Adjust as Needed: You can resample new areas as needed by holding down the Alt key again. This is especially useful if you’re working on different skin tones or textures.
- Use Layer Masks: If you want more control, consider using a layer mask. This lets you refine your edits without permanently altering your image.
With a bit of patience and practice, the Clone Stamp Tool can help you achieve a flawless look. So go ahead, give it a try, and watch your images transform!
Also Read This: How to Make Sausages in a Factory Industrial Process Explained
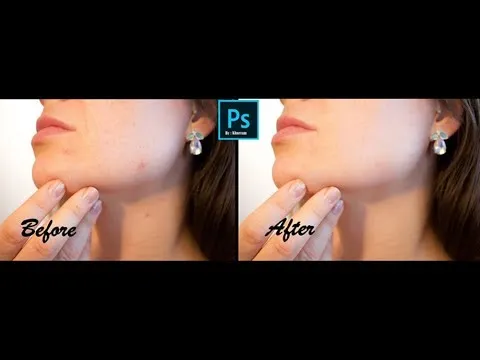
7. Final Touches and Saving Your Work
Once you’ve finished cleaning your face in Adobe Photoshop 7.0, it’s time to add those final touches and save your masterpiece! This step is crucial as it ensures that your work looks polished and professional.
First, let's talk about the final adjustments:
- Zoom In: Before you finish, zoom in to 100% to inspect your work closely. This helps you catch any small blemishes or areas that might need a little more attention.
- Check for Consistency: Ensure that skin tones are even and that there are no abrupt changes in texture. Use the Clone Stamp Tool or the Healing Brush for any necessary tweaks.
- Sharpen the Image: If needed, apply a slight sharpening filter to enhance details. Go to Filter > Sharpen > Unsharp Mask, and adjust the sliders carefully.
Once you’re satisfied with the final look, it’s important to save your work properly. Here’s how:
| Format | Use When |
|---|---|
| PSD | When you want to keep all layers intact for future edits. |
| JPEG | When you're ready to share your image online or print it. |
| PNG | When you need a transparent background or higher quality. |
To save, click on File > Save As and choose your desired format. And voilà! Your cleaned-up image is ready to shine!
8. Tips for Beginners
If you’re just starting with Photoshop 7.0, cleaning your face in images can seem daunting. But fear not! Here are some handy tips to help you ease into the process:
- Practice Makes Perfect: Don’t hesitate to experiment! Load up some practice images and try different tools and techniques without the pressure of perfection.
- Use the Undo Button: Remember, you can always undo any changes. Just hit Ctrl + Z (or Cmd + Z on Mac) to revert to your last action.
- Learn Keyboard Shortcuts: Familiarize yourself with keyboard shortcuts to speed up your workflow. For example, B for Brush, E for Eraser, and V for Move Tool.
- Watch Tutorials: There are countless tutorial videos online specifically for Photoshop 7.0. Watching someone else can provide you with valuable insights and techniques.
- Stay Organized: Keep your layers organized by naming them appropriately. This will make it easier to find specific edits later on.
Above all, have fun with it! The more you play around with Photoshop, the more confident you’ll become. Happy editing!