Changing the background of a picture can completely transform its look and feel. Whether you want to create a professional image for your business or simply make a fun profile picture, Adobe Photoshop 7.0 offers the tools you need. In this guide, we'll walk you through the steps required to change picture backgrounds effectively. So, grab your favorite image and let’s dive in!
Getting Started with Adobe Photoshop 7.0
Before you dive into changing backgrounds, it’s essential to familiarize yourself with Adobe Photoshop 7.0. This version, though a bit older, still packs a punch with its features. Here’s what you need to know to get started:
- Installation: Make sure you have Adobe Photoshop 7.0 installed on your computer. If you haven’t installed it yet, follow the installation prompts from the setup file.
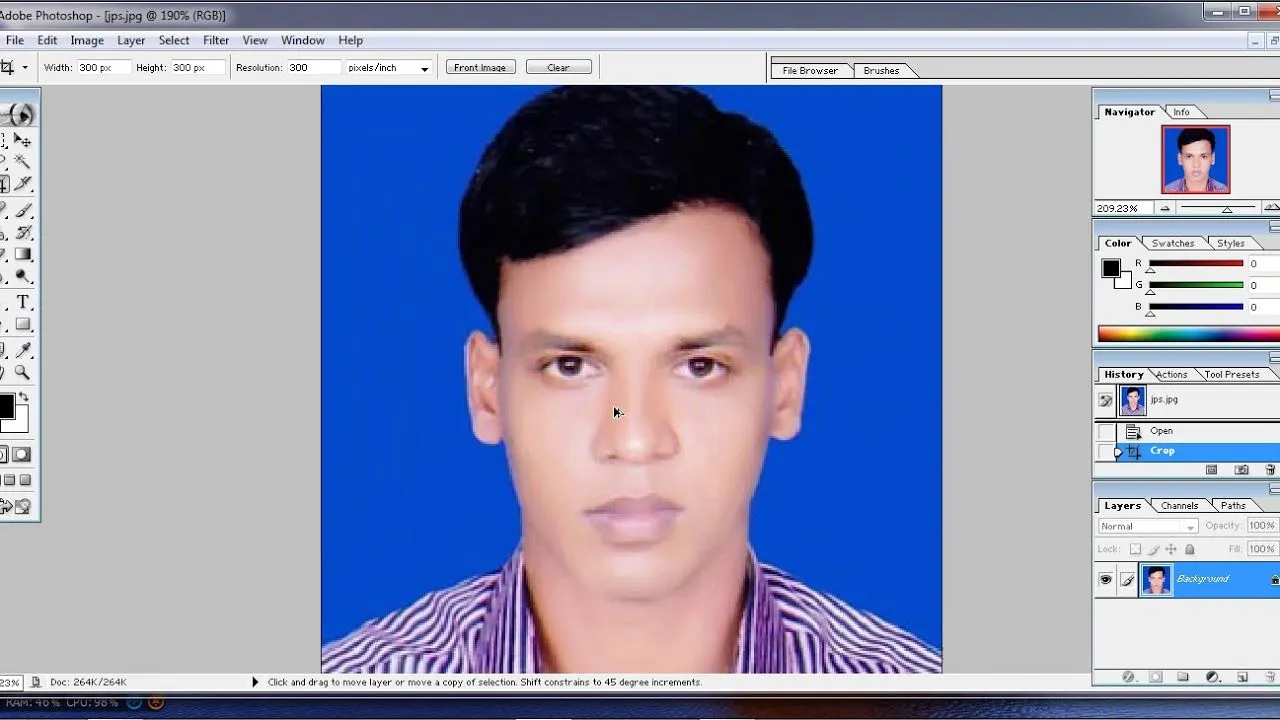
- Opening the Program: Double-click the Photoshop icon to launch it. You’ll see the main workspace where all the magic happens.
- Understanding the Workspace: Familiarize yourself with the layout. The main components include:
- Toolbox: Located on the left, this contains the tools you’ll use for editing.
- Options Bar: Above the workspace, this bar changes based on the selected tool.
- Layers Panel: On the right, this is crucial for managing different layers in your project.
- Opening Your Image: Click on File in the top menu, then select Open to choose the image whose background you wish to change.
By getting a grip on the basics of Adobe Photoshop 7.0, you set yourself up for success in editing your images. Now, let’s move on to the actual process of changing that background!
Also Read This: Find the Best Presentation Templates on Canva
3. Opening Your Image
Let’s kick things off by opening your image in Adobe Photoshop 7.0. It’s a straightforward process, but it sets the foundation for all the fun you’ll have in editing! Here’s how you do it:
- First, launch Adobe Photoshop 7.0 on your computer. Don’t worry; it won’t take long!
- Once it’s up, go to the File menu located at the top left corner of the screen.
- Click on Open from the dropdown. A new window will pop up, allowing you to navigate through your files.
- Locate the image you want to edit. It could be in your Pictures folder or wherever you saved it.
- When you find your image, simply double-click it, or select it and hit Open at the bottom right of the window.
And just like that, your image is now open and ready for editing! You’ll see it appear on your screen, ready for you to dive into the fun world of background removal and replacement. Keep in mind that working with high-resolution images will yield the best results, so try to pick images that are clear and sharp.
Also Read This: Understanding Telegram's Screenshot Notification Feature
4. Selecting the Background

Now that your image is open, it’s time to focus on the background. Selecting it accurately is crucial for a clean edit. Here’s how to do it:
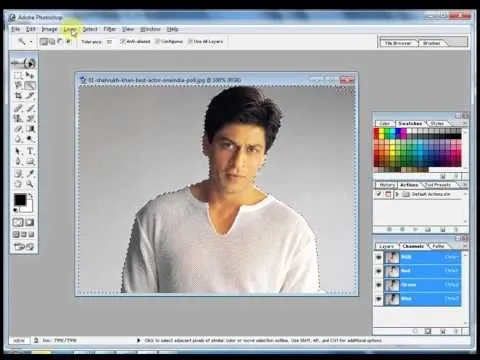
1. *Choose the Right Tool: In the toolbar on the left, you’ll find several selection tools. The Magic Wand Tool is great for solid backgrounds, while the Lasso Tool gives you more freedom to outline complex shapes.
2. Magic Wand Tool: If your background is a single color:
- Select the Magic Wand Tool.
- Click on the background. Adjust the Tolerance in the options bar if necessary—higher values select more colors.
3. Lasso Tool: For intricate backgrounds:
- Select the Lasso Tool.
- Click and drag around the area you want to remove. This requires a steady hand!
4. Refining Your Selection*: After making your selection, you might want to adjust it. You can hold down the Shift key to add to your selection or the Alt key (Option on Mac) to subtract from it.
Once you’ve got your background selected, you’re well on your way to creating a stunning new look for your image! Remember, patience is key, so take your time to make sure it’s just right.
Also Read This: How to Increase Behance Views by Optimizing Your Portfolio for Greater Exposure
Removing the Background
Removing the background in Adobe Photoshop 7.0 can seem daunting, but with the right tools and techniques, it becomes a breeze! Here’s a step-by-step guide to help you through the process.
First, you’ll want to open your image in Photoshop. Once your image is open, follow these steps:
- Select the Magic Wand Tool: This tool allows you to select areas of similar color, making it easier to select the background.
- Adjust the Tolerance: In the options bar, set the tolerance level. A lower value selects fewer colors, while a higher value selects a broader range. Start around 20-30 and adjust as necessary.
- Click on the Background: With the Magic Wand Tool activated, click on the background. If the selection isn't perfect, hold down the Shift key and click on additional areas to add them to your selection.
- Refine Your Selection: Use the Lasso Tool for any tricky areas that the Magic Wand might have missed, refining the edges to ensure a clean cut.
- Delete the Background: Once you’re satisfied with your selection, simply hit the Delete key. Voila! Your background is now removed.
For more complex images, consider using the Layer Mask feature. This allows you to hide the background without permanently deleting it, giving you flexibility for future edits.
Also Read This: Can You Message Someone on LinkedIn Without Premium
Adding a New Background
Now that you’ve successfully removed the background, it’s time to add a new one! This part is where you can really get creative. Here’s how to do it:
Follow these steps to bring in a new background:
- Open Your New Background Image: Go to File > Open and select the image you want to use as your new background.
- Copy the New Background: Use the Select All command (Ctrl + A), then copy it (Ctrl + C).
- Paste It into Your Working Document: Return to your original document and paste the new background (Ctrl + V). It’ll create a new layer.
- Arrange the Layers: In the Layers Panel, drag the new background layer below your main image layer. This way, your subject will be in front of the new background.
- Resize and Position: Use the Free Transform tool (Ctrl + T) to resize and position the background as needed. Hold down the Shift key while dragging to maintain proportions.
Feel free to experiment with blending modes and opacity to make your new background look more natural. And remember, the beauty of Photoshop is that you can always undo and try again!
Also Read This: How to Remove Skills from LinkedIn to Keep Your Profile Relevant
7. Final Adjustments and Saving Your Work
After you’ve meticulously edited your image and are satisfied with your picture's new background, it’s time to make final adjustments and save your masterpiece properly. This step is crucial because it not only enhances the overall quality of your image but also ensures that your hard work isn’t lost.
Here’s what you should keep in mind:
- Check for Edges: Zoom in on the edges of your subject to ensure there aren’t any leftover bits of the old background. Use the Smudge Tool or the Eraser Tool to refine these edges if necessary.
- Adjust Colors: If your subject looks a bit off against the new background, consider using the Color Balance or Hue/Saturation adjustments. This will help your subject blend seamlessly with its new environment.
- Add Filters: Applying a subtle filter can unify the elements of your image. Experiment with different filters to see which enhances your final composition.
- Final Touchups: Use tools like the Clone Stamp or Healing Brush to remove any blemishes or distractions that may have appeared during the editing process.
Once you’re happy with everything, it’s time to save your work. Go to File > Save As and select your desired file format. For web use, JPEG or PNG are great choices. For print, consider saving as a TIFF or PSD to retain layers.
8. Conclusion
Changing a picture’s background in Adobe Photoshop 7.0 might seem daunting at first, but with a bit of practice, it becomes a straightforward process. By following the steps outlined in this guide, you’ve learned how to select your subject, remove the old background, and replace it with a new one, all while making necessary adjustments for a polished finish.
Remember, the key to success in any photo editing project is patience and experimentation. Don’t hesitate to play around with different backgrounds and effects until you find the perfect combination that brings your vision to life.
Now that you’re armed with these skills, go ahead and unleash your creativity! Whether it’s for personal projects, social media, or professional work, the ability to change backgrounds opens up a world of possibilities. Happy editing!