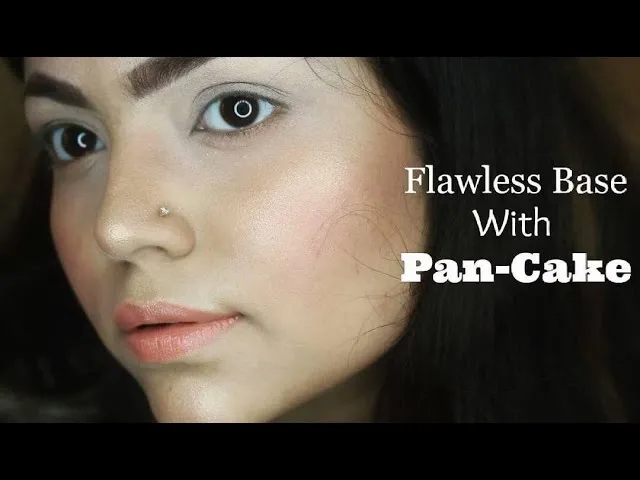
Pancake makeup, a classic in the world of cosmetics, offers a unique way to achieve a flawless finish. Originating in the early 20th century, it gained popularity among stage performers and film stars due to its full coverage and long-lasting effects. Unlike traditional liquid foundations, pancake makeup comes in a solid, compact form. When applied correctly, it can provide a smooth, matte look that’s perfect for both everyday wear and special occasions. So, if you're curious about how to master this technique and enhance your beauty routine, you've come to the right place!
Choosing the Right Pancake Makeup for Your Skin Type
Picking the right pancake makeup is crucial for achieving that perfect look. With so many options available, it can feel overwhelming. Here’s how to make the best choice based on your skin type:
- Oily Skin: Look for oil-free or matte formulas. These types help control shine and keep your makeup in place throughout the day.
- Dry Skin: Opt for a pancake makeup that contains moisturizing ingredients. Creamier formulas can prevent dryness and flakiness.
- Combination Skin: Choose a balanced formula that caters to both oily and dry areas. A lightweight option can provide coverage without feeling heavy.
- Sensitive Skin: Look for hypoallergenic or fragrance-free pancake makeup. This will minimize the risk of irritation and breakouts.
- Acne-Prone Skin: Non-comedogenic options are your best friend. These formulas won’t clog your pores, helping to keep your skin clear.
When selecting your shade, consider:
| Skin Tone | Recommended Undertones |
|---|---|
| Fair | Pink or Peach |
| Medium | Neutral or Warm |
| Deep | Golden or Red |
Taking the time to choose the right pancake makeup for your skin type will not only enhance your look but also ensure that your makeup feels comfortable and lasts all day. Happy makeup applying!
Also Read This: How to Use an ATM Machine â A Beginnerâs Guide
Essential Tools for Application
Before diving into the world of pancake makeup, it’s crucial to gather all the essential tools that will help you achieve that flawless finish. Having the right tools can make a huge difference in how your makeup looks and lasts throughout the day. Here’s a handy list of what you’ll need:
- Pancake Makeup Cake: Obviously, you'll need the pancake makeup itself, which usually comes in a compact form. Choose a shade that matches your skin tone.
- Water Spray: A fine mist of water is essential for activating the pancake makeup and ensuring it glides smoothly onto your skin.
- Makeup Sponge: A damp makeup sponge is perfect for applying pancake makeup, especially for those hard-to-reach areas.
- Foundation Brush: For a more precise application, a foundation brush can help you blend the product seamlessly.
- Setting Powder: After applying pancake makeup, a light dusting of setting powder will help lock everything in place and control shine.
- Mirror: A good quality mirror is essential for applying makeup accurately, especially if it has magnification.
- Makeup Remover: Always have a reliable makeup remover on hand for when it’s time to take your pancake makeup off.
Having these tools at your disposal not only makes the application process smoother but also enhances the overall look of your makeup. Remember, investing in quality tools can elevate your makeup game significantly!
Also Read This: Understanding YouTube's Default Video Quality Settings
Step-by-Step Guide to Applying Pancake Makeup
Now that you’re armed with all the essential tools, let’s get into the nitty-gritty of applying pancake makeup. Follow this step-by-step guide for a flawless finish:
- Prep Your Skin: Start with a clean, moisturized face. Using a primer can also help create a smooth base.
- Wet the Makeup Cake: Lightly spray your pancake makeup cake with water to activate it. You want it damp but not soaked.
- Use Your Sponge: Dab your damp makeup sponge onto the pancake makeup. Make sure to pick up enough product without overloading it.
- Apply the Makeup: Start applying the makeup from the center of your face and work your way outwards. This helps in blending the product seamlessly.
- Build Coverage: If you need more coverage, apply additional layers. Just remember to keep the sponge damp for a smoother finish.
- Blend, Blend, Blend: Use your sponge or foundation brush to blend the makeup into your skin, especially around the jawline and hairline.
- Set with Powder: Once you’re satisfied with the coverage, lightly dust setting powder over your face to keep everything in place.
- Final Touches: Add any additional makeup products like blush, bronzer, or highlighter to complete your look.
And voila! You’re all set to flaunt your pancake makeup look. Remember, practice makes perfect, so don’t hesitate to experiment until you find your rhythm!
Also Read This: Ultimate Guide to Downloading All Videos from a YouTube Channel for Offline Use
Tips for a Flawless Finish
Applying pancake makeup can seem daunting at first, but with the right techniques and tips, you can achieve a flawless finish that lasts all day! Here are some essential tips to keep in mind:
- Prepping Your Skin: Always start with a clean and moisturized face. Use a good primer to create a smooth canvas for your pancake makeup. This will help in even application and better adherence.
- Choose the Right Shade: Selecting the right shade of pancake makeup is crucial. Test a few shades on your jawline and choose one that blends seamlessly with your skin tone.
- Use the Right Tools: Invest in quality makeup brushes or sponges. A damp sponge can help in achieving a more natural finish, while a brush can provide more coverage.
- Layer Gradually: Rather than slapping on a thick layer at once, apply pancake makeup in thin layers. Build coverage gradually to avoid a cakey appearance.
- Set with Powder: After applying pancake makeup, use a translucent setting powder. This step is essential to lock in the makeup and reduce shine.
- Regular Touch-Ups: Carry a compact or some powder with you for quick touch-ups throughout the day. This keeps your makeup looking fresh and polished.
Remember, practice makes perfect! With these tips in mind, you'll be well on your way to mastering the art of pancake makeup.
Also Read This: Streamlining Workflows with Flaticon API Key
Common Mistakes to Avoid
While pancake makeup can provide an incredible finish, there are a few common pitfalls that many people encounter. Avoiding these mistakes can save you a lot of frustration and ensure you look your best:
- Skipping Skincare: Neglecting your skincare routine can lead to uneven application. Always cleanse, exfoliate, and moisturize before applying makeup.
- Overusing Product: More isn't always better! Applying too much pancake makeup can lead to a heavy, cakey look. Start with a small amount and build up as needed.
- Ignoring Skin Type: Different skin types require different products. If you have oily skin, look for matte formulations, while dry skin may benefit from creamier textures.
- Not Blending Properly: Failing to blend your makeup can leave harsh lines and an unnatural appearance. Take your time to blend the edges well.
- Forgetting to Set: Not using a setting powder can cause your makeup to smudge or wear off quickly. Always finish with a setting powder to keep everything in place.
- Neglecting Touch-Ups: Thinking you can set it and forget it might lead to a makeup meltdown by midday. Regular touch-ups can help maintain your flawless look.
Avoiding these common mistakes will help you achieve a stunning pancake makeup look that lasts. Happy applying!
How to Apply Pancake Makeup on Your Face
Pancake makeup, often used in theatrical performances, photo shoots, and special events, is known for its full coverage and long-lasting finish. Here’s a step-by-step guide on how to apply pancake makeup effectively for a flawless look.
What You Need
- Pancake foundation (in your shade)
- Makeup sponge or brush
- Setting powder
- Moisturizer
- Makeup remover
Step-by-Step Application
- Prep Your Skin: Start with a clean, moisturized face. Apply a suitable moisturizer to ensure your skin is hydrated and smooth.
- Choose the Right Shade: Select a pancake foundation that matches your skin tone. Test on your jawline to find the best match.
- Apply the Pancake Makeup: Use a damp makeup sponge or a brush to pick up the pancake foundation. Dab it onto your face, starting from the center and blending outward.
- Build Coverage: For areas needing more coverage, apply a second layer. Ensure to blend well to avoid any harsh lines.
- Set Your Makeup: Once applied, use a light dusting of setting powder to lock in the makeup and reduce shine.
Tips for a Flawless Finish
| Tip | Description |
|---|---|
| Use a Primer | Applying a primer can help the pancake makeup adhere better and last longer. |
| Blend Well | Take your time to blend the edges for a seamless finish. |
| Remove Properly | Always use a makeup remover to thoroughly cleanse your face after wearing pancake makeup. |
In conclusion, applying pancake makeup can create a stunning, polished look when done correctly. With the right products and techniques, you can achieve a flawless finish that lasts throughout the day.