Crackle nail polish is a fun and creative way to add a unique twist to your nail art. Unlike regular nail polish, crackle polish creates an eye-catching, textured finish that resembles cracked paint on your nails. This trend has gained popularity over the years, allowing nail enthusiasts to express their individuality and creativity. In this guide, we’ll explore the ins and outs of applying crackle nail polish, ensuring you can achieve that perfect cracked effect with ease. So, let’s dive into the colorful world of crackle nails!
Choosing the Right Base Color
One of the most crucial steps in achieving stunning crackle nail art is selecting the right base color. Your base coat sets the tone for the entire look, so it's essential to choose wisely. Here’s a simple breakdown to help you make the best decision:
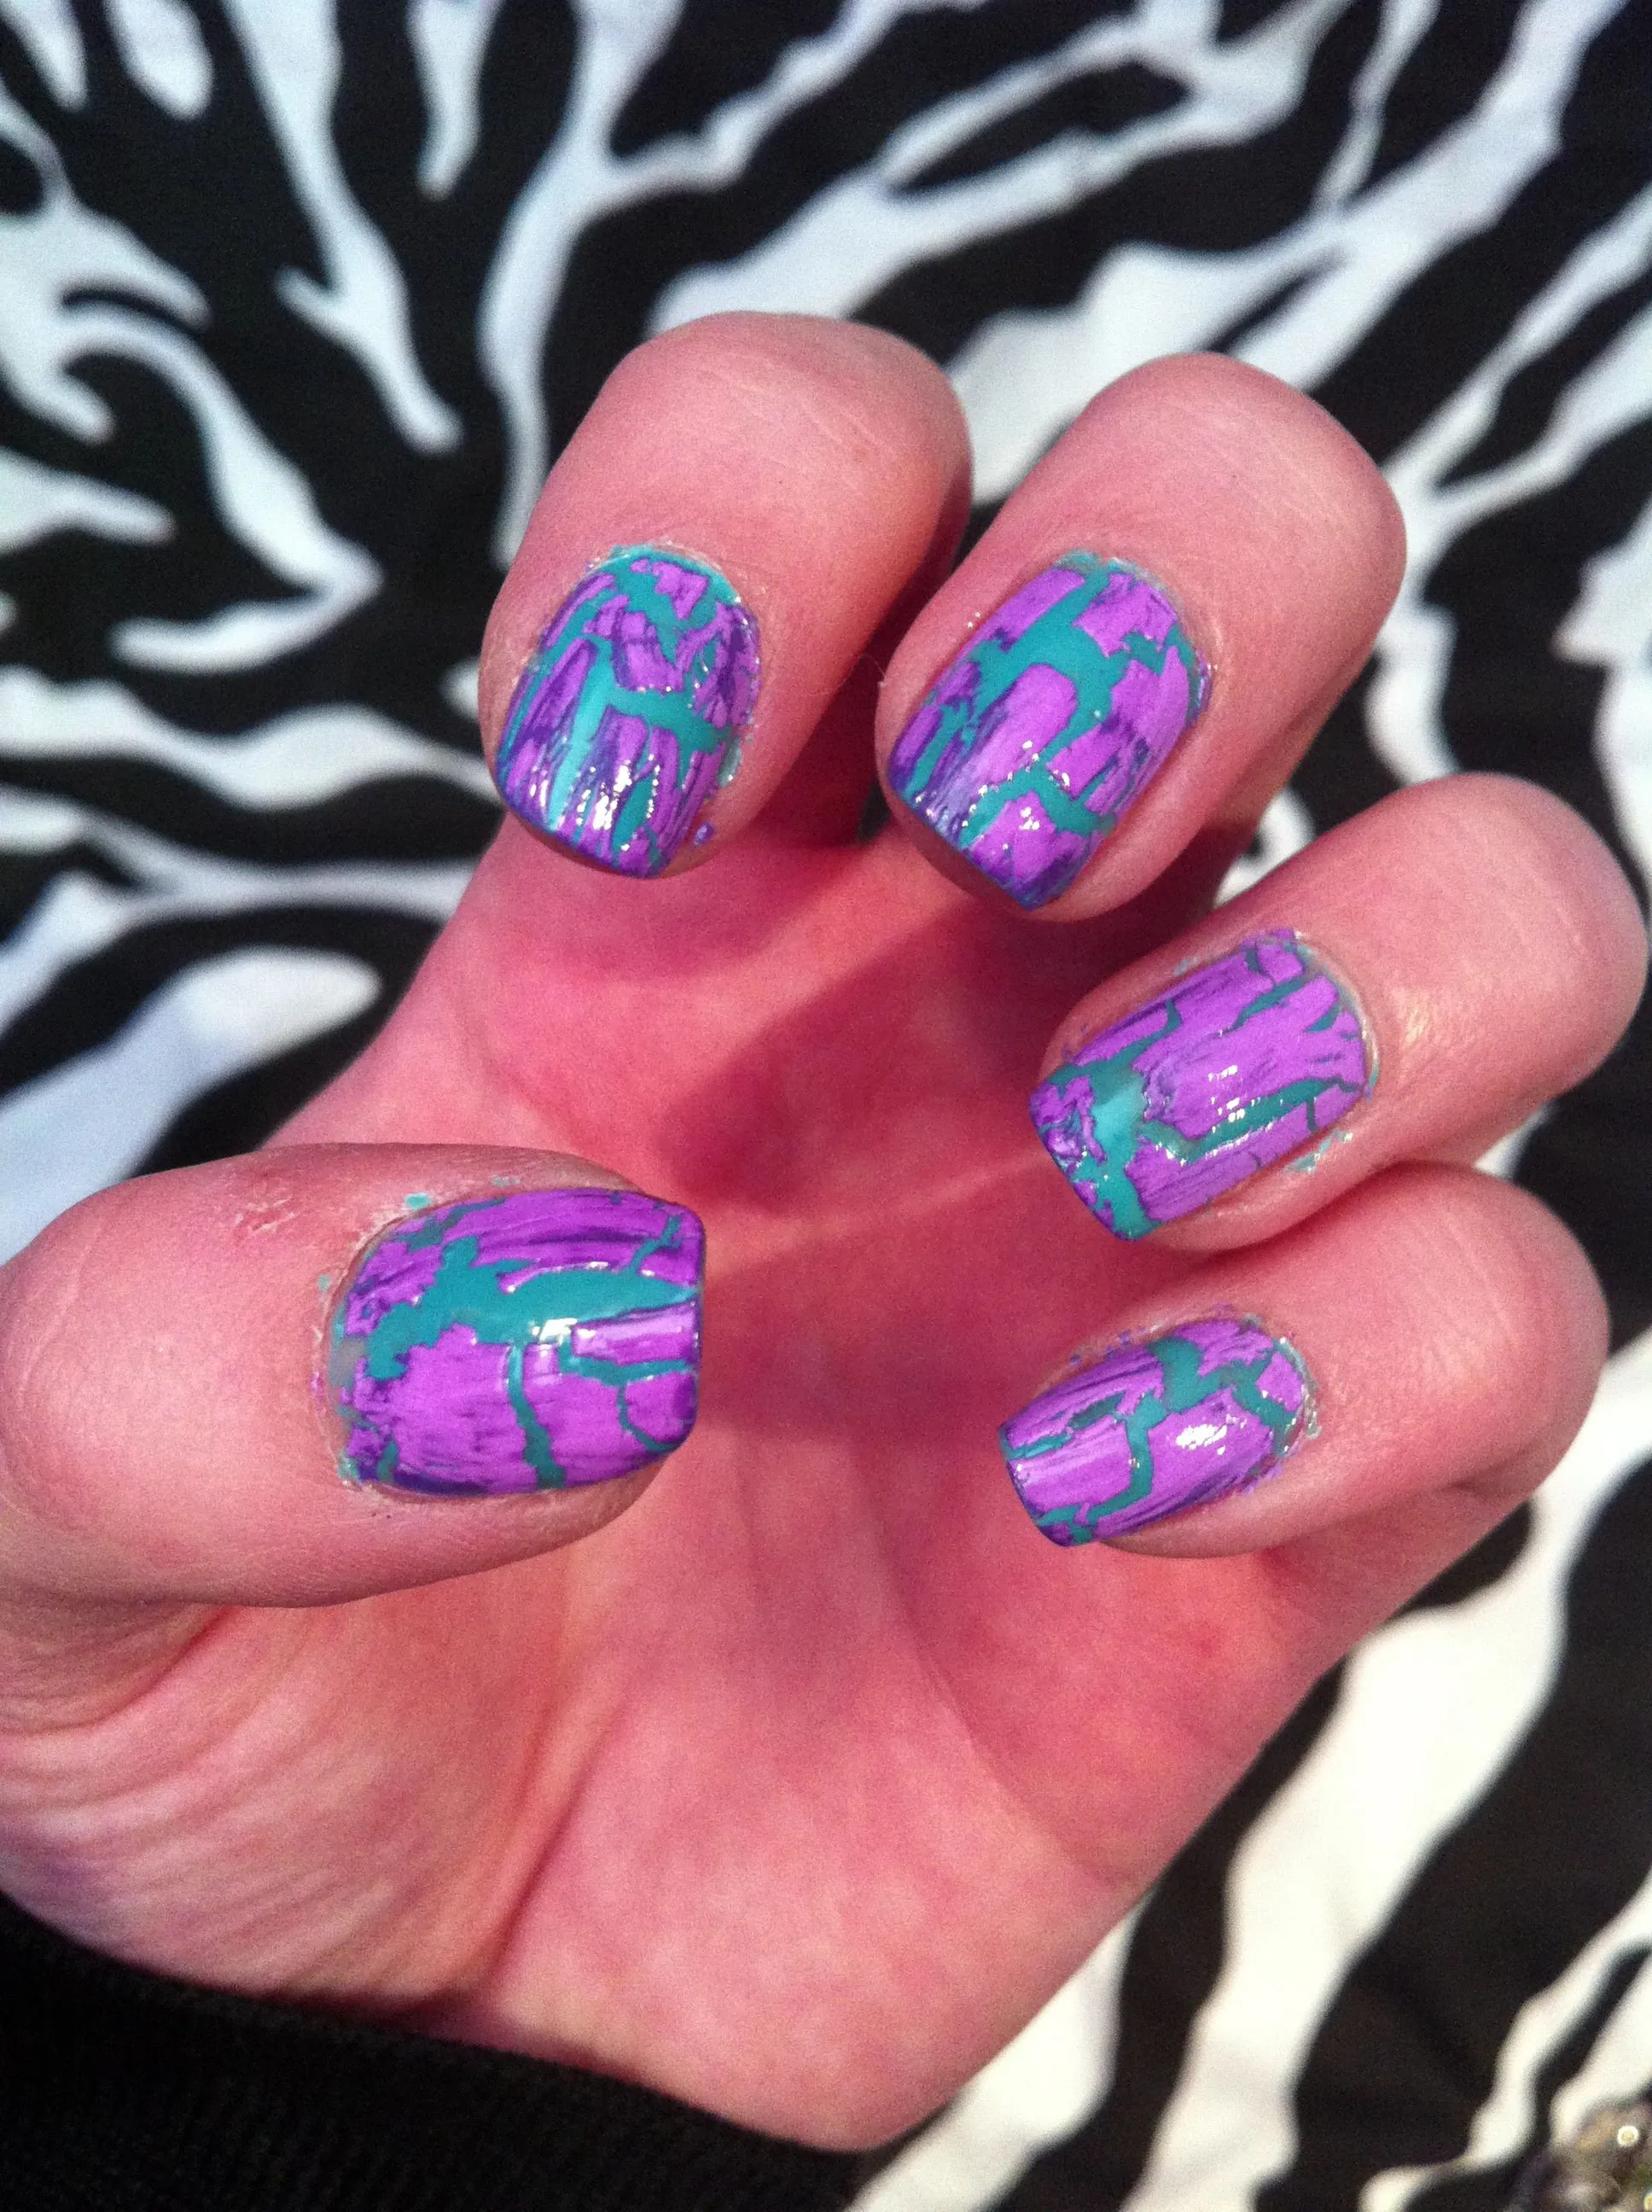
- Contrast is Key: For the crackle effect to stand out, opt for a base color that contrasts well with your crackle polish. For instance, if you’re using a black crackle polish, consider a bright color like pink, blue, or white as your base.
- Experiment with Neutrals: If you want a more subtle look, neutrals like beige, taupe, or gray can work beautifully. They provide a sophisticated backdrop while allowing the crackle effect to shine.
- Metallics and Shimmers: For a touch of glam, metallic or shimmery polishes can add a stunning dimension to your nail art. Silver, gold, or holographic shades can create an eye-catching contrast with crackle finishes.
- Seasonal Colors: Don’t hesitate to play around with seasonal palettes! Think warm reds and oranges for fall or cool blues and greens for summer. Match your base color to the vibe you’re aiming for.
In summary, when choosing a base color for your crackle nail polish, prioritize contrast, experiment with different finishes, and let your creativity flow! The right base will not only enhance the crackle effect but also make your nail art a true standout.
Also Read This: Effective Workouts to Shed Weight from Thighs and Hips
Applying Crackle Nail Polish
Applying crackle nail polish can be a fun and creative process! It’s all about layering and watching the magic happen as the polish dries. Here’s how to do it step-by-step:
- Start with a Base Coat: Before diving into the crackle effect, always begin with a clear base coat. This not only protects your nails but also helps the color adhere better.
- Choose Your Base Color: Pick a solid nail polish color as your base. It could be anything from a vibrant red to a soft pastel. Apply two coats of this polish and let it dry completely.
- Apply Crackle Polish: Once your base color is dry, it’s time for the crackle polish! Use a medium-thick layer of crackle polish and apply it quickly. The thickness of the layer will influence the size of the cracks, so experiment to find what works best for you.
- Watch the Magic: As the crackle polish dries, you’ll notice it starting to crack and reveal your base color underneath. This is where the real fun begins! Give it a few minutes to fully dry.
- Seal It Up: Once everything is dry, finish with a clear top coat. This not only adds shine but also enhances the longevity of your nail art.
And just like that, you have unique and eye-catching nails that are sure to turn heads!
Also Read This: Why Is 123RF Image Downloader the Go-To Tool for Budget-Conscious Designers?
Tips for Achieving the Best Results
To make sure your crackle nail art turns out fabulous, here are some handy tips to keep in mind:
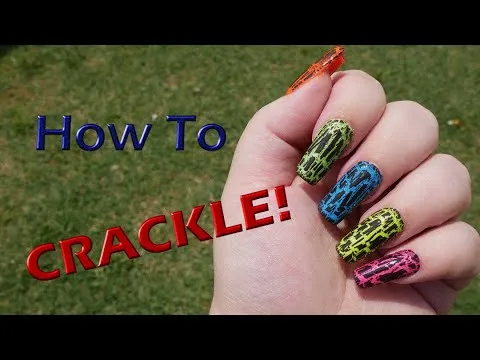
- Experiment with Colors: Don’t shy away from mixing and matching colors! A dark base with a light crackle can create a stunning contrast.
- Use Quick-Dry Products: To speed up the drying process, consider using quick-dry base and top coats. This helps prevent smudging and allows for layering without the long wait.
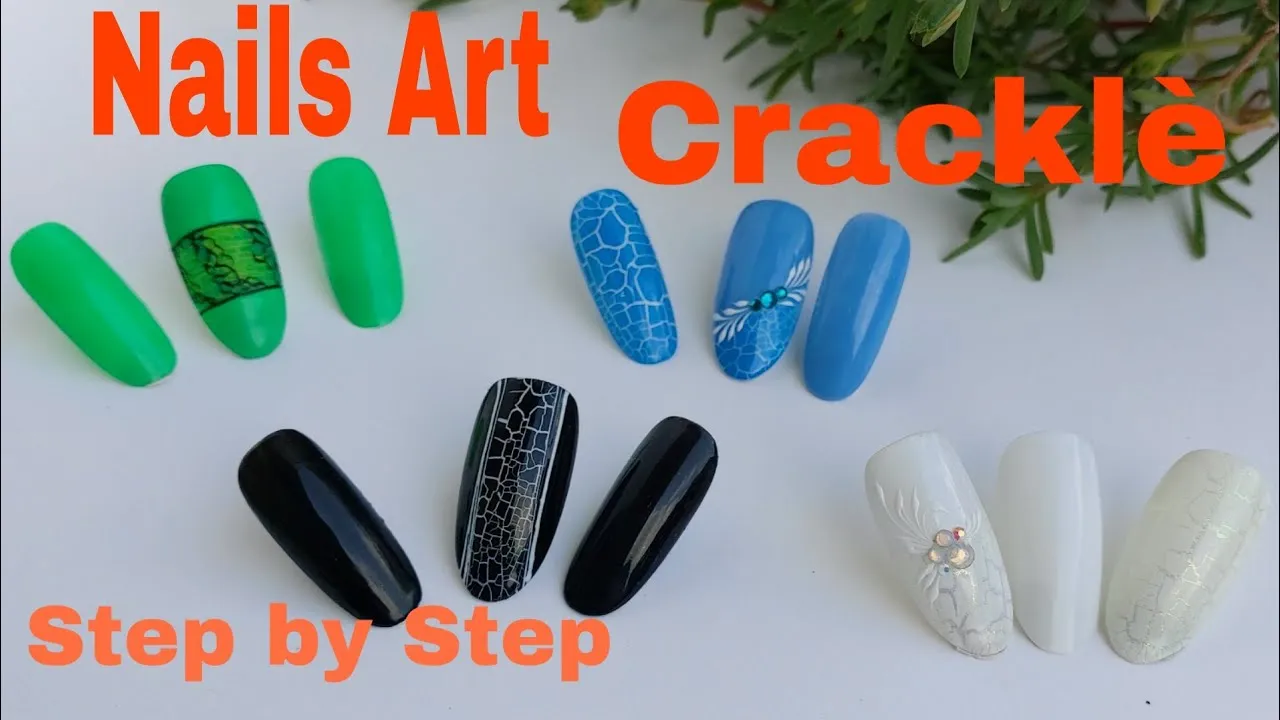
- Try Different Techniques: Play around with different application techniques, like using a sponge for a softer crackle effect or a brush for more defined cracks.
- Practice Makes Perfect: If your first attempt doesn’t turn out as expected, don’t get discouraged! Each application can teach you something new.
- Limit Nail Size: Crackle polish works best on shorter nails. If you have long nails, consider applying it only to the tips or as an accent nail.
With these tips in your arsenal, you’re well on your way to achieving stunning crackle nail art that showcases your personality and style!
Also Read This: Bypassing Fortiguard Downloader’s Intrusion Prevention Access Blocks
Creative Nail Art Ideas with Crackle Polish
If you're looking to elevate your nail game, crackle nail polish is a fantastic choice! Its unique texture adds a stylish twist to your manicure. Here are some creative nail art ideas that you can try:
- Layered Crackle: Start with a solid base color. Once it dries, apply a layer of crackle polish in a contrasting color. The result? A chic, layered look that’s bound to turn heads!
- Ombre Effect: Combine the crackle technique with an ombre effect. Paint your nails with a gradient base, then add crackle polish on top. This creates a stunning visual contrast.
- Accent Nails: Choose one or two nails on each hand to apply crackle polish. This minimalist approach draws attention to your unique nail art without overwhelming your look.
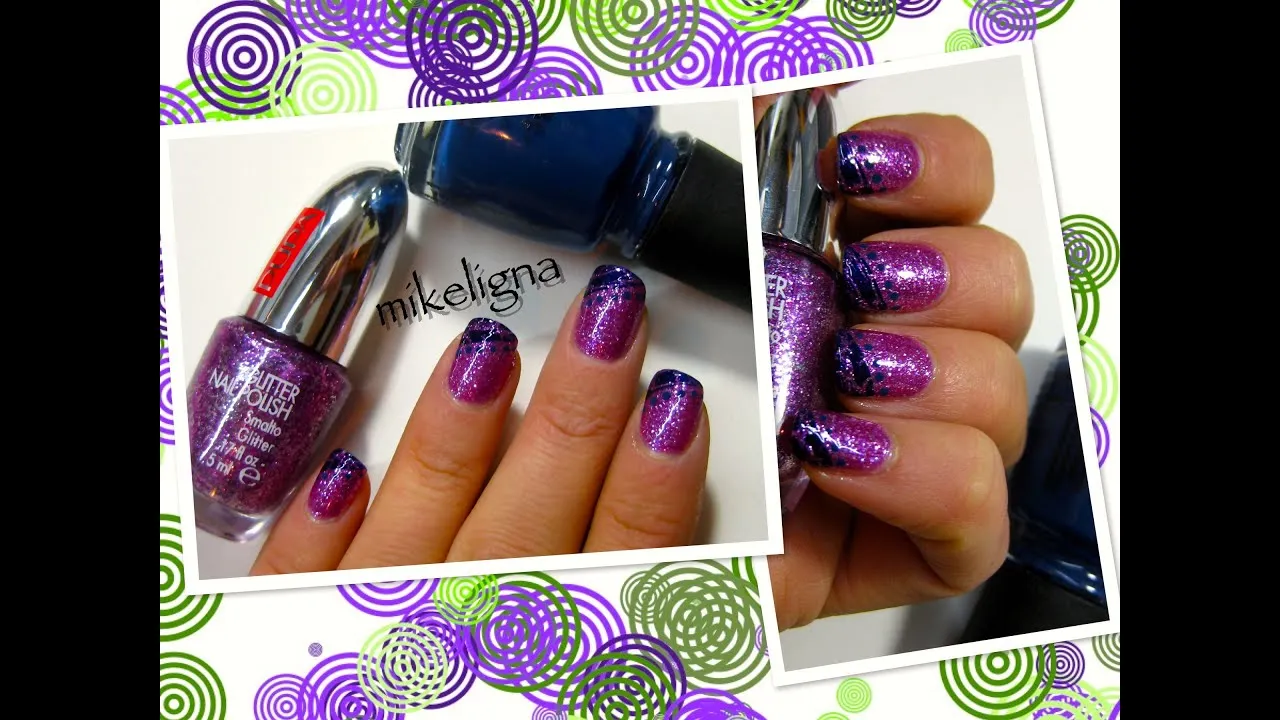
- Glitter Underneath: For a bit of sparkle, apply a layer of glitter polish before your crackle polish. The glitter peeking through the cracks adds a dazzling touch!
- Stencils and Stickers: Use nail stencils or stickers before applying crackle polish. Once you peel them off, the design will show through, creating intricate patterns.
With these ideas, you can mix and match styles to find what speaks to your personality. The beauty of crackle polish lies in its versatility—so let your creativity run wild!
Also Read This: How to Record Gameplay on YouTube TV as a Beginner
Common Mistakes to Avoid
While crackle nail polish can produce stunning results, there are some common pitfalls you’ll want to sidestep. Here’s a list of mistakes to watch out for:
- Applying Too Thickly: One of the biggest mistakes is applying crackle polish too thick. A thin layer is crucial for achieving that desired crackle effect.
- Using Dried-out Polish: Ensure your crackle polish is fresh. Using old or dried-out polish can lead to an unappealing finish.
- Neglecting a Base Coat: Always apply a base coat! It not only protects your nails but also helps the crackle polish adhere better.
- Rushing the Drying Process: Patience is key! Make sure each layer dries completely before moving on to the next step.
- Overdoing the Design: Sometimes, less is more. Avoid using too many colors or patterns, as this can make your nails look cluttered.
By avoiding these common mistakes, you can ensure a flawless application and stunning results. Happy nail painting!
How to Apply Crackle Nail Polish for Unique Nail Art
Crackle nail polish is a fun and creative way to achieve unique nail art that stands out. This type of polish creates a distinctive cracked effect as it dries, allowing for a variety of artistic expressions. Here’s a step-by-step guide on how to apply crackle nail polish effectively:
- Gather Your Supplies:
- Base coat
- Color nail polish (base color)
- Crackle nail polish
- Top coat
- Nail art brush (optional)
- Nail file and buffer
- Prepare Your Nails:
Start by cleaning your nails and removing any old polish. Shape your nails using a nail file and buff the surface to ensure smooth application.
- Apply Base Coat:
Apply a base coat to protect your nails and enhance polish longevity. Let it dry completely before moving on.
- Apply Color Nail Polish:
Choose a vibrant color for your base and apply one or two coats, allowing each layer to dry thoroughly.
- Apply Crackle Polish:
Once the base color is dry, apply a thin layer of crackle nail polish. The thickness of the layer will affect the size of the cracks. Wait for it to dry completely.
- Finish with Top Coat:
Seal your design with a top coat to add shine and protect the art. Let it dry completely.
By following these steps, you can create stunning, crackled nail art that adds a playful twist to your manicure. Experiment with different colors and combinations to find your perfect look!
Conclusion: Applying crackle nail polish is an enjoyable process that allows for creativity and personalization in your nail art, making it a fantastic choice for anyone looking to enhance their manicure with a unique touch.