Are you an artist, designer, or creative looking to showcase your work to a broader audience? Behance is the perfect platform for you! It allows you to upload your projects, connect with fellow creatives, and gain inspiration from others. In this guide, we’ll walk you through how to add new projects in Behance and organize your latest creations effectively. Let’s dive in!
Creating a Behance Account

Before you can upload your amazing projects to Behance, you need to create an account. Here’s a step-by-step guide to get you started:
- Visit the Behance website: Go to www.behance.net.
- Click on 'Sign Up': You’ll find this option at the top right corner of the homepage.
- Choose a Sign-Up Method: You can register using your Adobe ID, or sign up with your email address. If you prefer a more straightforward approach, using your existing Adobe account is recommended.
- Fill in Your Details: If you choose to sign up with your email, you’ll need to provide your name, email, and create a password. Remember to use a strong password!
- Customize Your Profile: Once registered, fill out your profile with a photo, bio, and links to your social media. This helps others know more about you and your work.
- Verify Your Email: Check your inbox for a verification email from Behance and click the link to confirm your account.
Congratulations! You’ve successfully created your Behance account. Now you're ready to start uploading your projects and sharing your creativity with the world. Happy showcasing!
Also Read This: Customize Designs with Canva Customizable Templates
Steps to Upload a New Project
Uploading a new project on Behance is a straightforward process that lets you showcase your creativity to the world. Here’s how to do it step by step:
- Log in to Your Account: First things first, head over to the Behance website and log into your account. If you don’t have one yet, signing up is quick and easy!
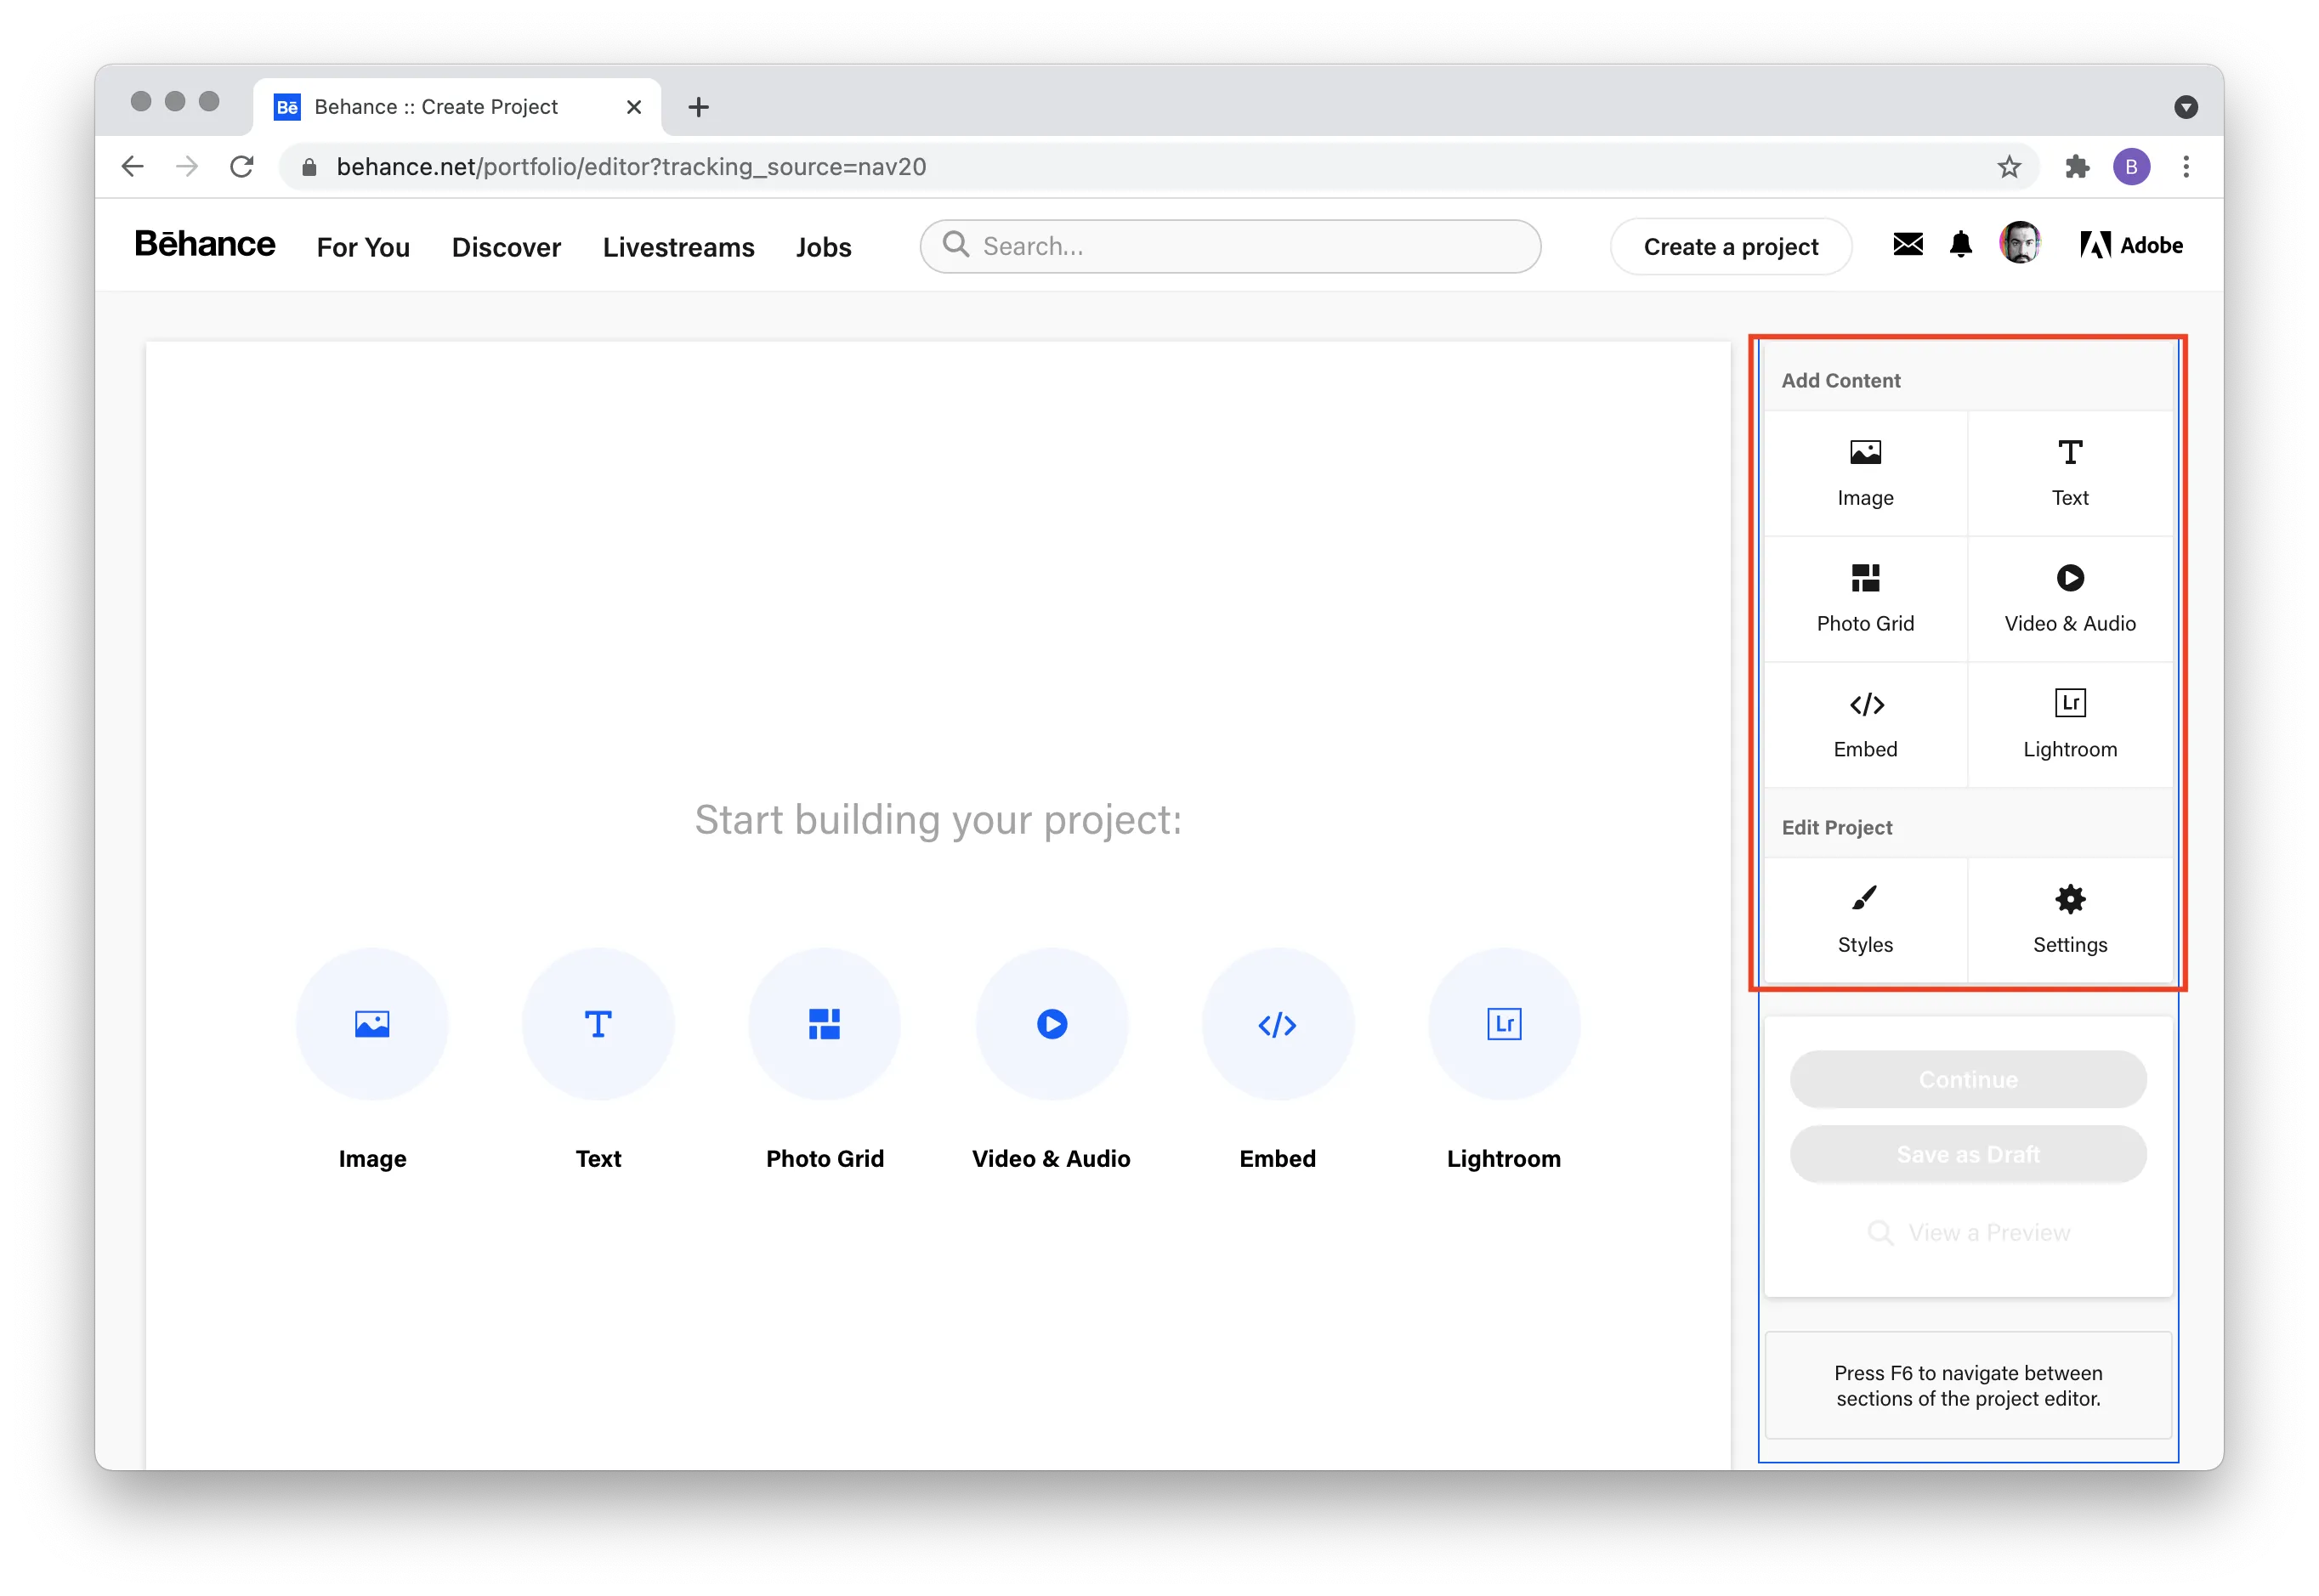
- Click on the “Create a Project” Button: Once logged in, look for the big “Create a Project” button on your dashboard. It’s usually right at the top. Give it a click!
- Add Your Content: You can now start adding your project materials. This includes images, videos, and text. Drag and drop files directly into the upload area—super simple!
- Arrange Your Media: After uploading, you can rearrange your images and videos. Just drag them around to create the perfect flow. This is your chance to tell a visual story!
- Write a Captivating Project Description: This is where you can shine! Craft a compelling description that explains your project. Use bullet points for key details or concepts to make it easy to read.
- Add Tags and Tools: Don’t forget to add relevant tags and tools used in your project. This helps others find your work easily!
- Publish Your Project: Once you’re satisfied with everything, hit the “Publish” button. Your project is now live for the world to see!
Also Read This: Create Reporting Templates with Canva Reporting Template
Organizing Your Project Content
Effective organization of your project content on Behance can significantly enhance viewer engagement. Here are some tips to help you keep things tidy and attractive:
- Use Sections Wisely: Break your project into sections. For instance, if you’re showcasing a branding project, consider separate sections for research, concept development, and final designs.
- High-Quality Visuals: Always use high-resolution images. Blurry or pixelated visuals can detract from the professionalism of your work.
- Consistent Formatting: Maintain uniformity in font styles and sizes throughout your project. This gives your presentation a polished look.
Additionally, consider incorporating the following:
| Type of Content | Purpose |
|---|---|
| Images | Visual representation of your work |
| Videos | To demonstrate processes or animations |
| Text Descriptions | Provide context and background information |
By organizing your project thoughtfully, you not only showcase your work effectively but also make it enjoyable for viewers to navigate through your creative journey!
Also Read This: Why Wonât My YouTube Video Upload
5. Adding Project Details and Metadata
When it comes to showcasing your work on Behance, the details matter! Adding project details and metadata is crucial for helping potential clients and collaborators understand your project and find it through searches. Let's dive into how you can make your project shine.
- Title: Start with a catchy title that reflects your project's essence. A great title grabs attention and gives viewers a glimpse of what to expect.
- Description: In this section, provide context about your project. What was your inspiration? What challenges did you face? This is your chance to tell a story! Aim for 100-200 words to keep it concise yet informative.
- Tags: Use relevant tags to categorize your work. Think about keywords that relate to your project. For example, if you designed a logo, tags like "graphic design," "branding," and "logo design" can help others find your work.
- Tools Used: Listing the tools and software you used not only gives credit to the resources but also helps others in the community looking for similar projects. You might include tools like Photoshop, Illustrator, or even specific coding languages.
Finally, don’t forget to add a captivating cover image! This is the first thing people will see, so make it count. By carefully curating your project details, you'll enhance visibility and engagement, making it easier for your audience to connect with your work.
Also Read This: Effective Natural Tips for Removing Dark Circles
6. Publishing Your Project
Once you've added all the necessary details, it’s time for the exciting part—publishing your project! This final step is all about sharing your hard work with the world.
- Preview: Before hitting that publish button, take a moment to preview your project. Ensure everything looks perfect—from images to text formatting. This is your last chance to make any tweaks!
- Publish Settings: Behance allows you to choose your project's visibility. You can keep it public or restrict it to just your followers. Consider your audience: do you want to attract new viewers or share with a close-knit community?
- Social Media Sharing: Once you're ready to publish, Behance provides options to share your project on social media platforms directly. This can amplify your reach and drive traffic back to your profile.
- Engagement: After publishing, be proactive! Respond to comments and feedback. Engaging with your audience not only builds community but also encourages more interactions with your work.
And there you have it! Publishing on Behance is just the beginning of showcasing your creativity. With each project, you’re not just sharing your work; you’re building a portfolio that reflects your journey as an artist.
Also Read This: Highlights of the 2023 Royal Rumble Winner
7. Sharing and Promoting Your Work
Once you've uploaded your latest projects on Behance, the next step is to share and promote them effectively. Remember, it's not just about showcasing your work; it's about getting it in front of the right audience!
Here are some creative ways to promote your projects:
- Social Media Buzz: Leverage platforms like Instagram, Twitter, and Facebook. Share snippets of your projects, behind-the-scenes content, or even time-lapse videos of your creative process. Use relevant hashtags to increase visibility.
- Engage with the Community: Interact with other creatives on Behance. Comment on their projects, join discussions, and participate in group activities. This not only builds relationships but also encourages them to check out your work in return.
- Email Newsletters: If you have a mailing list, send out an engaging newsletter highlighting your latest projects. Include stunning visuals and direct links to your Behance profile.
- Collaborate with Others: Team up with fellow artists or influencers to cross-promote each other’s work. A shout-out from someone with a wider audience can significantly boost your visibility.
- Showcase on Your Website: If you have a personal website or portfolio, be sure to link back to your Behance projects. This drives traffic and helps potential clients see your breadth of work.
Remember, the more you engage and promote, the more visibility your projects will gain. It's all about building a community and showcasing your unique perspective!
8. Conclusion
In conclusion, adding new projects to Behance is just the beginning. The platform provides an excellent opportunity to display your work, but the real magic happens when you share and promote it effectively.
Here’s a quick recap of what we discussed:
- Upload high-quality visuals: Ensure your projects are visually appealing and well-organized.
- Craft engaging stories: Tell the story behind your projects; it allows viewers to connect with your work.
- Network actively: Engage with other creatives and participate in the Behance community.
- Promote wisely: Utilize social media, newsletters, and collaborations to spread the word about your projects.
Ultimately, your success on Behance hinges on how well you present and promote your work. So, roll up your sleeves and start showcasing your creativity to the world! Happy creating!