If you're looking for a fun and creative way to express yourself, paper nails crafting might just be the perfect activity for you! This inventive art form allows you to design and create beautiful nail art using simple materials. Whether you’re a seasoned crafter or just starting out, this project is accessible and enjoyable for all ages. Plus, it’s a fantastic way to spend an afternoon with friends or family. So grab your scissors and get ready to dive into a world of color and creativity!
Materials Needed for the Craft
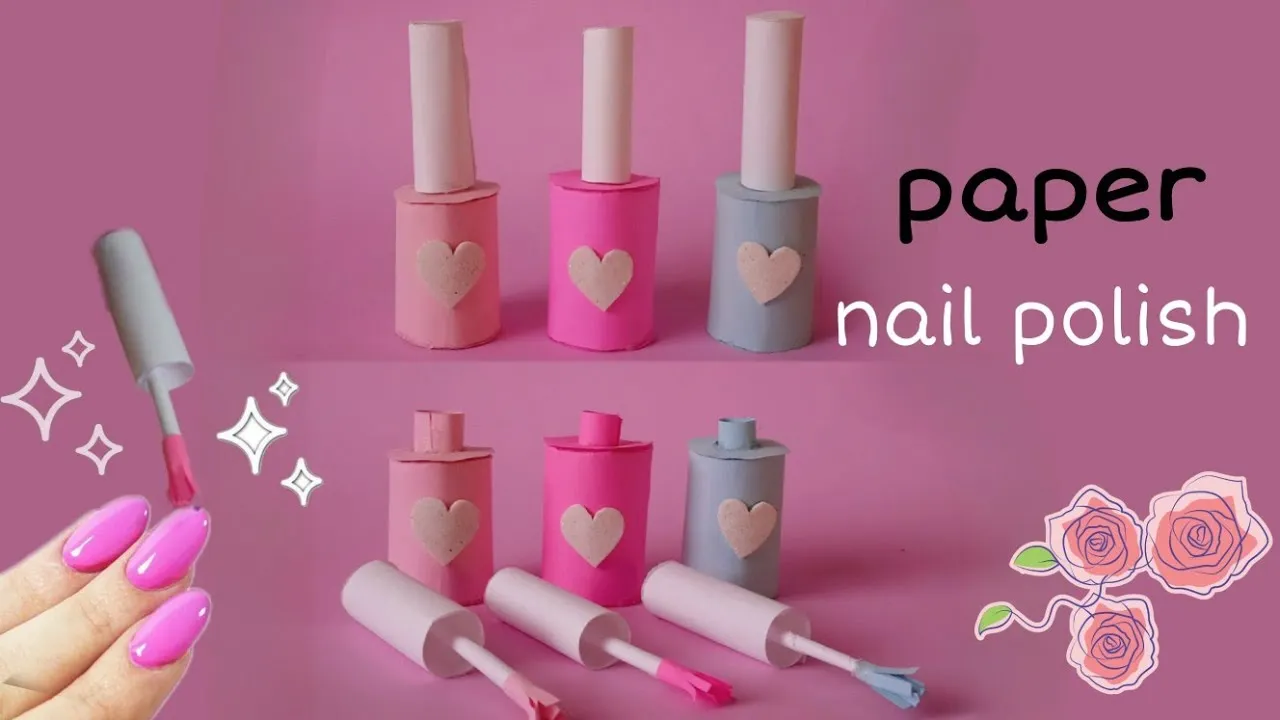
Before we get started on our paper nails craft, let’s gather all the materials you’ll need. The good news is, most of these items can be found around your home or at your local craft store. Here’s a handy list to help you out:
- Colored Paper: Choose a variety of colors for a vibrant nail design.
- Scissors: Make sure they are sharp enough to cut through paper easily.
- Glue or Double-sided Tape: This will help secure the paper nails onto your own nails or a nail template.
- Nail Template or Fake Nails: These can serve as a base for your paper nails.
- Markers or Pens: Use these for adding details, patterns, or designs to your paper nails.
- Embellishments: Think sequins, glitter, or stickers to add some pizzazz to your creations!
- Clear Nail Polish (optional): This can be used to seal your designs for a more polished look.
Once you have all these materials ready, you’re all set to unleash your creativity and craft some stunning paper nails. It’s time to let your imagination run wild!
Also Read This: How to Download Shutterstock Images from Lightbox for Your Needs
3. Step-by-Step Instructions

Ready to dive into the world of crafting fun paper nails? Let’s break it down into simple, easy-to-follow steps. Grab your materials, find a cozy spot, and let's get started!
- Gather Your Materials: You will need some colorful paper (construction paper works great), scissors, a pencil, and some tape or glue. Optional extras include glitter, stickers, or nail polish for that extra flair.
- Trace Your Nails: Place one of your hands on the paper and gently trace around each nail. You can also measure the width and length of your nails for a more precise fit. Remember, it doesn’t have to be perfect!
- Cut Out the Shapes: Once you’ve traced your nails, use scissors to carefully cut out the shapes. Be sure to cut along the lines for a clean finish. If you're feeling adventurous, try different shapes like stiletto or square!
- Decorate Your Nails: Here comes the fun part! Use your markers, glitter, or stickers to decorate each nail. Let your creativity shine! Think about themes like polka dots, stripes, or even floral patterns.
- Attach Your Nails: Once your designs are complete, it's time to attach them. You can use tape or glue to stick them onto your real nails. If you're using tape, just place a small piece on the back of each paper nail and press it onto your nail.
- Show Off Your Work: Voilà! You’ve created your own paper nails. Now, take a selfie and show off your new look! Share your creations with friends or on social media for added fun!
Also Read This: eStockPhoto: Building a Cohesive Brand Image
4. Creative Ideas for Customizing Your Paper Nails
Why stop at just one design when you can let your imagination run wild? Here are some creative ideas for customizing your paper nails that will make your nails truly stand out!
- Themed Nails: Choose a theme that resonates with you, such as holidays, seasons, or even your favorite movie. For instance, for Halloween, you can create spooky designs like bats or pumpkins!
- Add Texture: Use materials like lace, fabric, or even faux fur to add texture to your nails. Just cut them into the desired shape and glue them on for a unique look.
- Layering: Try layering different colors or patterns for a 3D effect. Start with a base color and then add another layer of a contrasting design on top.
- Personalize with Initials: Write your initials or a small symbol that represents you on your nails. This adds a personal touch and makes them uniquely yours!
- Glow-in-the-Dark: Use glow-in-the-dark paint or stickers to create nails that shine in the dark. Perfect for parties or sleepovers!
- Use Nail Art Tools: If you have nail art pens or brushes, use them to create intricate designs like flowers, hearts, or geometric shapes. The possibilities are endless!
Get creative and have fun with your paper nail designs! Remember, there are no rules in crafting—just enjoy the process!
Also Read This: Exploring Long Exposure Photography: Tips and Techniques
Tips for a Successful Crafting Experience
Crafting with paper nails can be a delightful experience, but having a few tips up your sleeve can make it even more enjoyable. Here are some handy pointers to ensure your crafting session goes as smoothly as possible:
- Choose the Right Paper: Opt for cardstock or a thicker paper to give your nails more durability. This way, they won't tear easily while you're working with them.
- Gather Your Supplies: Before you start, collect all the materials you'll need. This can include scissors, glue, a pencil, and any decorative items like stickers or glitter. Having everything at hand keeps the creative flow going!
- Practice Your Designs: If you're trying out new patterns or styles, consider doing a rough sketch on scrap paper first. This can help you visualize the final look without wasting materials.
- Take Your Time: Crafting should be fun and relaxing. Don't rush through the process; instead, take your time to enjoy each step and make adjustments as needed.
- Involve Friends or Family: Crafting can be a social activity! Invite friends or family to join in the fun. Sharing ideas and techniques can enhance the experience.
- Clean Up as You Go: Keep your workspace organized by cleaning up any scraps or messes as you progress. This not only helps keep you focused but also makes the finishing touches more enjoyable.
By following these tips, you’ll set yourself up for a crafting experience that’s both successful and fun!
Conclusion and Sharing Your Creations
As you wrap up your paper nails crafting session, it's time to take a moment to appreciate your hard work and creativity. Remember, crafting isn't just about the finished product; it’s about the joy of making something unique and personal. Here are a few ideas for sharing your creations:
- Social Media Posts: Snap some photos of your fabulous paper nails and share them on platforms like Instagram or Facebook. Use hashtags like #PaperNails or #CraftingFun to connect with other enthusiasts.
- Dailymotion Videos: Consider creating a short video showcasing your crafting process. A step-by-step guide or a time-lapse of your creation can inspire others to try it out!
- Join Crafting Groups: Look for online communities or local crafting groups where you can share your work and gain inspiration from fellow crafters.
- Host a Crafting Party: Invite friends over for a crafting session. Everyone can create their own paper nails and share ideas, techniques, and results.
As you share your creations, remember to celebrate the joy of crafting! Each piece is a reflection of your creativity and effort. Happy crafting!