Editing your Behance project is crucial for showcasing your best work. As you grow and improve as a designer or artist, your projects should reflect that evolution. Regularly updating your projects keeps your portfolio fresh and relevant. It also helps attract potential clients and collaborators by highlighting your latest skills and styles. Remember, first impressions matter, and a polished project can make a lasting impact.
How to Access Your Behance Projects

Getting to your Behance projects is simple. Just follow these steps:
- Log into your Behance account.
- Click on your profile picture in the upper right corner.
- Select "Projects" from the drop-down menu.
- You will see a list of your published and draft projects.
Now that you can see your projects, you’re ready to choose which one to edit. Click on the project title to open it.
Also Read This: Mastering YouTube Shorts for a Cleaner Viewing Experience
Steps to Edit Your Project Details

Editing project details is straightforward. Here’s how to do it:
- After opening your project, look for the "Edit" button, usually located at the top right corner.
- Once in edit mode, you can change the project title, description, and other details.
- To update your images or media, simply click on the current image, and you’ll see an option to replace or add new files.
- Don’t forget to check your project tags. These help people find your work.
- After making all necessary changes, click on the "Save" button at the bottom of the page.
Editing your project details not only improves your portfolio but also keeps it aligned with your current style and expertise.
Also Read This: How Much Gamers Earn on YouTube and Insights into Gaming Channel Revenue
Changing Project Images and Media
Images and media are the heart of your Behance projects. They draw attention and tell the story of your work. Over time, you may find better images or new media types that showcase your skills more effectively. Updating your visuals keeps your project appealing and relevant. Here’s how you can change your project images and media:
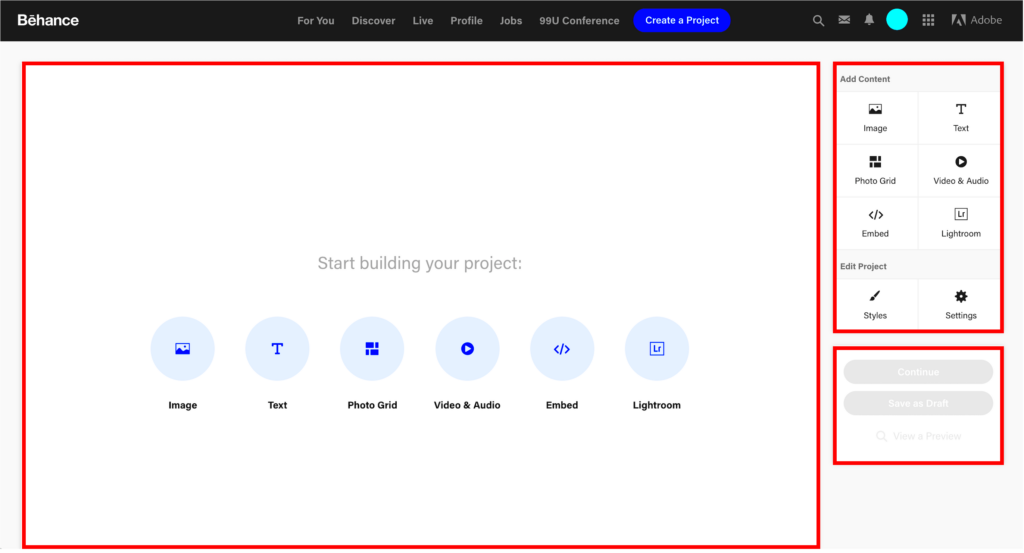
- Open your project and click the "Edit" button.
- Locate the section with your current images or media. You’ll see an option to upload new files.
- To remove an existing image, hover over it and click the "X" icon.
- To add new images, click the "Add Images" button. You can upload multiple images at once.
- Once you’ve uploaded new images, you can rearrange them by dragging and dropping.
Remember to choose high-quality images that represent your work well. A strong visual can make your project stand out.
Also Read This: How to Link Behance to LinkedIn
Adding and Modifying Text Content
Text content is just as important as your images. It provides context and details about your project. Adding and modifying text can clarify your intentions and make your work more understandable. Here’s how to do it:
- While in edit mode, scroll to the text section of your project.
- Click on the text box to edit your current description or add new content.
- Use bold or italic formatting to emphasize key points.
- Break your text into short paragraphs or use bullet points for easy reading.
- Don’t forget to proofread your text for any spelling or grammar errors.
Clear and engaging text can help viewers understand your project’s significance and your creative process.
Also Read This: Use Canva Blank Template for Custom Designs
Saving Changes to Your Project
After making all the necessary edits to your project, saving your changes is the final step. It’s essential to ensure that all your hard work is not lost. Here’s how to save your updates:
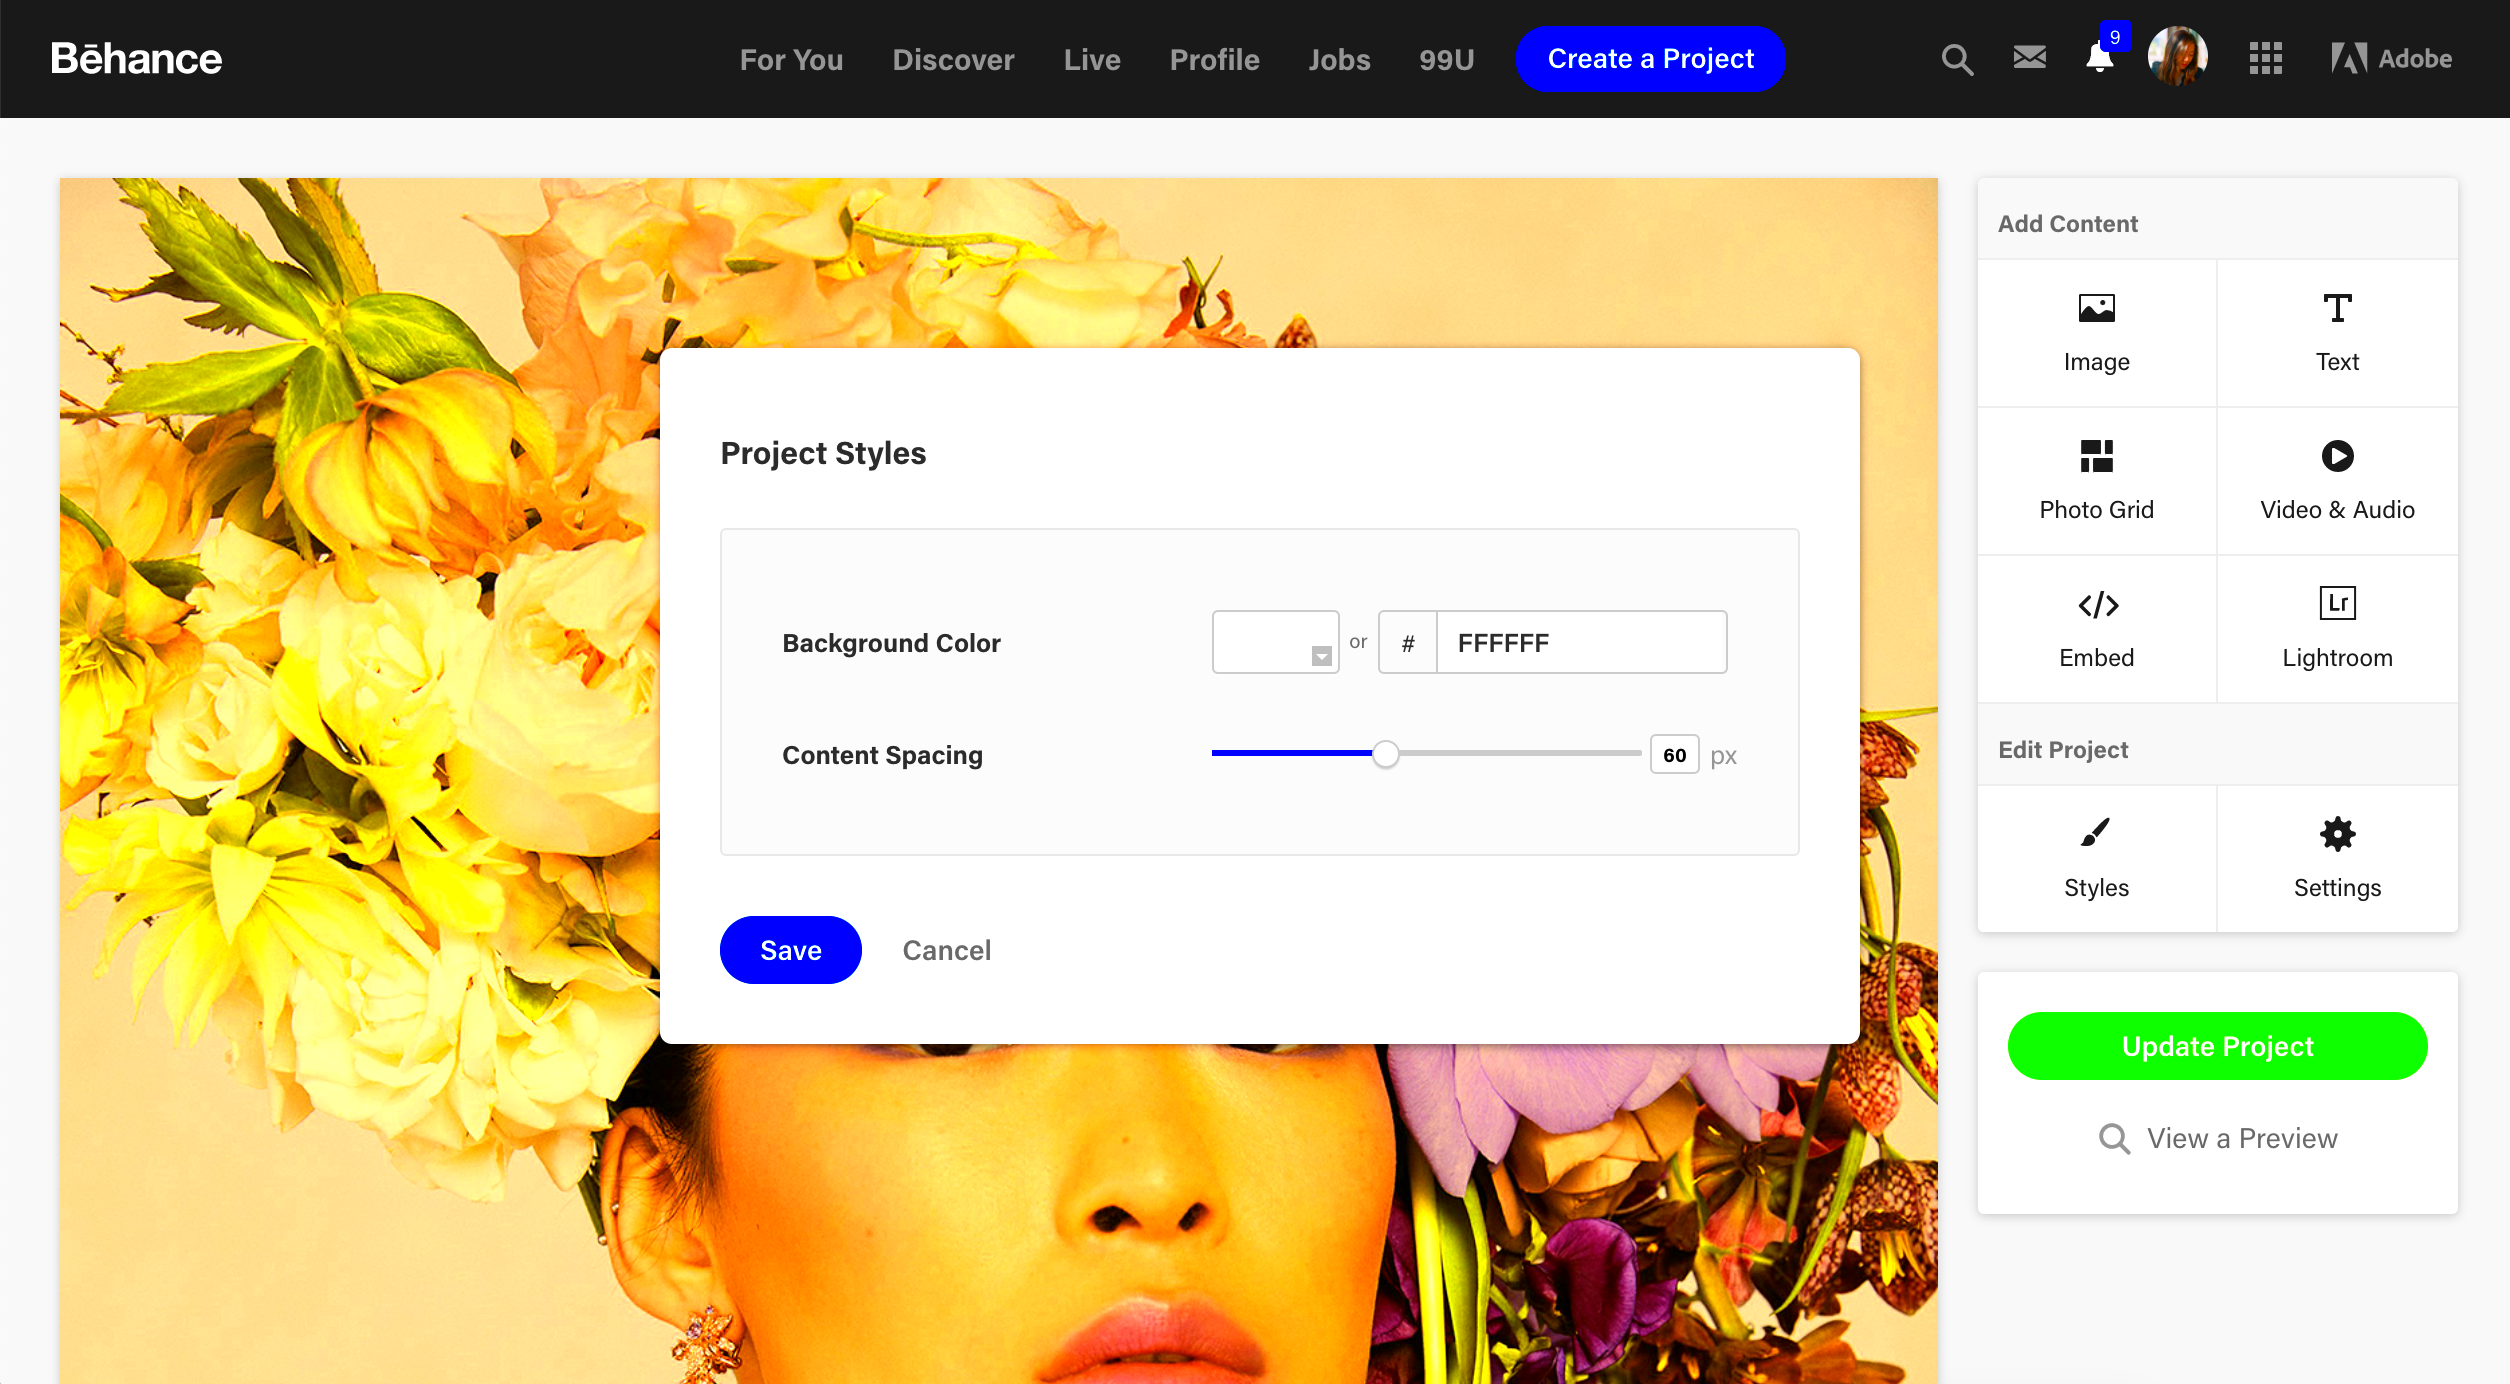
- Once you’re satisfied with your edits, scroll to the bottom of the editing page.
- Click the “Save” button to keep your changes. This will update your project with all the new images, text, and media.
- If you’re not ready to publish the changes yet, consider saving them as a draft. This way, you can come back and make further edits later.
- Always double-check your project before publishing to ensure everything looks perfect.
Saving your changes correctly helps maintain your project’s integrity and ensures it reflects your best work.
Also Read This: How to Download YouTube Videos in HD for High Quality Playback
Tips for Enhancing Your Project's Appeal
Making your Behance project stand out is essential for attracting attention. A visually appealing project can engage viewers and encourage them to explore your work further. Here are some helpful tips to enhance your project’s appeal:
- Use High-Quality Images: Always upload sharp, high-resolution images. Blurry or pixelated visuals can turn viewers away.
- Maintain Consistent Formatting: Consistency in font styles, colors, and layouts creates a professional look. Choose a color palette that reflects your style.
- Tell a Story: Use your images and text to narrate the journey of your project. Explain your thought process, challenges, and solutions.
- Incorporate Multimedia: Consider adding videos or animations to showcase your work in a dynamic way. This can engage viewers more effectively than static images alone.
- Highlight Key Features: Use bullet points or call-out boxes to emphasize important aspects of your project. Make it easy for viewers to grasp the main points quickly.
By following these tips, you can create an engaging and visually appealing Behance project that captures attention and showcases your creativity.
Also Read This: Adobe Stock Cost Breakdown: What You Need to Know
Frequently Asked Questions
Here are some common questions people have about editing their Behance projects:
| Question | Answer |
|---|---|
| Can I edit my project after publishing it? | Yes, you can edit your project anytime, even after it’s published. |
| Will my project be visible while I edit it? | If you save it as a draft, it won’t be visible to others until you publish it. |
| What file types can I upload? | You can upload images in formats like JPG, PNG, and GIF, and videos in MP4 format. |
| How do I add tags to my project? | While editing, look for the tags section and type in relevant keywords to help people find your work. |
If you have more questions, don't hesitate to reach out to the Behance community or check the help center.
Conclusion
Editing your Behance project is an important step in showcasing your skills and creativity. By regularly updating images, modifying text, and following tips to enhance your project's appeal, you can create a compelling portfolio that stands out. Remember to save your changes and keep your projects fresh. Engaging with your audience through a polished and well-presented project can open doors to new opportunities. So, dive into your edits and let your creativity shine!
