Welcome to our Easy DIY Paper Rose Tutorial! If you've ever wanted to create beautiful, handcrafted roses without the hassle of real flowers, you're in the right place. Paper roses are not only stunning but also a great way to express your creativity. Whether you're looking to decorate your home, make a thoughtful gift, or add a personal touch to a special occasion, these paper roses are the perfect solution. So, grab your crafting supplies, and let's dive into this fun and simple project!
Materials Needed
Before we jump into the step-by-step instructions, let's gather all the materials you’ll need to create your stunning paper roses. Here’s a handy list to make sure you have everything on hand:
- Colored Paper: Choose your favorite colors; cardstock works best for durability.
- Scissors: A sharp pair will help you cut cleanly and easily.
- Glue or Tape: Use hot glue for a stronger hold or double-sided tape for a cleaner finish.
- Pencil: For tracing and sketching petal shapes.
- Template: You can either draw your own or print one from online resources.
- Floral Wire (optional): If you want to create stems for your roses.
- Floral Tape (optional): To wrap the stems if you're using floral wire.
- Ruler: To measure and ensure uniformity in your petals.
- Bone Folder (optional): For creating crisp folds in the petals.
Having these materials at your disposal will help streamline the crafting process. Feel free to customize your roses with embellishments like glitter or beads if you want to add a little extra flair!
Also Read This: Fixing Spam Outbreak Protection Issues with Fortiguard Downloader
Step-by-Step Instructions
Creating a beautiful paper rose may sound daunting, but with a bit of patience and the right guidance, you’ll find it’s quite an enjoyable process! Let’s break it down into manageable steps:
- Gather Your Materials: You'll need:
- Colored paper (preferably in shades of red, pink, or white)
- Scissors
- Glue or tape
- A pencil
- A ruler
- Floral wire (optional)
- Cut the Petals: Start by cutting your colored paper into petal shapes. You can create a template to ensure uniformity. A typical petal shape can be about 2-3 inches wide and 4-5 inches tall.
- Shape the Petals: Take each petal and gently curve it to give it a more natural look. You can use a pencil to roll the edges for extra flair.
- Start Assembling: Take one petal and apply a small amount of glue at the base. Attach another petal, overlapping slightly. Continue this process until you have a layered effect with 5-8 petals.
- Add the Center: For the rose center, use a smaller piece of paper rolled tightly. Glue it in the middle of the petals to create the final touch.
- Attach the Stem: If you want a stem, take a piece of floral wire, and attach it at the base of the rose. You can wrap it with green tape for a more realistic appearance.
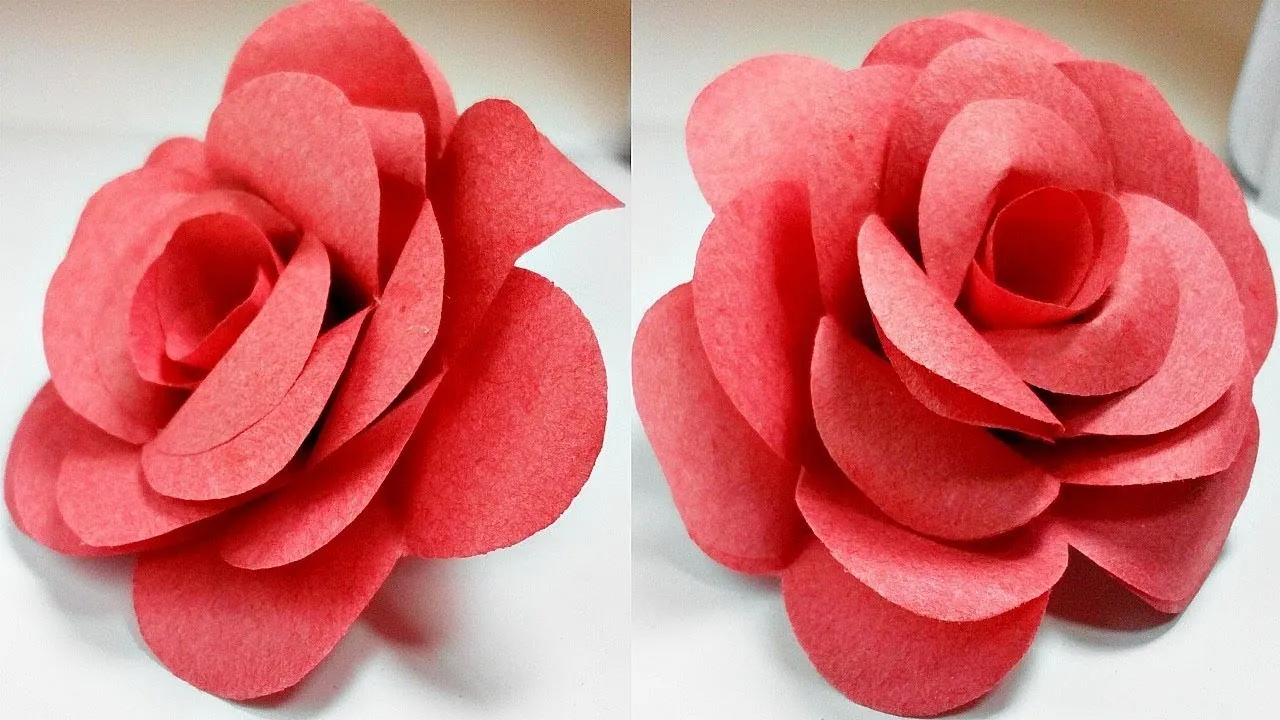
And there you have it! Your very own paper rose, ready to brighten up any space.
Also Read This: How to Make Rugs at Home with a Step-by-Step Guide
Tips for Creating the Perfect Paper Rose
Now that you know how to create your paper rose, let’s dive into some handy tips that can help elevate your crafting game!
- Choose Quality Paper: The type of paper you use can significantly affect the final look of your rose. Look for cardstock or scrapbook paper for durability and a nice finish.
- Experiment with Colors: Don't limit yourself to traditional colors! Try vibrant hues or even patterned paper to give your roses a unique flair.
- Practice Makes Perfect: Don’t worry if your first few attempts don’t turn out as expected. The more you practice, the better your roses will become!
- Use a Hot Glue Gun: For a stronger bond, consider using a hot glue gun instead of regular glue. It dries faster and holds better.
- Accessorize: Add leaves, or even glitter, to your roses for an extra pop! You can cut out leaf shapes from green paper and glue them at the base of the flower.
With these tips in mind, you’ll be well on your way to crafting stunning paper roses that everyone will admire!
Also Read This: Understanding Adobe Stock Video Costs and Licensing
Frequently Asked Questions
Creating paper roses can feel a bit daunting at first, but it's a fun and rewarding experience! Here are some frequently asked questions that might help you along the way:
- What type of paper is best for making paper roses? Generally, lightweight paper like crepe paper or cardstock works best. Crepe paper offers a lovely texture, while cardstock provides sturdiness.
- Can I use colored paper? Absolutely! Colored paper can add a beautiful pop to your roses. Feel free to experiment with different shades to create a stunning bouquet!
- How do I make my roses last longer? If you want your paper roses to be more durable, consider applying a light coat of spray sealant. This can help protect them from wear and tear.
- Can I use glue instead of tape? Yes! While tape is quick and easy, hot glue or craft glue can give you a more secure hold, especially for intricate designs.
- What can I do with my paper roses once I’ve made them? There are so many options! You can use them in home decor, as gifts, or even for special occasions like weddings and parties. Get creative!
If you have any more questions, feel free to reach out! The world of DIY crafts is all about exploration and fun.
Conclusion
Making DIY paper roses is not just a craft; it's an enjoyable experience that allows you to express your creativity. Whether you're preparing for a special occasion or simply want to brighten up your space, these beautiful blooms are perfect for any setting. Here’s a quick recap of what we've covered:
- Choose your materials wisely—lightweight paper works best.
- Follow the step-by-step instructions to create stunning roses.
- Experiment with colors and sizes to customize your flowers.
- Consider using them in various decor ideas or as heartfelt gifts.
So grab your paper, scissors, and glue, and let your creativity blossom! Remember, the more you practice, the better you’ll get. Don't hesitate to share your creations with friends and family, and inspire them to try this fun craft too!