Building a quadcopter at home can be an exhilarating experience, combining engineering, creativity, and a bit of technical know-how. Whether you're a drone enthusiast eager to explore aerial photography or just someone looking for a fun DIY project, assembling your own quadcopter is a fantastic way to dive into the world of drones. In this guide, we'll walk you through the basics of what you need and how to get started. Let’s get those rotors spinning!
Materials Needed
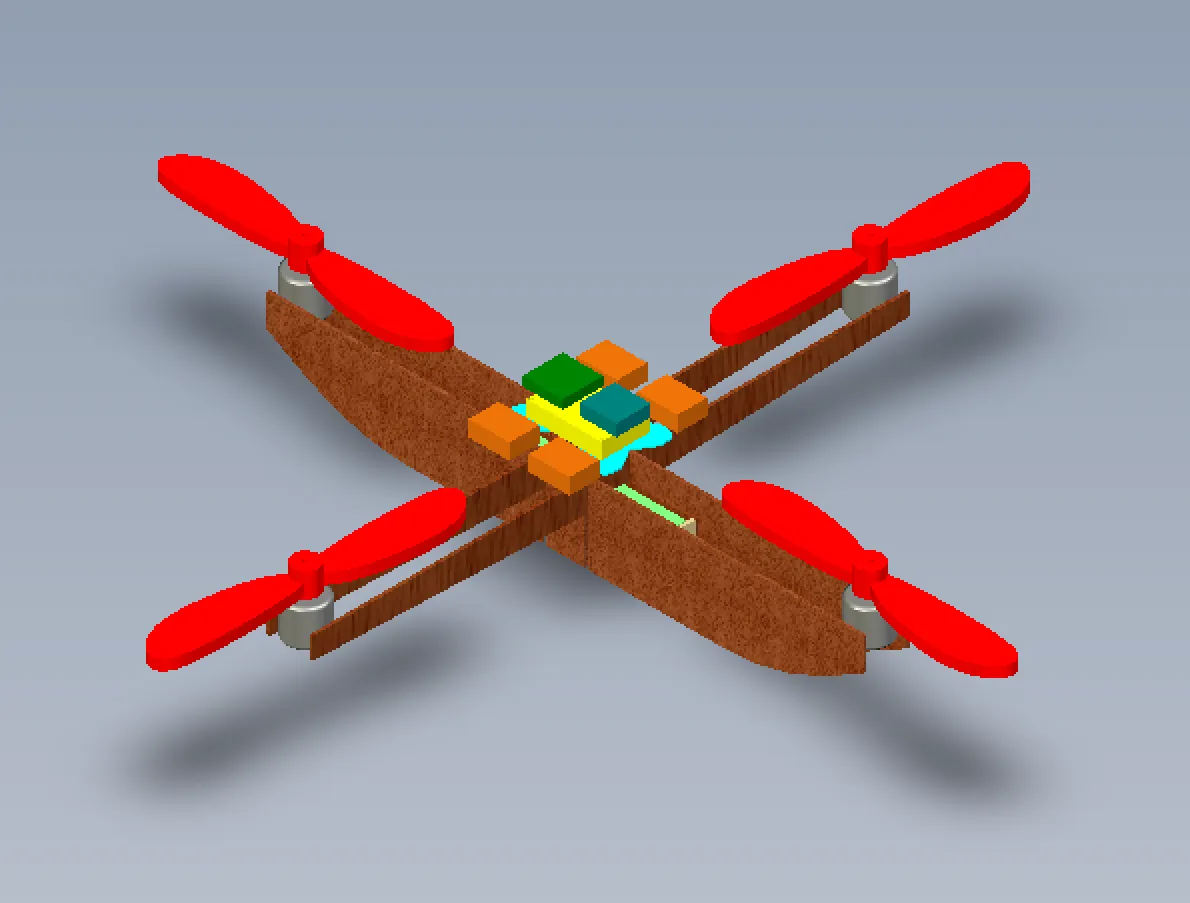
Before you embark on your quadcopter-building adventure, it's essential to gather all the necessary materials. Having everything on hand will make the process smoother and more enjoyable. Here's a comprehensive list of what you'll need:
- Frame: Choose a lightweight yet sturdy frame, typically made from carbon fiber or plastic. Common sizes range from 250mm to 450mm.
- Motors: You'll need four brushless DC motors. Look for motors that suit your frame size and desired flying capabilities.
- Electronic Speed Controllers (ESCs): These control the speed of your motors. A typical quadcopter requires four ESCs, one for each motor.
- Propellers: Select a set of propellers compatible with your frame and motors. They usually come in pairs of clockwise and counterclockwise rotation.
- Flight Controller: The brain of your quadcopter. Popular options include the KK2.1.5 or more advanced flight controllers like the Pixhawk.
- Battery: A LiPo battery with the appropriate voltage and capacity for your setup. Common choices are 3S (11.1V) or 4S (14.8V).
- Transmitter and Receiver: A remote control system to pilot your quadcopter. Choose a 4-channel or more, depending on your needs.
- Battery Charger: Ensure you have a compatible charger for your LiPo battery.
- Miscellaneous Items: Don’t forget wires, connectors, heat shrink tubing, and tools like a soldering iron, screwdrivers, and pliers.
Having these materials ready will set you up for success in building a quadcopter that you can be proud of!
Also Read This: Understanding Indicators of Compromise (IOC) with Fortiguard Downloader
Step-by-Step Instructions
Building a quadcopter can seem daunting at first, but with a little patience and the right guidance, you can easily assemble your flying machine! Here’s a straightforward process to help you get started:
- Gather Your Materials: Before diving into assembly, make sure you have all the necessary parts. Here’s a quick checklist:
- Frame (pre-made or DIY)
- Motors (4x)
- Electronic Speed Controllers (ESCs, 4x)
- Flight Controller
- Batteries (LiPo recommended)
- Propellers (4x)
- Transmitter and Receiver
- Wires and connectors
- Tools (screwdriver, soldering iron)
- Assemble the Frame: Start by putting together your frame. If you’re using a pre-made frame, ensure everything is tight and secure.
- Mount the Motors: Attach each motor to the designated spots on the frame. Use screws to ensure they are firmly in place.
- Install the ESCs: Connect each ESC to the respective motor. The ESCs regulate the speed and direction of the motors.
- Connect the Flight Controller: This crucial component manages the quadcopter’s stability. Connect it to the ESCs and make sure it’s mounted securely on the frame.
- Wire Everything Up: Use wires to connect your battery, ESCs, and flight controller. Double-check your connections to avoid any mishaps.
- Attach the Propellers: Once all electrical connections are made, attach the propellers. Make sure they’re on correctly—clockwise for the clockwise motors and counter-clockwise for the others.
- Final Checks: Before powering on, double-check all connections. Ensure everything is secure and in the right place.
Also Read This: Understanding Fortiguard Downloader’s Unified Protection
Testing Your Quadcopter
Now that your quadcopter is built, it’s time for testing! Here’s how to ensure everything is working correctly before you take to the skies:
- Pre-Flight Checks: Start with a thorough inspection:
- Check all connections.
- Ensure the propellers are securely attached.
- Verify the battery is charged.
- Power On and Bind: Turn on your transmitter and then your quadcopter. Bind the transmitter to the receiver. You should hear a series of beeps confirming a successful connection.
- Calibrate the Flight Controller: Follow the manufacturer’s instructions to calibrate your flight controller. This step is essential for stability.
- Perform a Test Hover: Find an open area for your first flight. Gradually increase the throttle to lift the quadcopter a few feet off the ground. Observe its stability and responsiveness.
- Check Flight Controls: While hovering, test the control inputs (pitch, roll, yaw) to ensure everything is functioning. Make adjustments as needed.
- Practice Landings: Once you’re comfortable with hovering, practice landing techniques. A smooth landing is just as important as taking off!
- Review and Adjust: After your test flight, assess the performance. If your quadcopter drifts or behaves unexpectedly, revisit your assembly and calibration.
With these steps, you’ll be ready to enjoy your new quadcopter. Happy flying!
Also Read This: How to Make a Checkerboard Cake – Fun Baking Tutorial on Dailymotion
Common Issues and Troubleshooting
Building a quadcopter can be an exciting project, but it's not without its hurdles. Here are some common issues you may encounter and how to tackle them:
- Flight Instability: If your quadcopter is wobbling or not hovering steadily, check the following:
- Ensure that all propellers are balanced and properly attached.
- Verify the calibration of your flight controller. Most controllers have an option to recalibrate.
- Short Flight Time: If your quadcopter is running out of battery quickly:
- Consider using a higher-capacity battery.
- Check for any unnecessary weight—remove any non-essential components.
- Connection Issues: If you're experiencing connectivity problems between your remote and the quadcopter:
- Make sure the transmitter and receiver are bound correctly.
- Inspect the wiring for any loose connections or damage.
- Propeller Damage: Propellers can break easily. To avoid this:
- Keep an eye out for cracks and replace damaged propellers immediately.
- Store your quadcopter in a safe place to avoid accidents.
Having a troubleshooting mindset will help you overcome these challenges, making your quadcopter experience much more enjoyable!
Conclusion
Congratulations on embarking on your DIY quadcopter journey! Building one at home not only enhances your understanding of drones but also allows for creativity and personalization. Here are a few key takeaways:
- Skills Development: You'll gain invaluable skills in electronics, programming, and aerodynamics.
- Customization: Each build can be tailored to fit your specific needs and preferences—from the type of camera to the design of the frame.
- Satisfaction: There’s an unmatched joy in seeing your creation take flight, knowing that you built it from scratch.
Whether you’re flying for fun, photography, or racing, a homemade quadcopter opens up a world of possibilities. Remember, every setback is a learning opportunity, so keep experimenting and refining your skills. Happy flying!