Creating tapered tumblers resembles creating a work of art meant for your preferred drink. The first time I made a tumbler as a wedding gift for some friends I was overjoyed by how they looked when they opened the box. If you want to give life to your ideas without much struggle, then this is where all your dreams come true; everything in its user-friendliness favors novices as well as veteran designers alike. So, let us explore the art of designing this tapered tumbler template which shall involve innovations and practicality under one roof.
Understanding Tapered Tumbler Dimensions
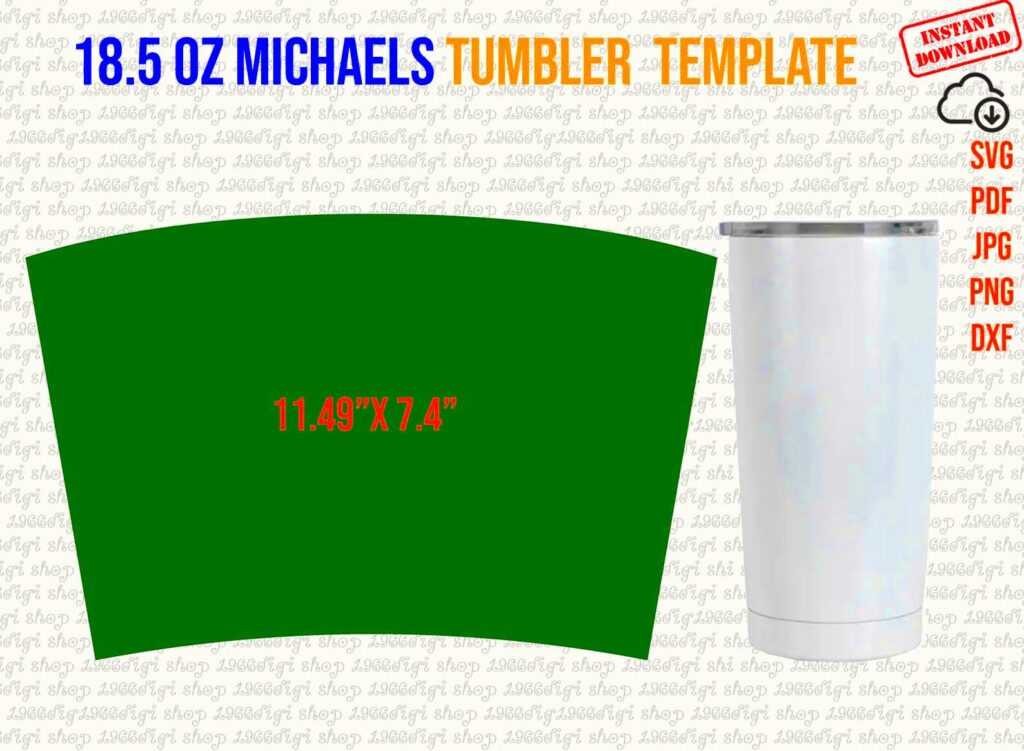
Understanding the dimensions of tapered tumblers is key before you commence designing. These tumblers are shaped in such a way that they wider at the top and narrower at the bottom, giving them a unique form which is attractive and useful at the same time. Below are some standard sizes as a summary:
- 12 oz: Perfect for a small cup of coffee or juice.
- 16 oz: A popular choice for smoothies and larger drinks.
- 20 oz: Great for iced beverages, keeping them cold for longer.
It is really important to measure your tumbler accurately. One of the most common mistakes that people make is underestimating the area they need for the designs. Always take a tape measure and find out the exact width and height. This will guarantee that all your graphics will fit perfectly without cutting off any necessary elements.
Also Read This: A Silent Voice Full Movie on YouTube Availability for Free Viewing
Creating a Tapered Tumbler Template in Canva
Making a tapered tumbler template using Canva is simple and enjoyable. Follow these steps to begin:
- Open Canva: Log in to your Canva account or sign up if you haven't already.
- Select Custom Dimensions: Click on “Create a design” and choose “Custom dimensions.” For a standard tumbler, a size of 9 inches wide by 7 inches tall works well.
- Choose a Background: Pick a color or image that resonates with your design vision. I often use light pastel colors for a refreshing look.
- Add Design Elements: Use Canva’s extensive library to add graphics, patterns, or even your own photos. I like to incorporate elements that tell a story or reflect a special memory.
- Adjust and Fine-Tune: Ensure everything is aligned correctly. It’s okay to make multiple adjustments until you’re satisfied with the outcome.
Make it a point that it is fun to design. Do not hurry and unleash your imaginative power. With the help of tools provided by Canva, you can make something that is completely special.
Also Read This: How to Stop Telegram from Auto-Downloading: Managing Auto-Download Settings
Choosing Colors and Graphics for Your Tumbler
Similar to how the proper spices are chosen for a tasty curry, choosing the appropriate colors and graphics for your tumbler is crucial. Mood setting and storytelling are involved in this. When I made my first tumbler, I used bright colors making me recall the hot-natured summer days on shorelines. Below are some guiding tips:
- Consider the Occasion: If it’s a gift, think about the recipient’s preferences. For a wedding, soft pastels may work well, while a birthday might call for bright, cheerful colors.
- Use Color Theory: Colors evoke emotions. Warm colors like red and orange create excitement, while cool colors like blue and green evoke calmness. Choose a palette that resonates with the message you want to convey.
- Graphics That Speak: Select graphics that reflect personal experiences or themes. I love adding nature elements like flowers or mountains, which remind me of my travels.
Canva has got a huge collection of graphics, thus do not have any doubts in checking and experimenting with diverse choices. When mixed well, they will transform this tumbler from being an ordinary glass for drinking into something that holds all cherished moments.
Also Read This: How to Create a Professional Portfolio on Behance
Adding Text and Customizing Your Design
Your tumbler design is made of text hull or part text. Texts are used to convey through emotions and feelings, mark some stages in life or just give it a personal touch. When I created my sister’s birthday cup I used her favorite quote on it, which made it much more unique. This is the way to add letters and make them sparkle:
- Pick the Right Font: Choose a font that matches the theme of your design. A playful font works well for casual occasions, while elegant scripts suit formal events.
- Positioning: Place your text strategically. It should complement your graphics without overshadowing them. Play around with alignment—centered text often looks harmonious.
- Color Contrast: Ensure your text color stands out against the background. I usually use white or black for better visibility, depending on the color scheme.
Feel free to take risks in your endeavors! Often, good design emerges from non-conventional approaches. You can manipulate and customize on Canva until you form the perfect designs.
Also Read This: How to Delete Your Storyblocks Account
Saving and Exporting Your Tumbler Design
After finalizing your tumbler design you have to save and export it in the appropriate manner. I remember my first attempt; I incorrectly saved it leading to images that were not in focus. To prevent this from happening, do the following steps:
- Choose the Right Format: For printing, it’s best to save your design as a PNG or PDF. PNG preserves the quality and is great for images with transparent backgrounds.
- Check Dimensions: Before exporting, double-check the dimensions to ensure everything fits perfectly on your tumbler.
- Save a Copy: Always save a copy in Canva’s format, so you can return and make edits later if needed.
Immediately after you have exported it, I suggest that you do a quick test print on plain paper. By this approach, you will be able to view the appearance before you eventually turn it into a final product. Getting your design saved correctly is the only way in which hard work can be transformed into a beautiful finished product.
Also Read This: Why YouTube Playlists Fail to Autoplay and How to Fix Them
Tips for Printing and Applying Your Design
Soon after putting pen to paper on how to create the ideal tapered tumbler, it’s time for printing and application. I still remember when my first design was printed; I was so thrilled. Below are a few pointers that can help you get the outcome you want:
- Use Quality Materials: Always opt for high-quality printing paper or transfer sheets. Cheap materials can dull colors or lead to poor image quality.
- Choose the Right Printer: If you're printing at home, ensure your printer is set to the highest quality. For best results, consider using a professional printing service. Their equipment often produces vibrant colors that stand out.
- Test Print: Do a test print on regular paper before applying it to the tumbler. This way, you can check colors and alignment, saving you from costly mistakes.
In this regard, be sure to take your own sweet way when applying it. It is important to Carry out the application process slowly and with a steady hand; use heat press if necessary for your design . As a result, you will have a beautifully personalized tumbler that reminds of your creativity and affection.
Also Read This: Access Free Flyer Templates with Canva Free Flyer Templates
FAQ about Tapered Tumblers and Canva
When I was exploring the realm of tapered tumblers, I had an abundance of inquiries. Below are some commonly posed questions that could assist you in going through this imaginative expedition:
| Question | Answer |
|---|---|
| Can I use Canva for commercial designs? | Yes, but make sure to check Canva's licensing agreements for any restrictions on specific elements. |
| What type of tumbler works best? | Stainless steel tumblers are popular as they are durable and retain temperatures well. |
| How do I prevent my design from peeling off? | Using high-quality transfer sheets and ensuring proper application can help prevent peeling. |
Several inquiries tend to arise, and providing solutions to them may assist in unraveling the enigma surrounding the customizations and printing procedures for tapered mugs.
Conclusion and Final Thoughts
Canva can be used to create tapered tumblers that encompass not just creativity but also personal expression and experience. Each process of making them allows you to put a bit of one’s self into it—right from selecting colors to putting on the design. Designing has always brought back sweet memories for me whether it was for someone close or for myself. Hopefully, this guide will get you started off on making your own marvelous journey by creating personalized tumblers that are both memorable and charming. Therefore, come up with your concepts; let go of inhibitions and make that lovely tapered tumbler you have always wanted!