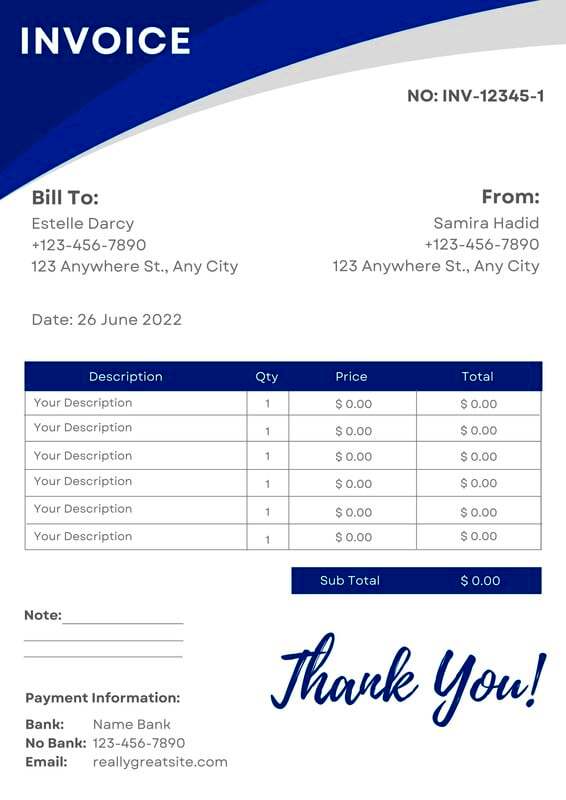
Canva receipt templates are a great tool for anyone looking to create professional-looking receipts quickly and easily. Whether you're a freelancer, a small business owner, or just someone who needs to keep track of transactions, these templates can simplify your life. With a variety of designs available, you can find the perfect template to suit your style and needs. Canva makes it easy to customize these templates, ensuring that your receipts reflect your brand while providing all the necessary information.
Benefits of Using Canva for Designing Receipts
Using Canva to design your receipts offers several advantages:
- User-Friendly Interface: Canva's drag-and-drop feature makes it easy for anyone to design receipts, regardless of their design skills.
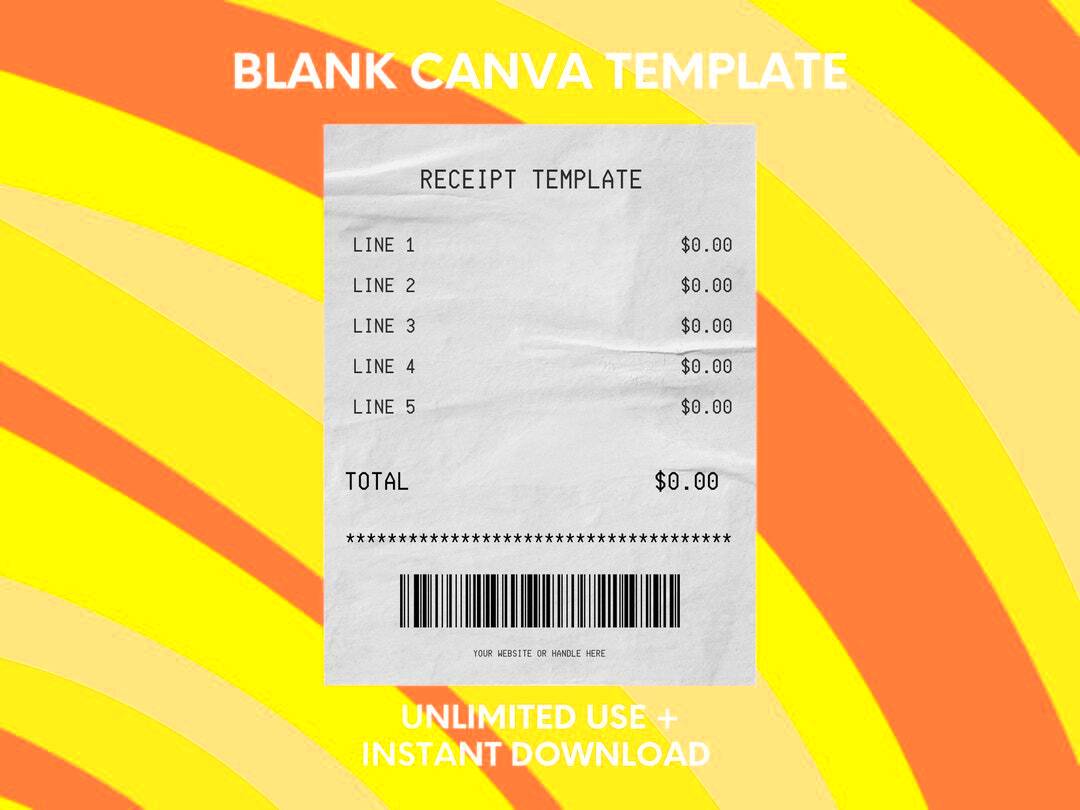
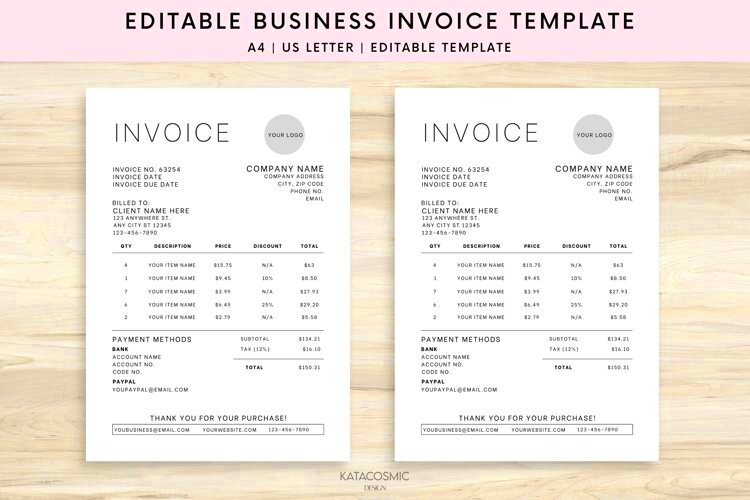
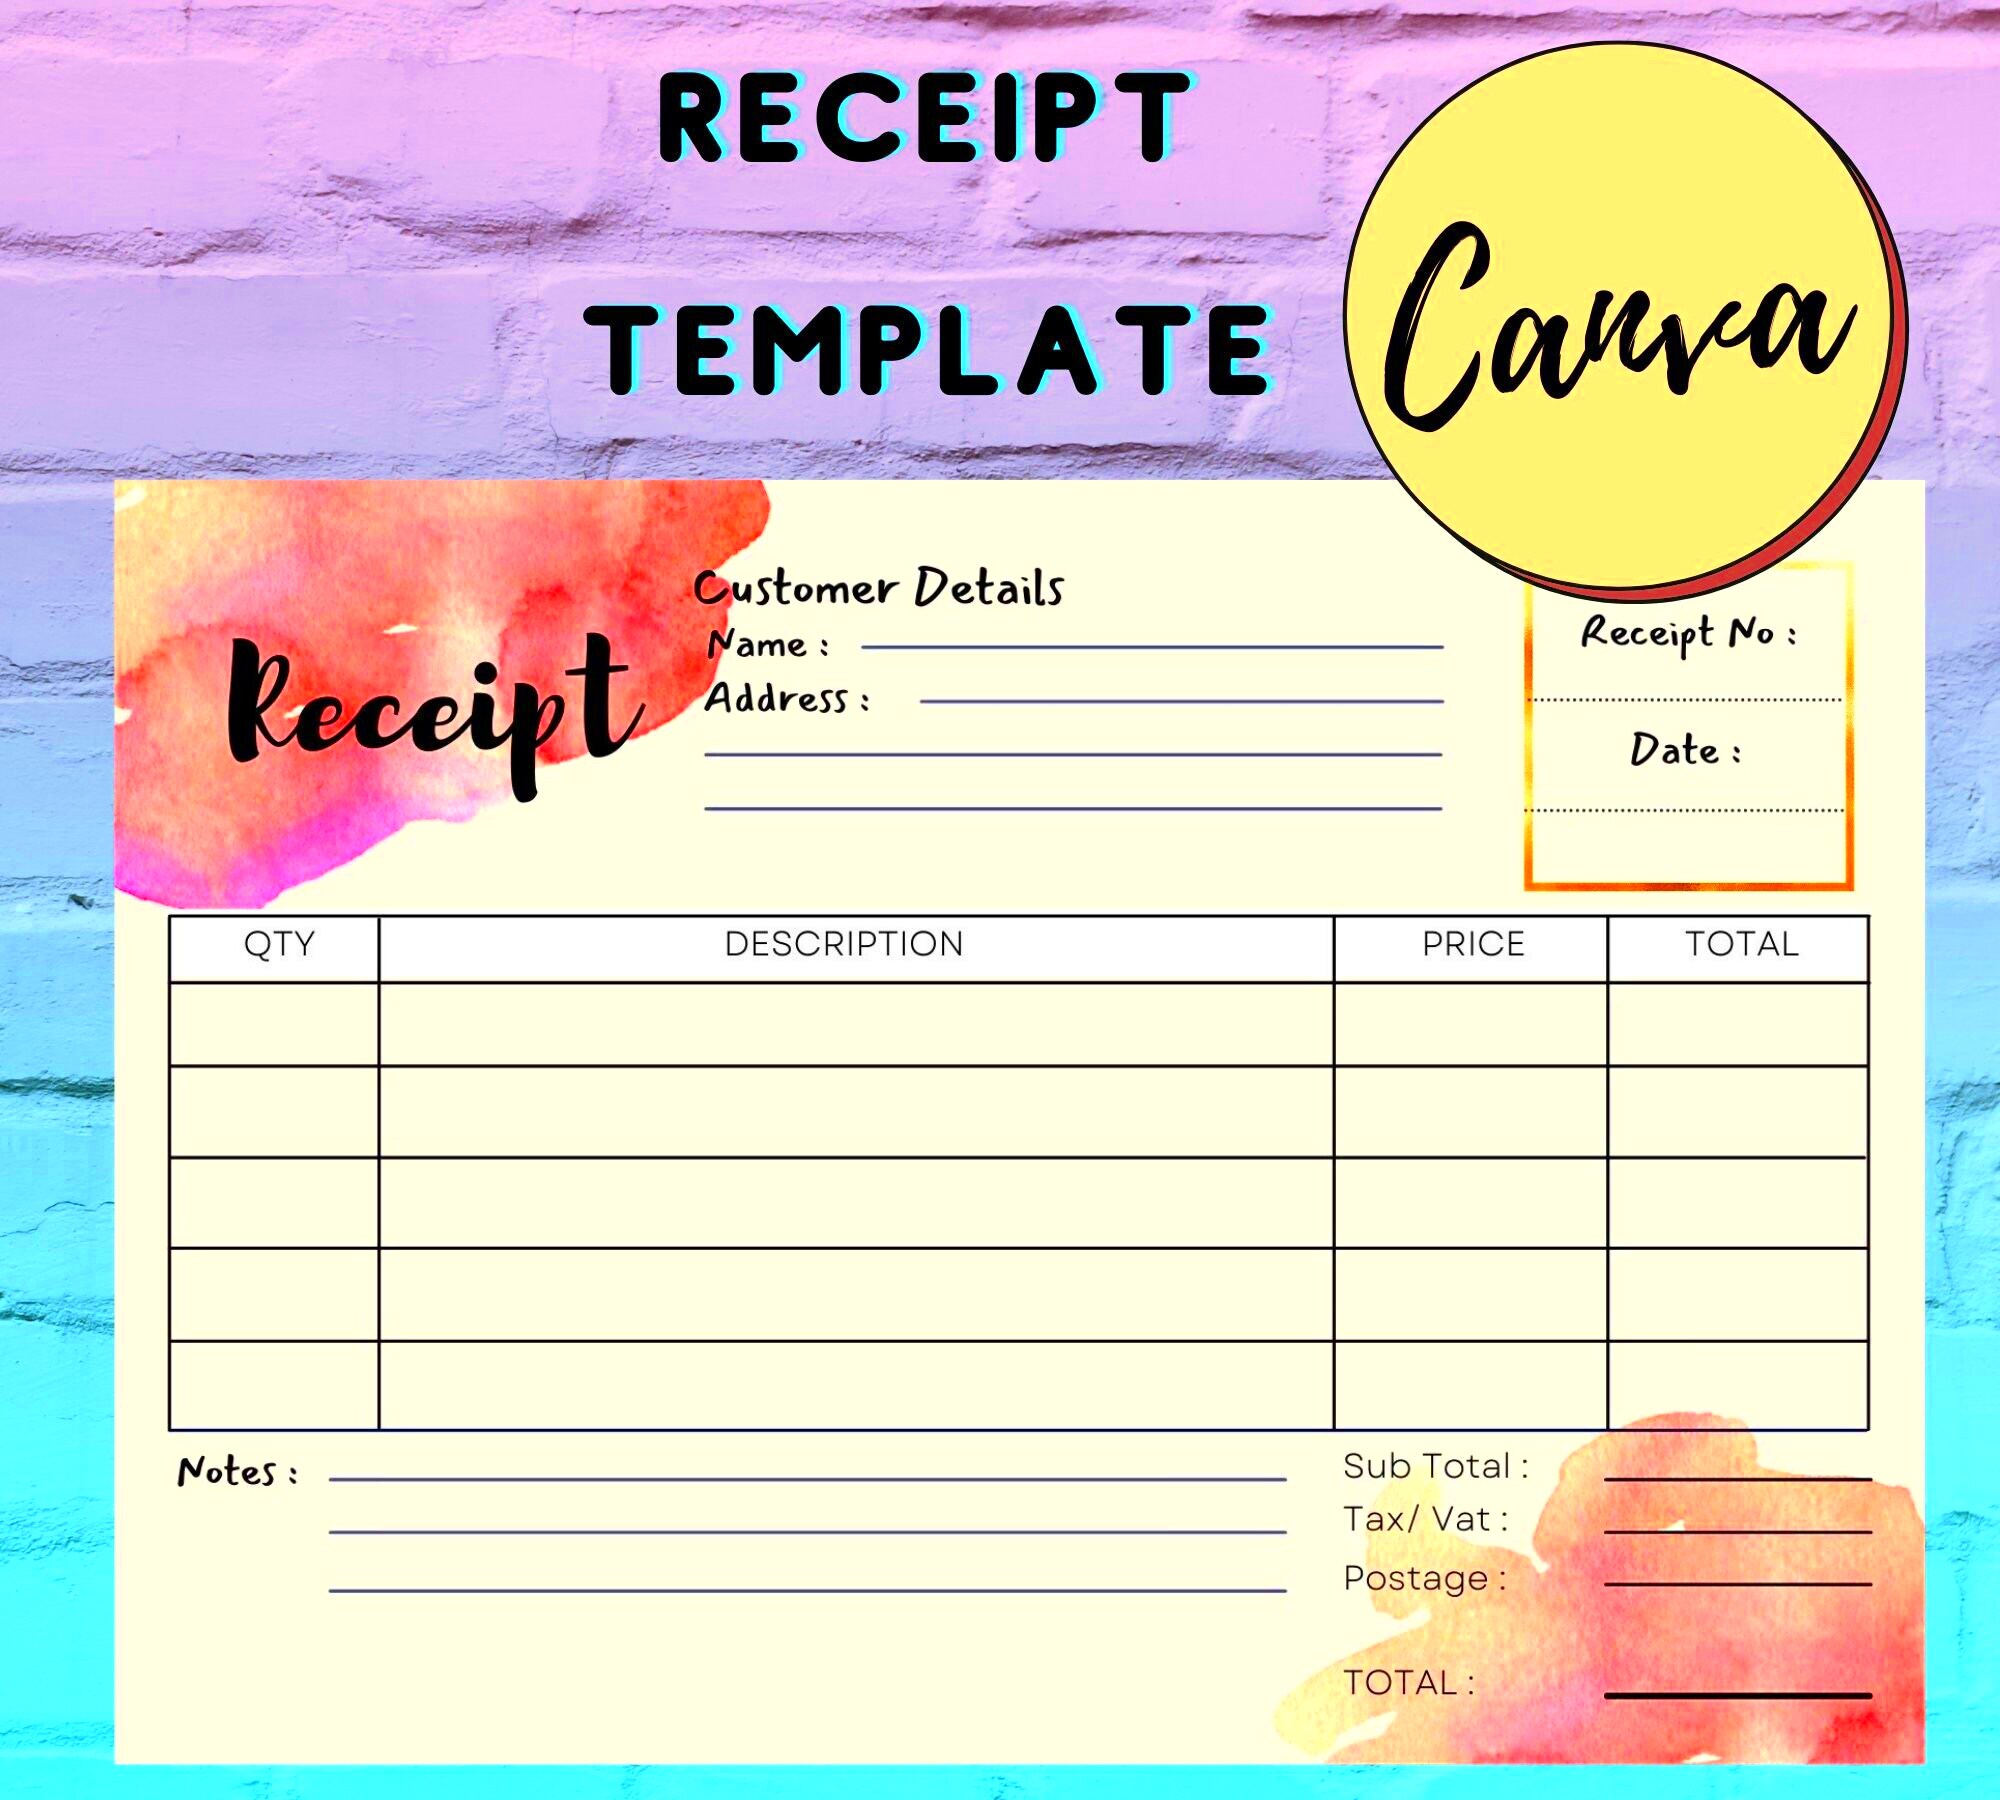
- Wide Range of Templates: You can choose from a large selection of pre-made templates, saving you time and effort.
- Customizable Designs: Every template can be tailored to fit your brand's colors, logos, and fonts.
- Access to Graphics: Canva provides access to a library of graphics and images, allowing you to enhance your receipts.
- Online Collaboration: You can share your designs with team members or clients for feedback directly within the platform.
These benefits make Canva an excellent choice for anyone looking to create receipts that stand out while maintaining a professional appearance.
Also Read This: How to Download Behance for Saving Your Portfolio and Content
How to Access Canva Receipt Templates
Getting started with Canva receipt templates is simple. Just follow these steps:
- Visit the Canva Website: Go to www.canva.com and sign up for an account if you don’t already have one.
- Search for Receipt Templates: Use the search bar at the top of the page. Type in "receipt templates" to find a variety of options.
- Choose a Template: Browse through the templates and select one that fits your needs. Click on it to open the editing interface.
- Customize Your Template: Use Canva's tools to add your business name, logo, and any other details required on the receipt.
- Download or Share: Once you are satisfied with your design, you can download it in various formats or share it directly with clients.
With these easy steps, you can access and start using Canva's receipt templates in no time!
Also Read This: How to Embed a PDF for Behance
Steps to Customize Your Receipt Template
Customizing your receipt template in Canva is a straightforward process. Follow these simple steps to create a personalized receipt that meets your needs:
- Open Your Template: Start by opening the receipt template you selected. This will take you to the editing screen where you can make changes.
- Edit Text Fields: Click on any text box to edit the details. Include your business name, address, contact information, and any relevant transaction details.
- Add Your Logo: To give your receipt a professional look, upload your business logo. Drag and drop it into the designated area or place it wherever you prefer.
- Customize Colors: Change the colors of the text and background to match your brand. Use the color palette tool to explore different shades.
- Include Additional Details: Consider adding a unique receipt number, payment method, or terms and conditions. This information can enhance your receipts' clarity.
- Preview Your Receipt: Before finalizing, take a moment to preview your design. Make sure everything looks good and all details are correct.
- Save and Download: Once you’re happy with your customized receipt, save your design and download it in your preferred format, such as PDF or PNG.
By following these steps, you can create a customized receipt that not only looks great but also serves its purpose effectively.
Also Read This: How to Retrieve Your YouTube Account and Recover Access to Your Channel
Tips for Creating Effective Receipts
Creating effective receipts is all about clarity and professionalism. Here are some tips to keep in mind:
- Keep It Simple: Avoid clutter by focusing on essential information. A clean design is easier to read and looks more professional.
- Use Clear Fonts: Choose fonts that are easy to read. Stick to one or two font styles to maintain consistency throughout your receipt.
- Include All Necessary Information: Make sure to add the date, itemized list of products or services, total amount, and payment method.
- Add Contact Information: Provide your contact details so customers can reach you if they have questions or concerns.
- Consider Adding a Thank You Note: A simple "Thank you for your business!" can make a positive impression and encourage repeat customers.
- Use High-Quality Graphics: If you include images or logos, ensure they are high-resolution to maintain a professional appearance.
By following these tips, you can create effective receipts that enhance your brand image and improve customer satisfaction.
Also Read This: Understanding YouTube Earnings for Creators with 100k Subscribers
Best Practices for Receipt Design
When designing receipts, following best practices can help ensure they are effective and professional. Here are some key points to consider:
- Maintain Consistent Branding: Use your brand colors, logos, and fonts to create a cohesive look that reinforces your brand identity.
- Organize Information Logically: Present information in a clear order, starting with your business details, followed by transaction information, and ending with the total amount.
- Use Visual Hierarchy: Highlight important information, such as the total amount due, by using larger fonts or bold text. This draws attention to key details.
- Consider Layout: Choose a layout that suits your needs—whether it’s a vertical or horizontal design—ensuring it fits well on standard printing paper.
- Test for Readability: Print a sample receipt and check if everything is easily readable. If it’s hard to read, make adjustments to font sizes or spacing.
- Stay Updated: Review and update your receipt design regularly to ensure it reflects any changes in your business, such as new branding or updated contact information.
By implementing these best practices, you can create receipts that not only look great but also effectively communicate important information to your customers.
Also Read This: Learn to Create Puppets Using Paper Tutorials on Dailymotion
Common Mistakes to Avoid When Designing Receipts
Designing receipts can be straightforward, but there are some common mistakes that can affect their effectiveness. By being aware of these pitfalls, you can ensure your receipts serve their purpose well. Here are a few mistakes to avoid:
- Overloading with Information: Trying to include too much information can clutter your receipt. Stick to essential details like the business name, transaction date, items purchased, and total amount.
- Poor Formatting: Inconsistent formatting can make receipts hard to read. Use the same font styles and sizes throughout, and ensure proper alignment of text and numbers.
- Ignoring Branding: Not including your business logo or brand colors can make your receipt look generic. Your branding helps establish credibility and recognition.
- Missing Important Details: Forgetting to include crucial information such as the date, item descriptions, or total amount can lead to confusion for your customers.
- Using Low-Quality Graphics: Low-resolution logos or images can make your receipt look unprofessional. Always use high-quality graphics for a polished appearance.
- Not Testing Print Quality: Always print a sample of your receipt. This allows you to check if the text is readable and the layout looks good in physical form.
By avoiding these common mistakes, you can create receipts that are not only visually appealing but also functional and professional.
Also Read This: Create Captivating Book Covers Using Canva Book Cover Templates
FAQs About Canva Receipt Templates
Have questions about Canva receipt templates? Here are some frequently asked questions to help you get started:
1. Can I use Canva receipt templates for free?
Yes, Canva offers a selection of free receipt templates. However, some premium templates and features may require a paid subscription.
2. Can I customize my receipt template after saving?
Absolutely! Canva allows you to edit your templates anytime. Just log into your account, open your saved design, and make the necessary changes.
3. What file formats can I download my receipt in?
You can download your receipts in various formats, including PDF, PNG, and JPG. PDF is recommended for printing purposes.
4. Can I share my receipt design with others?
Yes, Canva allows you to share your designs with others for collaboration. You can send a link for them to view or edit your design.
5. Are there any tips for making my receipts look more professional?
Yes! Focus on a clean layout, use high-quality graphics, and ensure all information is clear and organized. Following best practices in design will help.
Conclusion on Designing Professional Receipts with Canva
Designing professional receipts using Canva is an excellent way to enhance your business’s image while keeping your transactions organized. With easy-to-use templates, customization options, and a user-friendly interface, Canva makes it simple to create receipts that reflect your brand.
By following the steps outlined, avoiding common mistakes, and utilizing best practices, you can ensure your receipts are not only functional but also visually appealing. Remember, a well-designed receipt can leave a lasting impression on your customers and contribute to your overall branding.
So, why not give it a try? Dive into Canva today, explore the receipt templates, and start designing receipts that stand out!