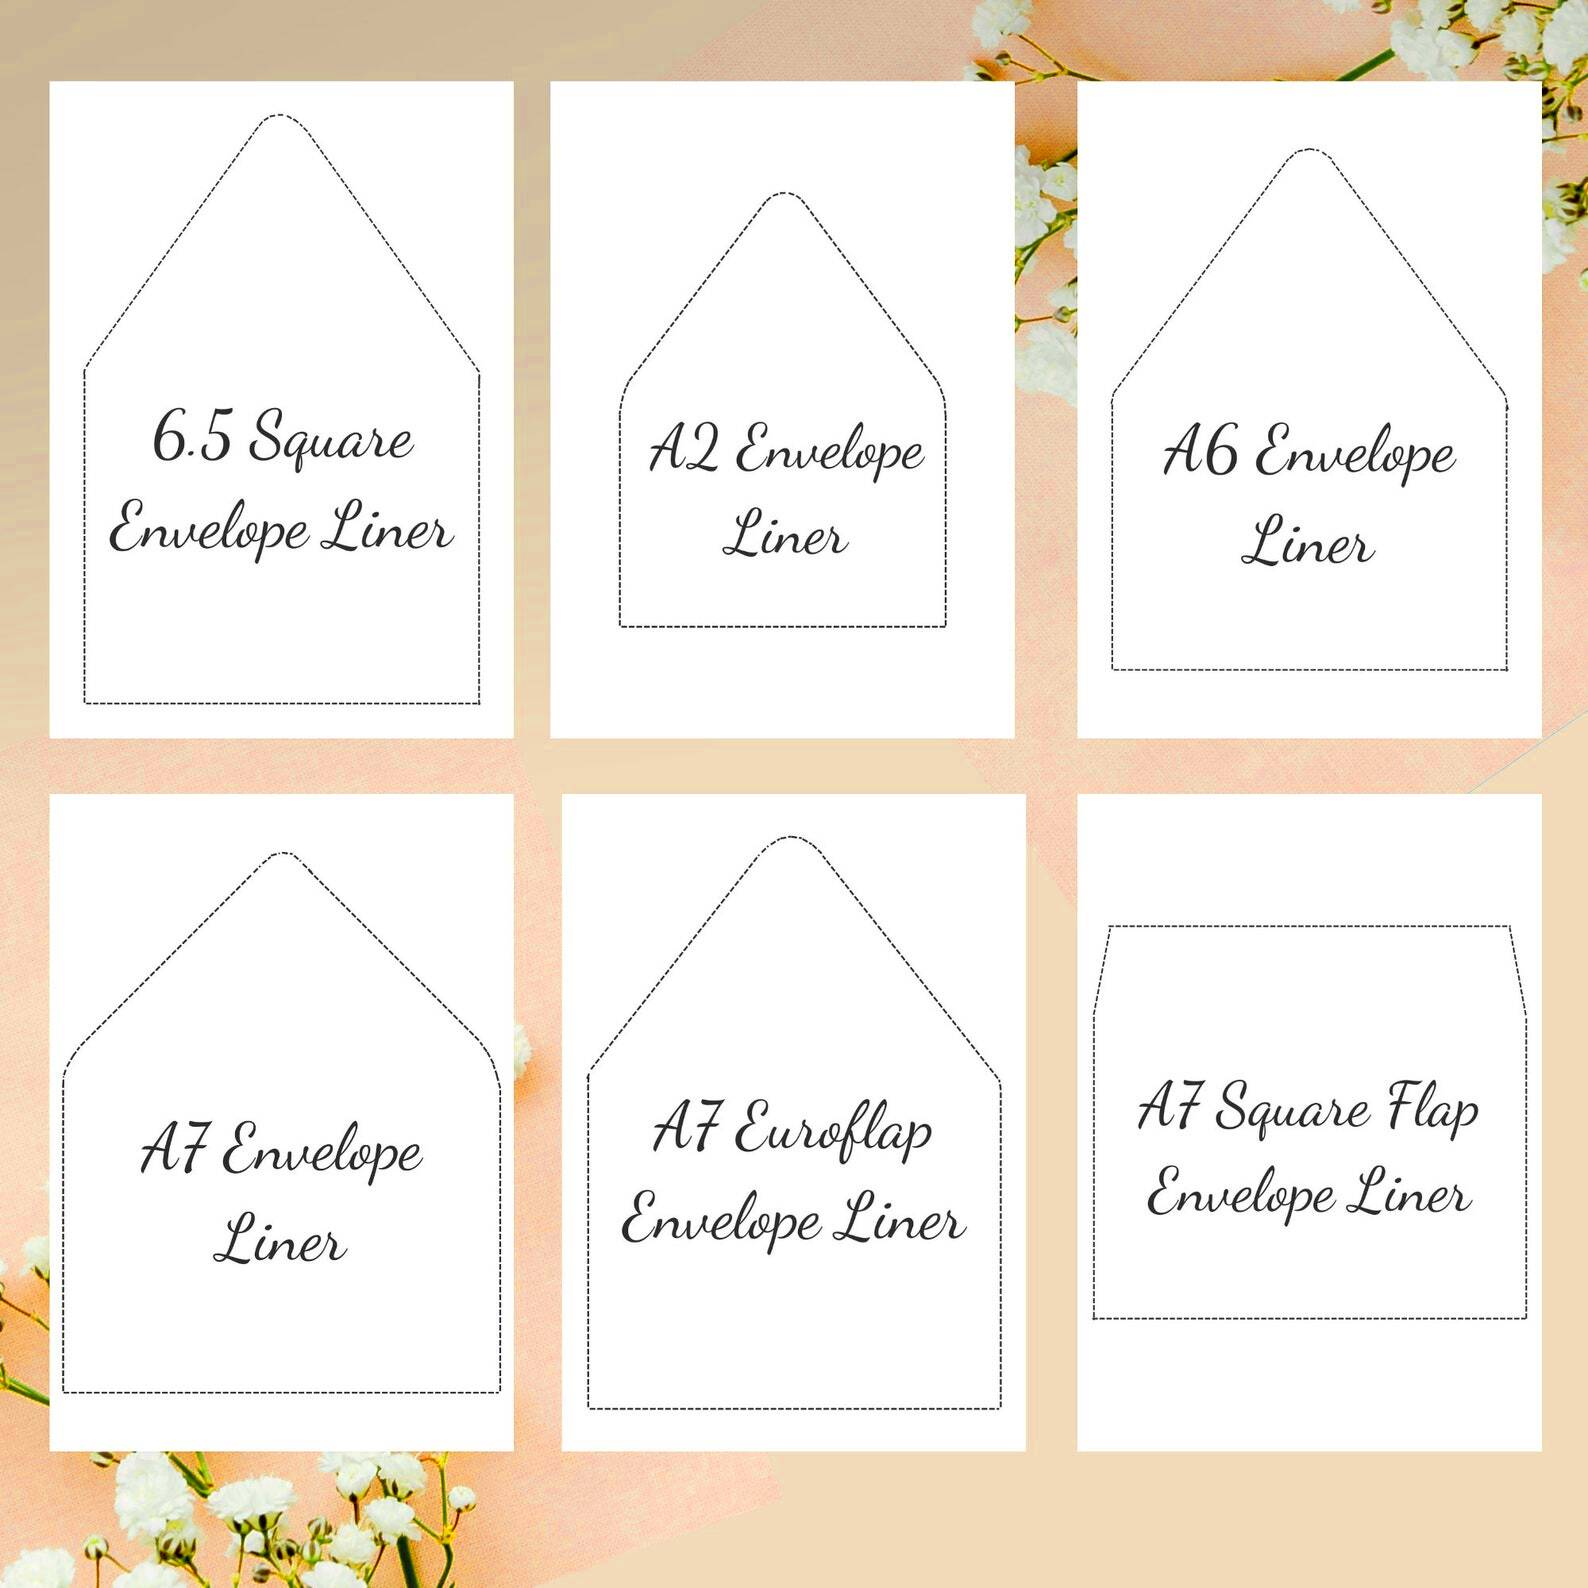
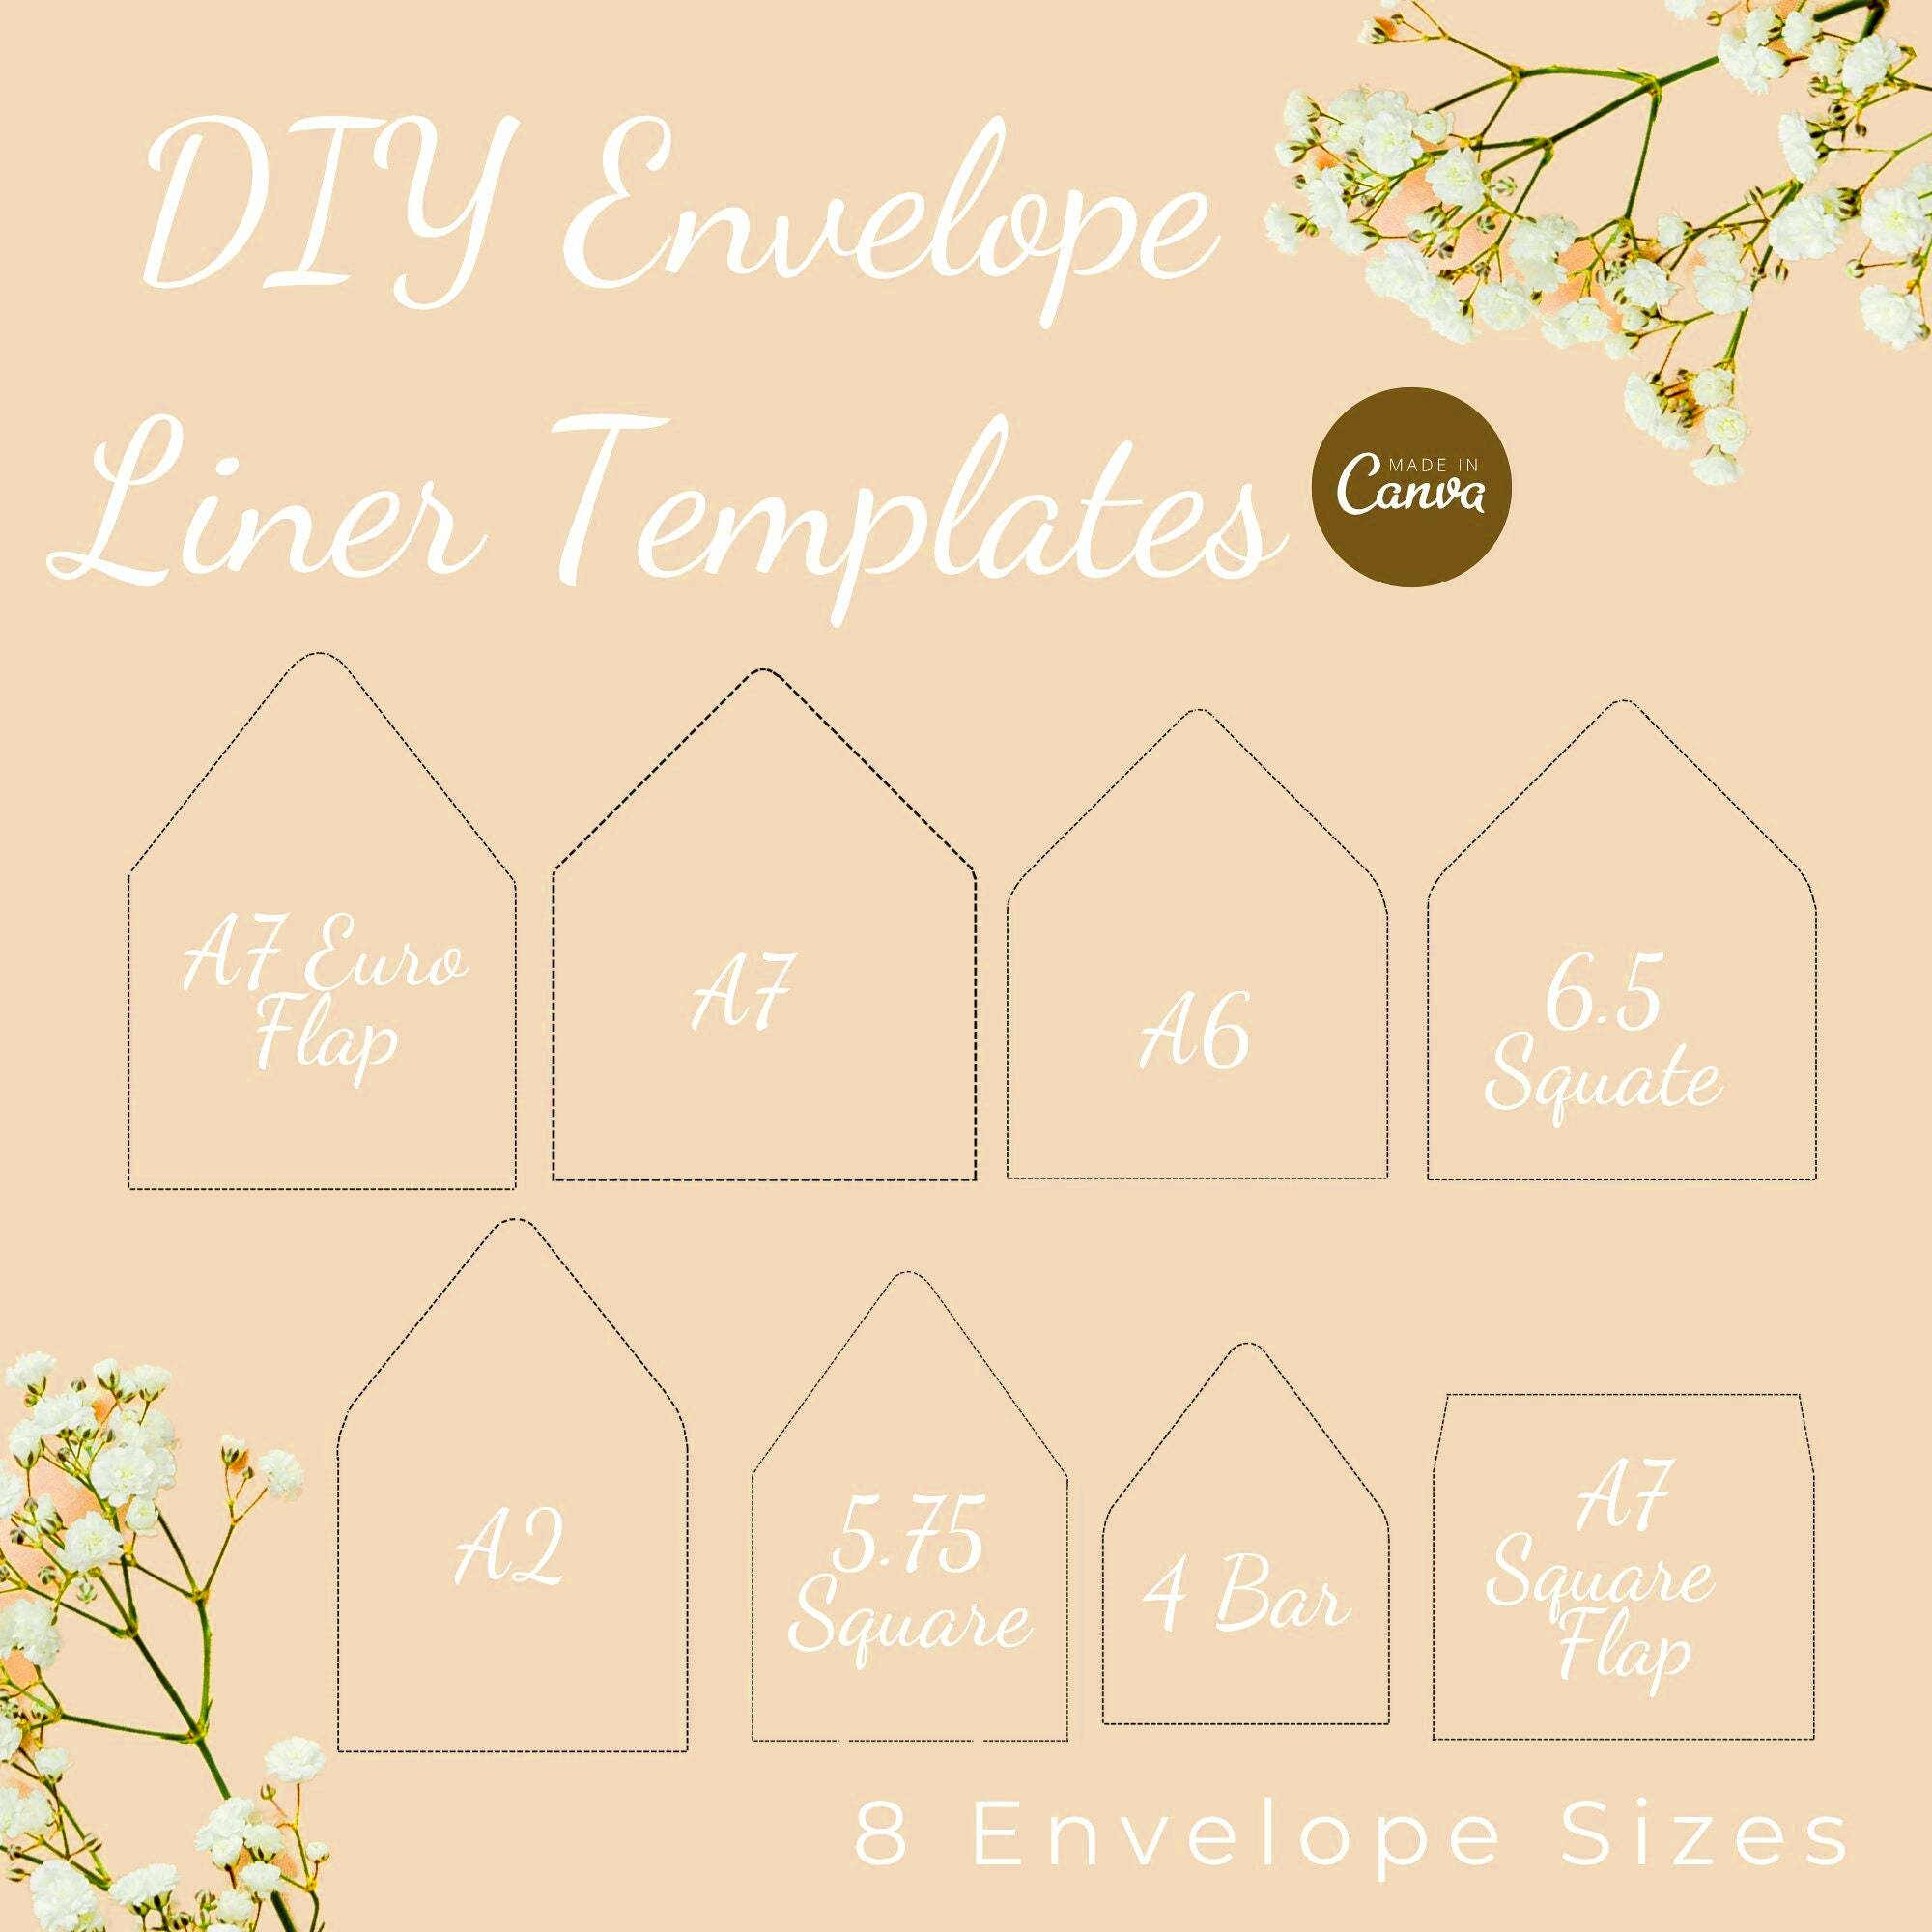
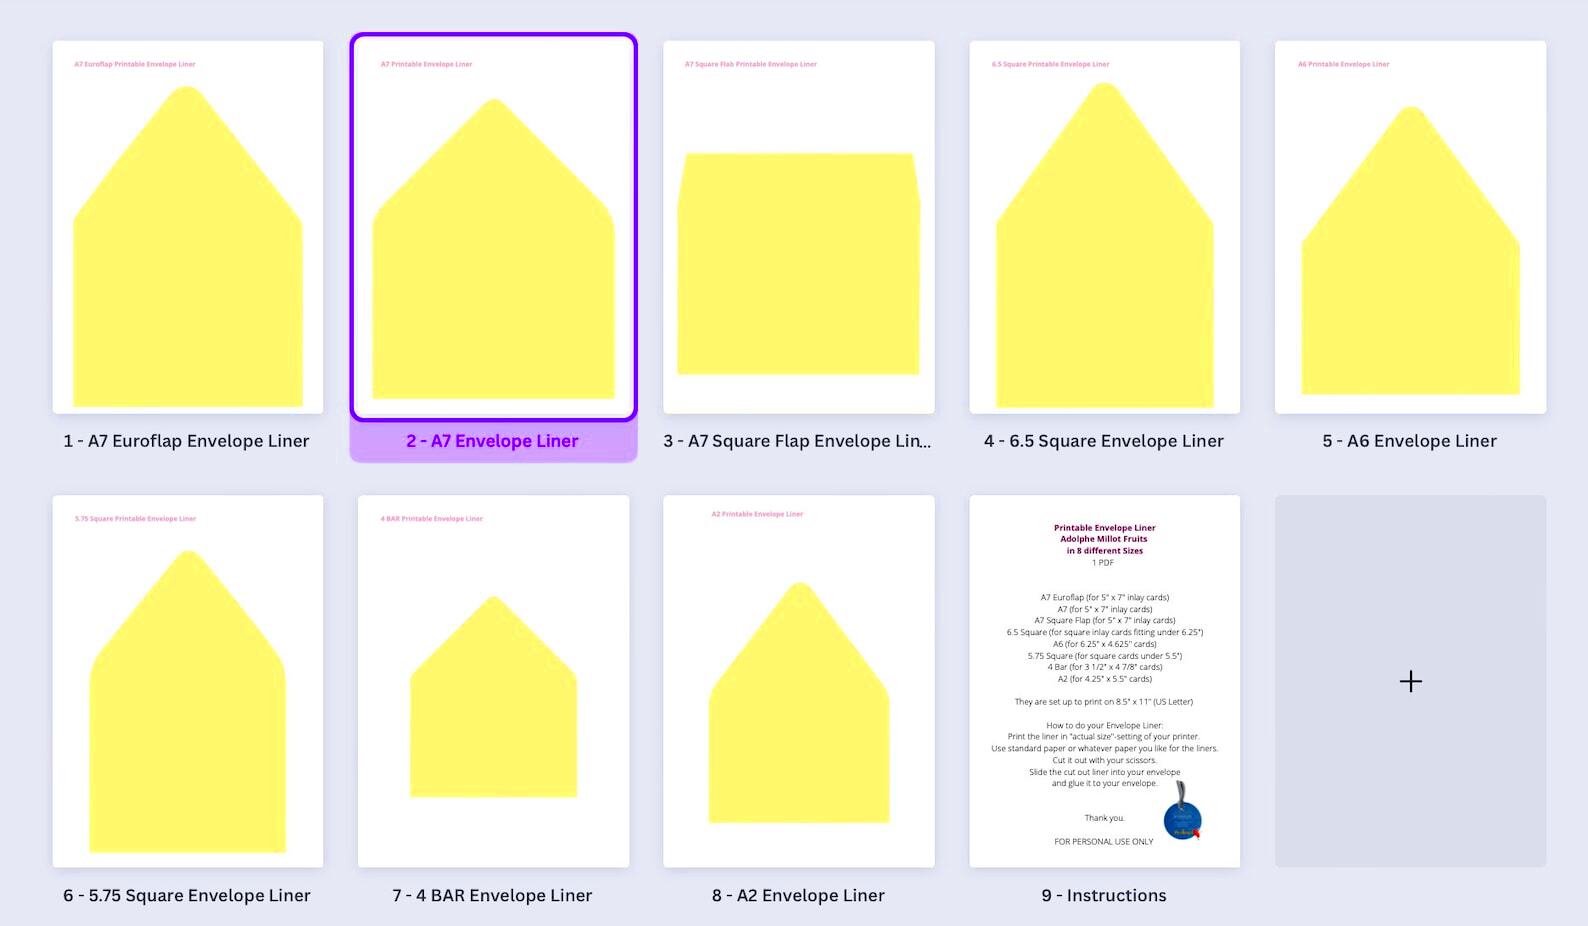
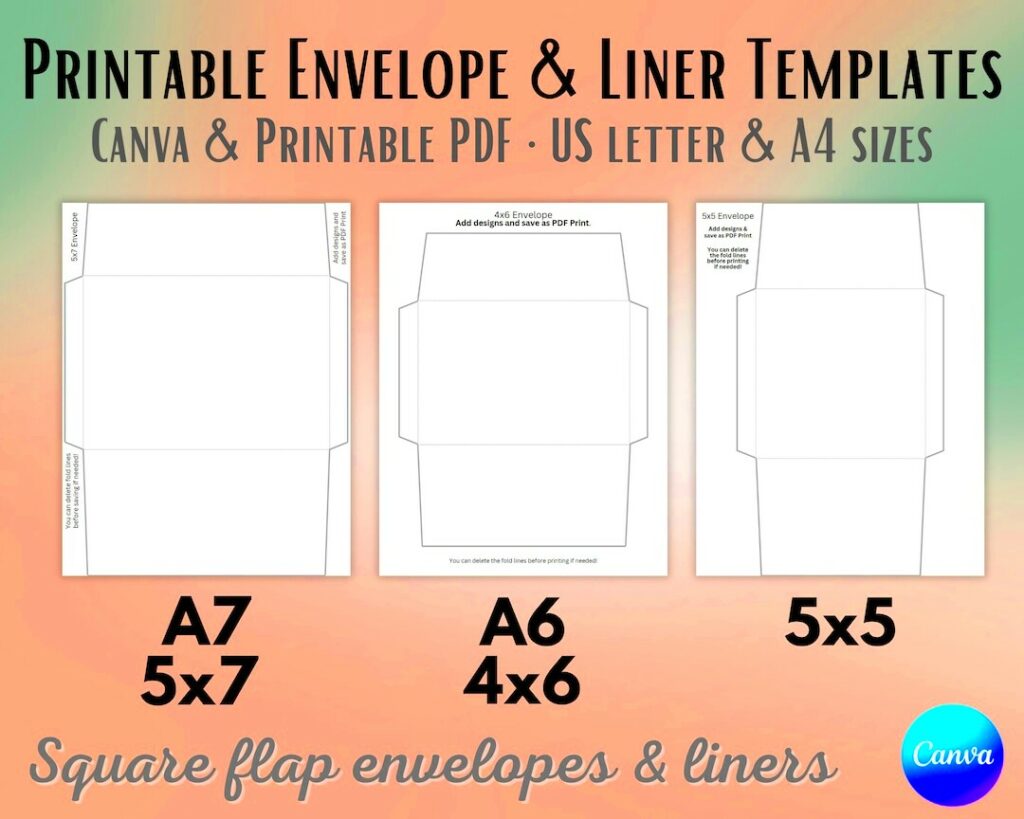
If you're looking to add a special touch to your invitations or greeting cards, Canva's Envelope Liner Template is the perfect solution. This template allows you to create custom envelope liners that fit perfectly inside your envelopes, making your mailings look more professional and inviting. Whether you're planning a wedding, a birthday party, or sending out holiday cards, these liners can enhance the overall presentation of your correspondence.
Benefits of Using Canva for Envelope Liners

Canva offers several advantages when it comes to designing envelope liners. Here are some key benefits:
- User-Friendly Interface: Canva's drag-and-drop features make it easy for anyone, regardless of design experience, to create beautiful envelope liners.
- Variety of Templates: With numerous pre-made templates, you can find a style that matches your theme, whether it's elegant, fun, or minimalist.
- Customization Options: You can personalize your liners by changing colors, fonts, and images to fit your unique style.
- Access to a Library of Resources: Canva provides access to a vast library of images, graphics, and design elements that you can incorporate into your liners.
- Collaboration Features: If you're working with a team or want input from friends, Canva allows for easy collaboration on designs.
Also Read This: Complete Cooking Guide to Making Shawarma in Urdu Video
How to Access the Canva Envelope Liner Template

Getting started with the Canva Envelope Liner Template is simple. Just follow these steps:
- Visit Canva's Website: Go to www.canva.com and sign up for an account if you don't have one.
- Search for Envelope Liner Template: Use the search bar at the top of the page and type in "Envelope Liner" to find relevant templates.
- Select a Template: Browse through the available options and click on the template that catches your eye.
- Edit Your Template: Once you've selected a template, you can start customizing it by adding your text, images, and other design elements.
With just a few clicks, you'll be ready to create stunning envelope liners that impress your recipients!
Also Read This: How to Discover Nostalgic Music Tracks and Lyrics on Dailymotion
Step by Step Guide to Design Envelope Liners

Designing your envelope liners in Canva is a fun and straightforward process. Here’s a step-by-step guide to help you create stunning liners that will elevate your mailings:
- Choose the Right Size: Start by measuring your envelope's inner dimensions. This will ensure your liner fits perfectly.
- Select a Template: In Canva, search for "Envelope Liner" templates. Pick one that resonates with your style or theme.
- Add Background Colors or Patterns: Use the background tool to select a color or pattern that matches your theme. Canva offers plenty of options.
- Incorporate Images or Graphics: Drag and drop any images or illustrations you want to include. You can search Canva’s library for free or premium graphics.
- Add Text: Include a personal message or a quote. Choose fonts that are easy to read and match your style.
- Adjust Elements: Resize, rotate, or move your elements around until you’re satisfied with the layout. Use alignment tools for a polished look.
- Preview Your Design: Before downloading, use the preview feature to see how your liner looks in the envelope.
- Download and Print: Once you’re happy with your design, download it as a PDF or image file, then print it on quality paper.
Also Read This: Breaking News Updates by Don Stewart on YouTube
Customizing Your Envelope Liners in Canva
Customization is where your creativity shines. Here’s how to personalize your envelope liners in Canva:
- Color Schemes: Use the color picker to choose a color palette that fits your event. Try complementary colors for a striking effect.
- Font Choices: Mix and match fonts for headings and body text. Ensure they are legible and convey the right tone.
- Layering Elements: Don’t hesitate to layer graphics or images. This adds depth and interest to your design.
- Incorporate Personal Touches: Use personal photos, monograms, or unique patterns that reflect your personality or brand.
- Utilize Canva's Tools: Explore tools like transparency, cropping, and filters to enhance your design further.
Remember, the goal is to create a liner that complements your invitation or card while showcasing your style!
Also Read This: Web and Video Filtering Services Provided by Fortiguard Downloader
Tips for Making Beautiful Envelope Liners
Creating beautiful envelope liners is all about attention to detail and creativity. Here are some tips to help you design stunning liners:
- Stay Consistent: Ensure your envelope liners match the overall theme of your event. Consistency creates a cohesive look.
- Keep it Simple: Sometimes, less is more. A clean design can be just as impactful as an intricate one.
- Experiment with Patterns: Don’t be afraid to use patterns that add interest without overwhelming your design.
- Test Print: Before doing a bulk print, do a test print to ensure everything looks good in the physical format.
- Get Feedback: Share your designs with friends or family for their thoughts. Fresh eyes can catch details you might have missed.
By following these tips and trusting your instincts, you can create envelope liners that make your mailings stand out!
Also Read This: Exploring the First Gamer on YouTube and the Origins of YouTube Gaming
Sharing and Printing Your Designs
Once you’ve crafted the perfect envelope liner, it’s time to share and print your designs. Luckily, Canva makes this process simple and hassle-free. Here’s how you can do it:
- Download Your Design: Click on the "Share" button in the top right corner of Canva. From there, choose the "Download" option. You can select the file format that works best for you, such as PNG, JPG, or PDF. For printing, PDF is often recommended for its high quality.
- Choose Your Paper: Select high-quality paper that fits your style. Glossy paper adds shine, while matte paper gives a classic look. Make sure the paper size matches your envelope liner dimensions.
- Printing Options: You can print at home using a good quality printer or take your files to a professional print shop. If printing at home, ensure you have the right settings to match your design quality.
- Test Print: Always do a test print before printing multiple copies. This will help you check for any adjustments needed in color or alignment.
- Sharing Online: If you want to share your designs online, Canva allows you to share a link directly. You can also save your design to your Canva account for easy access later.
With these steps, you can easily share and print your beautiful envelope liners, making your mailings stand out!
Also Read This: Finding and Organizing Telegram Downloads Effectively
Frequently Asked Questions
As you work with Canva to create envelope liners, you might have some questions. Here are a few common ones:
- Can I use my own images? Absolutely! Canva allows you to upload your own images to use in your designs.
- Is there a cost to use Canva? Canva offers both free and premium features. Many templates and elements are free, but some premium features require a subscription.
- How do I ensure my design prints correctly? Always double-check the dimensions and do a test print. Adjust your printer settings for the best quality.
- Can I collaborate with others? Yes! Canva allows you to invite others to view or edit your design, making it easy to collaborate on projects.
- What if I need help with my design? Canva offers a variety of tutorials and resources to help you improve your design skills.
These FAQs should help clear up any doubts you might have while using Canva for your envelope liners.
Conclusion
Creating beautiful envelope liners with Canva is not just easy but also a lot of fun! With a wide range of templates and customization options, you can design liners that perfectly match your style and occasion. Whether you’re preparing for a wedding, a birthday party, or just sending a thoughtful note, personalized envelope liners can make all the difference. Remember to follow the tips and steps we discussed to ensure your designs look great when shared and printed. So go ahead, get creative, and make your mailings shine!
