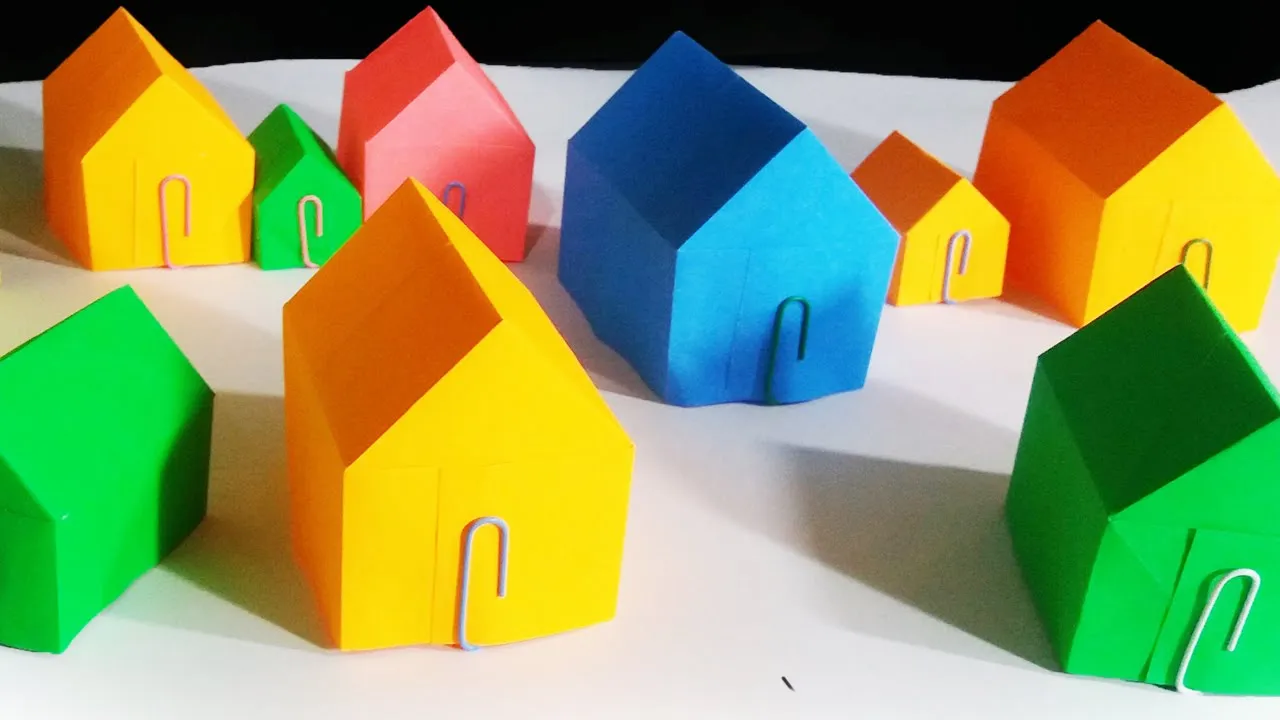
Building a paper house is not just a fun craft, but a fantastic way to spark creativity and imagination. Whether you’re a child exploring arts and crafts or an adult looking to relive childhood memories, creating a paper house can be a delightful experience. It allows you to experiment with design, colors, and textures while honing your fine motor skills. In this blog post, we’ll explore some creative ways to build your own paper house, from simple origami structures to intricate models that can become a centerpiece in your home. Let’s get started on this delightful journey!
Materials Needed
Before diving into the construction of your paper house, it’s important to gather all the necessary materials. Here’s a detailed list to ensure you have everything at your fingertips:
- Paper: Choose different types of paper for various effects. You might want:
- Construction paper for vibrant colors
- Cardstock for sturdiness
- Origami paper for delicate folds
- Wrapping paper for unique patterns
- Scissors: A good pair of craft scissors will help you cut precise shapes.
- Glue: White school glue or a glue stick works best for paper projects. You might also consider double-sided tape for quick adhesion.
- Pencil and Ruler: For measuring and marking lines to ensure accuracy in your designs.
- Decorative Items: Consider adding:
- Markers or crayons for coloring
- Stickers for embellishments
- Buttons or beads for a three-dimensional effect
- Fabric scraps for additional texture
- Template or Guides: If you’re new to paper houses, having a template can be immensely helpful. You can find printable designs online or create your own!
With these materials in hand, you’re all set to unleash your creativity and start building your own paper house. Let’s see where your imagination takes you!
Also Read This: Design Tapered Tumblers with Canva How to Make a Tapered Tumbler Template
3. Step-by-Step Instructions
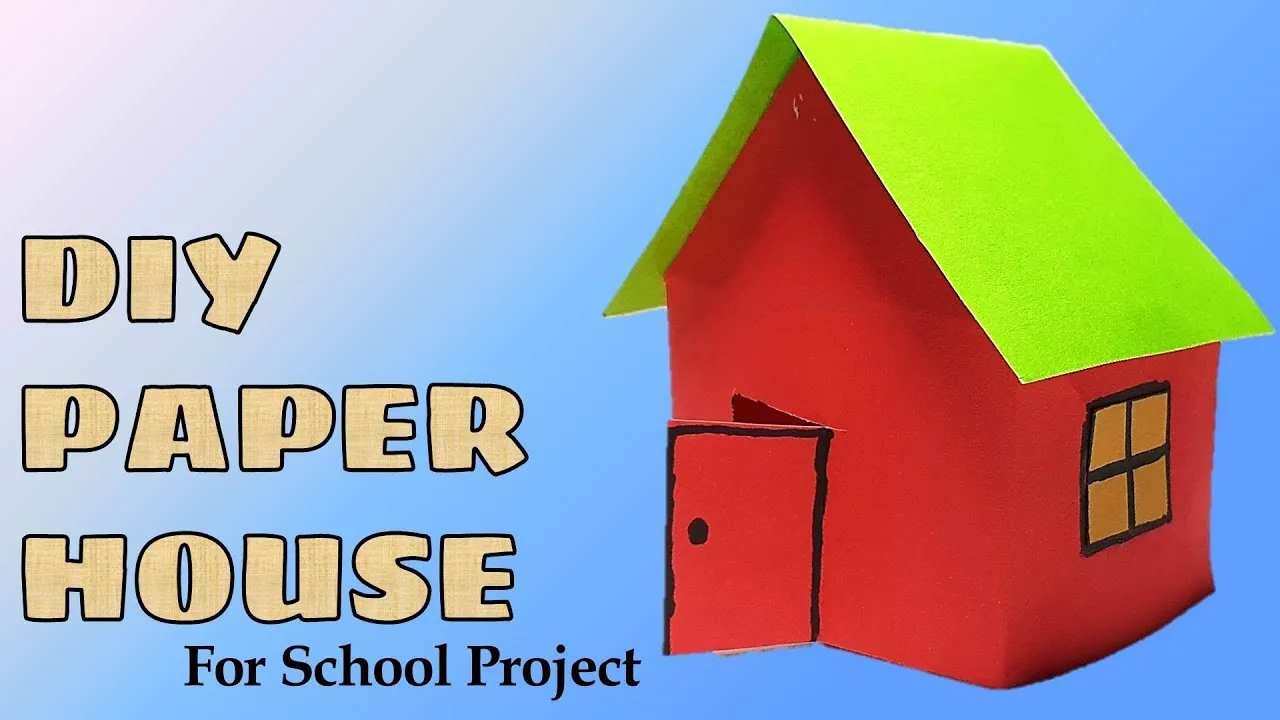
Building a paper house can be a fun and rewarding project! Here’s a simple guide to get you started.
- Gather Your Materials: You'll need:
- Cardstock or construction paper
- Scissors
- Glue or double-sided tape
- Pencil and ruler
- Markers or colored pencils for decoration
| Part | Dimensions (inches) |
|---|---|
| Front wall | 4 x 6 |
| Back wall | 4 x 6 |
| Side walls | 4 x 5 |
| Roof sections | 5 x 8 (two pieces) |
Also Read This: How to Embed YouTube on Behance
4. Tips for Decorating Your Paper House
Now that you've built your paper house, it’s time to make it truly your own! Here are some creative tips for decorating:
- Paint or Color: Use bright paints or colored pencils to bring your house to life. Consider themes like a cozy cottage, a modern home, or even a fantasy castle!
- Add Windows and Doors: Cut out small rectangles for windows and doors in your walls. You can use clear plastic or colored paper for glass.
- Landscaping: Create a garden by cutting out paper flowers, trees, or bushes. You can even make little animal cutouts to add charm!
- Roof Details: Experiment with different roof designs! Try adding shingles made from small strips of paper or create a thatched effect using textured paper.
- Personal Touch: Write your family name above the door or add a welcome sign. Personalizing your house makes it feel more special.
Remember, there’s no right or wrong way to decorate your paper house—let your creativity flow! Enjoy the process and have fun!
Also Read This: Learn How to Sell Your Templates with Canva How to Sell My Templates
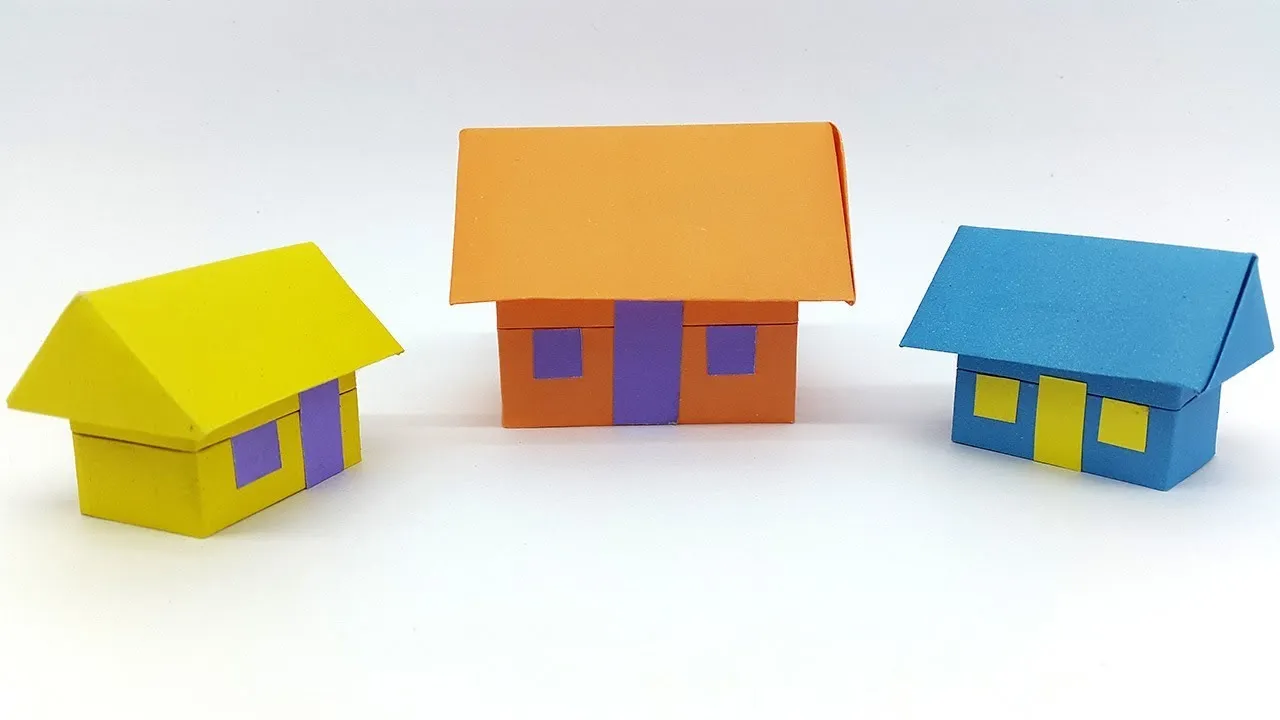
5. Alternative Designs and Variations
Building a paper house opens the door to endless creativity. While traditional designs are charming, why not break the mold and try some alternative variations? Here are a few innovative ideas to inspire your next project:
- Modern Minimalist: Embrace clean lines and geometric shapes. Use white or pastel paper and focus on symmetry for a sleek look.
- Rustic Charm: Incorporate textured papers like kraft or recycled materials to give your house a cozy, rustic feel. Add paper details like wooden beams or stone accents.
- Fantasy Architecture: Let your imagination run wild! Create whimsical designs inspired by fairy tales. Think about towers, arches, and oversized flowers for a magical touch.
- Eco-Friendly Style: Use recycled paper and natural dyes to promote sustainability. Consider making your house look like a green abode with paper plants and solar panels.
- Interactive Features: Design a paper house with movable parts, like doors and windows that actually open. You could even create a paper doll family to inhabit your new home!
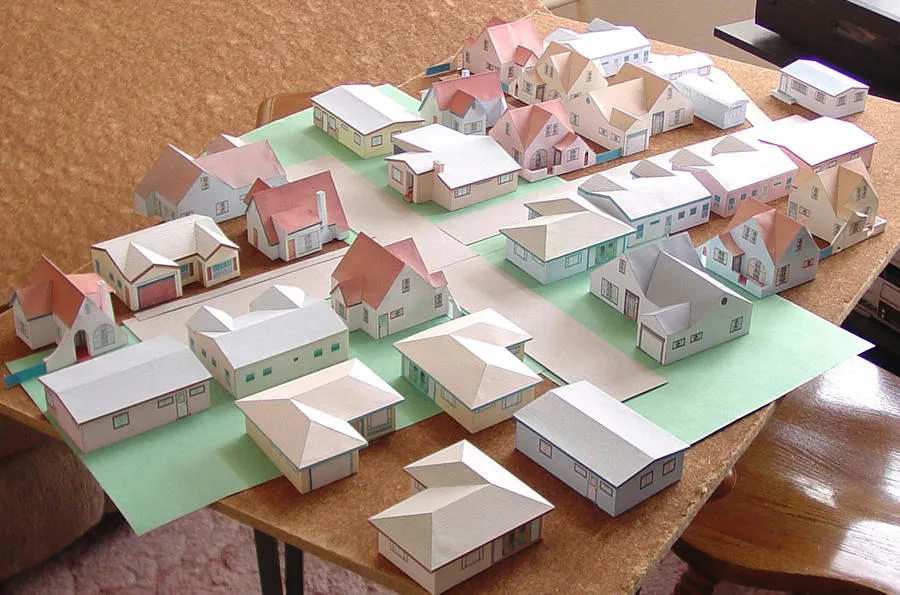
These variations not only make your paper house stand out but also allow for personal expression. Experiment with colors, textures, and forms; the only limit is your imagination!
6. Conclusion
Creating a paper house is not just a craft; it’s an exploration of creativity and imagination. Throughout this journey, you’ve learned the basics of construction, explored alternative designs, and discovered how to make your project uniquely yours. Remember, there’s no right or wrong way to build a paper house! The key is to have fun and let your creativity shine.
As you gather your materials and start folding, keep in mind:
- *Experimentation is key. Don't be afraid to try out new techniques or materials.
- Take your time. Enjoy the process; each fold is a step towards your artistic vision.
- Share your creations!* Whether it’s with friends, family, or on social media, showcasing your work can inspire others.
So, grab that paper, unleash your creativity, and start building your dream paper house today!