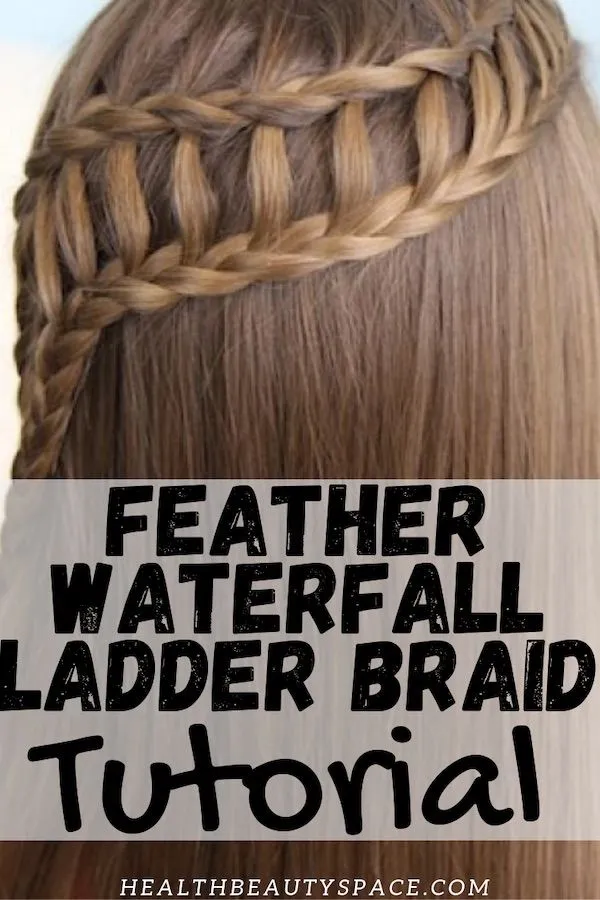
Welcome to the wonderful world of hairstyling! Today, we're diving into a fun and creative hairstyle that’s perfect for any occasion—a feather braid. Whether you're getting ready for a casual day out or a special event, this braid adds a unique touch to your look. The feather braid is not only beautiful but also a fantastic way to showcase your styling skills. Let’s get started and transform your hair into a stunning masterpiece!
What You Need for a Feather Braid
Before we jump into the tutorial, let’s gather all the essentials you’ll need to create your feather braid. Don’t worry; you won’t need a treasure chest of tools—just a few simple items! Here’s your checklist:
- Brush or Comb: To detangle your hair and ensure a smooth base for your braid.
- Hair Tie: A strong elastic to secure the braid at the end.
- Hair Pins or Clips: These will help hold the braid in place and keep any flyaways under control.
- Texturizing Spray: This adds grip to your hair, making it easier to braid, especially if your hair is silky.
- Optional: Decorative Hair Accessories: Think beads, ribbons, or flowers to add a personal touch to your braid!
With these items in hand, you’re all set to create a beautiful feather braid. Remember, practice makes perfect, so don’t be afraid to try it out a few times until you get the hang of it!
Also Read This: How to Get Donations on YouTube to Earn from Viewer Contributions
3. Step-by-Step Instructions
Creating a feather braid might seem daunting at first, but with a little practice, you’ll find it’s a fun and rewarding process! Follow these simple steps to master this beautiful hairstyle.
- Prep Your Hair: Start with clean, dry hair. A little texture spray can help your braid hold better.
- Section Your Hair: Divide your hair into three equal sections at the back of your head. Use hair ties to keep them separate if needed.
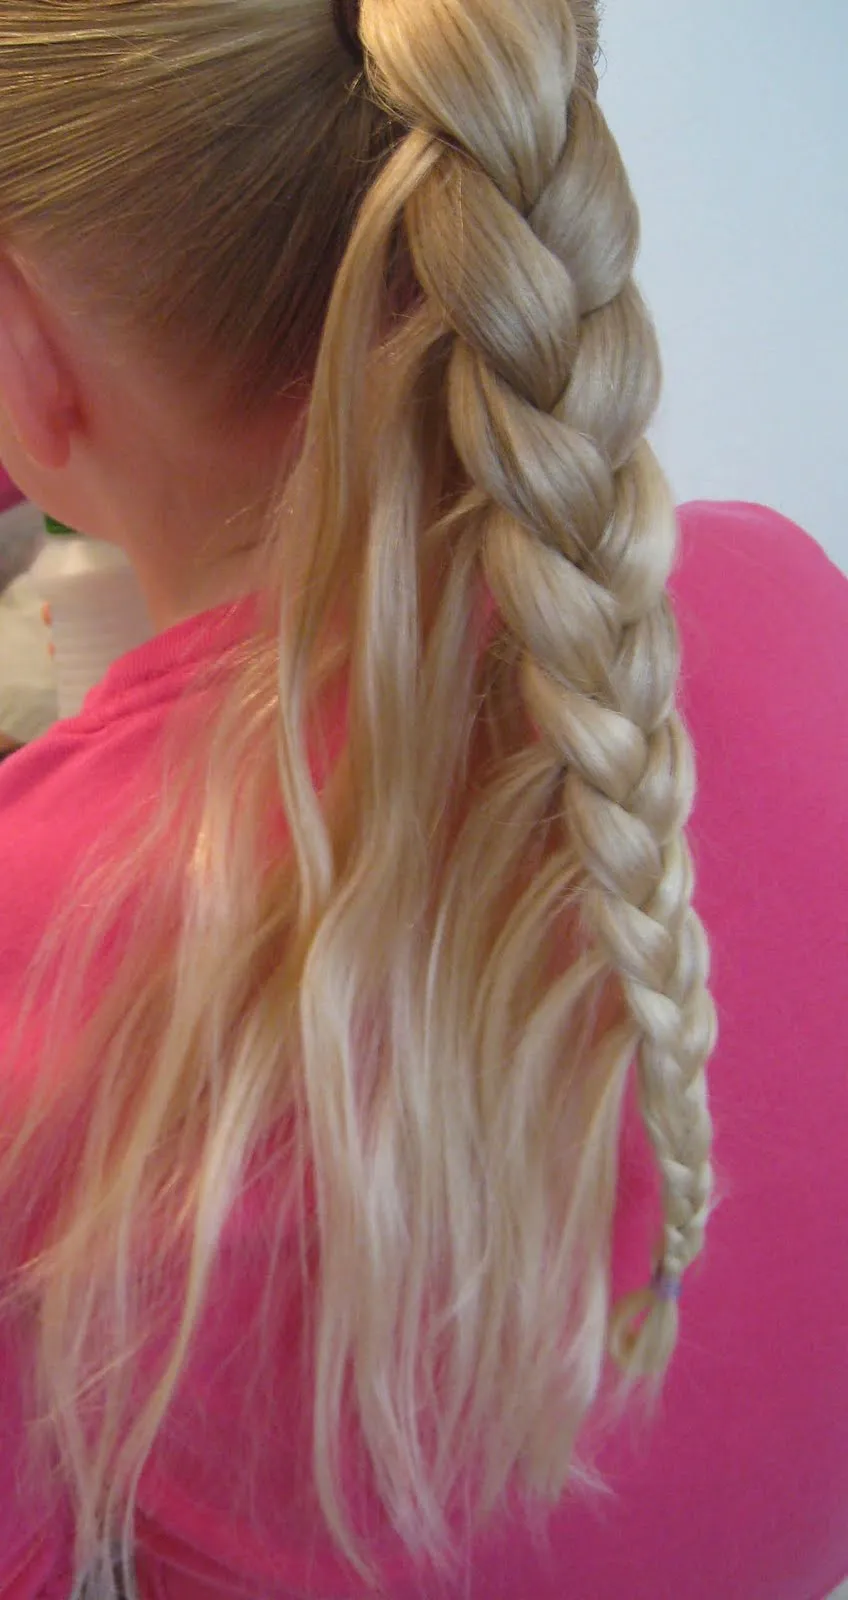
- Start the Braid: Take the right section and cross it over the middle section, then take the left section and cross it over the new middle section. This is your basic braid.
- Add Hair: Now, we’re going to add hair to create the feather effect. Before crossing the right section over the middle, grab a small piece of hair from the right side and add it to this section.
- Continue Braiding: Cross the right section over the middle. Repeat this step with the left section, adding hair from the left side before crossing over.
- Keep Going: Continue this process until you reach the end of your hair. Make sure to keep the tension even for a neat look.
- Secure the Braid: Use a hair tie to secure the end of your braid. You can also tug on the sides gently to loosen it for a fuller look.
Also Read This: Creative DIY Clutch Making Tutorial on Dailymotion
4. Tips for a Perfect Feather Braid
Getting the feather braid just right can take a bit of practice, but here are some tips to help you achieve that flawless look every time:
- Use the Right Products: A good texturizing spray can make your hair easier to work with. You can also use a light-hold hairspray to tame flyaways.
- Practice Makes Perfect: Don’t get discouraged if it doesn’t look perfect on your first try. Keep practicing, and you’ll see improvement!
- Section Size: For a more dramatic look, take larger sections of hair when adding to your braid. Smaller sections will create a more delicate appearance.
- Consider Your Hair Type: If you have slippery hair, consider braiding on slightly damp hair or using a texturizing product beforehand.
- Seal the Braid: After finishing, applying a little hairspray can help keep things in place throughout the day.
Happy braiding! With these tips and steps, you’re well on your way to becoming a feather braid pro!
Also Read This: Using Other Peopleâs Videos on YouTube and Whatâs Allowed Under Fair Use
Common Mistakes to Avoid
When it comes to creating the perfect feather braid, it's easy to make some common missteps that can derail your efforts. Here’s a list of pitfalls to watch out for:
- Skipping the Prep Work: Before diving into braiding, ensure your hair is clean and dry. Oily or damp hair can be slippery, making it difficult to achieve a neat braid.
- Not Sectioning Properly: Failing to section your hair properly can lead to an uneven braid. Take the time to separate your hair into manageable sections before you start.
- Pulling Too Tight: While you want the braid to be secure, tugging too hard can cause discomfort and can lead to breakage. Keep it snug but comfortable.
- Neglecting to Use Product: A little styling product can go a long way. Consider using light mousse or a texturizing spray to give your braid better grip and create a polished look.
- Ignoring Hair Type: Different hair types react differently to braiding. For example, fine hair may require extra product to hold the braid, while thick hair might need extra patience to manage.
- Rushing the Process: Take your time! Rushing can lead to a messy braid. Enjoy the process and focus on each section as you work through the braid.
Also Read This: How to Fix Blurry Images in ShootProof
Styling Ideas and Variations
Once you've mastered the feather braid, you can have so much fun experimenting with different styles and variations! Here are some creative ideas to inspire your next look:
- Colorful Extensions: Incorporate colorful hair extensions into your feather braid for a pop of color! This can brighten your look and add a fun twist.
- Messy Feather Braid: For a relaxed, boho vibe, create a messy version of the feather braid. Loosen some strands and pull sections apart gently.
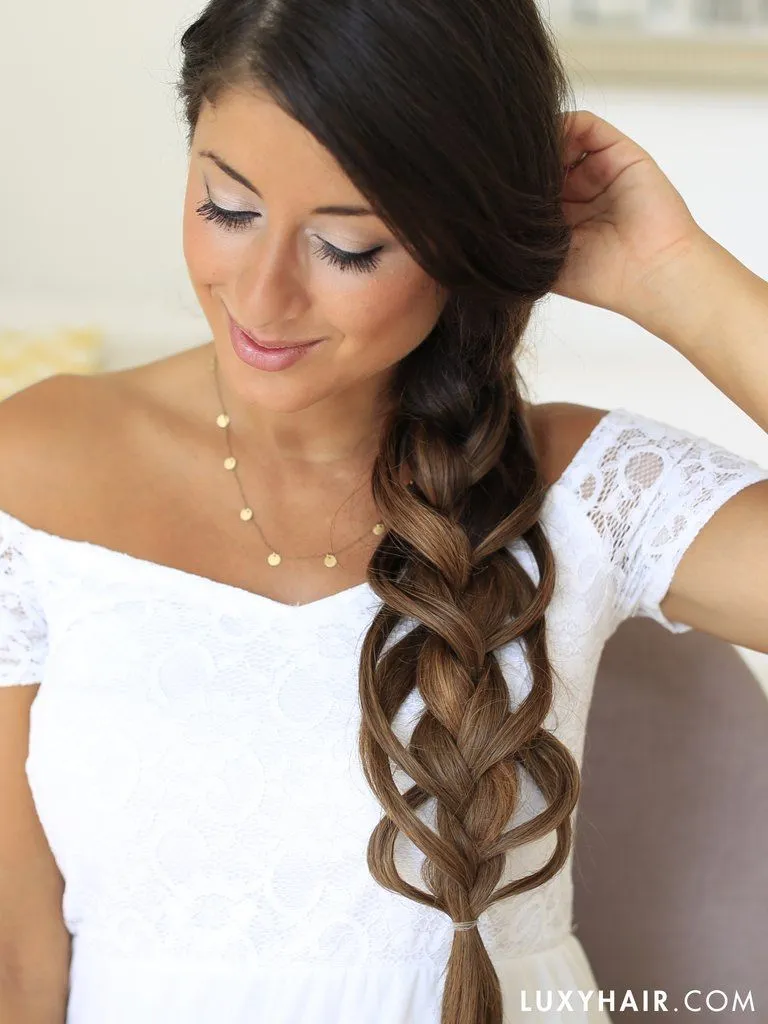
- Feather Braid Bun: After you create your feather braid, twist it into a bun at the nape of your neck. This combines elegance with a playful touch.
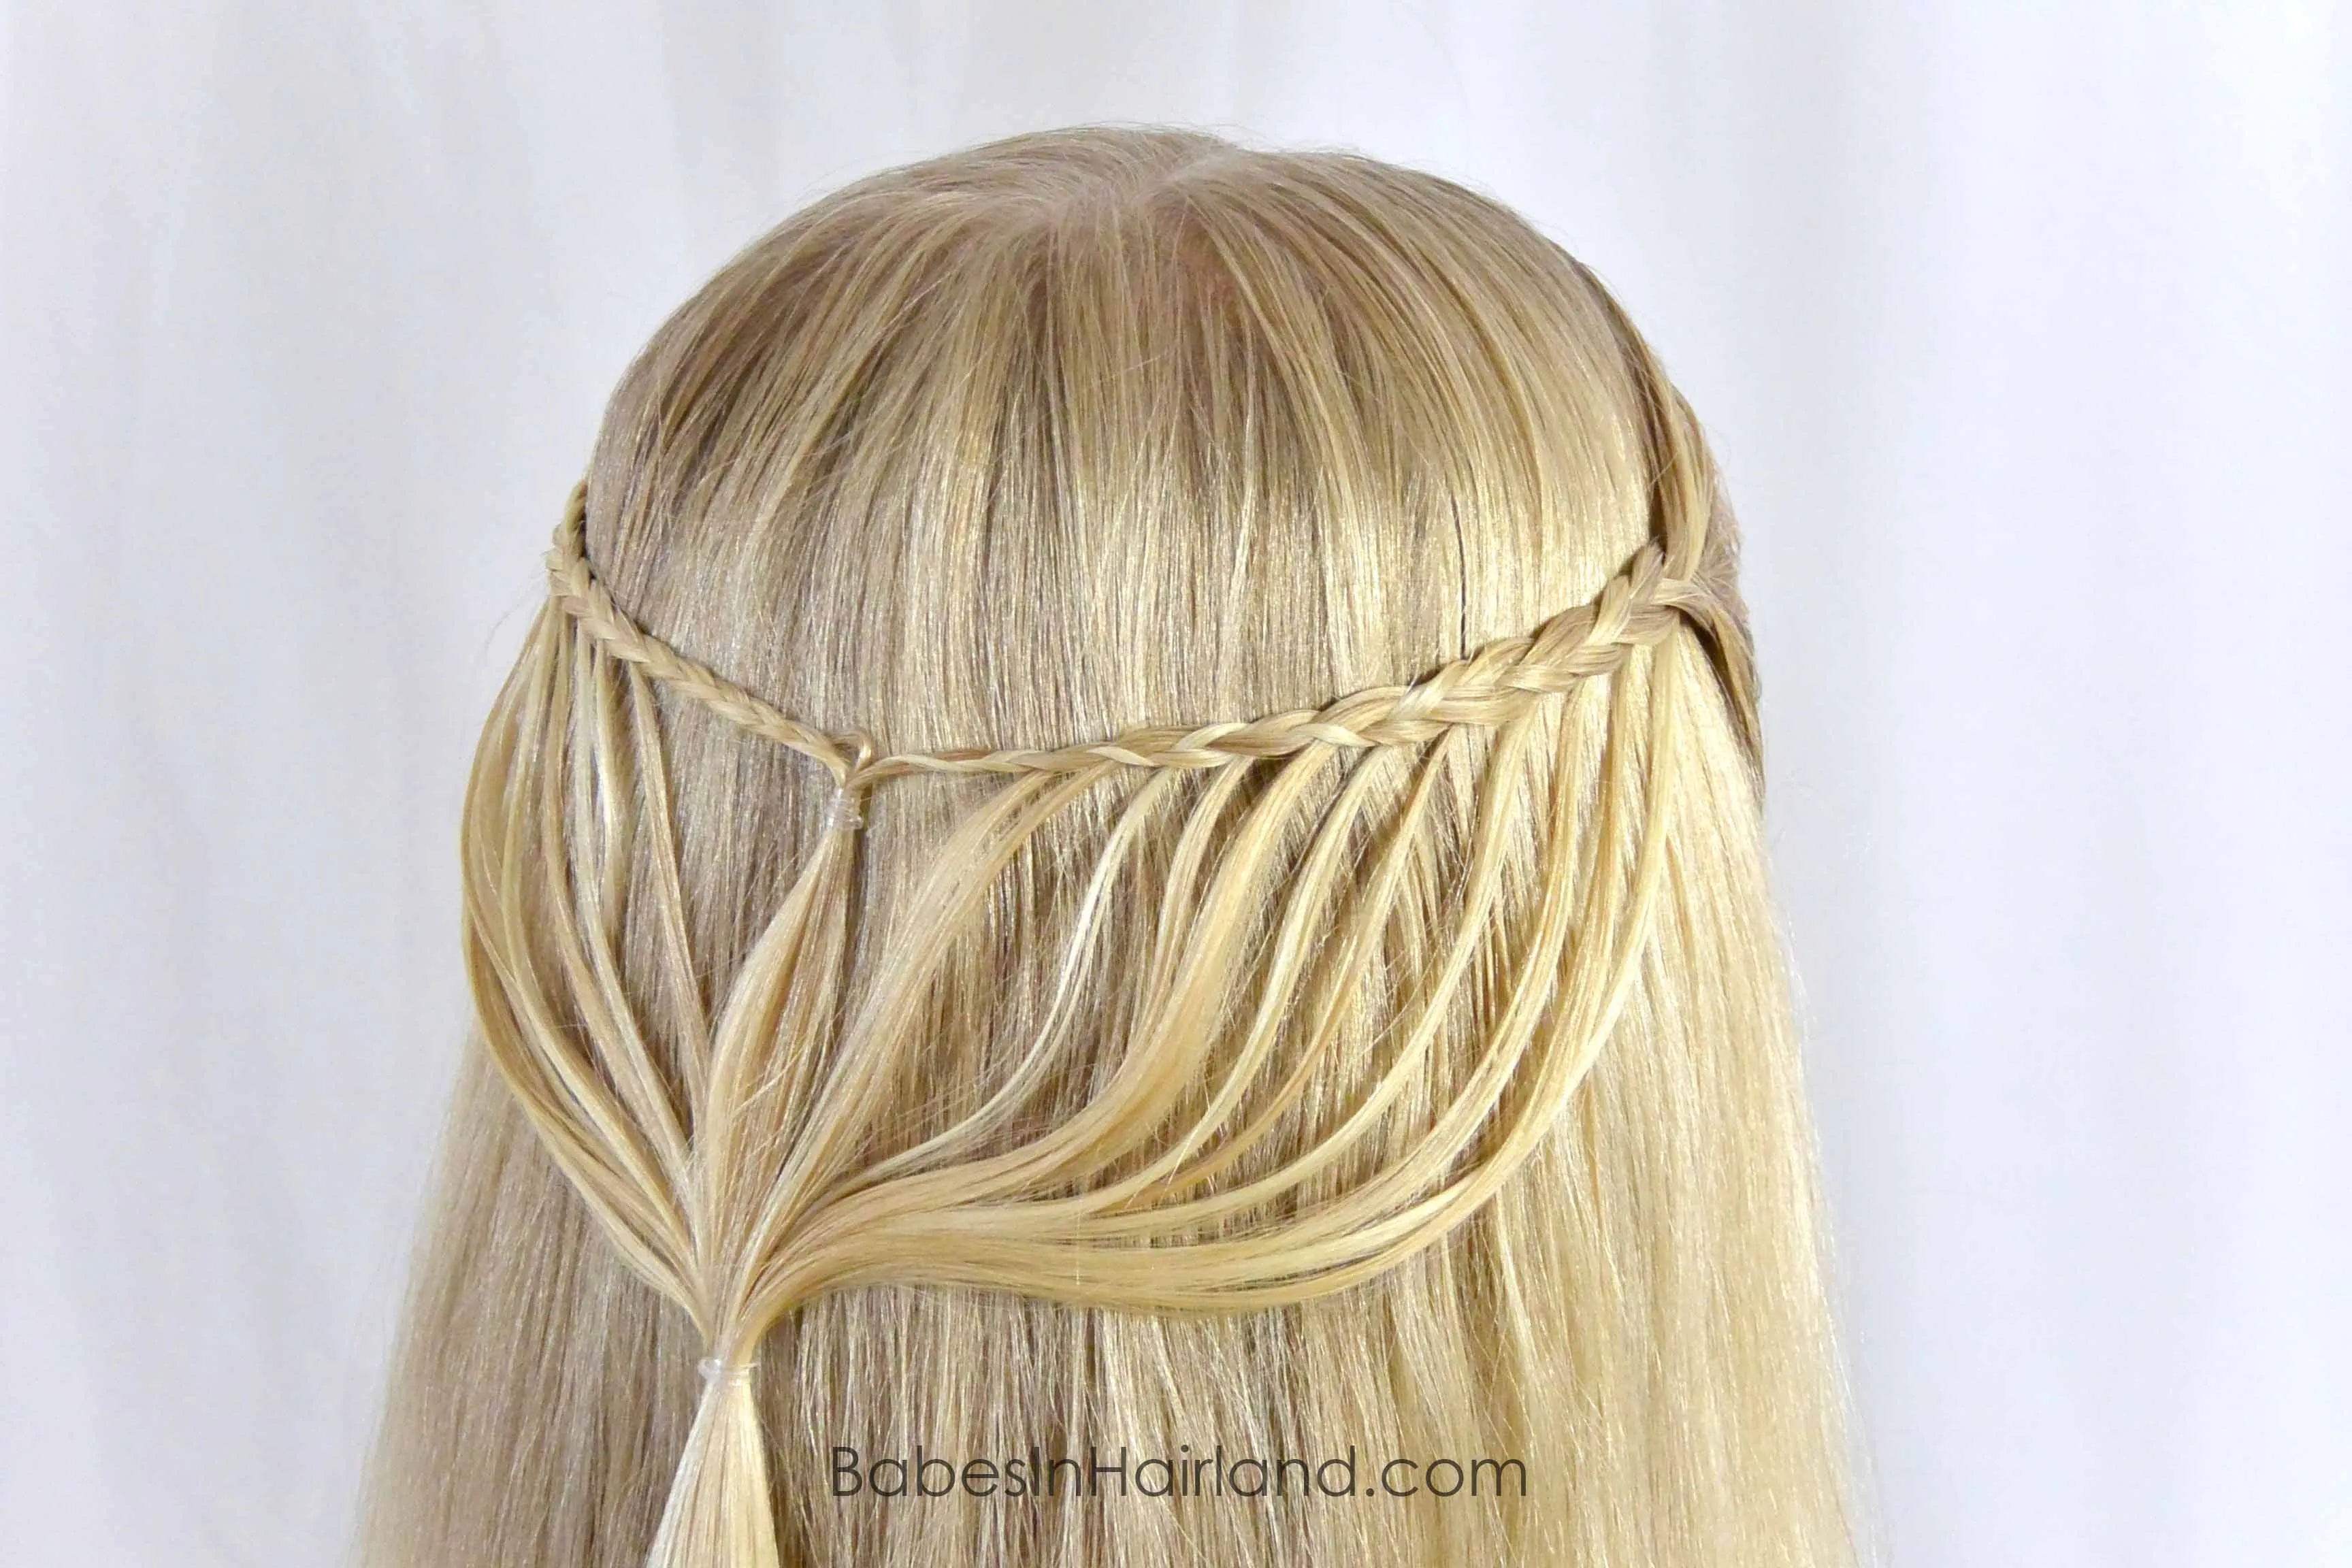
- Half-Up Feather Braid: Perfect for those who want to keep hair away from their face! Braid only the top section and leave the rest of your hair flowing.
- Decorative Accessories: Add beads, flowers, or hairpins to your braid for a personal touch. This can make your hairstyle stand out even more!
Feel free to mix and match these ideas to create a unique look that reflects your personal style!
Creative Hairstyling Tutorial for Making a Feather Braid
The feather braid is a stunning and intricate hairstyle that combines elegance with a touch of whimsy. Perfect for special occasions or everyday wear, this braid is sure to turn heads. Follow this step-by-step tutorial to master the art of the feather braid and add a creative flair to your hairstyling repertoire.
What You’ll Need:
- Hairbrush
- Hair ties
- Hair clips
- Styling product (optional)
Step-by-Step Instructions:
- Prep Your Hair: Start by brushing your hair to remove any knots. Apply a styling product for extra grip if your hair is slippery.
- Section Your Hair: Divide your hair into three equal sections. Secure the outer sections with clips to keep them out of the way.
- Begin Braiding: Take the middle section and split it into two smaller sections. Cross the right section over the left, then add a small piece of hair from the right side and cross it back over.
- Create the Feather Effect: Continue braiding while incorporating small sections of hair from the outer sections. This will create the layered, feather-like appearance.
- Secure the Braid: Once you reach the desired length, secure the braid with a hair tie. Gently pull on the edges of the braid to loosen it and create volume.
Styling Tips:
- For a boho look, leave some strands loose around your face.
- Use hair accessories like flowers or pins for added flair.
In conclusion, the feather braid is a versatile and beautiful hairstyle that can be adapted for various occasions. With practice, you can achieve this creative look and impress everyone with your hairstyling skills.