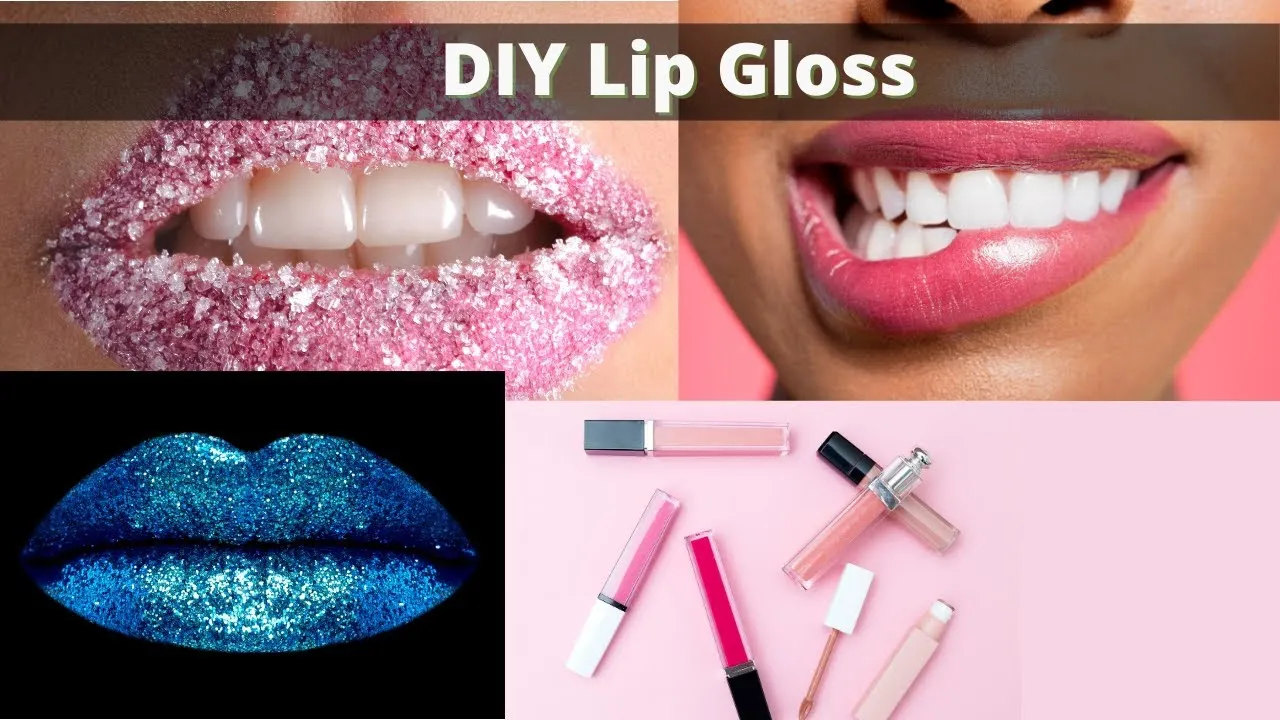
Hey there, beauty enthusiasts! Today, we're diving into the delightful world of DIY lip gloss, featuring everyone's favorite multitasker—Vaseline! Not only is it super easy to make, but it also gives your lips that perfect glossy finish without breaking the bank. So grab your supplies, and let's get started on creating your customized lip gloss that you can flaunt in style!
Benefits of Using Vaseline for Lip Gloss
Using Vaseline as a base for your DIY lip gloss comes with a treasure trove of benefits. Here’s why you should consider it for your next beauty project:
- Moisturizing Power: Vaseline is an exceptional moisturizer, creating a protective barrier that locks in moisture. This is perfect for preventing dry, chapped lips.
- Cost-Effective: A small tub of Vaseline is budget-friendly, often costing under $5. This makes it an economical choice for creating your lip gloss.
- Customizable: You can easily customize the scent and color of your lip gloss. Add a few drops of essential oils or a bit of food coloring to create your unique blend.
- Long-lasting Shine: Vaseline gives a luscious, glossy finish that lasts longer than many store-bought options. You won’t have to reapply as frequently!
- Non-Toxic: Made from petroleum jelly, Vaseline is generally safe and non-toxic, making it an excellent choice for those who prefer natural ingredients.
With all these fantastic benefits, it’s no wonder Vaseline is a go-to for DIY lip gloss lovers. So, are you ready to whip up your own? Let’s move on to the next steps!
Also Read This: How to Add a Second Account on Telegram Without Losing Data
3. Materials Needed for DIY Lip Gloss
Creating your very own lip gloss is not just fun; it's also a fantastic way to ensure you know exactly what goes on your lips! Here’s a simple list of materials you’ll need to get started:
- Vaseline: This is the star ingredient! It provides moisture and a glossy finish.
- Flavoring Oils: Choose your favorite! Vanilla, peppermint, or even fruit flavors can add a delightful taste.
- Food Coloring: If you want your lip gloss to have a hint of color, pick food-safe coloring to customize your creation.
- Small Bowl: You’ll need this for mixing your ingredients together.
- Spatula or Spoon: Use this to blend your Vaseline and flavoring oils thoroughly.
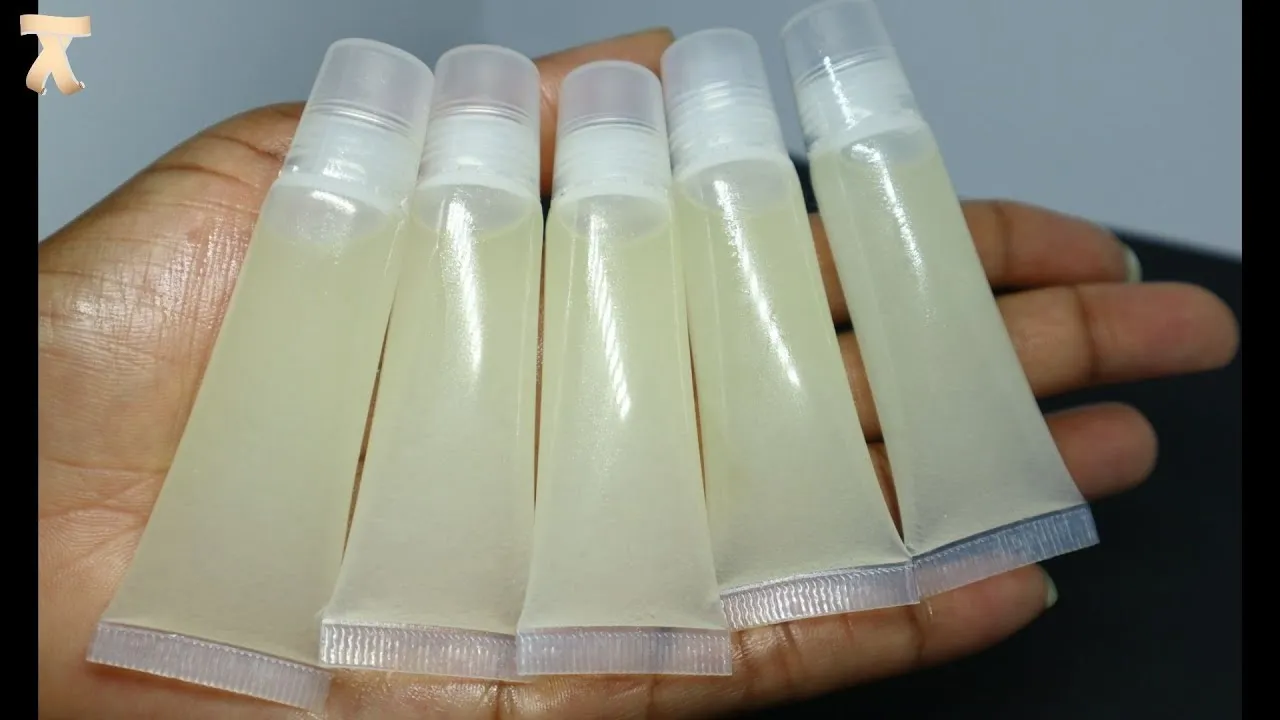
- Containers: Small jars, lip balm tubes, or even old lip gloss containers are great for storing your finished product.
Optional ingredients can include:
- Essential Oils: For added scent and benefits.
- Vitamin E Oil: A fantastic addition for extra nourishment.
With these materials at hand, you’re all set to dive into your DIY lip gloss adventure!
Also Read This: Cómo Subir Contenido a iStock para Nuevos Contribuidores
4. Step-by-Step Instructions to Make Lip Gloss
Ready to whip up your homemade lip gloss? Follow these easy steps, and you’ll have a sparkling concoction in no time!
- Gather Your Materials: Make sure you have all the items listed above ready to go.
- Measure Vaseline: Scoop out about 1 tablespoon of Vaseline into your small bowl.
- Add Flavoring: Drizzle in a few drops of flavoring oil. Start with one or two and adjust based on your preference.
- Add Color: If you want some color, add a drop of food coloring. Mix until you reach your desired shade!
- Mix It Up: Use your spatula or spoon to stir everything together until it’s smooth and evenly blended.
- Transfer to Containers: Carefully spoon your mixture into your chosen containers. Make sure not to overfill!
- Let It Set: If your gloss is slightly warm, let it cool and set for a few minutes before using.
And that’s it! You now have a personalized lip gloss that’s perfect for you. Enjoy your glossy creation!
Also Read This: Explore the Best Resume Templates Available on Canva
Creative Variations and Additions
If you’re looking to elevate your DIY lip gloss game, there are countless creative variations and additions you can explore. Here are some fun ideas to make your gloss uniquely yours:
- Flavor Infusions: Enhance the taste of your lip gloss by adding flavoring oils or extracts. Consider vanilla, peppermint, or even fruity flavors like strawberry or mango for a tasty twist!
- Color Choices: Use cosmetic-grade pigments or natural colorants like beetroot powder to give your gloss a vibrant hue. Experiment with different shades to match your mood or outfit.
- Sparkle and Shine: Add a pinch of glitter or shimmer for that extra glam factor. Just make sure it’s skin-safe! Choose from finely milled glitter for a subtle shine or chunky glitter for a bold look.
- Essential Oils: Incorporate essential oils like lavender or tea tree oil for added benefits. Not only do they smell great, but they can also provide soothing properties for your lips.
- Shea Butter or Coconut Oil: For added hydration, mix in a bit of shea butter or coconut oil. These ingredients can help nourish and moisturize your lips even more.
Feel free to mix and match these variations until you find your perfect blend! Remember, the beauty of DIY is in the creativity and personalization.
Also Read This: How Much XP Does Team Rumble Give in Fortnite
How to Apply and Store Your Lip Gloss
Now that you’ve crafted your own stylish lip gloss, applying and storing it properly is key to keeping it fresh and fabulous.
Application Tips:
Applying your DIY lip gloss is a breeze! Here’s how to do it:
- Start with clean lips. Make sure they’re free from any previous products.
- Using a lip brush or your fingertip, scoop a small amount of gloss.
- Gently apply it to your lips, starting from the center and working your way outwards for even coverage.
- For a more defined look, use a lip liner to outline your lips before gloss application.
Storage Suggestions:
To keep your lip gloss in top condition, follow these storage tips:
- Use a Clean Container: Store your gloss in a clean, airtight container to prevent contamination.
- Cool and Dark Place: Keep it in a cool, dark place, away from direct sunlight, to prolong its shelf life.
- Label Your Creations: If you’ve made several variations, consider labeling your containers. This way, you know exactly what flavor or color you’re grabbing.
With these tips, your DIY lip gloss will not only look good but also feel great on your lips!
Creative DIY Lip Gloss with Vaseline on Dailymotion
Creating your own lip gloss can be a fun and rewarding experience, especially when using simple ingredients like Vaseline. This versatile product serves as a fantastic base for a nourishing and moisturizing lip gloss that leaves your lips soft and shiny. Here’s a quick guide on how to create your very own DIY lip gloss using Vaseline, along with an overview of some creative variations you can explore.
Basic Vaseline Lip Gloss Recipe
To make a basic lip gloss, you will need the following ingredients:
- 1 tablespoon of Vaseline
- 1 teaspoon of flavored oil (like peppermint or vanilla)
- Optional: A few drops of food coloring for tint
Instructions
- In a small bowl, combine the Vaseline and flavored oil.
- If you want to add color, mix in a few drops of food coloring until you achieve the desired shade.
- Transfer the mixture into a small container or an empty lip gloss tube.
- Allow it to set for a few minutes before use.
Creative Variations
Here are some fun variations to make your lip gloss unique:
| Variation | Ingredients |
|---|---|
| Shimmery Gloss | 1 tablespoon Vaseline, 1 teaspoon cosmetic glitter |
| Tinted Gloss | 1 tablespoon Vaseline, 1 teaspoon lipstick (melted) |
| Essential Oil Infusion | 1 tablespoon Vaseline, 2-3 drops of your favorite essential oil |
Making your own lip gloss not only allows you to customize flavors and colors but also ensures you know exactly what you are applying to your lips. With just a few ingredients, you can create a product that is both fun to make and delightful to use.
In conclusion, the DIY lip gloss with Vaseline is an easy and creative way to personalize your lip care routine. With endless variations to explore, you can enjoy soft, shiny lips while expressing your unique style.