Welcome to our creative crafting adventure! Today, we're diving into the world of DIY with a fun and unique project: making a paper chair. This tutorial is perfect for beginners and seasoned crafters alike. Not only is it a fantastic way to unleash your creativity, but it also teaches valuable skills in design and construction. Plus, who doesn't love a cool, handmade piece of furniture to show off? So, grab your supplies, and let’s get started on crafting your very own paper chair!
Materials Needed
Before we jump into the fun part of creating our paper chair, it’s essential to gather all the materials you’ll need. Here’s a handy list to ensure you have everything at your fingertips:
- Paper: You can use cardstock, old magazines, or even wrapping paper. The sturdier the paper, the better your chair will hold up.
- Scissors: A good pair of scissors is crucial for clean cuts.
- Glue: White craft glue or a glue stick will work. Just ensure it’s strong enough to hold your paper pieces together.
- Ruler: A ruler will help you measure and mark your paper accurately.
- Pencil: For sketching out your chair design before cutting.
- Decorative items (optional): Think markers, paint, or stickers to add a personal touch to your chair.
- Cutting Mat (optional): If you have one, it makes cutting easier and protects your surfaces.
Now that you know what materials you'll need, you're all set to embark on this exciting crafting journey! Let your imagination run wild as you prepare to create your one-of-a-kind paper chair.
Also Read This: John Cena's Royal Rumble Victory Count
3. Step-by-Step Instructions
Creating a paper chair can be a fun and rewarding project, perfect for unleashing your creativity! Let’s break it down into manageable steps:
- Gather Your Materials: You will need:
- Cardstock or thick paper
- Scissors
- Glue or double-sided tape
- Ruler
- Pencil
- Your favorite decorations (markers, stickers, etc.)
- 2 rectangles for the seat (5 inches x 6 inches)
- 4 rectangles for the legs (1 inch x 4 inches)
- 2 rectangles for the backrest (3 inches x 6 inches)
And there you have it! Your very own paper chair is ready to be showcased!
Also Read This: Changing Your YouTube Account Email Address
4. Design Variations
Now that you’ve mastered the basic paper chair design, let’s explore some fun variations to make your creation truly unique!
- Colorful Patterns: Instead of plain cardstock, use patterned paper or wrap your chair in colorful wrapping paper. Think polka dots, stripes, or floral designs!
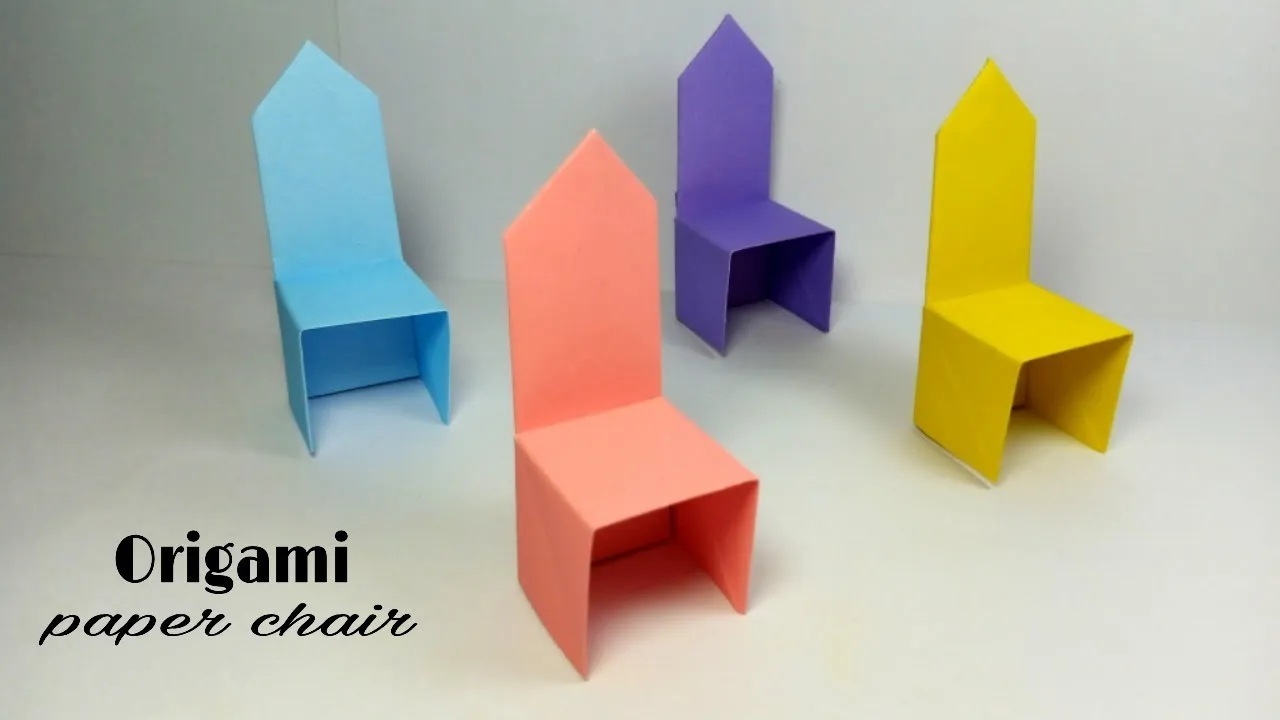
- Miniature Furniture: Scale down your design to create a mini chair for dollhouses or action figures. A smaller size means you can experiment with intricate details!
- Layered Textures: Use different textures of paper, like tissue paper or corrugated cardboard, to add depth and interest to your chair.
- Decorative Elements: Embellish your chair with additional features like armrests made from folded paper strips or a cushion made from fabric scraps.
Feel free to mix and match these ideas. The sky's the limit when it comes to creativity! Try out various designs, and you might just stumble upon your favorite paper chair style.
Also Read This: Seamless Integration of Imago Images in Your Content Marketing Strategy
5. Tips for Success
Creating a paper chair can be a delightful experience, but like any crafting project, it has its challenges. Here are some handy tips to ensure your crafting journey is smooth and successful:
- Choose the Right Paper: Opt for a sturdy type of paper like cardstock or construction paper. This will provide better support for your chair.
- Use a Sharp Tool: When cutting, make sure to use sharp scissors or a craft knife. Dull tools can lead to uneven edges and frustration.
- Measure Twice, Cut Once: Take your time measuring and marking your cuts. Double-checking can save you from making mistakes that are hard to fix later on.
- Follow the Instructions: If you’re using a template or a tutorial, stick to the directions. They are designed to help you create the best possible outcome.
- Take Breaks: Crafting can sometimes become overwhelming. If you find yourself feeling stuck, take a short break to refresh your mind.
- Experiment with Colors: Don’t be afraid to mix and match colors or patterns. This is your chair, and it should reflect your unique style!
- Ask for Help: If you’re crafting with kids or friends, don’t hesitate to delegate tasks. Teamwork can make the process more enjoyable!
Remember, crafting is all about having fun, so don’t stress too much about perfection. Enjoy the process and let your creativity flow!
6. Conclusion
In conclusion, making a paper chair is not just a simple craft; it’s an opportunity to express your creativity and hone your crafting skills. Whether you’re a seasoned crafter or a beginner, the process of cutting, folding, and assembling paper can be incredibly rewarding.
As you wrap up your project, take a moment to admire your handiwork. You’ve transformed a few sheets of paper into a functional piece of art! Here’s a quick recap of what we covered:
| Steps | Key Points |
|---|---|
| Preparation | Gather materials and tools. |
| Design | Sketch your chair and plan dimensions. |
| Construction | Follow steps carefully to assemble your chair. |
| Finishing Touches | Add decorations or personalized elements. |
Finally, remember that every crafting project is a learning experience. Don’t hesitate to try new techniques and explore your creativity. Who knows, your paper chair might just be the start of a whole collection of paper furniture!