Creating your own Call of Duty 4 (COD4) server is an exhilarating way to customize your gaming experience and bring friends together for some epic battles. Whether you're looking to host a casual game or a competitive match, having your own server lets you control the rules, settings, and overall atmosphere. In this tutorial, we’ll walk through each step, ensuring you have all the tools and knowledge needed to set up your server like a pro.
What You Need to Get Started
Before diving into the setup process, it’s crucial to gather everything you’ll need to create your COD4 server. Here’s a handy checklist:
- Game Installation: Make sure you have a legal copy of Call of Duty 4 installed on your computer. This is essential, as the server files will come from here.
- Server Software: You'll need the COD4 dedicated server files. You can typically find these through platforms like Steam or by downloading them directly from reputable gaming forums.
- Strong Internet Connection: A stable and fast internet connection is vital for running a smooth server. Ideally, aim for at least a 5 Mbps upload speed.
- Computer Specs: Ensure your machine meets the required specifications. A decent CPU and 4GB of RAM should suffice for hosting a small to medium-sized server.
- Basic Networking Knowledge: Familiarize yourself with basic networking concepts like IP addresses, port forwarding, and firewall settings to help with connectivity.
- Additional Tools: Consider downloading server management tools like ProCon or the COD4 Server Manager for easier server handling.
Once you gather these essentials, you're well on your way to setting up a fun COD4 server. Let’s get started on the next steps!
Also Read This: Gaining more followers on Behance
Setting Up Your Server
Setting up your own Call of Duty 4 (COD4) server can feel daunting at first, but once you break it down into manageable steps, it’s actually quite straightforward. Here’s how to get started:
- Choose Your Hosting Method: Decide whether you want to host the server on your own hardware or rent a dedicated server from a provider. If you're just starting out, hosting on your own machine can be a great way to test things out.
- Download the COD4 Dedicated Server Files: You can find these files on platforms like Steam. Make sure you have the latest version to avoid compatibility issues when players join your server.
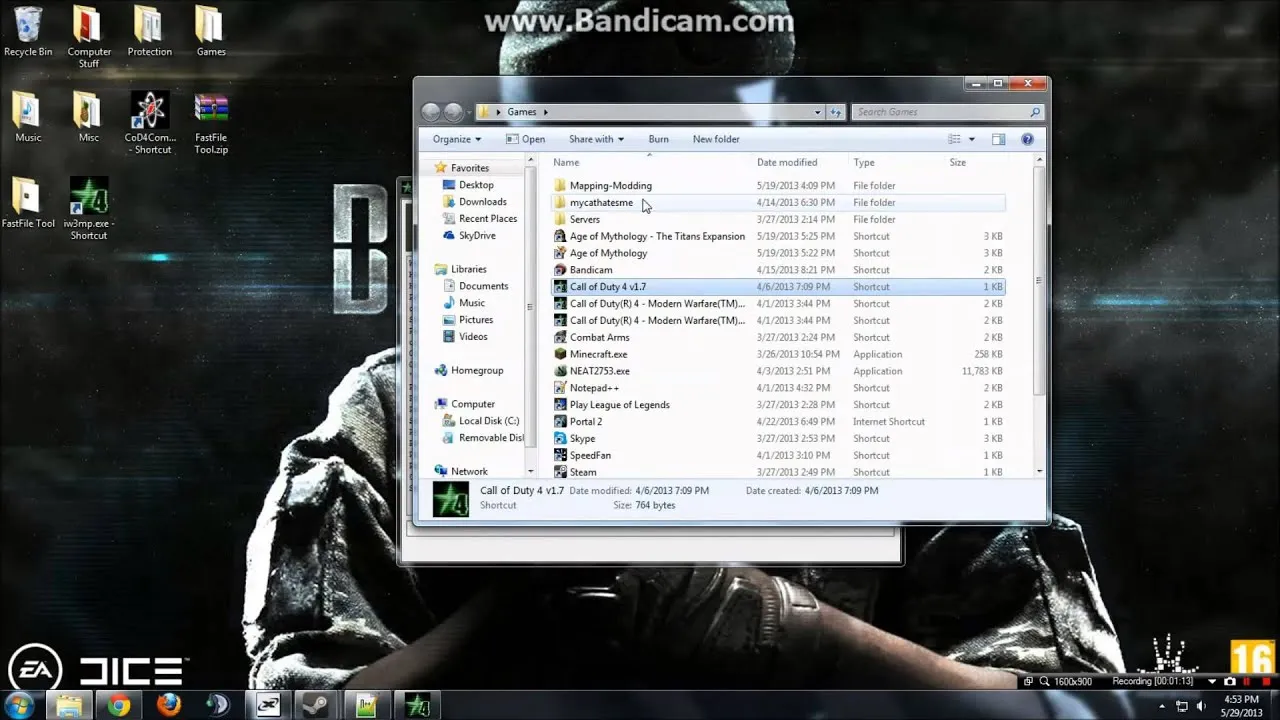
- Install the Server Software: Extract the downloaded files into a directory of your choice. This will be the home for your server. A typical path might look like
C:COD4_Serveron Windows or/home/cod4_serveron Linux. - Open Required Ports: For your server to be accessible to players, you’ll need to open the appropriate ports on your router. COD4 typically uses UDP port 28960. Make sure you also configure your firewall to allow traffic through this port.
- Launch the Server: Navigate to the server directory and run the startup script. On Windows, this might be a
start.batfile, while on Linux, you might use a terminal command. This will start your COD4 server.
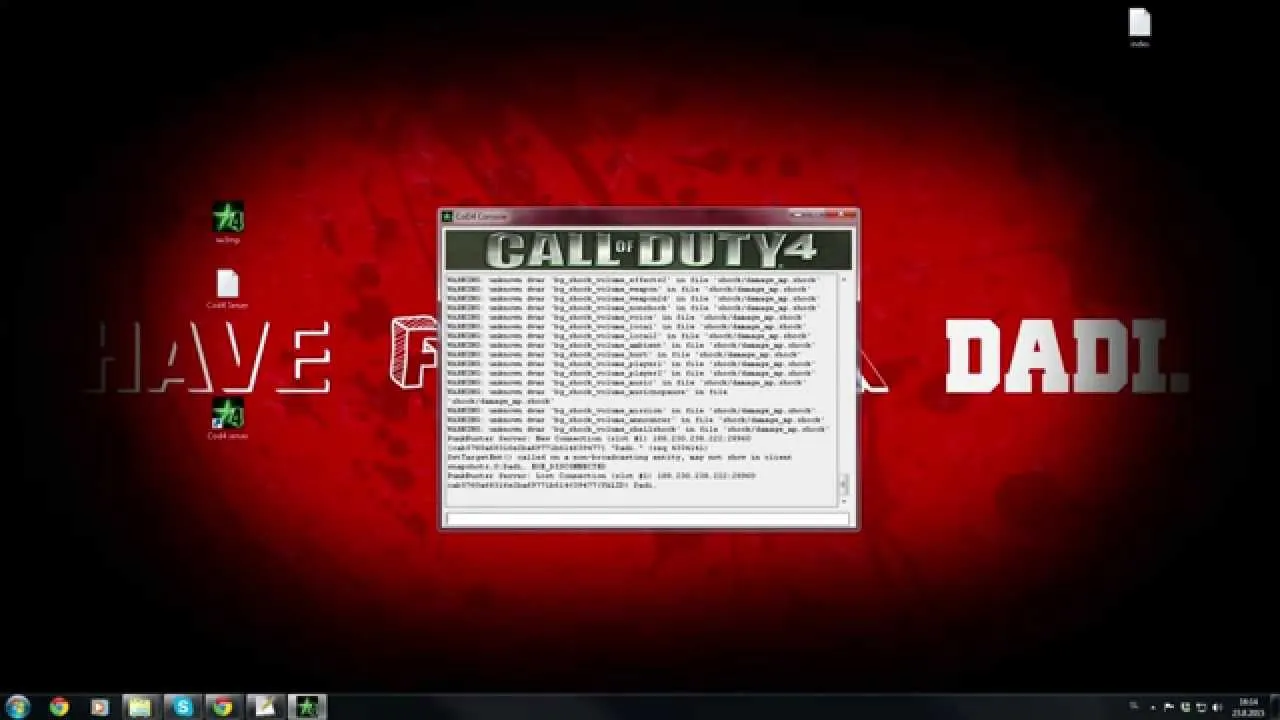
Once your server is running, you can check its status in the COD4 server console. You’re now one step closer to hosting your gaming sessions!
Also Read This: Creating the Perfect French Roll Hairstyle on Dailymotion
Configuring Server Settings
Now that your server is up and running, it’s time to tailor it to your gaming style. Here’s how to configure your server settings:
- Edit the Configuration File: Open the
server.cfgfile located in your server’s main directory. This file contains all the essential settings that dictate how your server operates. - Set Game Mode and Map: Within the
server.cfg, you can specify the game mode (likedmfor Deathmatch) and the default map. For example, you could addmap mp_crashto set the starting map. - Player Limits: Adjust the maximum number of players with the command
sv_maxclients 12. This sets the limit to 12 players, ideal for smaller matches. - Configuring Game Rules: Customize rules such as time limits and score limits using commands like
g_timelimit 10for a 10-minute game org_scorelimit 75for score-based gameplay. - Setting Admin Privileges: You can designate admins by adding their player IDs to the
admins.txtfile. This allows selected players to manage the server effectively.
After making your changes, save the configuration file and restart your server to apply the new settings. With these tweaks, you'll create a unique gaming environment tailored to your preferences and those of your players!
Also Read This: Duration and Implications of the Rumbling in Attack on Titan
5. Adding Mods and Custom Content
Customizing your Call of Duty 4 (COD4) server is one of the most exciting parts of the setup process! Mods can enhance gameplay, add new features, or change the aesthetic of the game. Here’s how you can get started:
First, you’ll want to explore popular modding communities. Websites like ModDB and GameBanana host a plethora of mods, ranging from new maps to gameplay tweaks. Make sure to download mods that are compatible with your server version.
Once you’ve found a mod you like, follow these steps:
- Download the mod: Save it to your computer, usually in a .zip or .rar format.
- Extract files: Use a program like WinRAR or 7-Zip to extract the files from the archive.
- Upload to server: Use an FTP client (like FileZilla) to connect to your server. Navigate to the
modsfolder and upload the extracted files there. - Modify the server configuration: Ensure your
server.cfgfile reflects the new mod. Add or change lines to incorporate the mod's settings.
After setting everything up, it’s crucial to test the mod. Invite a few friends to join your server and ensure the mod works flawlessly. It's all about having fun, so don’t hesitate to experiment with different mods until you find your perfect combination!
Also Read This: Understanding YouTube TV's Inclusion of the ACC Network and College Sports Networks
6. Launching Your Server
Now that you’ve added mods and customized your server, it’s time for the moment of truth: launching your COD4 server! Here’s a simple guide to get you started:
First, double-check your server settings. Make sure your server.cfg file is correctly configured to accommodate your players and mods. Here’s a quick checklist:
- Server name: Unique and catchy!
- Max players: Decide how many can join your server.
- Game mode: Choose between Team Deathmatch, Search & Destroy, or others.
To launch your server:
- Open the COD4 server application: This might be through a dedicated server software or a command prompt.
- Run the server: Use the command:
cod4mp_server.exe +set net_port 28960 +set g_gametype tdm +map mp_crash(replace parameters as needed). - Check for errors: If there’s an issue, the console will give you hints on what to fix.
Finally, share your server’s IP address with your friends or community. Encourage them to join and enjoy the game! Remember, launching is just the beginning—regularly update your server with new content and mods to keep things fresh and exciting!
Also Read This: Behance case study creation guide
Inviting Players to Join
Once you've set up your Call of Duty 4 server, the next exciting step is inviting your friends or the gaming community to join your action-packed battleground! Here’s how you can do that smoothly:
1. Share Your Server IP Address: First thing's first—players need to know where to find you. Share your server IP address with your friends. For example, if your server's IP is 192.168.1.1:28960, let them know to enter this in their game to connect.
2. Use Gaming Communities: If you're looking to expand beyond just friends, consider posting your server details in gaming forums or communities. Platforms like Reddit or Discord have dedicated channels for COD4 enthusiasts. Make sure to include:
- Your server name
- IP address and port
- Any special rules or mods
3. Create a Dedicated Discord Server: If you have a group of players, setting up a Discord server can be a great way to communicate. You can share updates, organize matches, and keep everyone in the loop. Just remember to pin your server’s IP in the announcements!
4. Schedule Game Nights: Regular game nights can keep players engaged. Set a day and time where everyone can log on, creating a fun routine. Consider using polls to find out what days work best for most players.
By effectively communicating and engaging with your players, you’ll create an enjoyable gaming experience that keeps them coming back for more!
Also Read This: Exploring the Features of the Split Pad Pro and Its Rumble Capability
Troubleshooting Common Issues
Even the best setups can encounter hiccups! Here are some common issues you might face when running your own COD4 server and how to fix them:
1. Connection Issues: If players are having trouble connecting, check the following:
- Firewall Settings: Ensure that your firewall isn’t blocking the game ports (default is UDP port
28960). - Router Configuration: Make sure you’ve set up port forwarding correctly on your router.
2. Server Crashes: If your server is crashing frequently, consider:
- Checking Server Logs: Look for any error messages that might indicate what’s going wrong.
- Mod Compatibility: If you’re running mods, ensure they’re compatible with the server version.
3. Performance Lag: Lag can ruin the gaming experience. To address this:
- Reduce Player Count: If you have too many players for your server’s specs, consider lowering the max player limit.
- Optimize Server Settings: Adjusting settings like tick rate can help improve performance.
4. Player Management: If players are misbehaving, use admin tools to enforce rules. Establish clear guidelines and don’t hesitate to kick or ban disruptive players.
By proactively troubleshooting these common issues, you’ll ensure a smoother and more enjoyable gaming experience for everyone involved!
Creating Your Own COD4 Server: A Step-by-Step Gaming Tutorial
Creating your own Call of Duty 4 (COD4) server can enhance your gaming experience by allowing you to customize game settings, control player interactions, and improve performance. This guide will walk you through the essential steps to set up your own dedicated COD4 server.
Step 1: Requirements
Before you start, ensure you have the following:
- Computer or dedicated server with adequate hardware specifications
- Stable internet connection with sufficient bandwidth
- Installed version of Call of Duty 4
- Basic knowledge of command line operations
Step 2: Download and Install the Server Files
1. Visit the official COD4 website or trusted forums.
2. Download the dedicated server files.
3. Extract the files to a directory of your choice.
Step 3: Configure Server Settings
Locate the server configuration file, typically named server.cfg. Modify the following settings to suit your preferences:
| Setting | Description |
|---|---|
| sv_hostname | Name of the server displayed to players |
| g_maxclients | Maximum number of players allowed |
| map_rotate | List of maps to rotate through |
Step 4: Port Forwarding
To ensure players can connect to your server, configure your router to forward the necessary ports:
- UDP 28960 (default port)
Step 5: Launch the Server
Open the command prompt, navigate to your server directory, and execute the server file using the following command:
cod4_server.exe +set dedicated 2 +set net_ip "your_ip" +set net_port 28960 +exec server.cfg
Conclusion
Setting up your own COD4 server can be a rewarding experience, giving you full control over your gaming environment. By following the steps outlined in this guide, you can create a customized server that suits your gaming preferences and enhances your multiplayer experience.