Friendship bracelets have long been a cherished way to express affection and camaraderie. These colorful accessories symbolize the bond between friends, making them a perfect gift for birthdays, celebrations, or just because! Historically, they trace back to various cultures, where they were crafted from threads, beads, and even embroidery. Today, we're diving into a modern twist with rubber bands, which adds a fun and vibrant flair to this age-old tradition.
Creating friendship bracelets using rubber bands is not only easy but also incredibly enjoyable. The process invites creativity as you can mix and match colors, styles, and patterns. Plus, it’s a fantastic activity to share with friends or family, making the crafting experience even more special. Whether you’re looking to make a simple design or a more intricate pattern, rubber band friendship bracelets cater to all skill levels. So, roll up your sleeves and get ready to dive into this fun craft that celebrates friendship!
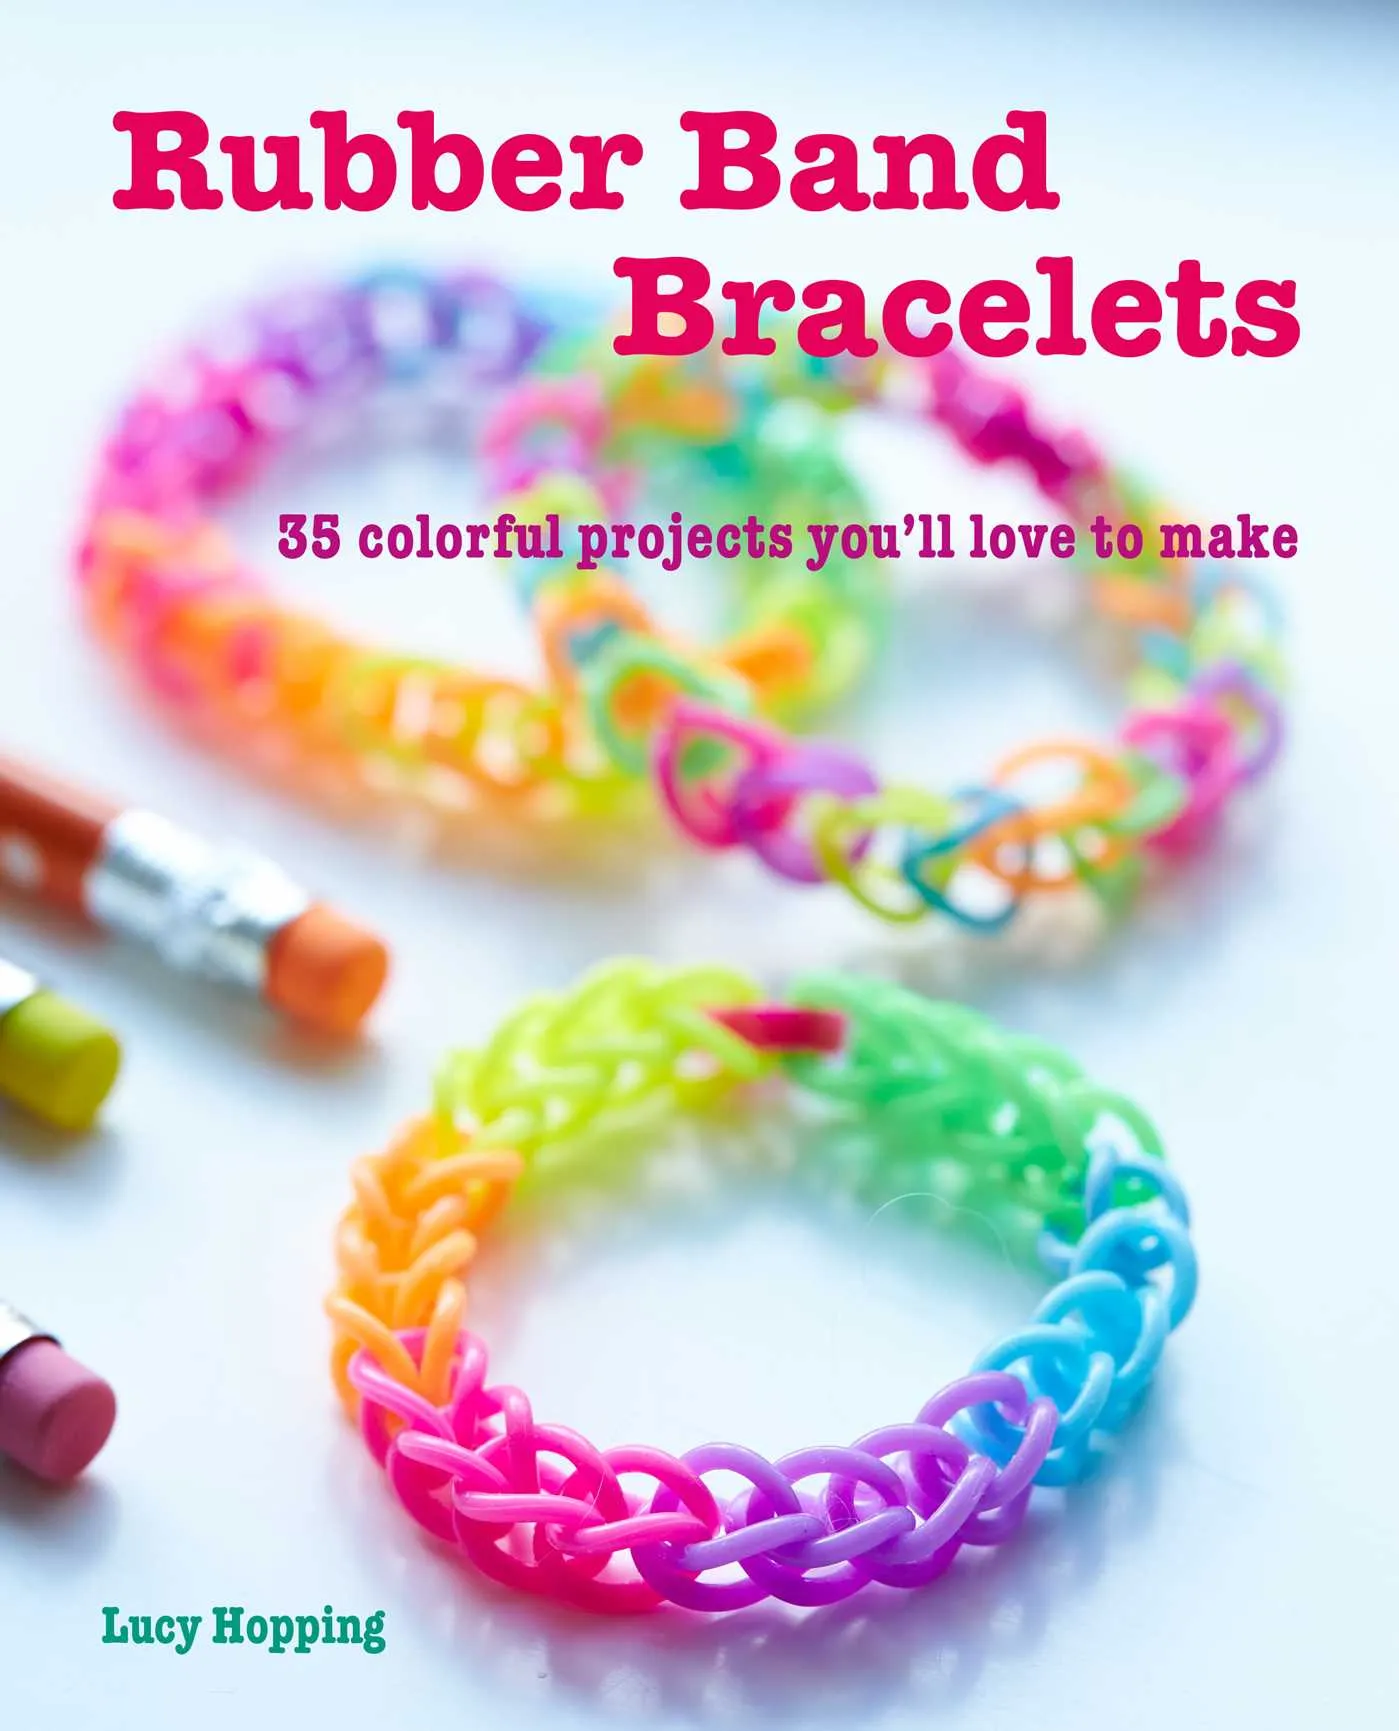
Materials Needed for Rubber Band Bracelets
Before you begin creating your rubber band friendship bracelets, it's essential to gather all the necessary materials. Having everything at your fingertips not only streamlines the crafting process but also enhances the fun! Here’s a handy list of what you’ll need:
- Rubber Bands: Choose a variety of colors! You can find them in packs at craft stores or online, and having a mix allows for creative designs.
- Bracelet Loom: While optional, a loom can help keep your bands organized and make it easier to create intricate patterns.
- Hook Tool: This tool helps in securing the bands and is especially useful for detailed designs.
- Scissors: You’ll need a pair to cut any excess bands or to alter your creations as needed.
- Clip or Clasp: To finish your bracelet, a clip or clasp will help secure the ends, ensuring it stays on your wrist.
- Optional Decorations: Consider adding beads or charms for an extra touch of personalization!
With these materials in hand, you’re all set to start crafting beautiful friendship bracelets that not only look great but also hold sentimental value. Enjoy the process, and let your creativity shine!
Also Read This: Techniques to Bypass the Fortiguard Downloader Firewall
Step-by-Step Guide to Making Rubber Band Friendship Bracelets
Creating rubber band friendship bracelets is a fun and creative way to express your friendship! Let’s dive into a simple step-by-step guide to get you started.
- Gather Your Materials: You’ll need rubber bands in various colors, a loom (or even just your fingers!), and some clips to hold your bracelet together. Don’t forget to grab scissors for finishing touches!
- Choose Your Colors: Select a color palette that represents your friendship. You can go with contrasting colors or a monochromatic scheme—whatever feels right!
- Set Up Your Loom: If you’re using a loom, place the pegs in a zig-zag formation. If you’re using your fingers, simply hold two rubber bands at a time.
- Start Weaving: Begin by taking your first rubber band and stretching it across the loom or between your fingers. Continue adding rubber bands in your chosen pattern. For a basic design, you can use a simple twist or figure-eight pattern.
- Clip It Together: Once you’ve reached your desired length, use a clip to secure the ends of the bracelet. Make sure it’s tight enough to hold, but not too tight that it can’t be worn comfortably.
- Finish Off: Carefully remove your bracelet from the loom or your fingers. If you used a loom, pop the clasp off gently. Trim any excess rubber bands if necessary.
- Gift It! Your friendship bracelet is ready! Gift it to your friend or wear it proudly as a symbol of your bond.
Also Read This: Simple Guide to Purchasing Getty Images for Personal Use
Popular Techniques and Patterns
Now that you know how to make rubber band friendship bracelets, let’s explore some popular techniques and patterns that can take your creations to the next level!
- Chevron Pattern: This zigzag pattern creates a stylish look. Alternate colors in a V-shape to form the chevron design.
- Fishtail Bracelet: A classic! This technique involves weaving two rubber bands over and under each other to create a flat, fish-scale effect. It's simple yet beautiful.
- Triple Twist: For a bold statement, twist three rubber bands together. This technique creates a thicker bracelet that stands out.
- Heart Pattern: Perfect for special occasions! Use red and pink bands to create a heart motif in the middle of the bracelet.
Each of these techniques can be customized with colors and designs, making your friendship bracelets unique. Don’t hesitate to experiment—after all, creativity is what friendship is all about! Happy crafting!
Also Read This: Daily YouTube Video Upload Statistics and Trends
Tips for Making Durable Bracelets
Creating friendship bracelets with rubber bands can be a fun and fulfilling activity, but ensuring their durability is key to making bracelets that last. Here are some handy tips to help you craft sturdy bracelets:
- Choose Quality Rubber Bands: Not all rubber bands are created equal. Opt for high-quality, thicker rubber bands to ensure your bracelets hold up over time. Brands like Rainbow Loom or Cra-Z-Art are popular for their durability.
- Use the Right Techniques: Mastering the basic knots and weaving techniques can make a huge difference. Common styles like the fishtail or ladder bracelet are not only visually appealing but also structurally sound.
- Avoid Overstretching: While it might be tempting to pull your bands tightly for a neat finish, over-stretching can weaken them. Maintain a balance between snugness and elasticity to keep your bracelet intact.
- Double Up: For added strength, consider doubling up on rubber bands when you weave. This not only adds durability but can also create a unique textured look.
- Finishing Touches Matter: Secure your bracelets with a good knot or clip. If you're worried about the bands coming undone, using a small dab of clear glue on the knot can help hold everything in place.
By following these tips, you can create beautiful and long-lasting friendship bracelets that you and your friends will cherish for years to come!
Also Read This: A Simple Guide to Sending Print Releases in ShootProof
Where to Find Tutorials on Dailymotion
Dailymotion is a treasure trove of creative content, and when it comes to learning how to make friendship bracelets with rubber bands, you have plenty of options! Here’s how to efficiently find the best tutorials:
- Search Functionality: Use the search bar at the top of the Dailymotion homepage. Try keywords like “rubber band friendship bracelets” or “DIY bracelet tutorials.” This will yield a list of relevant videos.
- Check Popular Channels: Some creators specialize in crafting videos. Look for channels dedicated to DIY projects, such as Crafty Creations or Rainbow Loom Love, where you can find series focused on bracelet-making.
- Explore Playlists: Many users create playlists that compile their favorite bracelet tutorials. These can often lead you to a structured learning pathway, making it easier to follow along as you practice.
- Engage with the Community: Don't hesitate to comment on videos! Many creators are responsive and may offer additional tips or direct you to more resources.
- Save Your Favorites: Dailymotion allows you to create a collection of your favorite videos. As you explore tutorials, save the ones that resonate with you for easy access later.
With these strategies, you'll uncover a wealth of knowledge on Dailymotion, setting you on your way to becoming a bracelet-making pro!
Also Read This: Discovering the Episode Featuring the Rumbling in Attack on Titan
7. Sharing and Gifting Your Creations
Once you have crafted your beautiful rubber band friendship bracelets, it’s time to spread the joy! Sharing and gifting your creations not only strengthens bonds but also allows others to appreciate the artistry and effort you've put in. Here’s how you can make the most of your creations:
- Host a Bracelet-Making Party: Invite friends over for a fun afternoon of creativity. Everyone can make their own bracelets, and you can exchange designs!
- Gift to Friends and Family: A handmade bracelet is a heartfelt gift. Customize each bracelet with colors that represent different friends, making each piece unique to its recipient.
- Use Social Media: Snap some pictures of your creations and share them on platforms like Instagram or Facebook. You could even create a Dailymotion tutorial to inspire others!
- Participate in Local Craft Fairs: Consider showcasing your bracelets at local events. It's a great way to meet fellow crafters and gain feedback on your work.
Remember, every bracelet tells a story. When you gift one, you’re not just giving a piece of jewelry; you’re sharing a part of yourself. Plus, seeing someone wear a bracelet you made can be incredibly rewarding!
8. Conclusion and Final Thoughts
Creating friendship bracelets using rubber bands is more than just a craft; it’s a wonderful way to connect with others and express your creativity. Whether you're a beginner or someone with more experience, the process is enjoyable and fulfilling. Here are some key takeaways:
- Creativity Knows No Bounds: With various colors and styles, you can let your imagination run wild.
- Reflects Personal Connections: Each bracelet can symbolize a special bond, making your creations more meaningful.
- Easy to Learn: With simple techniques and tutorials available online, anyone can master this craft.
As you embark on your bracelet-making journey, remember that the most important part is enjoying the process. Don’t be afraid to experiment, make mistakes, and learn from them! So grab those rubber bands, get creative, and share your stunning bracelets with the world. Happy crafting!