Creating charms with loom bands is a delightful way to express your creativity and craft unique accessories. These colorful, stretchy rubber bands can be transformed into an array of charming designs, from cute animals to intricate patterns. Whether you’re a seasoned crafter or a complete beginner, loom band charms offer a fun and engaging project that you can enjoy alone or with friends. Plus, the satisfaction of seeing your finished charm is truly rewarding!
Materials Needed for Loom Band Charms
Before diving into the world of loom band charms, you'll need to gather a few essential materials. Here’s a handy list to help you get started:
- Loom Bands: These come in a variety of colors and sizes. You can choose a basic pack or opt for glow-in-the-dark or metallic options for some flair.
- Loom Tool: A loom or hook tool is essential for weaving the bands together. It helps pull the bands through and secure them in place.
- Charms and Accessories: If you want to personalize your creations, consider adding beads, charms, or even small pendants.
- Scissors: A pair of scissors will be useful to trim any excess bands or to cut the bands once your charm is complete.
- Storage Container: To keep your loom bands organized, use a small box or container with compartments.
Optionally, you might want to have a clipboard or a flat surface to work on. Setting up a comfortable crafting area can make the experience even more enjoyable. With these materials at hand, you're ready to unleash your creativity and start making vibrant loom band charms!
Also Read This: Exploring YouTube's Role as a Social Media Platform in Online Communities
Step-by-Step Guide to Making Loom Band Charms
Creating charms with loom bands is a fun and rewarding activity that anyone can enjoy, whether you’re a beginner or a seasoned pro. Follow this simple step-by-step guide to craft your very own colorful loom band charms!
- Gather Your Supplies: You’ll need loom bands, a loom (or your fingers!), a hook, and a clip. Choose a variety of colors to make your charms more vibrant.
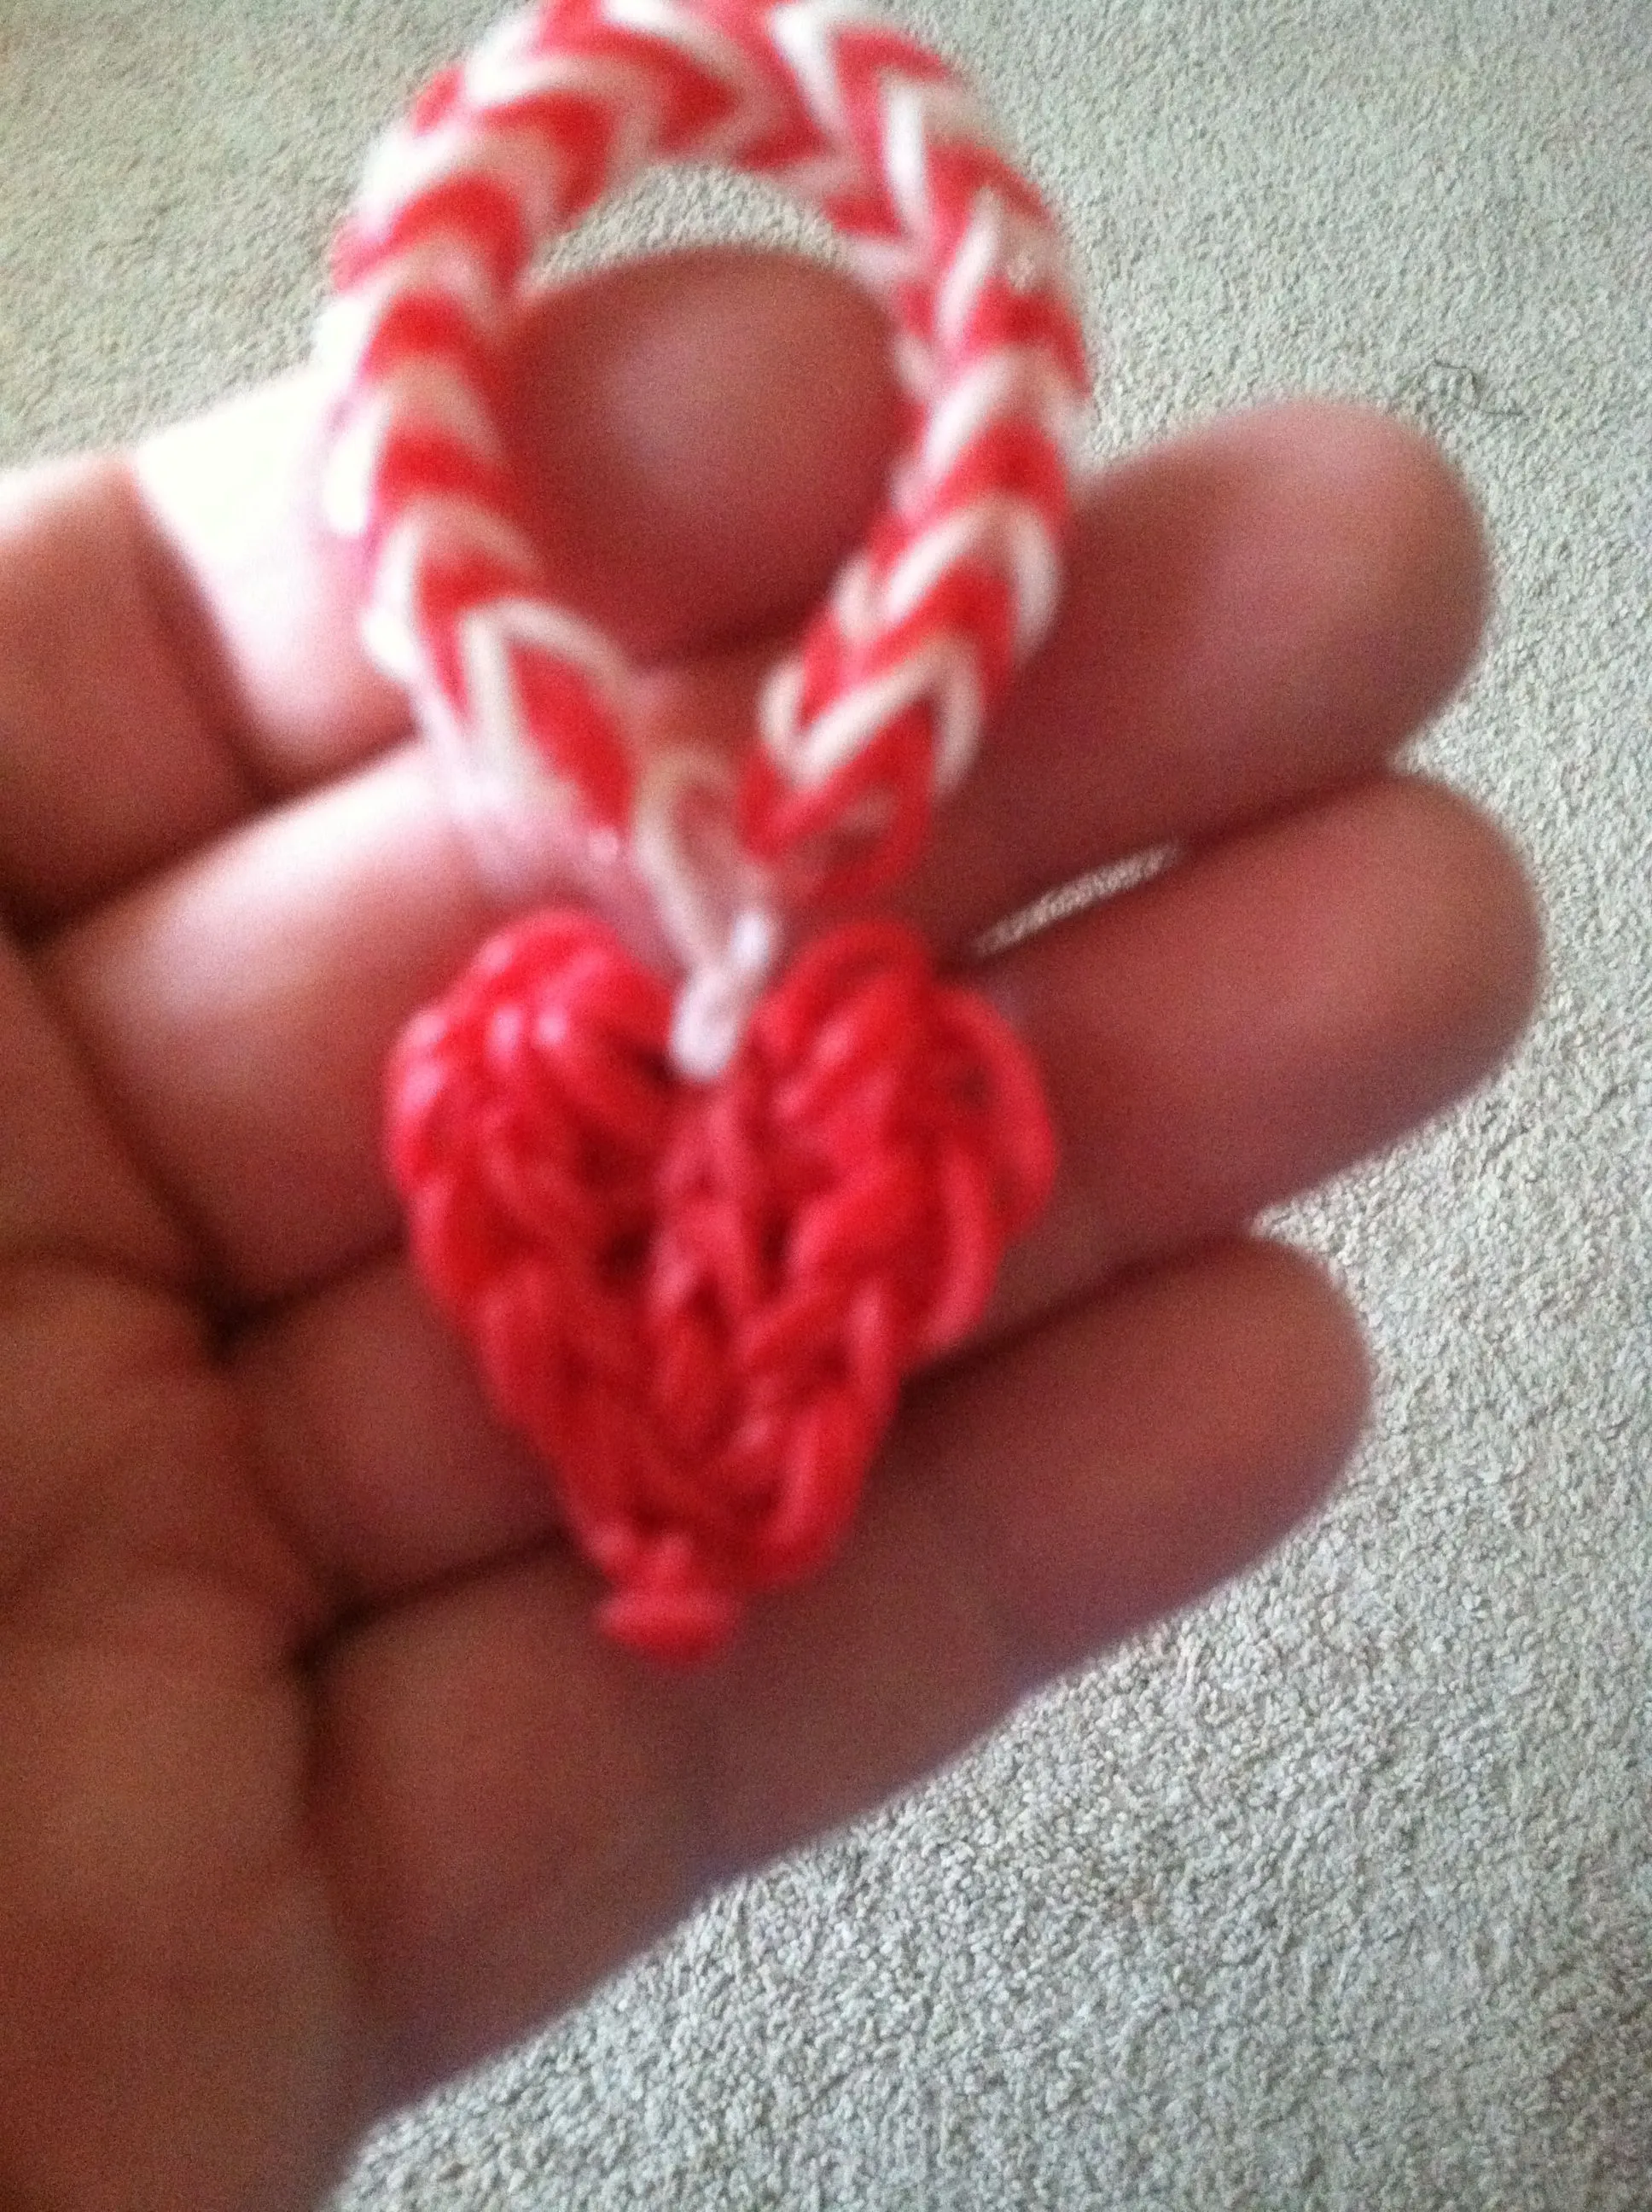
- Choose a Design: Decide on a charm you want to create. Popular choices include hearts, animals, or simple shapes. You can find plenty of tutorials online to inspire you.
- Start with a Base: Place your first band on the loom in a figure-eight shape. This will serve as the base for your charm.
- Add More Bands: Layer additional bands on top, following the pattern of your chosen design. Make sure to stretch them slightly so they fit snugly.
- Hooking the Bands: Use your hook to pull the bottom band over the top ones. This will create the woven effect essential for the charm's structure.
- Finish Off: Once you’ve reached your desired size, carefully remove the charm from the loom. Secure it with a clip to prevent it from unraveling.
- Show Off Your Creation: Attach your charm to a bracelet, keychain, or simply display it! Share your craft with friends and family to inspire them to try it too!
Also Read This: Understanding YouTube Earnings for 4 Million Views
Creative Ideas for Loom Band Charms
Now that you’ve got the basics down, let’s get those creative juices flowing! Here are some fun ideas for unique loom band charms that you can make:
- Animal Charms: Create your favorite animals, like a cute kitten, a playful puppy, or even a colorful parrot! Use different shades to add character.
- Seasonal Themes: Make charms that represent holidays, like pumpkins for Halloween or snowflakes for winter. These can be great decorations!
- Food Items: How about a slice of pizza or a juicy watermelon? Food-themed charms are fun and quirky.
- Initials or Names: Personalize your creations by crafting letters or names. This can be a great gift idea for friends!
Don’t be afraid to mix and match colors or add your own spin to these ideas. The possibilities are endless when it comes to crafting with loom bands!
Also Read This: How to Use Dailymotion on a Laptop to Watch, Upload, and Share Videos with Ease
Tips and Tricks for Successful Charm Making
Creating charms with loom bands can be a delightful and fulfilling experience. Here are some tips and tricks to ensure your charm-making journey is smooth and enjoyable:
- Choose the Right Bands: Start with high-quality loom bands that are stretchy but not too flimsy. This will ensure your charms hold their shape. Brands like Goody and Loom Love are great options!
- Use a Clear Pattern: Before you start, look for clear patterns or tutorials online. Websites like Pinterest or YouTube have countless resources that can guide you through various designs.
- Organize Your Workspace: Keep your bands organized by color. Use small containers or zip bags to separate them. A tidy workspace can make the process much more enjoyable!
- Practice Patience: Charm-making requires patience, especially when you're just starting. Don't rush through a design; take your time to get it right. Enjoy the process!
- Experiment with Colors: Get creative with your color combinations! Mixing and matching can lead to unique charms that truly reflect your personality.
Remember, practice makes perfect! The more you create, the better you'll get. So gather your materials, and let your imagination run wild!
Conclusion and Encouragement to Share Your Creations
Congratulations on embarking on your loom band charm-making adventure! Not only have you learned a fantastic craft, but you’ve also opened the door to endless creative possibilities. Each charm you create is not just a piece of art; it’s a reflection of your unique style and creativity.
We encourage you to share your creations with friends and family. You can even host a charm-making party! Here’s a quick idea:
- Invite friends over with their own loom bands.
- Set up a station for snacks and drinks.
- Have fun creating together and compare your designs!
Don't forget to take pictures of your masterpieces and share them on social media. Use hashtags like #LoomBandCharms and #CraftingJoy to connect with fellow crafters. Your creativity might just inspire someone else to dive into the world of loom bands!
Now, go ahead and let your imagination soar! Happy crafting!