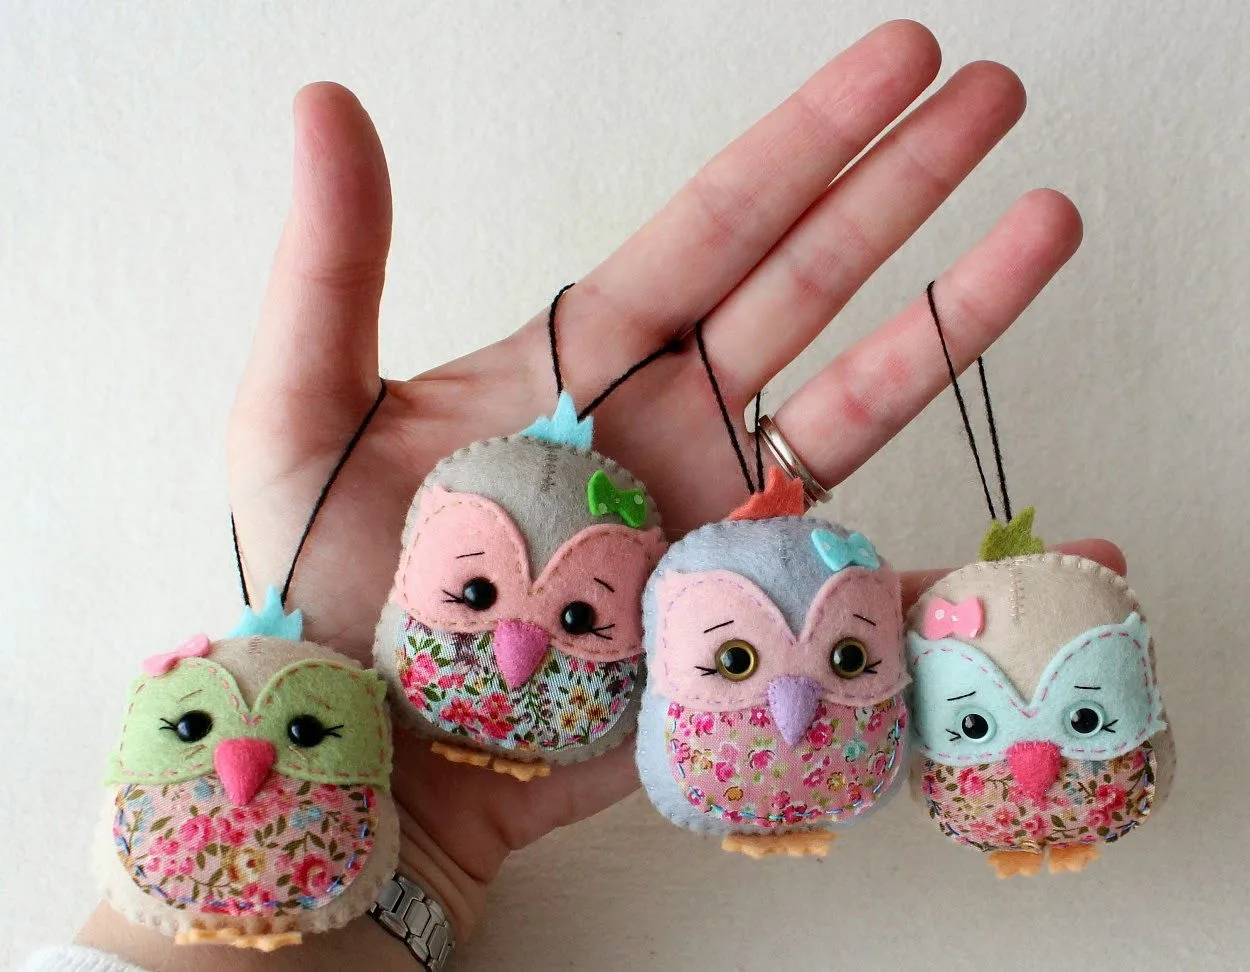
Welcome to the whimsical world of DIY crafts! Today, we're diving into a fun and creative project: making an adorable owl charm. Owls are not only fascinating creatures but also symbolize wisdom and mystery. This DIY project is perfect for both beginners and experienced crafters looking to add a touch of charm to their keychains, necklaces, or even as cute gifts. Grab your materials, and let’s get started on this delightful journey of crafting!
Materials Needed
Before we embark on our crafting adventure, let’s gather all the materials you’ll need. Having everything ready will make the process smooth and enjoyable. Here’s a handy list for you:
- Fimo or Sculpey Clay: Choose colors like brown, white, and yellow to create your owl. These clays are easy to mold and bake to harden.
- Craft Knife: Essential for cutting and shaping your clay pieces precisely.
- Toothpick: This will help you add intricate details and create holes for hanging your charm.
- Oven: Used to bake the clay charm for durability. Make sure to follow the baking instructions on your clay package.
- Acrylic Paint: Optional, for adding extra details or a glossy finish to your owl.
- Clear Sealer (Spray or Brush-on): This helps protect your finished charm, giving it a polished look.
- Jump Ring: To attach your owl charm to a keychain or necklace.
- Leather or String: For making the charm wearable as a necklace or keychain.
Having these materials on hand will set you up for a fun crafting session, allowing your creativity to flourish. Now that we’re ready, let’s bring our adorable owl charm to life!
Also Read This: How to Identify Music Used in YouTube Videos
3. Step-by-Step Instructions
Creating your own adorable owl charm can be a fun and fulfilling project! Follow these easy step-by-step instructions to craft your unique piece:
- Gather Your Materials: You'll need polymer clay in various colors (think browns, yellows, and whites), an oven for baking, a small craft knife, and optional accessories like beads or chains for adding a personal touch.
- Shape the Body: Start with a ball of brown clay. Roll it into an oval shape for the owl's body. Gently flatten the bottom so it can stand upright.
- Create the Wings: Take two smaller pieces of brown clay, shape them into teardrop forms, and attach them to the sides of the owl’s body. Press gently to ensure they stick.
- Form the Face: Roll two tiny white balls for the eyes and place them on the head. Use a small dot of black clay for the pupils. You can also add a tiny orange triangle for the beak!
- Add Details: Use your craft knife to carve little feathers or patterns on the body. This adds texture and personality to your charm!
- Bake Your Charm: Place your completed owl charm on a baking sheet and follow the polymer clay instructions for baking times and temperatures. This usually ranges around 275°F (135°C) for about 15-30 minutes.
- Finish Up: Once cooled, you can add a gloss finish if desired. If you're adding accessories, now’s the time to attach the charm to a keychain or necklace!
Also Read This: Fixing Issues Watching Rudolph on YouTube TV
4. Tips for Personalizing Your Owl Charm
Personalizing your owl charm is what truly makes it special! Here are some fun tips to add your unique flair:
- Color Choice: Consider using colors that reflect your personality or match your favorite outfits. You could even create a seasonal owl charm!
- Accessorize: Add beads, ribbons, or even tiny hats made of clay. These little extras can really transform your charm into a standout piece.
- Incorporate Initials: Flatten a small piece of clay and stamp or carve your initials onto the charm for a personal touch that’s uniquely yours.
- Experiment with Shapes: Don’t feel limited to traditional owl shapes. Try making an owl with rounder features or even a whimsical design!
- Gift Options: If you’re creating charms for friends or family, consider personalizing each one based on their favorite colors or interests. This makes for thoughtful gifts!
With these tips, your owl charm will not only be adorable but also a reflection of your creativity!
Creating an Adorable Owl Charm with Dailymotion DIY Tips
Making an adorable owl charm can be a delightful and rewarding project. This DIY activity not only allows you to express your creativity but also results in a charming accessory that you can wear or gift to someone special. With the help of various Dailymotion DIY tips, you can master the art of crafting a cute owl charm in no time. Here’s a step-by-step guide to get you started:
Materials Needed
- Colorful polymer clay (various colors such as brown, yellow, and white)
- Oven for baking the clay
- Small sculpting tools
- Eye pins or jump rings
- String or chain for wearing
- Glossy varnish (optional, for finishing touches)
Step-by-Step Instructions
- Prepare the Clay: Start by conditioning the polymer clay until it’s soft and pliable.
- Shape the Body: Roll a larger ball for the body and a smaller one for the head, then attach them together.
- Add Features: Use sculpting tools to create eyes, beak, and wings. Mix colors for added detail.
- Attach the Eye Pin: Insert an eye pin into the top of the owl’s head for easy hanging.
- Bake the Charm: Follow the manufacturer’s instructions for baking the polymer clay to harden your creation.
- Finish Up: Once cooled, you can apply a glossy varnish for an extra shine if desired.
Now that you’ve created your adorable owl charm, you can proudly wear it or give it as a thoughtful gift. By following these Dailymotion DIY tips, you can easily replicate this fun craft and explore more creative possibilities in the world of DIY.