Canva is a powerful design tool that helps you create stunning visuals for various projects, including online courses. It offers a user-friendly interface that makes designing easy for everyone, even if you have no prior design experience. With a wide range of templates, images, and design elements, Canva allows you to create engaging content that captures your audience's attention.
Understand the Benefits of Using Canva for Your Course
Using Canva for your online course offers several benefits:
- User-Friendly Interface: Canva's drag-and-drop functionality makes it simple to design your course materials.
- Variety of Templates: Choose from a vast library of templates tailored for online courses, presentations, and more.
- Customization Options: Easily personalize templates to match your branding, including colors, fonts, and logos.
- Collaboration Features: Work with others in real-time, making it easy to gather feedback and make adjustments.
- Access to Stock Images: Use high-quality stock photos and illustrations to enhance your course content.
These features not only help you save time but also ensure that your course looks professional and engaging.
Also Read This: How to Make Cheese at Home in Urdu Easy Recipe
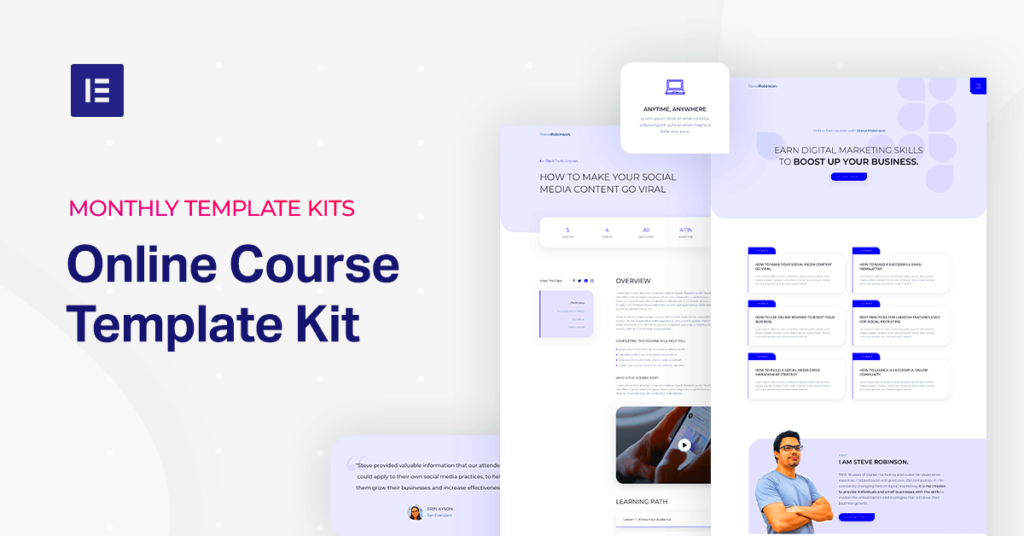
Explore the Features of Canva Online Course Templates
Canva provides a variety of features specifically designed for online course templates:
- Easy Navigation: The platform is designed for quick access to various elements, making it easy to find what you need.
- Interactive Elements: Add buttons and links to your course materials for a more interactive experience.
- Flexible Formatting: Resize and rearrange elements without losing quality, ensuring your designs look great on any device.
- Download Options: Export your designs in different formats, such as PDF or JPEG, to suit your needs.
- Online Storage: Keep your designs in Canva's cloud storage, allowing you to access them anytime, anywhere.
These features make it easier for you to create professional-looking courses that engage your learners and enhance their learning experience.
Also Read This: How to Create a Website Design Portfolio on Behance
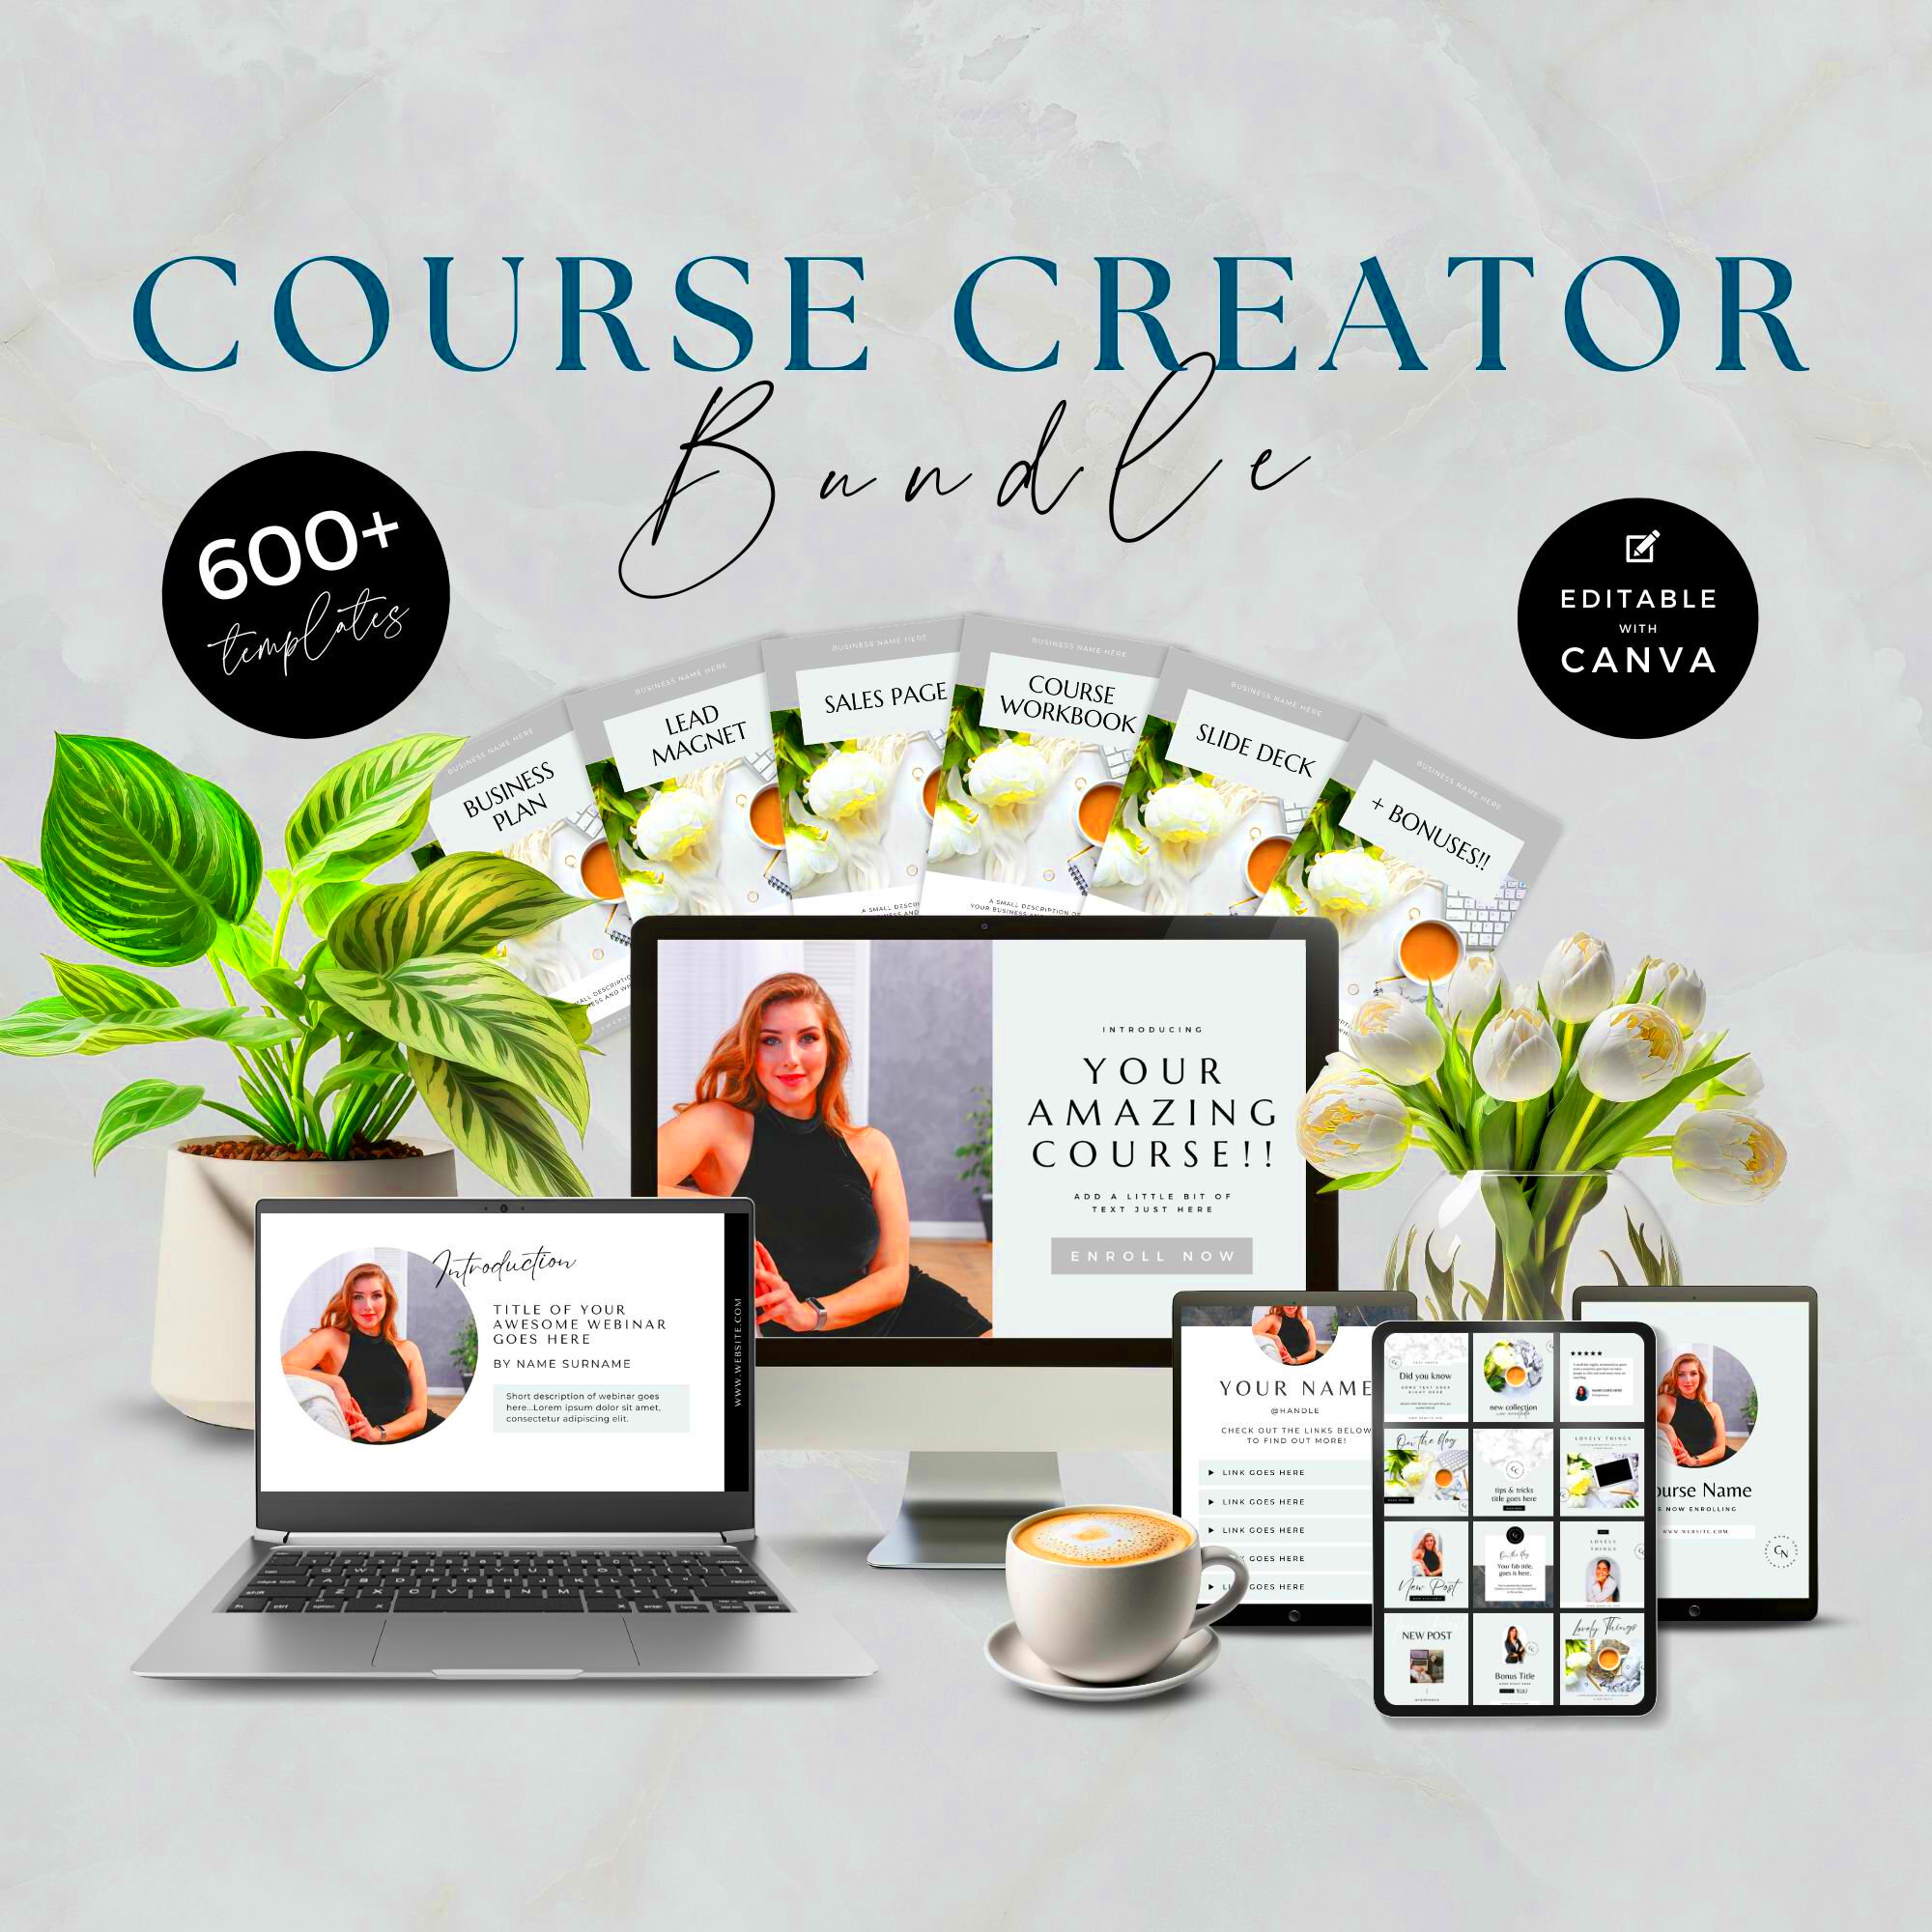
Find Out How to Choose the Right Template for Your Course
Choosing the right template for your online course is essential for conveying your message effectively. With so many options available on Canva, it can be overwhelming to find the perfect fit. But don’t worry! Here are some tips to help you select the ideal template:
- Identify Your Course Goals: Start by clarifying what you want to achieve with your course. Are you focusing on visual storytelling, detailed explanations, or interactive elements? This will guide your template choice.
- Consider Your Audience: Think about who will be taking your course. Choose a template that appeals to your target audience’s preferences, age group, and learning style.
- Look for Professional Design: Opt for templates that have a clean and professional design. Avoid cluttered or overly complicated layouts.
- Check Customization Options: Ensure the template allows for easy customization. You want a design that you can tweak to match your brand colors and style.
- Read Reviews and Feedback: If available, look for reviews from others who have used the template. This can provide insights into its effectiveness.
By following these tips, you’ll be well on your way to choosing a template that enhances your course and resonates with your learners.
Also Read This: How to Rip Audio from YouTube with Tools and Tips for High-Quality Downloads
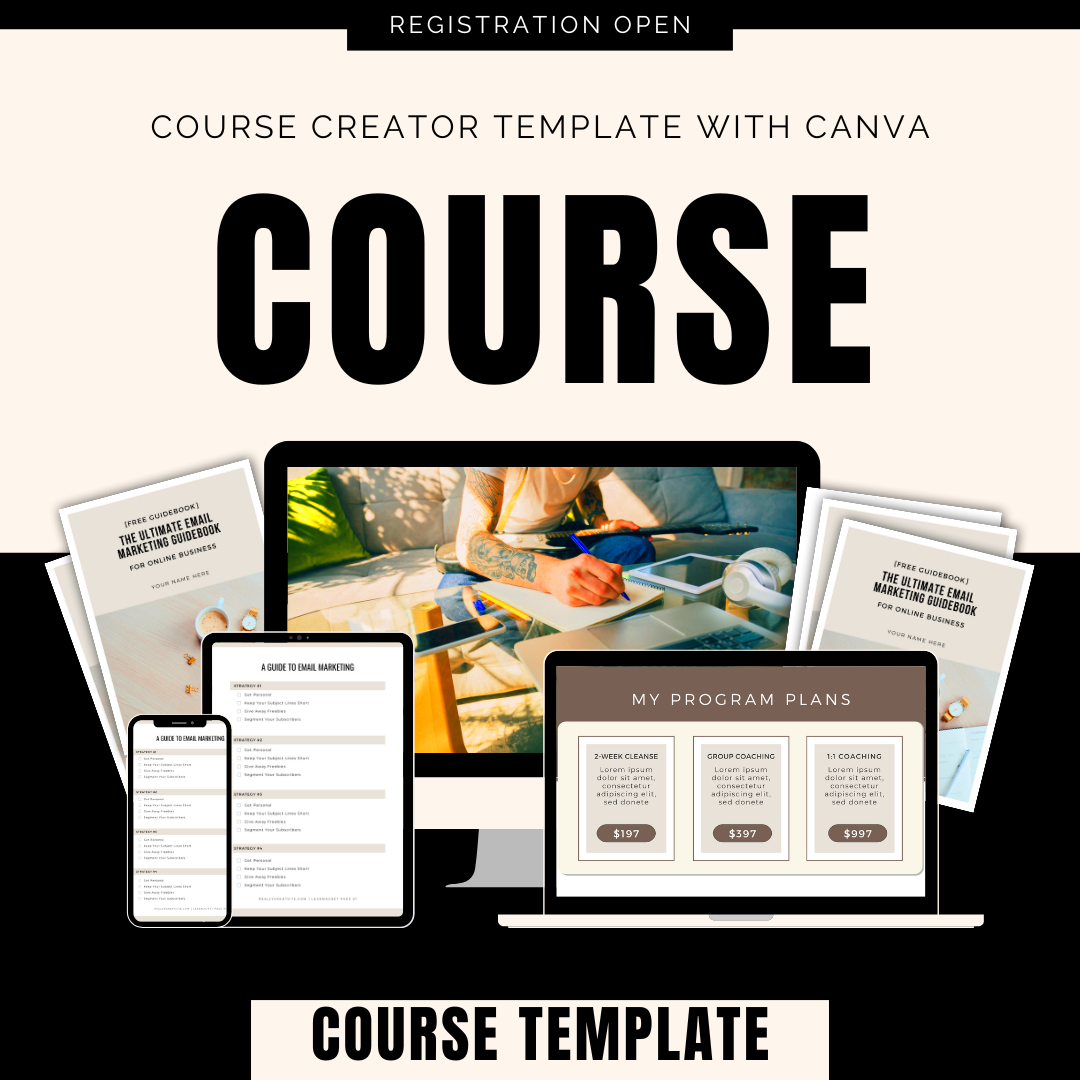
Follow Steps to Customize Your Canva Course Template
Once you’ve chosen the right template for your course, it’s time to customize it to fit your unique vision. Here’s a step-by-step guide to help you through the customization process:
- Open Your Template: Start by opening the selected template in Canva.
- Change Text: Click on the text boxes to edit the content. Make sure to include key information about your course, such as the title, objectives, and any essential details.
- Select Colors: Use your brand colors to change the background and text colors. This adds a personal touch and helps with brand consistency.
- Incorporate Images: Add relevant images or graphics to enhance your content. You can use Canva’s stock images or upload your own.
- Adjust Layout: Feel free to move elements around to improve the overall flow and readability of your design.
- Preview Your Design: Before finalizing, always preview your design to check for any adjustments needed.
- Save and Download: Once you’re satisfied with your customization, save your work and download it in your desired format.
By following these steps, you’ll create a tailored course that reflects your style and effectively communicates your content.
Also Read This: How to View LinkedIn Profiles Anonymously
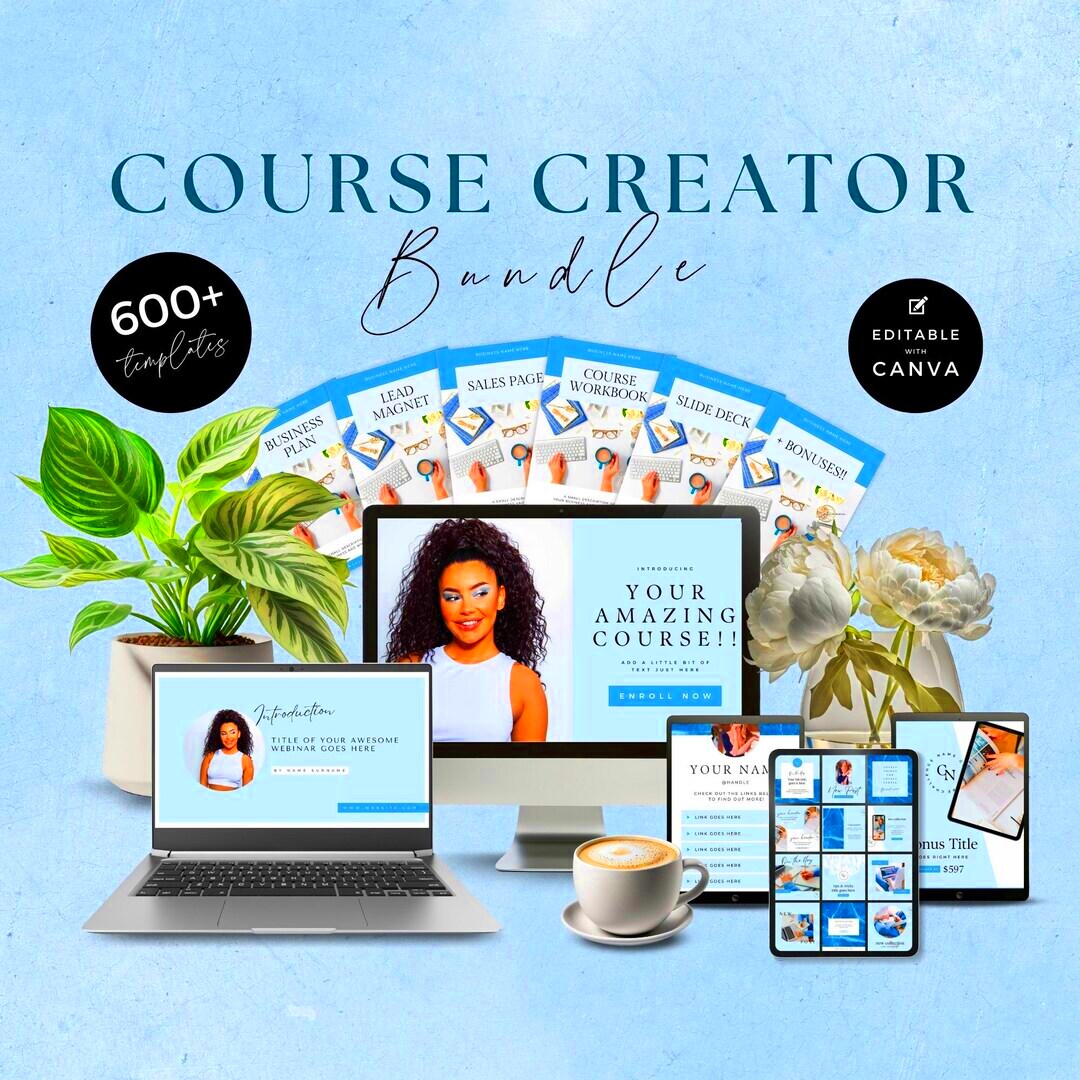
Share Tips for Designing Engaging Course Content
Designing engaging course content is key to keeping your learners interested and motivated. Here are some valuable tips to help you create captivating materials:
- Use Visuals Wisely: Incorporate images, infographics, and videos to break up text and provide visual context.
- Keep It Simple: Avoid overcrowding your slides with too much information. Stick to one main idea per slide to maintain clarity.
- Incorporate Interactive Elements: Use quizzes, polls, and discussion prompts to encourage participation and engagement.
- Utilize Bullet Points: Break down complex information into bullet points for easier comprehension.
- Choose Readable Fonts: Select clear and legible fonts. Make sure they are easy to read on different devices.
- Maintain Consistency: Use a consistent color scheme and design layout throughout your course to create a cohesive experience.
By following these tips, you can design course content that is not only informative but also engaging, making the learning experience enjoyable for your audience.
Also Read This: Do LinkedIn Connect Requests Expire
Know How to Save and Share Your Course Materials
Once you've created your online course materials in Canva, knowing how to save and share them is crucial. Properly saving and sharing your content ensures that it’s accessible to your students and looks professional. Let’s walk through the best ways to do this:
- Saving Your Designs: After finishing your course materials, click the "Share" button on the top right corner of the Canva editor. From there, you can choose the “Download” option to save your design. Canva allows you to download in various formats, including PDF, PNG, or JPEG. Select the format that best suits your needs.
- Organizing Your Files: Create a dedicated folder on your computer or cloud storage to keep all your course materials organized. This will make it easier for you to find and share them later.
- Using Canva’s Cloud Storage: If you prefer not to download files, you can keep your designs saved in Canva’s cloud. Just make sure to share the link with your students. They can access the course materials directly from Canva.
- Sharing Links: To share your course materials, you can generate a shareable link from Canva. Choose whether you want the link to be view-only or allow editing, depending on your requirements.
- Embedding in Your Learning Management System (LMS): If you’re using an LMS, check if you can embed your Canva designs directly into the platform for seamless access.
By following these steps, you can ensure that your course materials are saved properly and shared effectively, making learning easy for your students.
Also Read This: How to Clean Yellow Teeth at Home with Effective Tips and Techniques
Read Common Questions About Using Canva for Online Courses
When using Canva to create online courses, you might have some questions. Here are some of the most common ones, along with their answers:
| Question | Answer |
|---|---|
| Can I use Canva for free? | Yes, Canva offers a free version with plenty of features. However, some premium templates and elements require a paid subscription. |
| Can I collaborate with others on my course design? | Absolutely! Canva allows for real-time collaboration, so you can invite others to edit and give feedback on your designs. |
| Is it easy to print my designs? | Yes, you can download your designs in PDF format, which is suitable for printing. |
| Can I use my own images in Canva? | Yes, you can upload your own images and use them in your designs. |
| How can I ensure my designs are mobile-friendly? | Preview your designs on different devices and adjust the layout as needed to ensure they look good on both desktop and mobile. |
These common questions can help clarify any uncertainties you might have about using Canva for your online course creation.
Wrap Up Your Course Creation Journey with Canva
Congratulations! You’ve made it through the journey of creating an online course with Canva. Now, let’s summarize the key steps and tips to keep in mind as you move forward:
- Plan Your Content: Start by outlining your course structure and identifying your learning objectives.
- Select the Right Template: Choose a template that fits your course goals and audience.
- Customize Your Design: Use Canva’s tools to personalize your template and make it visually appealing.
- Engage Your Learners: Incorporate interactive elements and multimedia to keep your audience engaged.
- Save and Share Effectively: Utilize Canva’s saving options and share your materials in a way that’s accessible to your students.
With these steps, you’re well-equipped to create professional and engaging online courses. Remember, practice makes perfect, so continue to explore Canva’s features and refine your skills as you create more content. Happy designing!