Creating beautiful paper gift bags is not only a fun and creative activity, but it also adds a personal touch to your gift-giving experience. Whether you're preparing for a birthday, holiday, or any special occasion, a handmade gift bag can elevate your present from ordinary to extraordinary. In this complete guide, we’ll walk you through every step of the process, from selecting the right materials to crafting the perfect bag. So, grab your supplies and let’s get started on this delightful DIY project!
Materials Needed
Before you dive into the crafting process, it’s essential to gather all the materials you’ll need. Having everything at your fingertips will make the experience smoother and more enjoyable. Here’s a handy list of supplies to get you started:
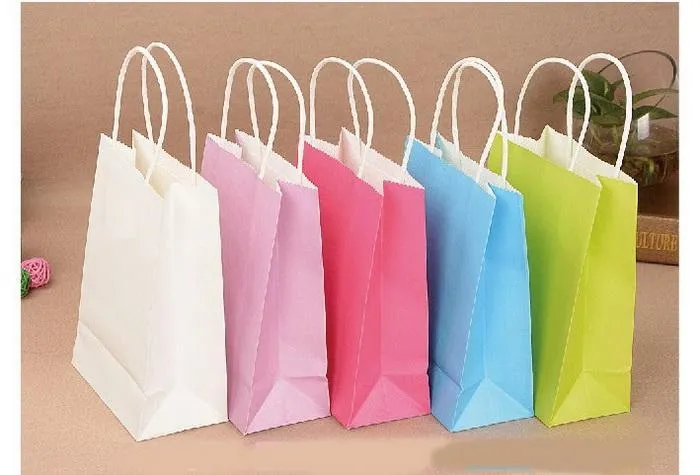
- Paper: Choose sturdy paper like cardstock or decorative scrapbook paper. You can also use recycled paper for an eco-friendly option.
- Scissors: Sharp scissors will help you make clean cuts for your bag's shape and handles.
- Glue or Double-Sided Tape: This will be your best friend when it comes to securing the edges of your bag.
- Ruler: A ruler ensures your measurements are precise for a professional finish.
- Pencil: Use a pencil for marking your measurements before cutting.
- Hole Punch: This is useful for creating holes for the handles, especially if you’re using ribbon or twine.
- Ribbon or Twine: These materials can be used for the handles of your gift bag. Choose colors that complement your paper!
- Decorative Elements (optional): Stickers, stamps, or markers can add a personal touch to your finished bag.
With these materials gathered, you're ready to unleash your creativity and craft stunning paper gift bags that will impress anyone who receives them!
Also Read This: When Will YouTube TV Get Lifetime Network
Choosing the Right Paper
When it comes to creating beautiful paper gift bags, the type of paper you choose can make all the difference. With a plethora of options available, it’s essential to consider the qualities of each paper type to find the perfect match for your project. Here are some popular types of paper you might consider:
- Kraft Paper: This is a classic choice known for its durability and rustic charm. It comes in both brown and white varieties, providing a natural look that can easily be customized.
- Cardstock: If you’re looking for something sturdier, cardstock is a fantastic option. It’s thicker than regular paper, making it ideal for gift bags that need to hold heavier items.
- Decorative Paper: From floral prints to vibrant patterns, decorative paper can add a unique touch to your gift bags. Just make sure it’s not too flimsy, or it might not hold up well.
- Recycled Paper: For the eco-conscious crafter, recycled paper is a great choice. It’s environmentally friendly and often has a distinctive texture that adds character to your gift bags.
Remember, the weight of the paper is crucial too. A heavier paper will give your bag a more polished look, while lighter paper can be more flexible for intricate designs. Always consider the occasion and the recipient when choosing your paper—it should reflect the spirit of your gift!
Also Read This: How Much Is Shutterstock Monthly
Designing Your Gift Bag
Now that you’ve selected the perfect paper, it’s time to unleash your creativity and design your gift bag! The design process is where you can truly make your gift bag stand out. Here are some tips and ideas to get you started:
- Choose a Theme: Start by thinking about the occasion. Is it a birthday, wedding, or holiday? Selecting a theme will guide your design choices.
- Incorporate Colors: Use colors that resonate with the theme. You can go for bold and bright, or soft and pastel—just make sure it aligns with the overall vibe.
- Add Personal Touches: Personalization can elevate your gift bag. Consider adding the recipient's name or a special message. You can use stickers, stamps, or even handwrite it for a heartfelt touch.
- Utilize Patterns and Textures: Layering different types of paper or using textured materials can add depth to your design. Consider using washi tape, ribbons, or even fabric accents!
Once you have your design elements in place, sketch them out to visualize how everything will come together. Remember, the goal is to create something that not only looks good but also feels personal and thoughtful. Happy crafting!
Also Read This: How to Make Your Behance Profile Private for Maximum Control
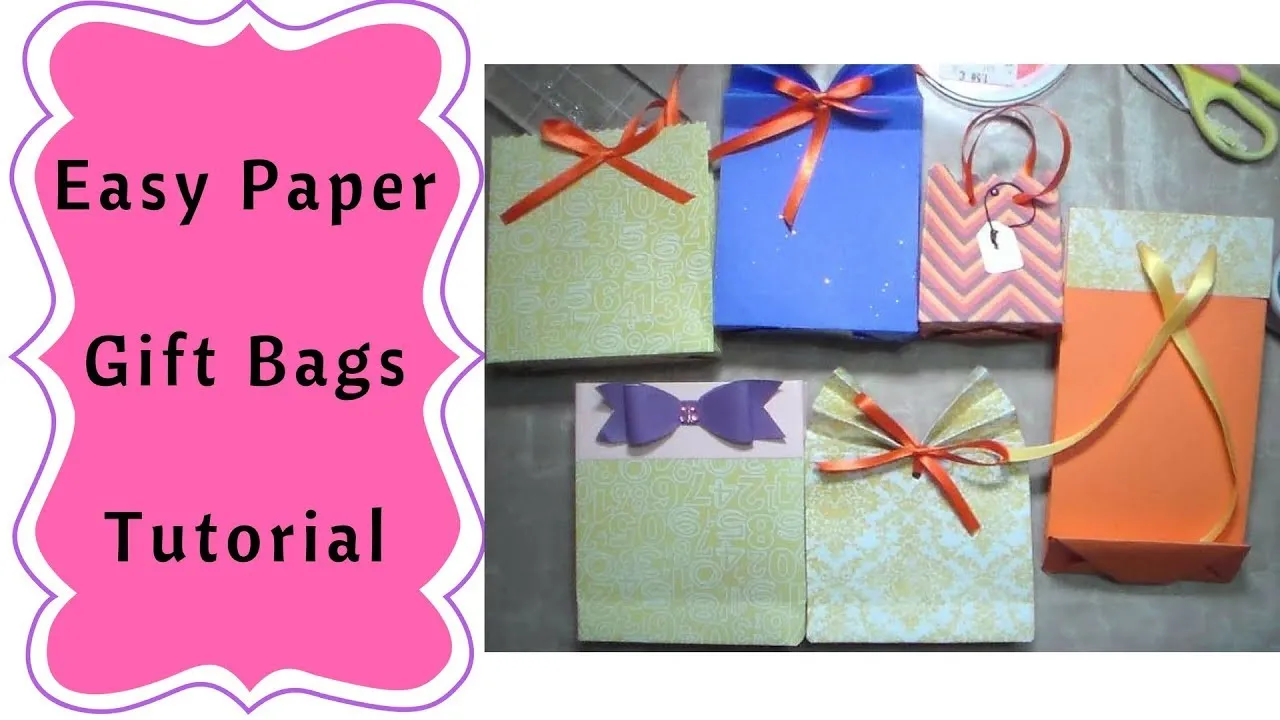
5. Step-by-Step Instructions
Creating beautiful paper gift bags is easier than you might think! With just a few materials and a little creativity, you can make stunning bags that are perfect for any occasion. Here’s a straightforward guide to help you along the way:
- Gather Your Materials:
- Heavyweight paper or cardstock (choose your favorite colors and patterns)
- Scissors
- Glue or double-sided tape
- Ruler and pencil
- Hole punch (optional)
- String, ribbon, or handles (for carrying)
- Cut the Paper:
Using the ruler and pencil, measure out a rectangle on your paper. A common size is 12 inches by 24 inches, but feel free to adjust based on your preferences. Cut out the rectangle carefully.
- Fold the Bag:
Now, fold the paper in half lengthwise. This will create the bag’s base. Open it back up, and fold each long side towards the center crease, making sure they overlap slightly. Next, fold the bottom up about 4 inches to create the base of the bag.
- Secure the Sides:
Apply glue or double-sided tape along the edges of the bag and press them together. Make sure everything is aligned neatly for a polished look.
- Create the Handles:
If you’re using string or ribbon, punch holes on each side of the bag’s opening. Thread the string through and tie it into a knot. If you’re using paper handles, cut strips from your leftover paper, fold them, and glue them to the inside of the bag.
- Finishing Touches:
Give your bag a little shake to ensure everything is secure. Now you can start decorating! Add stickers, stamps, or any embellishments that reflect the occasion.
And there you have it! Your very own beautiful paper gift bag, ready to impress.
Also Read This: How to Block Channels on YouTube and Manage Your Preferences
6. Adding Personal Touches
What’s better than a gift that’s wrapped in love? Adding personal touches to your paper gift bags not only elevates their look but also shows the recipient just how much you care. Here are some creative ideas to make your gift bags even more special:
- Custom Tags:
Create personalized gift tags using cardstock. You can write a heartfelt message, add the recipient's name, or even include a special quote. Attach these tags to your gift bag with twine or ribbon for a charming touch.
- Unique Patterns:
Instead of plain paper, why not design your own? You can use stamps, stencils, or even hand-paint patterns that resonate with the recipient’s personality or interests. This small detail can make a huge difference!
- Decorative Embellishments:
Add embellishments like sequins, glitter, or fabric flowers. These details can transform a simple bag into a stunning piece of art. Just make sure that whatever you add, it aligns with the theme of your gift.
- Personalized Illustrations:
If you're feeling crafty, consider drawing or painting something that means a lot to the recipient. It could be their favorite flower, a pet, or even a fun doodle that makes you both smile.
- Incorporating Photos:
Print out small photos that remind you of your time with the recipient. Attach these photos to the bag or create a mini collage on the front for a nostalgic touch.
Remember, the goal is to reflect your relationship with the person receiving the gift. So get creative and let your imagination run wild!
Also Read This: How to Change IP Address in Windows XP
7. Tips for Decorating Your Gift Bags
Decorating your paper gift bags can elevate the entire gifting experience, making it more personal and special. Here are some creative tips to help you transform ordinary bags into extraordinary ones:
- Use Washi Tape: This decorative tape comes in a variety of colors and patterns. You can create stripes, polka dots, or even unique designs by layering different tapes.
- Add Stamps: Rubber or foam stamps can add a fun touch. Use ink pads in vibrant colors to stamp designs onto your bag. Think seasonal themes like snowflakes for winter or flowers for spring!
- Incorporate Natural Elements: Attach small pinecones, dried flowers, or twigs to your bags for a rustic look. Use twine or jute string to tie them on for an earthy vibe.
- Personalized Messages: Handwrite a sweet note or a funny quote on a tag and attach it to the bag. This adds a personal touch that the recipient will cherish.
- Layer Textures: Mix and match different types of paper or fabric. Consider adding a lace trim or burlap to give your bag a unique texture.
- Use Stickers or Decals: Choose stickers that match the theme of your gift or the recipient’s personality. They can be a fun way to express your creativity!
Remember, the goal is to have fun and let your creativity shine. Don’t be afraid to experiment with different materials and techniques until you find the perfect look for your gift bags!
8. Conclusion
Creating beautiful paper gift bags is not just about wrapping a present; it’s about expressing your creativity and making the recipient feel special. With the right materials and a bit of imagination, you can turn simple paper bags into stunning gifts that reflect the thought you put into them.
Whether you're decorating for a birthday, holiday, or just because, these personalized touches can make all the difference. Remember to keep it simple, enjoy the process, and don’t hesitate to let your personality shine through your designs!
So why not gather your supplies and get started today? Your loved ones will appreciate the effort you put into creating something unique and heartfelt. Happy crafting!