Creating a stylish pencil pouch at home is not only a fun craft project but also a fantastic way to personalize your school or office supplies. Whether you’re a student looking to organize your writing tools or an adult wanting to keep your desk tidy, a custom pencil pouch can showcase your personality and style. Plus, it’s an eco-friendly option that lets you recycle materials you might already have on hand. So, let’s gather our supplies and get ready to unleash our creativity!
Materials Needed

Before we dive into crafting, let’s gather everything you’ll need to create your stylish pencil pouch. Here’s a handy list of materials that will make your pouch not only functional but also fabulous:
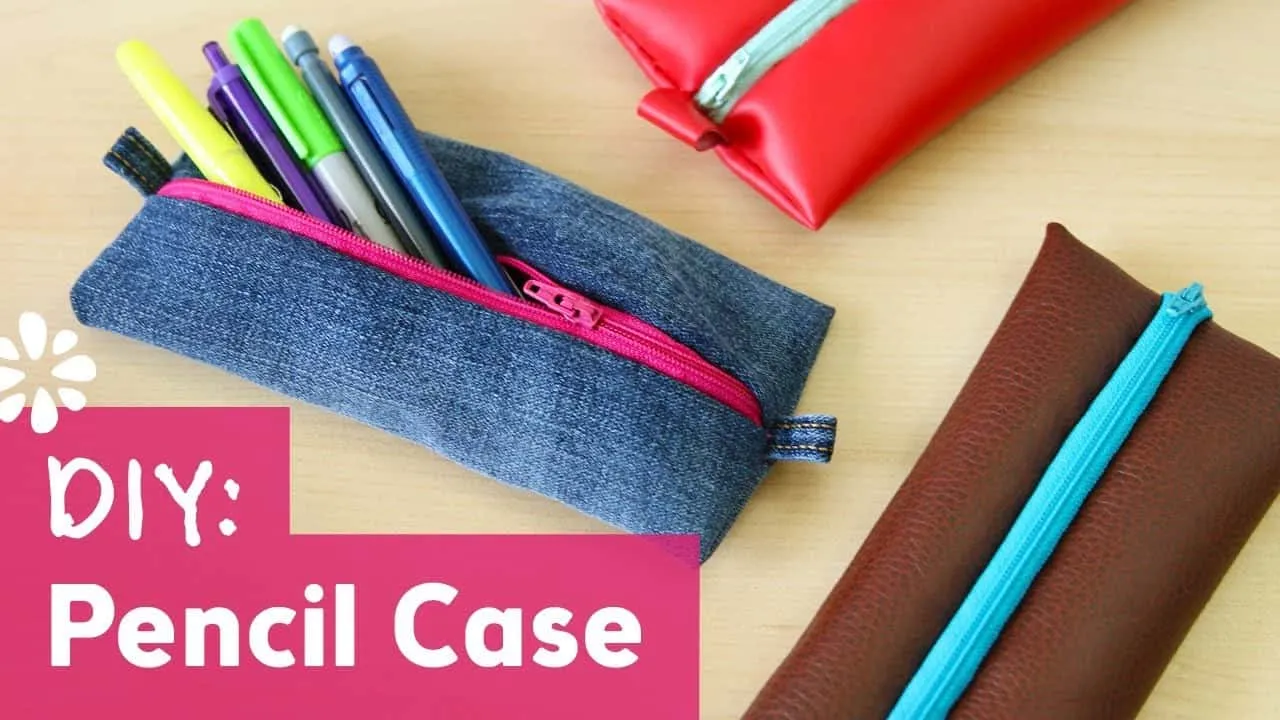
- Fabric: Choose your favorite fabric—cotton, denim, felt, or even an old t-shirt! Aim for a piece that measures at least 12 inches by 8 inches.
- Scissors: A good pair of fabric scissors will help you cut your material precisely.
- Sewing Machine or Needle and Thread: If you have a sewing machine, that’ll speed things up! Otherwise, hand sewing works just as well.
- Zipper: A 9-12 inch zipper will keep your pencil pouch securely closed. Choose a color that complements your fabric.
- Measuring Tape: This will help you get the dimensions just right.
- Pins: Use pins to hold your fabric pieces together while sewing.
- Iron: To smooth out your fabric and seams for a professional finish.
- Optional Embellishments: Think buttons, patches, or fabric paint to add that extra flair!
Having these materials ready will make the crafting process smooth and enjoyable. So gather your supplies, and let’s get started on creating a stylish pencil pouch that’s uniquely yours!
Also Read This: How to Make a Rainbow Cake with Nerdy Nummies Fun Dailymotion Recipe Tutorial
3. Step-by-Step Instructions
Creating your very own stylish pencil pouch at home is not only fun but also a fantastic way to express your creativity. Let’s dive into the step-by-step instructions that will guide you through the process!
- Gather Your Materials: Before you start, make sure you have everything you need:
- Fabric (canvas, denim, or any sturdy material)
- Zipper (size depends on your desired pouch size)
- Sewing machine or needle and thread
- Scissors
- Measuring tape
- Pins or fabric clips
- Iron (optional, for a smooth finish)
- Measure and Cut the Fabric: Decide how big you want your pencil pouch to be. A standard size is about 9 inches by 4 inches. Cut two pieces of fabric according to your measurements.
- Prepare the Zipper: Place the zipper face down on one of the fabric pieces, aligning the edge. Pin or clip it in place. Sew along the edge to attach the zipper.
- Attach the Second Fabric Piece: Once the zipper is securely stitched, lay the second fabric piece over the zipper, right sides facing each other. Pin it in place and sew along the edge of the zipper.
- Finish the Pouch: Open the zipper halfway, then fold the pouch inside out. Sew along the sides and bottom, leaving the top open. Trim any excess fabric and turn your pouch right side out.
- Final Touches: Give your pouch a good press with the iron to smooth out any wrinkles. And there you have it – your stylish pencil pouch is ready to use!
Also Read This: How to Make Cake in a Pressure Cooker at Home
4. Tips for Personalization
Your pencil pouch can be as unique as you are! Here are some fun tips for personalizing your creation and giving it that extra flair:
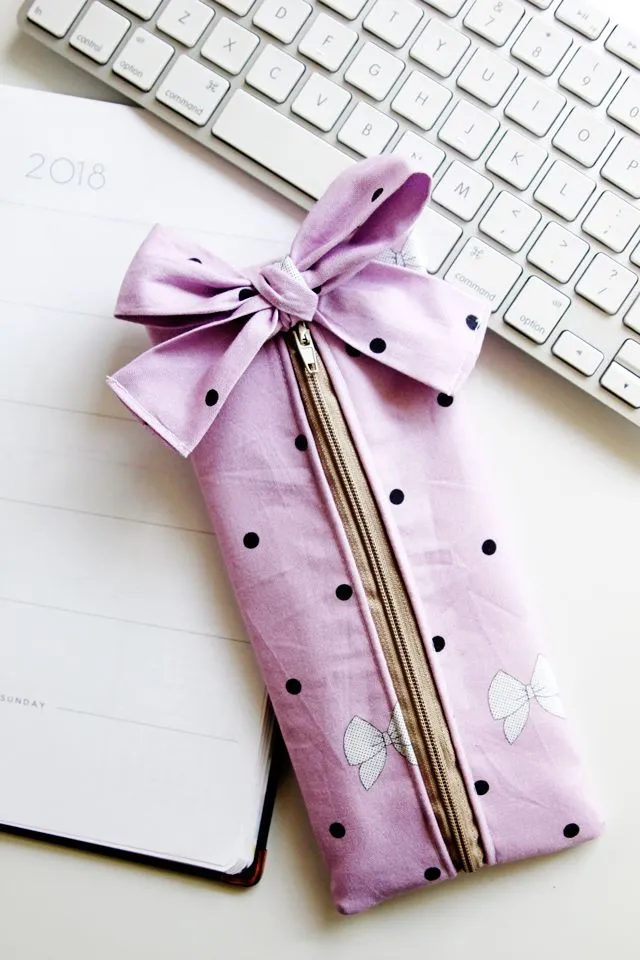
- Choose Fun Fabrics: Go for colorful patterns or funky prints that reflect your personality. Think florals, polka dots, or even themed prints like superheroes or animals!
- Add Embroidery: If you’re feeling a bit crafty, consider adding your name or a fun phrase to your pouch using embroidery. This adds a personal touch that makes it truly yours.
- Incorporate Patches: Sew on some iron-on patches for that trendy vibe. Choose patches that resonate with your interests, and they’ll not only look cool but also tell a bit about you!
- Experiment with Colors: Don’t stick to just one color! Use fabric paints or markers to create designs or doodles on your pouch. You can even use tie-dye techniques for a vibrant look.
- Add Functional Elements: Consider adding pockets or loops inside your pouch for organizing smaller items like erasers or sharpeners. This not only looks great but adds functionality!
Remember, the goal is to have fun and let your creativity shine through. Your pencil pouch should reflect your style and be something you’re proud to show off!
Create a Stylish Pencil Pouch at Home
Creating a stylish pencil pouch at home is a fun and rewarding craft project that not only helps you stay organized but also allows you to express your creativity. Whether you are a student, artist, or simply someone who loves stationery, a custom pencil pouch is the perfect solution to keep your essentials in one place. Here’s a step-by-step guide to making your very own pencil pouch.
Materials Needed
- Fabric (canvas, cotton, or felt)
- Scissors
- Sewing machine or needle and thread
- Measuring tape
- Fabric pins
- Zipper (optional)
- Iron (for pressing fabric)
Step-by-Step Instructions
- Measure and Cut: Decide on the dimensions of your pencil pouch. A typical size is 8 inches by 4 inches. Cut two rectangles from your fabric with these dimensions.
- Prepare the Zipper: If you're using a zipper, cut your fabric pieces slightly longer than the zipper length. Pin the zipper to the top edge of the fabric.
- Sew the Pieces: Using a sewing machine, sew along the edges, ensuring to leave an opening for the zipper if applicable. If not using a zipper, simply sew the sides together.
- Turn Inside Out: Once sewn, turn the fabric inside out to hide the seams.
- Final Touches: Press the pouch with an iron for a neat finish. You can also add embellishments like embroidery, patches, or fabric paint to make it unique.
Creating a stylish pencil pouch at home is not only an enjoyable crafting activity, but it also results in a personalized accessory that can brighten up your study or workspace. Customize it with your favorite colors, patterns, and designs, and you'll have a functional yet fashionable pouch you'll love to use!