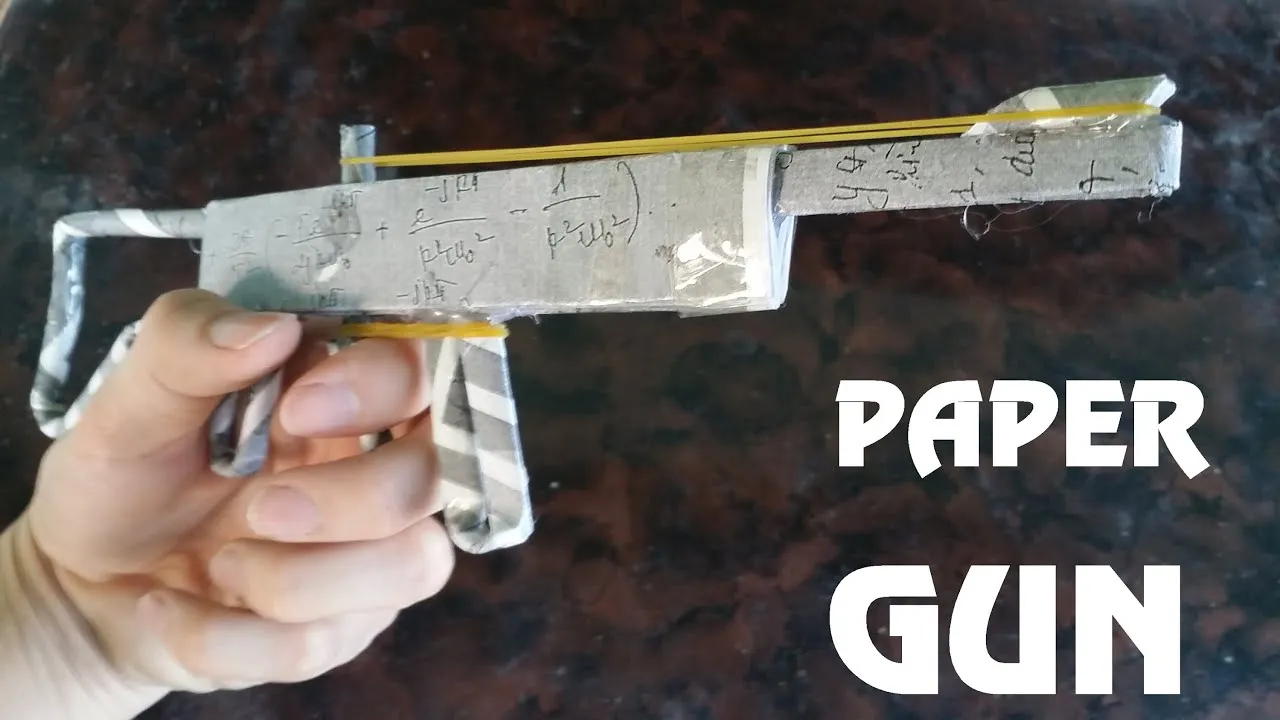
Have you ever wanted to create something fun and unique using just paper? In this guide, we’ll teach you how to craft a paper gun with a shooting trigger! It’s a creative project that’s not only entertaining but also a great way to explore the basics of mechanics and design. Plus, it’s an awesome way to impress your friends. So, roll up your sleeves and let’s dive into the exciting world of paper crafting!
Materials Needed
Before we get started, let’s gather all the necessary materials. Don’t worry; you probably have most of these items lying around your home. Here’s a quick list to make your preparation easy:
- Paper: You can use any type of paper, but thicker paper works best for durability.
- Scissors: For cutting the paper into the required shapes.
- Tape or Glue: To hold your pieces together securely.
- Pencil: For marking measurements and guiding your cuts.
- Ruler: To ensure your cuts and folds are precise.
- Rubber band: This will act as the spring mechanism for your shooting trigger.
- Optional: Markers or stickers: For decorating your paper gun once it’s assembled.
Once you have all these materials, you’re ready to start building your paper gun. Remember, creativity is key, so feel free to modify the design to make it your own. Let’s get crafting!
Also Read This: Discovering TV Shows Available for Streaming on Dailymotion
3. Step-by-Step Instructions
Creating a paper gun with a shooting trigger is an exciting project that blends creativity with a bit of engineering. Let’s break it down into easy-to-follow steps!
- Gather Your Materials:
- A4 paper or cardstock
- Scissors
- Tape or glue
- A rubber band
- A pencil
- Create the Gun Body:
Start by folding the A4 paper in half lengthwise. Unfold it and make a series of folds to create a long rectangular shape that is about 2 inches wide. This will be the main body of your gun.
- Make the Trigger Mechanism:
Cut a strip of paper about 1 inch wide and 4 inches long. Fold it in half and tape the folded end to the inside of the gun body, about 1-2 inches from the back. This will be your trigger.
- Assemble the Gun:
Using tape or glue, secure the body of the gun by folding and sticking the edges together. Ensure you leave the trigger free to move.
- Add the Rubber Band:
Attach one end of the rubber band to the front of the gun body and the other end to the back, creating tension. This will provide the shooting mechanism.
- Final Touches:
Give your paper gun a personal touch by decorating it with markers or stickers. Make sure everything is secure, and you’re ready to fire!
Also Read This: How to Download Videos from Dailymotion Without Tools
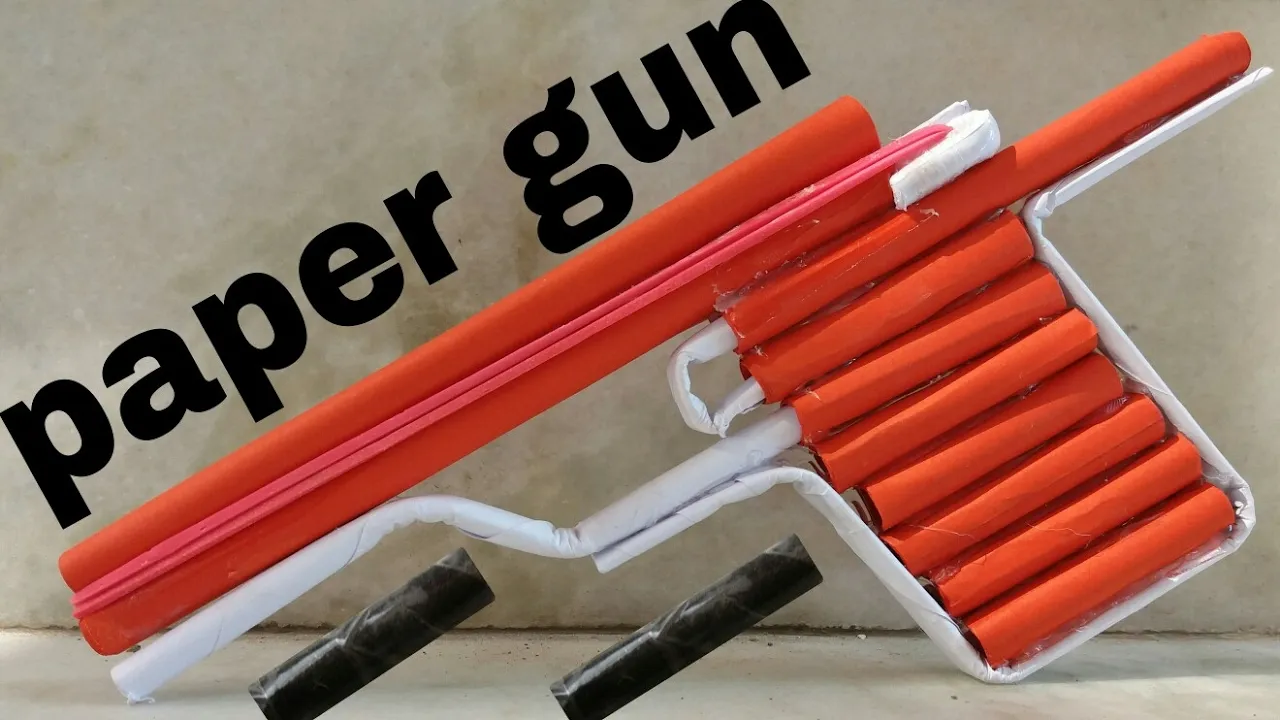
4. Tips for Customization
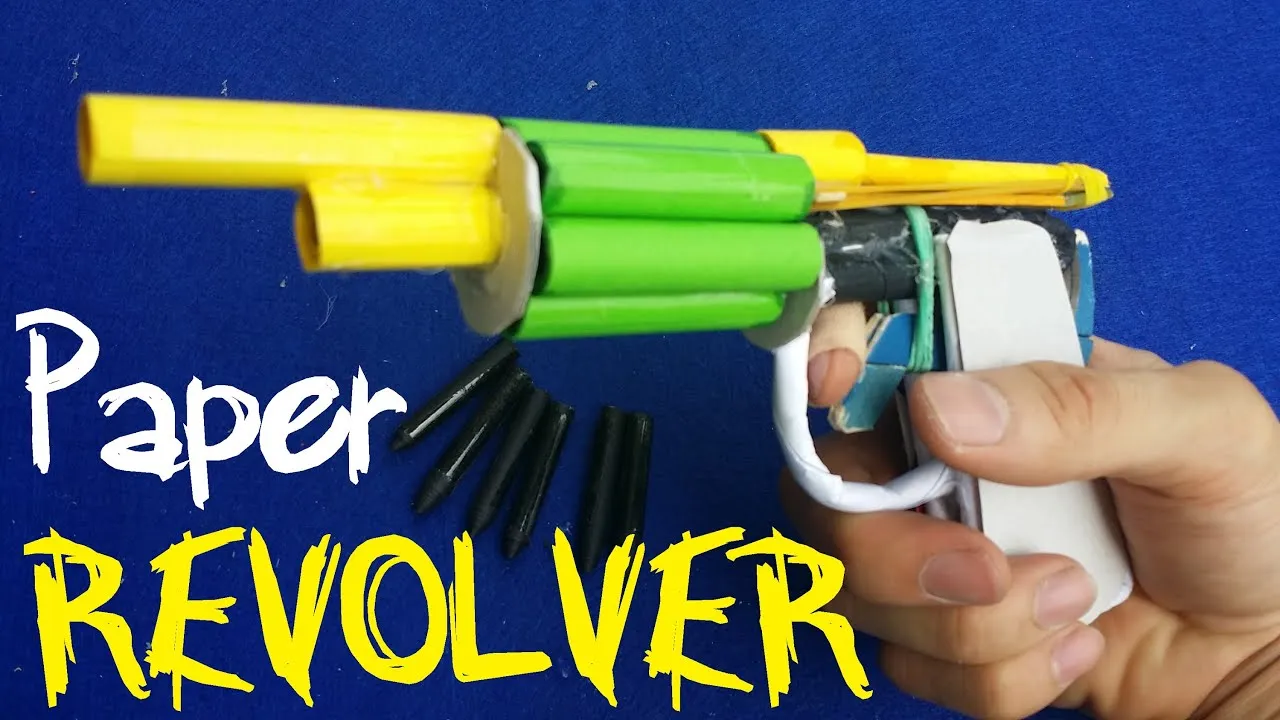
Once you've mastered the basic design of your paper gun, it’s time to get creative! Here are some fun ways to customize your creation:
- Color and Design: Use colored paper or paint to give your gun a unique look. Consider themes like camouflage or superhero designs.
- Add Accessories: Create a scope using a small tube or add a silencer by rolling paper into a cylinder shape. These little details can enhance your project.
- Enhance the Trigger: Experiment with different trigger mechanisms. You could use a paperclip for a more robust trigger action, or create a sliding trigger for added excitement.
- Make It Shoot Further: Adjust the tension of the rubber band by using a stronger band or experimenting with different lengths. A little tweaking can make your paper gun more powerful!
- Personalize Your Ammunition: Instead of using just paper balls, try using small, lightweight objects like cotton balls or folded pieces of tape for a varied shooting experience.
Remember, the sky's the limit when it comes to customizing your paper gun. Have fun, and let your imagination run wild!
Also Read This: Can You Add Bally Sports to YouTube TV? Your Options Explained
Safety Precautions
When it comes to creating a paper gun with a shooting trigger, safety should always be your top priority. While it may seem harmless, handling paper guns, especially if you're planning to create a shooting mechanism, requires some precautions to ensure a fun and safe experience. Here are some essential safety tips to keep in mind:
- Supervise Younger Crafters: If kids are involved in this project, make sure there's adult supervision. This ensures that everyone stays safe and follows the guidelines properly.
- Avoid Eye Contact: When testing the shooting mechanism, always point the paper gun away from yourself and others. Accidental shots can occur, and you want to avoid any eye injuries.
- Use Soft Projectiles: If your paper gun uses small paper balls or similar projectiles, ensure they are soft and lightweight. Hard or sharp objects can cause injuries.
- Keep a Clean Workspace: A tidy workspace reduces the chance of accidents. Keep all materials organized and remove any potential hazards.
- Stay Within the Limits: Remember, this is a craft project for fun! Avoid using forceful triggers or mechanisms that could lead to unexpected results.
By following these simple safety precautions, you can enjoy the creative process of making your paper gun while ensuring a safe environment for everyone involved.
Conclusion
Creating a paper gun with a shooting trigger is not just a fun craft; it’s an exciting way to explore creativity and engineering principles. Throughout this project, you’ve learned about the materials needed, the steps to construct your paper gun, and the importance of safety precautions. It’s a fantastic activity that enhances fine motor skills and encourages imaginative play.
As you wrap up your project, consider these final thoughts:
- Experiment: Don’t hesitate to modify your design! Try different shapes, sizes, and shooting mechanisms to see what works best.
- Share Your Creation: Show off your paper gun to friends and family! They might want to join in on the fun and create their own versions.
- Respect Others: Always use your paper gun responsibly and never point it at anyone. Respect for others' space is crucial.
So, gather your materials, follow the steps, and most importantly, have fun! This project is not just about the end product; it’s about the joy and creativity that come with crafting something unique. Happy crafting!