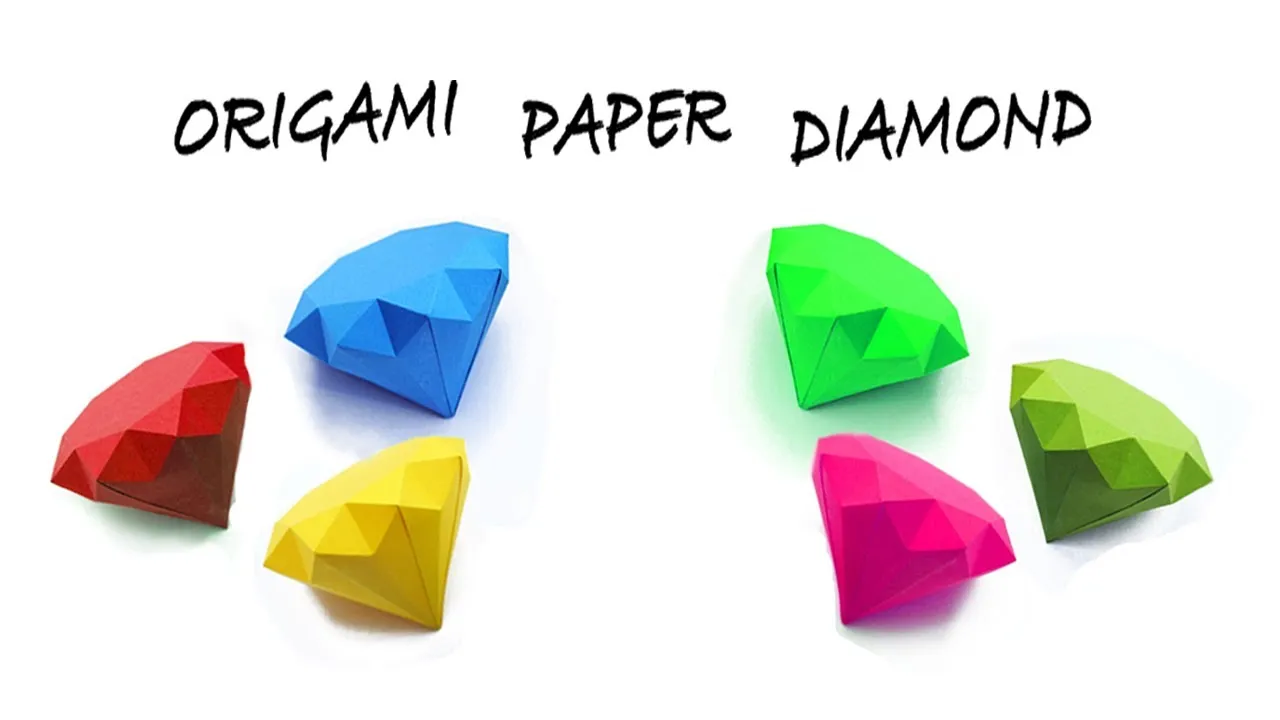
Origami diamonds are not just beautiful; they’re a fantastic way to express creativity and patience. This traditional Japanese art form transforms a simple square piece of paper into intricate designs, and the diamond shape is particularly captivating. Whether you want to decorate your home, create unique gifts, or simply enjoy a relaxing hobby, crafting an origami diamond is a perfect choice. In this guide, you'll learn not only how to make a stunning origami diamond but also appreciate the beauty of this ancient art form.
Materials Needed for Your Origami Diamond
Before diving into the exciting world of origami, it's essential to gather your materials. Luckily, creating an origami diamond requires only a few simple items. Here’s what you’ll need:
- Origami Paper: Ideally, choose square paper. The size can vary from 6x6 inches to 10x10 inches, depending on how large or small you want your diamond. You can find origami paper in various colors and patterns, which adds a personal touch.
- Bone Folder (Optional): This handy tool helps create crisp folds, ensuring your diamond looks sharp and professional. While you can use your fingers, a bone folder gives a more polished finish.
- Scissors: Although traditional origami doesn’t require cutting, having scissors handy can be useful if you need to trim your paper or adjust sizes.
- Ruler: A ruler can help you measure and cut your paper precisely, especially if you’re starting with larger sheets.
- Markers or Decorative Pens (Optional): For those who want to add a personal touch, consider using markers or decorative pens to embellish your finished diamond.
Once you have your materials ready, you're all set to embark on your origami adventure!
Also Read This: Get Free Hoagies at Wawa Today with YouTube Promotions
Step-by-Step Instructions
Creating a stunning origami diamond can be a rewarding experience! Just follow these simple steps, and you’ll have a beautiful piece of art in no time. Grab a square piece of paper, and let’s get folding!
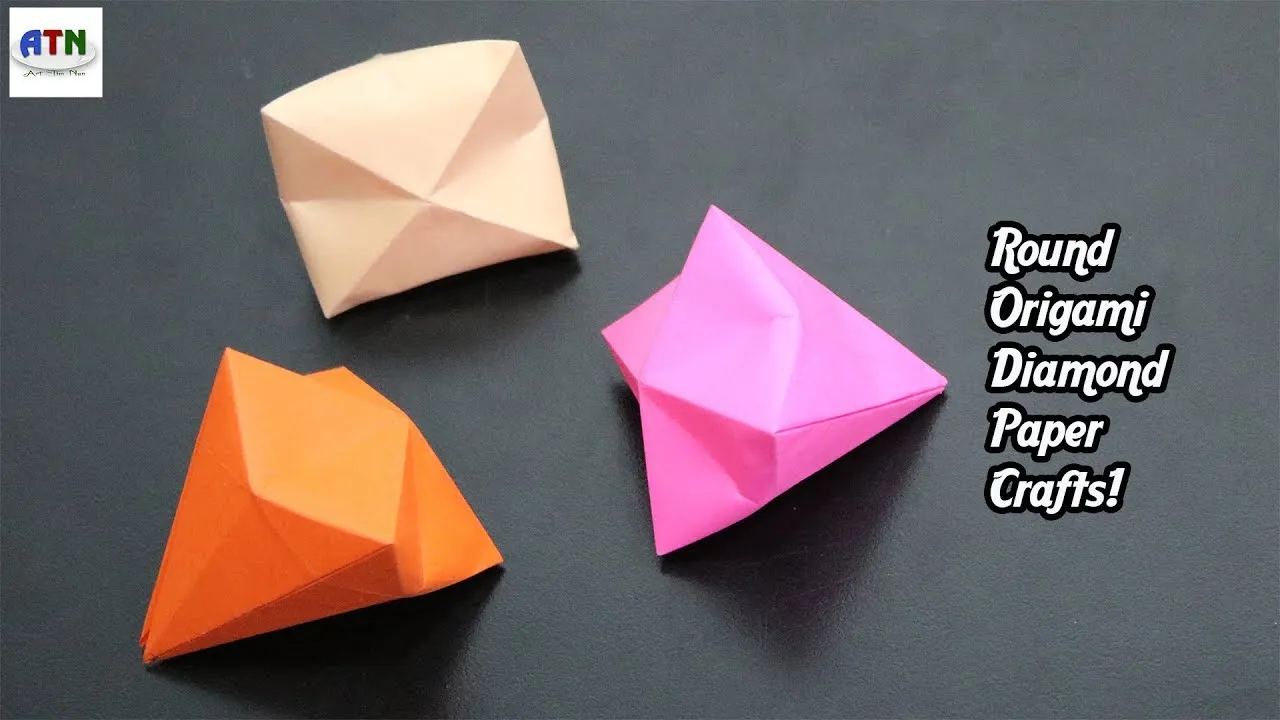
- Start with a Square Paper: Choose any color you like, but for a classic look, a shiny paper is perfect.
- Diagonal Folds: Fold the paper in half diagonally to form a triangle, then unfold it. Repeat with the other diagonal.
- Fold the Corners: Take the top corner of the triangle and fold it down to meet the bottom corner. This creates a smaller triangle.
- Make the Diamond Shape: Now, take the two side corners of the triangle and fold them inward to meet at the center. You should now see a diamond shape forming.
- Create the Top Point: Fold the top point of the diamond downwards, positioning it slightly below the base of the diamond.
- Final Touches: To give your diamond some depth, fold the sides slightly outward and adjust the layers to keep the structure stable.
- Admire Your Work: Once you're satisfied with the shape, gently press it down, and voilà! You’ve made a stunning origami diamond!
Also Read This: How to License Adobe Stock Images Effectively
Tips for Perfecting Your Origami Diamond
To truly master the art of origami, a few handy tips can make a world of difference. Here are some expert suggestions to help you create the perfect origami diamond:
- Use Quality Paper: Opt for origami paper or any thin, flexible paper. This helps in creating crisp folds.
- Make Sharp Folds: Use a bone folder or your fingernail to ensure your folds are sharp and precise.
- Practice Patience: Take your time with each fold. Rushing can lead to mistakes.
- Watch Online Tutorials: If you're a visual learner, check YouTube for video tutorials that can guide you step by step.
- Experiment with Sizes: Try using different paper sizes to see how it changes the look of your diamond!
Remember, practice makes perfect. Don’t be discouraged if your first attempt doesn’t turn out as expected; keep folding and have fun!
Also Read This: Next Royal Rumble Date and Schedule for Upcoming Events
Common Mistakes to Avoid
Creating an origami diamond can be a rewarding experience, but it’s easy to trip up along the way. Here are some common mistakes that beginners often make, along with tips to sidestep them:
- Using the Wrong Paper: Not all paper is created equal! Some papers are too thick or too thin. Opt for origami paper or thin craft paper for the best results.
- Poor Creasing: Creases are the backbone of origami. If they're not sharp, your diamond will lack structure. Always use a bone folder to make crisp folds.
- Skipping Steps: It can be tempting to skip steps you think are unnecessary, but every fold counts! Take your time to follow each instruction closely.
- Neglecting Symmetry: Origami relies heavily on symmetry. If your folds are uneven, your finished piece will look lopsided. Double-check your measurements!
- Forgetting to Compress: After folding, remember to compress the layers. This helps the diamond hold its shape and look sharp.
By keeping these common pitfalls in mind, you can enhance your origami diamond crafting experience and achieve a stunning result. Happy folding!
Also Read This: The Versatility of Stock Images and Why Imago Images Is Leading the Charge
Showcasing Your Completed Origami Diamond
Congratulations on completing your origami diamond! Now that you’ve put in the effort, it’s time to show it off. Here are some creative ways to showcase your masterpiece:
- Display it in a Shadow Box: A shadow box frame can protect your diamond while adding a touch of elegance to your decor.
- Create a Centerpiece: Use your origami diamond as a unique centerpiece for your dining table or special event.
- Incorporate into a Gift: Attach your diamond to a gift as a charming embellishment. It adds a personal touch that recipients will love!
- Photograph It: Set up a mini photoshoot! Use natural light and interesting backgrounds to capture the beauty of your creation.
Whether you display it proudly in your home or gift it to someone special, your origami diamond is sure to spark joy and admiration. Enjoy sharing your talent with others!
Craft a Stunning Origami Diamond with This Step-by-Step Guide
Origami, the art of paper folding, has captivated enthusiasts for centuries. Creating an origami diamond is a fantastic way to explore this intricate craft while producing a beautiful piece of art. In this guide, we will take you through each step required to craft your own stunning origami diamond. Gather your materials, follow the instructions carefully, and you’ll have a dazzling diamond in no time!
Materials Needed
- Square piece of paper (preferably colored or patterned)
- Origami mat (optional, for better folding)
- Bone folder (optional, for crisp folds)
Step-by-Step Instructions
- Start with a Square: Ensure your paper is a perfect square. If it’s not, trim it accordingly.
- Fold Diagonally: Fold the square diagonally in half to form a triangle. Unfold it to reveal a crease.
- Fold the Edges: Fold the top corners down to meet the center crease, forming a smaller triangle.
- Create the Diamond Shape: Fold the bottom point of the triangle up to the top, creating a diamond shape.
- Refine Your Shape: Adjust the folds to ensure sharp points and a balanced diamond look.
- Final Touches: Use a bone folder to press down on the folds for crispness.
Tips for Success
| Tip | Description |
|---|---|
| Choose the Right Paper | Thicker paper may hold creases better, while thinner paper allows for easier folding. |
| Practice Patience | Take your time with each fold to ensure accuracy and precision. |
| Add Personal Touches | Consider decorating your diamond with markers or embellishments after completion. |
Conclusion and Final Thoughts
Creating an origami diamond is a rewarding endeavor that blends creativity with precision. By following this step-by-step guide, you can easily master this beautiful craft and impress others with your artistic skills. Enjoy the process and let your imagination shine!