Origami, the ancient art of paper folding, is much more than just a delightful pastime; it’s a form of creative expression that transcends cultures and generations. Originating in Japan, this art form has evolved over centuries, marrying mathematics, geometry, and artistry into beautiful sculptures crafted from a simple piece of paper. With just a few folds, a flat sheet can transform into stunning shapes, ranging from delicate cranes to intricate flowers.
What makes origami so captivating is its versatility; it can be as simple or as complex as you choose. Whether you’re a novice trying to create your first model or an expert exploring advanced designs, the satisfaction of transforming paper through skill and creativity is unmatched. With the rise of online platforms like Dailymotion, teaching and sharing origami methods has become easier than ever. You can watch videos, pause, and follow along at your own pace, bringing a global community of origami enthusiasts together.
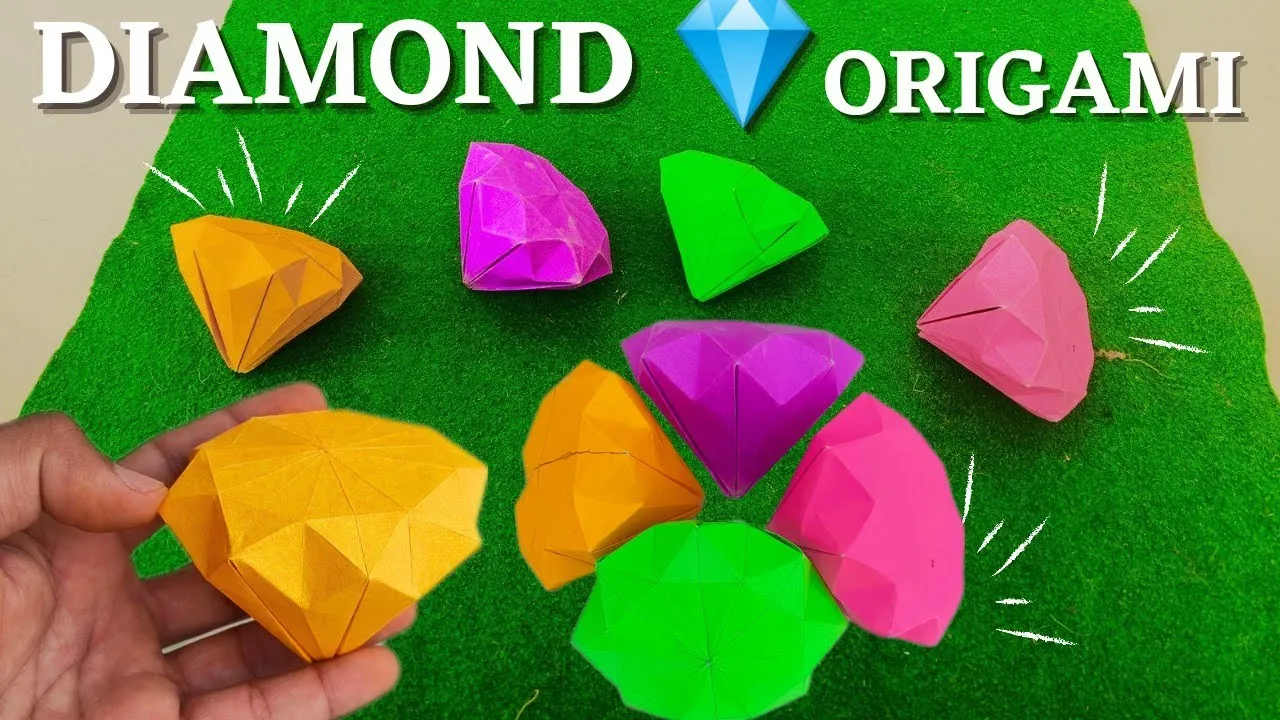
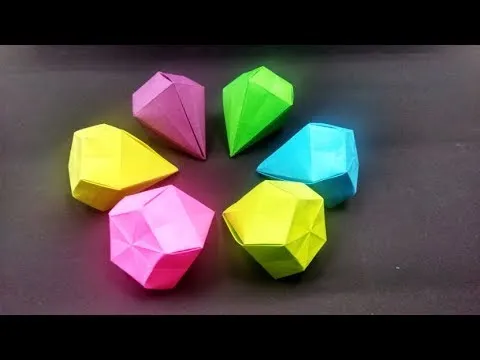
In this blog post, we’ll focus on crafting a stunning origami diamond, step-by-step. Not only will you learn the techniques necessary to fold this eye-catching design, but you'll also appreciate the meditative process that origami offers. So, grab your paper and let’s delve into the intricate world of origami artistry!
Materials Needed for Your Origami Diamond
Before diving into the world of folding and creasing, it's essential to gather all the materials you'll need for your origami diamond. This preparation will streamline your crafting process and help you stay organized. Here's a breakdown of what you’ll need:
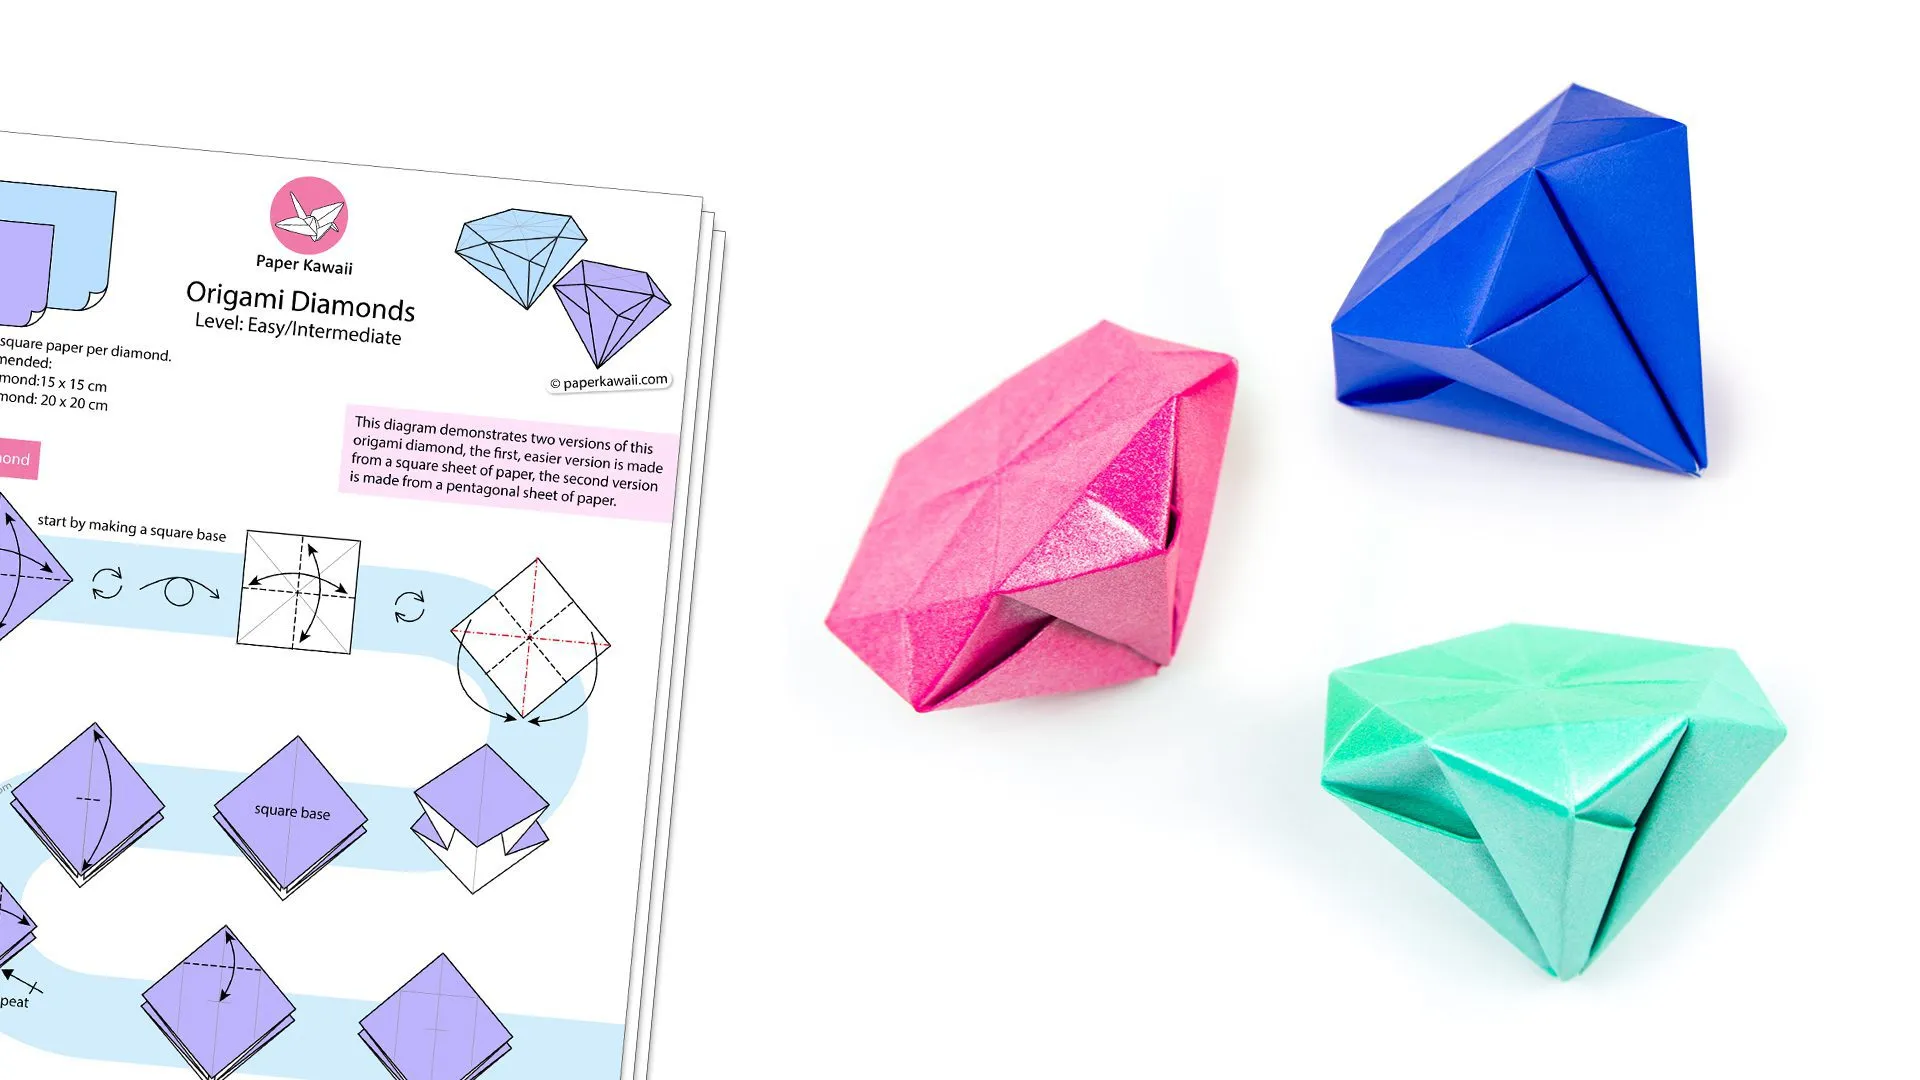
- Paper: A square sheet of origami paper is ideal, but you can also use any paper you have at home, such as printer paper or colored craft paper. The typical size is 6x6 inches, but feel free to experiment with larger sizes for a grander diamond!
- Scissors: While traditional origami doesn’t require cutting, having scissors handy is useful if you prefer to create your own square sheets from larger pieces of paper.
- Folder or Bone Folder: This tool helps create crisp, clean folds, ensuring that your diamond looks sharp and professional. If you don’t have one, you can use a ruler or even your fingernail.
- Workspace: A flat surface clear of clutter will help keep your focus. Consider working on a table or desk where you can spread out your materials comfortably.
- Patience and Focus: These may not be physical materials, but they are just as important! Origami requires concentration, so set aside some quiet time to immerse yourself in the folding process.
Gathering these materials will set you up for success as you embark on your journey to fold a stunning origami diamond. Let’s get started with those beautiful folds!
Also Read This: How to Make a Simple Electric Circuit with a DIY Tutorial
Basic Folding Techniques to Master
Before diving into the delightful world of origami, it's essential to familiarize yourself with some basic folding techniques that will serve as the foundation for creating your stunning origami diamond. Mastering these skills will not only enhance your folding prowess but also make tackling more complex designs much more enjoyable.
Here are a few fundamental techniques you’ll want to become comfortable with:
- Valley Fold: This is one of the most basic folds. It involves folding the paper towards yourself, creating a "V" shape. It’s the starting point for many designs.
- Mountain Fold: The opposite of the valley fold, this technique requires folding the paper away from you, forming a peak. It’s crucial for shaping your origami piece.
- Squash Fold: This involves opening a fold slightly and squashing it down to create a new crease. It's commonly used to create sharp points.
- Reverse Fold: As the name suggests, this technique involves folding the paper in the opposite direction of an existing crease. It’s vital for adding detailed shapes and features.
- Petal Fold: This is used when you need to create petal-like shapes, and it involves folding a corner into the center point and then folding the sides in.
Using these techniques, practice makes perfect! Take some time to get comfortable with each fold before moving on to your diamond project. Even seasoned folders revisit these fundamentals as they prepare for intricate designs. Happy folding!
Also Read This: Creative Ways to Repurpose Waste Materials
Step-by-Step Instructions to Create Your Diamond
Now that you're equipped with the basic folding techniques, it’s time to put them to use and craft your stunning origami diamond! Follow these step-by-step instructions carefully, and soon you’ll have a beautiful piece to showcase.
- Start with a Square Piece of Paper: Begin with a square sheet. You can use origami paper for vibrant colors or any paper you have on hand.
- Make the Initial Folds:
Perform a valley fold by folding the square diagonally in half. Unfold it to see the crease. Then, repeat this with the opposite diagonal.
- Create the Base:
Fold the top corner down to meet the center point where the creases intersect. Do the same for the bottom corner. Now you should have a triangle shape at the top.
- Form the Diamond Shape:
Fold the left and right corners downwards so that their tips meet at the bottom point of your triangle. You should see the diamond forming!
- Finalize the Folds:
Now, turn your paper over. Fold the top point down just a little; this creates the top of the diamond. Adjust as needed to get your desired look.
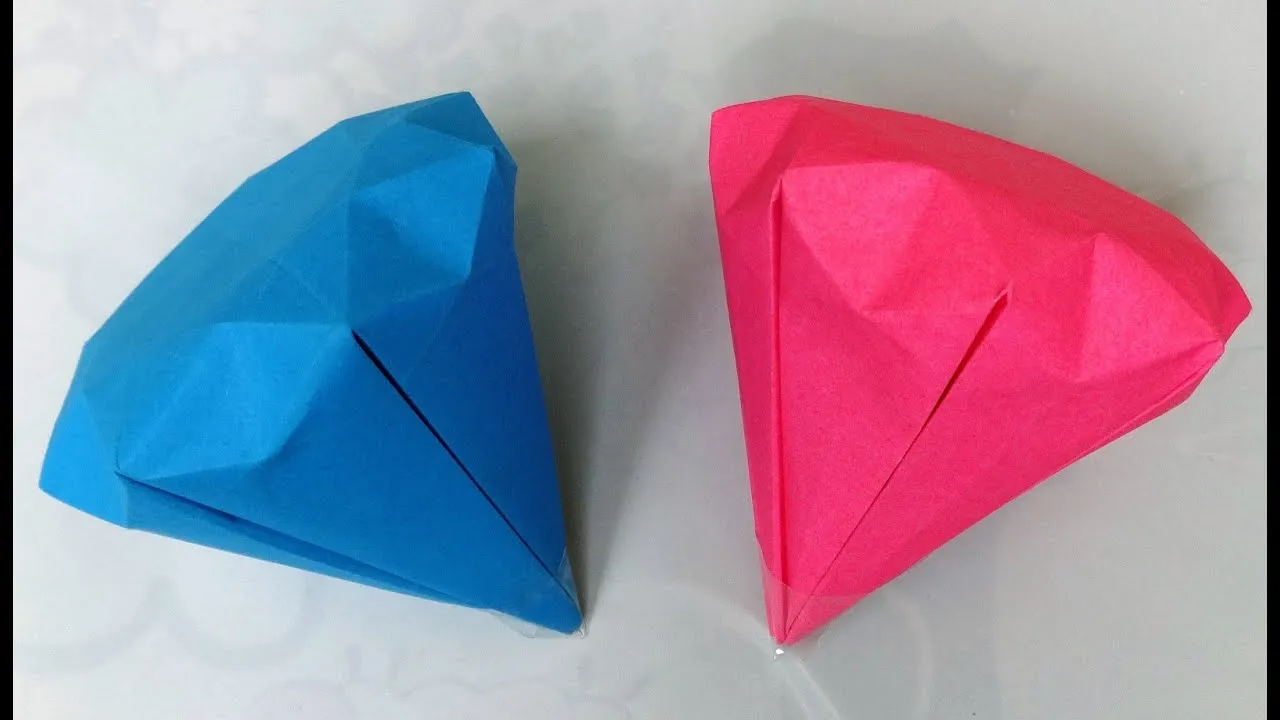
- Crease Well: Ensure all your folds are sharp and neatly creased. You can use a bone folder for crisp lines. Your diamond is taking shape!
- Display Your Creation: Gently adjust the folds until your diamond looks perfect. Grab a string or put it in a decorative holder to display your stunning origami work!
And there you have it! With these steps, you’ve learned how to craft a captivating origami diamond that will impress friends and family alike. Enjoy your artistry and don’t hesitate to try variations or embellishments to make your diamond unique!
Also Read This: Download LinkedIn on a MacBook for Easy Access
Common Mistakes and How to Avoid Them
Origami can be a delightful art form, but like anything, you can stumble along the way. Here are some common mistakes that many beginners (and even seasoned folders) make when crafting their stunning origami diamond, along with tips on how to steer clear of them:
- Inaccurate Folds: One of the most frequent errors is not folding accurately. This can lead to a lopsided or misshapen diamond. To avoid this, always take your time and ensure that each fold is precise. Use a ruler or a bone folder if necessary to get sharp creases.
- Ignoring the Paper Grain: The grain of the paper can significantly affect your folds. If you fold against the grain, your paper might resist and lead to tears. To avoid this, always fold with the grain; experiment with different types of paper to discover which works best for you.
- Skipping Steps: It can be tempting to jump ahead, especially if you think you know what comes next. However, this can often result in having to backtrack. Always read through the entire tutorial before you start, so you know what to expect.
- Using the Wrong Paper: Not all paper is created equal. While it may be tempting to use any scrap paper available, opting for origami paper is ideal due to its thinner, yet durable, quality. This helps achieve clean, sharp folds.
By being aware of these common pitfalls, you can enhance your origami experience and create that beautiful diamond without unnecessary frustration!
Also Read This: Pin Your Favorite Content from Behance to Keep it Accessible
Enhancing Your Origami Diamond with Colors and Patterns
Once you’ve mastered the basics of crafting your origami diamond, enhancing it with colors and patterns can take your project to the next level! Here are some fun ways to add flair and personality to your creation:
- Choosing the Right Paper: Start with paper that has vibrant colors or interesting patterns. This includes traditional origami paper or patterned scrapbook paper. Patterns can range from floral to geometric, adding a unique touch to your diamond.
- Layering Techniques: Consider using a two-toned approach. Select papers of complementary colors, folding one over the other to create depth. This dual-layer effect can really make your diamond pop!
- Drawing or Painting: If you enjoy a more personal touch, use markers or watercolor paints to embellish your diamond after folding. Just be sure to wait for any paint to dry thoroughly before attempting to handle it to avoid smudging.
- Adding Accessories: Get creative by attaching small beads, sequins, or ribbons to your origami diamond. You can glue them on where the folds meet to create an eye-catching effect. Just remember, less is often more!
- Experimenting with Sizes: Don't be afraid to try different sizes of diamonds. Larger diamonds give more space for color and design, while smaller ones can become charming accents.
So, go ahead and get creative! Each enhancement not only showcases your style but brings your origami diamond to life.
Craft a Stunning Origami Diamond: Step-by-Step on Dailymotion
Origami, the art of paper folding, has fascinated people for centuries. One of the most striking creations in origami is the diamond shape, which can serve as a beautiful decoration or gift. In this guide, we will walk you through the steps to craft a stunning origami diamond, complete with video resources from Dailymotion to enhance your learning experience.
Materials Needed
- Square sheet of paper (any color)
- Scissors (optional for trimming)
- Bone folder (for crisp creases)
- Ruler
Step-by-Step Instructions
Follow these simple steps to create your origami diamond:
| Step | Instructions |
|---|---|
| 1 | Start with a square sheet of paper, colored side up. |
| 2 | Fold the paper in half diagonally to form a triangle, then unfold. |
| 3 | Fold the paper in half diagonally the other way and unfold. |
| 4 | Fold the top and bottom points to meet at the center crease. |
| 5 | Now, fold the sides towards the center to create a smaller diamond shape. |
| 6 | Shape the points to refine your diamond, adjusting the angles as needed. |
| 7 | Use a bone folder to make clean creases and ensure your diamond holds shape. |
If you're interested in visual guidance, be sure to check out the detailed video tutorial on Dailymotion.
Conclusion and Encouragement to Keep Practicing
Creating an origami diamond is not just about following instructions; it’s a rewarding process that fosters patience and creativity. Don’t be discouraged if your first attempts aren’t perfect; keep practicing and exploring different designs, and soon you'll master the art of origami.
```