When I began using Canva I was amazed at how a small design touch could completely change an image. I was particularly drawn to the use of outlines. They give graphics a sleek and refined appearance making them stand out against any backdrop. Just picture your cherished picture or saying adorned with a neat white border; it instantly captivates the audience. In the realm of design, especially on platforms making a mark is essential. White outlines contribute to that unique flair by offering an eye catching contrast that grabs attention.
Incorporating a border not only improves the look but also brings clarity. This proves especially useful when dealing with complex backgrounds. For example when I design posts for my blog I've observed that images featuring white borders tend to capture more attention. They serve as a marker steering the viewers focus towards the main content, be it a product, an individual or a key piece of information. This seemingly minor touch can have an impact on how your audience interprets your message.
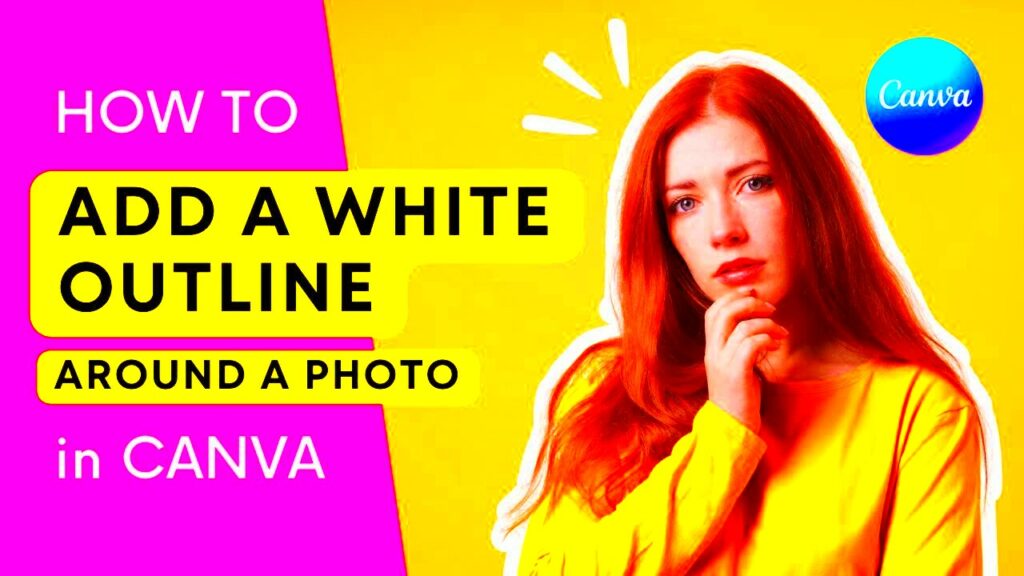
How to Add a White Outline to Your Images
Now that weve grasped the importance of white outlines lets dive into the nitty gritty. Adding a white outline in Canva is a breeze. Heres a simple walkthrough drawn from my personal journey.
- Start by opening Canva and selecting the image you want to edit.
- Click on the image to reveal the editing options.
- Navigate to the “Effects” tab, where you'll find the “Shadow” and “Outline” options.
- Select the “Outline” option, and choose white as your color.
- Adjust the thickness to your preference. I usually opt for a moderate thickness to maintain balance.
- Preview your design to see how it looks against different backgrounds.
- Finally, download your image and share it with the world!
When it comes to making visuals I usually follow this process. I tend to adjust the thickness of the outline depending on the intention behind the image and I've noticed that these subtle changes can really enhance the overall effect.
Also Read This: How Can a Shutterstock Image Downloader Simplify Your Content Creation Workflow?
Using Canva’s Features for Customization
What I really appreciate about Canva is how adaptable it is. In addition to adding borders the platform provides a wide range of personalization choices that enable you to give your visuals a distinct touch. This is my approach to discovering the functionalities of Canva;
- Color Adjustments: Play around with colors. Sometimes a subtle change can give your outline a fresh look.
- Text Effects: Combine outlines with text shadows or backgrounds for a cohesive design. I often do this for quotes.
- Templates: Canva has a variety of templates that incorporate white outlines. These can serve as great starting points.
What I value the most is how user friendly the interface is making it easy to personalize things. With each creation I uncover features and methods. So go ahead and try things out! Designing is not just about sticking to trends; it's also about showcasing your individuality. You might just be pleasantly surprised by what you come up with!
Also Read This: Reality Check: Managing Expectations When Shopping on AliExpress
Exploring Design Techniques with White Outlines
Through my experiences as a designer, I’ve come to realize that the true charm of design is found in trying new things. White outlines have been my reliable allies in this creative journey serving as a tool to transform the mundane into something exceptional. One instance that stands out is when I designed a poster for a community festival. Adding white outlines to the vivid visuals brought a sense of unity and attractiveness to the overall composition. It’s akin, to giving your visuals a touch of elegance; they instantly appear more refined and well organized.
Here are a few design strategies that have proven to be highly effective when it comes to using white outlines.
- Layering Effects: Combining a white outline with shadows or gradients can create depth. I often layer a soft shadow behind my outlines to make the image appear more three-dimensional.
- Contrast Play: Use white outlines on dark backgrounds to create striking contrast. This not only grabs attention but also ensures clarity, making your images easily recognizable.
- Incorporating Icons: Adding white outlines to icons can enhance their visibility. In my social media posts, this technique has helped in making the icons stand out, ensuring that they catch the viewer's eye.
In the end, it’s all about finding a way to communicate your thoughts while keeping in mind the story you want to tell through visuals. Keep in mind that design is an individual experience and using white outlines is just one of the many options available to you. Enjoy the journey and feel free to experiment with approaches!
Also Read This: The Timeless Story of The Very Hungry Caterpillar â A Must-Watch on Dailymotion
Common Mistakes to Avoid When Adding Outlines
Having spent a lot of time playing around with designs I’ve definitely made my mistakes when it comes to adding outlines. These blunders can ruin an otherwise great image and make it look messy. Here are a few common traps to avoid.
- Overdoing the Thickness: One of the first mistakes I made was making my outlines too thick. While it’s tempting to go bold, remember that subtlety can often be more effective. A delicate outline can enhance without overpowering the image.
- Ignoring Background Colors: Always consider the background before applying an outline. I learned the hard way that a white outline on a light background can be nearly invisible! Test your designs against various backgrounds to ensure they remain effective.
- Neglecting Consistency: If you’re using outlines across multiple images, keep the thickness and style consistent. When I didn’t maintain consistency, my overall design felt disjointed, impacting the professionalism of my work.
Every error presents a chance for growth. By welcoming these insights I’ve enhanced not my creations but also added more joy to the journey. Continue to explore and perfect your skills and before you know it you’ll discover your own distinct flair.
Also Read This: How to Change Your Behance URL for a Personalized Link
Enhancing Your Images with Additional Effects
White outlines can serve as a base for a captivating design but why limit yourself? Throughout my journey I’ve learned that merging outlines with other elements can produce breathtaking outcomes. This is where the real enchantment occurs! For example when creating a wedding invitation I discovered that adding effects brought a touch of sophistication that a basic outline alone couldn’t provide.
Here are a few more elements that can enhance the look of white outlines in a stunning way.
- Shadows: Adding a subtle shadow behind your outline creates a three-dimensional effect, making your images pop. It’s like giving your designs a little lift!
- Textures: Incorporating textures can bring a tactile quality to your designs. I love using soft textures behind white outlines to add warmth and depth, creating a more inviting visual.
- Color Gradients: Experimenting with gradients can introduce vibrancy to your designs. A colorful gradient combined with a white outline can create a mesmerizing effect that draws viewers in.
While you delve into these improvements remember to infuse your unique character into the mix. Your design should be a true reflection of yourself and trying out different effects will assist you in uncovering what truly speaks to you. Every creation presents an opportunity to share your narrative so embark on this journey with an open heart and savor every moment of it!
Also Read This: How to Obtain a Code for Telegram Verification
Frequently Asked Questions about Canva White Outlines
While exploring Canva, I came across many inquiries about incorporating white outlines. If you find yourself pondering the same thing, rest assured you're not by yourself! Let's address some of the common questions to shed light on the topic and clear up any misunderstandings.
- What are white outlines and why should I use them? White outlines are borders applied to images or text that enhance visibility and add a polished look. They can make your designs stand out and create a sense of cohesion.
- Can I customize the thickness of the outline? Absolutely! One of the best features of Canva is the ability to adjust the thickness according to your preference. I often experiment with different thickness levels to see what looks best for my project.
- Do white outlines work with all backgrounds? While they work beautifully against dark or colorful backgrounds, be cautious with lighter backgrounds, as the outline may blend in. I’ve had to tweak designs multiple times until I found the right contrast.
- Are there any limitations to using white outlines? White outlines can enhance your designs, but too much can clutter the image. It’s important to strike a balance. I’ve learned this through trial and error—less can indeed be more!
- How can I learn more about design techniques in Canva? Canva offers a wealth of tutorials and resources. I’ve found that diving into their blog and exploring user forums can provide valuable insights and inspiration.
Gaining insight into these queries can give you the confidence to try out new ideas and craft designs that genuinely showcase your unique taste. Keep in mind that the journey is focused on growth and development in your design skills.
Wrapping Up: Tips for Effective Design with White Outlines
As we wrap up our journey into the world of white outlines in Canva here are some important tips to remember. Embrace the spirit of experimentation – each design project is a chance to learn and evolve. Don't hesitate to explore techniques, thicknesses and combinations. Keep in mind that simplicity often brings about sophistication, so strive for a balance in your designs. Trust your instincts and let your creativity run free! With dedication and perseverance you'll soon discover that white outlines can be a valuable asset, in your design toolkit enabling you to craft visuals that not grab attention but also narrate your story in a way.