Canva has really changed the game when it comes to design. As someone who frequently manages projects I can't stress enough how easy to use this platform is. Its simple interface allows even those without a design background to whip up eye catching visuals. It's loaded with tools that suit both beginners and experienced designers alike.
What I really love about Canva is its range of templates. Whether you’re putting together a social media update, a presentation or even promotional content Canva has everything you need. With a vast collection of elements like images, icons, shapes and fonts your creativity is limitless. Additionally Canvass collaboration tools allow for seamless teamwork, with colleagues making it a game changer for remote workers!
Another impressive feature is the capability to create designs in different formats. You can effortlessly transition between formats without having to begin anew saving you a lot of time. Additionally there are numerous learning materials accessible ranging, from tutorials to articles that inspire users to consistently improve their abilities. In summary Canva is more than a mere design application; it serves as an all encompassing creative platform that fosters our concepts and dreams.
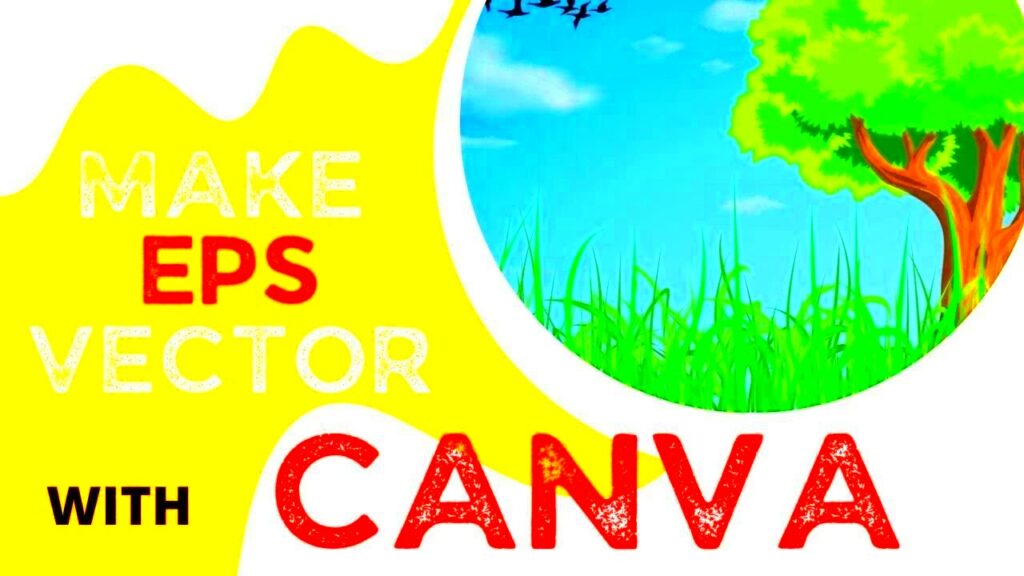
Getting Started with Vector Images in Canva
I was really intrigued by how vector images can be resized without sacrificing their quality when I first came across them. This comes in handy for projects that need crisp visuals in various dimensions. Starting out with vector images in Canva is easier than you might think.
To get started you should either set up a new Canva account or sign in to your existing one. Here’s a brief list to help you out.
- Create a free account or log in
- Select “Create a Design”
- Choose a custom size or template
After getting everything ready head over to the "Elements" section. If you search for "vector" you'll come across a range of visuals. What I really enjoy about this tool is the ability to combine various elements to craft something that's distinctly your own. Just keep in mind that not every element is a vector so be sure to review the specifics in the description of each element.
The real excitement starts when you explore the various customization choices. You have the ability to tweak hues, dimensions and even cluster elements together for intricate designs. The trick is to be adventurous and allow your imagination to run wild!
Also Read This: How to License Your Photo with Getty Images as a Contributor
Step-by-Step Guide to Creating Vector Images
Making vector images in Canva is similar to starting with a fresh canvas and I’m excited to guide you through this fun process one step at a time. Here’s my approach to it.
- Select Your Canvas Size: Start by choosing a custom size that fits your needs. Whether it's for a poster or a social media post, the right dimensions set the stage for your design.
- Access Elements: Go to the “Elements” tab and search for vectors. You’ll find a plethora of options! I often browse through them to get inspired.
- Customize Your Vectors: Click on any vector to add it to your design. Once there, you can resize, rotate, and change colors to match your vision.
- Add Text and Other Elements: Don’t hesitate to layer text or other elements on top. Mixing different types of graphics can really bring your design to life.
- Review and Adjust: Take a step back and review your design. Sometimes, I find that less is more, so don’t be afraid to simplify!
- Download Your Image: Once satisfied, click on the “Download” button. Choose the right file format (SVG for vectors is ideal) and save your masterpiece!
Designing vector graphics in Canva has really revolutionized the way I work on my projects. I appreciate how it strikes a balance between creativity and functionality. Its like having your own design workshop right at your fingertips!
Also Read This: How to Wear a Simple Hijab Step by Step on Dailymotion
Exploring Design Tools for Vector Creation
When I started exploring graphic design I was filled with excitement. The abundance of tools and features was thrilling yet a bit overwhelming. Canva offers a variety of design tools designed specifically for creating vectors and I must say they make the whole process feel effortless.
One feature I really like is the Shape Tool. It lets you make simple shapes that you can customize in various ways. You can make them bigger or smaller change their colors and even merge shapes together to create more intricate designs. The Lines and Arrows Tool is also a go to for me as it adds movement to your vector graphics. You can tweak the thickness and color effortlessly, giving your creations an extra flair.
Make sure to check out the Text Tool too! The way you use typography can turn a basic vector design into something truly remarkable. Canva has a wide range of fonts to choose from and you can also customize text by adjusting its alignment or adding effects to elevate the overall attractiveness of your design.
If you're a fan of animation you'll adore Canvass Animate Tool. It allows you to infuse your vector images with movement and style. I usually discover that a touch of animation can have a big effect, particularly in presentations.
In the end it's important to try out these tools and see which ones align with your personal touch. Have fun, get creative and let your imagination take the spotlight. After all design is all about showing who you are and sharing a narrative.
Also Read This: How to Make Your LinkedIn Profile Public and Manage Visibility
Best Practices for Designing Vector Images
After experimenting with design for a while I've discovered that crafting beautiful vector images involves more than just using the right tools. It's also about adhering to specific best practices. These guidelines ensure that your work remains consistent and polished something that is crucial when showcasing your creations to clients or sharing them on social media.
To begin with its crucial to establish a vision. Prior to getting into the design process take some time to note down your thoughts. I usually create a sketch on paper to help me see my ideas more clearly. After you have your initial concept in place think about these aspects:
- Keep It Simple: Simplicity is the soul of effective design. Too many elements can clutter your image. Focus on a few key components that convey your message clearly.
- Use a Consistent Color Palette: Sticking to a limited color palette helps create harmony in your design. Canva offers color palette generators that can inspire you.
- Pay Attention to Typography: As mentioned earlier, typography plays a crucial role. Choose fonts that are readable and complement your design. Avoid using too many different fonts, as it can make your design look chaotic.
- Maintain Balance: Visual balance is key to an appealing design. Consider how elements are arranged within your canvas. Sometimes, moving a graphic just a few pixels can change the entire look.
- Test Your Design: Don’t hesitate to ask for feedback from friends or colleagues. I’ve often found that fresh eyes can spot things I might have missed.
By adhering to these guidelines you can produce vector graphics that are both aesthetically pleasing and impactful in conveying your message. Keep in mind that each design has a narrative to share so ensure that yours is an engaging one!
Also Read This: Downloading Older Versions of YouTube on iPad for Compatibility
How to Download Your Canva Vector Images
After putting your thoughts and artistic flair into creating a beautiful vector graphic the next move is to save it. This is where a lot of folks hit a snag but don't worry! I'm here to walk you through the steps making sure you receive your artwork in the finest format.
Downloading your Canva vector images is a breeze just follow these simple steps.
- Finalize Your Design: Before downloading, make sure everything looks perfect. Check for any alignment issues or color discrepancies.
- Click on the Download Button: In the top right corner, you’ll see a button that says “Download.” Click on it, and a drop-down menu will appear.
- Select Your File Type: For vector images, the best option is to choose the SVG format. This format allows your image to remain scalable without losing quality. If you prefer other formats, like PNG or PDF, you can select those as well.
- Adjust Settings: Depending on your choice, you might have some additional settings to adjust. For SVG files, ensure that you’ve selected the right options for your design.
- Click Download: After making your selections, click the “Download” button. Your image will be prepared and saved to your device.
And there you go! Getting your vector images from Canva is really easy. I always get a boost of satisfaction when I watch my creations come to life on my screen. So go ahead and let your imagination shine for everyone to see!
Also Read This: Who Won the Royal Rumble 2014 and Insights Into WWEâs Major Event
Troubleshooting Common Issues
Weve all experienced that moment when you're fully immersed in creating an amazing vector graphic on Canva and suddenly things take a turn for the worse. I recall a situation where I was preparing a presentation for a client and encountered difficulties downloading my image. It was quite a stressful moment! Fortunately many issues can be resolved with a dose of patience and the strategy. Lets delve into some challenges and how to tackle them.
Sure let’s address the problem of downloading. If you’re having trouble downloading your image
- Check Your Internet Connection: A weak connection can interrupt downloads. Ensure that you're connected and try again.
- Browser Compatibility: Sometimes, the browser you’re using can cause issues. I’ve had better luck with Chrome or Firefox when using Canva.
- File Format Problems: If you’re downloading an SVG file and it’s not appearing as expected, double-check your design elements. Some elements might not be compatible with SVG.
Another challenge I’ve encountered is the misalignment of elements. If you spot this issue make use of Canva’s alignment features. They assist in centering or evenly spacing out your elements effortlessly.
If you notice any slowdown in performance try refreshing the page or clearing your browser cache. Youll be amazed at how a quick refresh can fix numerous issues!
Keep in mind that every designer encounters challenges. The key is to remain composed and tackle each issue in a systematic manner. Before you know it, you'll be back to your creative flow!
Also Read This: The Timeless Story of The Very Hungry Caterpillar â A Must-Watch on Dailymotion
FAQs About Canva Vector Image Creation
As I explored Canva and vector visuals I was bombarded with inquiries. Whether you're a design pro or just starting out you probably have some curiosities regarding Canva's vector creation tools. To help shed light on any uncertainties here are questions that are commonly asked.
1. Can I create vector images for free?
Yes, Canva offers a free plan that includes a variety of design tools and elements. However, some premium features may require a subscription.
2. What file formats can I download my vector images in?
You can download your vector images in formats like SVG, PNG, and PDF, depending on your needs.
3. Are all images in Canva vectors?
No, not all images in Canva are vectors. It’s essential to check the element description to ensure it’s a vector before using it.
4. How do I edit a vector image?
To edit a vector image, simply click on it. You can change colors, sizes, and other properties using Canva’s editing tools.
5. Can I use Canva for commercial purposes?
Yes, but make sure to review Canva’s licensing agreements. Certain elements may have restrictions on commercial use.
These frequently asked questions can assist you in addressing inquiries related to vector image creation in Canva. Should you have additional queries feel free to check out Canvass support center or community discussion boards!
Conclusion and Final Thoughts
As I conclude my exploration of Canva and the process of creating vector images I find myself thinking about the impact this tool has had on many of us. Whether you’re a novice or a seasoned designer Canva opens up opportunities to showcase your creativity in ways you may not have thought possible. I’ve witnessed friends and coworkers turn their concepts into captivating visuals that tell their own distinct narratives.
Keep in mind that every piece of design you make reflects your ideas, feelings and life experiences. Don’t hesitate to try new things out; the true essence of design comes from venturing into the unknown. Embrace the journey of learning just like I do and don’t worry about making errors. Every misstep serves as a stepping stone, towards improving your abilities.
As you progress on your Canva adventure remember to keep these suggestions and guidelines in hand. Stay inquisitive, look for inspiration and above all savor the creative journey! Your artwork holds the power to motivate others and leave a lasting impression. So don't hesitate to tap into your imagination and let your creativity flow freely!