At first glance, the term Canva Vector Image Conversion may seem complicated but in reality it's quite straightforward. If you have used Canva to create designs you are probably familiar with how effortlessly you can produce visually appealing artwork. However there are instances when resizing an image can compromise its quality. This is where vector conversion proves beneficial. By transforming images into a vector format you can adjust the size of your designs without sacrificing quality. Imagine having a piece of clay that you can mold and reshape without ever breaking. Regardless of how large or small you make it it retains its beauty.
I recall a time when I was designing an invitation for a friends wedding. I dedicated hours to crafting the perfect design but when I printed it the logo I incorporated ended up looking fuzzy. If I had been aware of the process back then I could have spared myself a great deal of disappointment! It's a trick that can significantly impact those who pay attention to the nuances.
Why You Might Need Vector Images
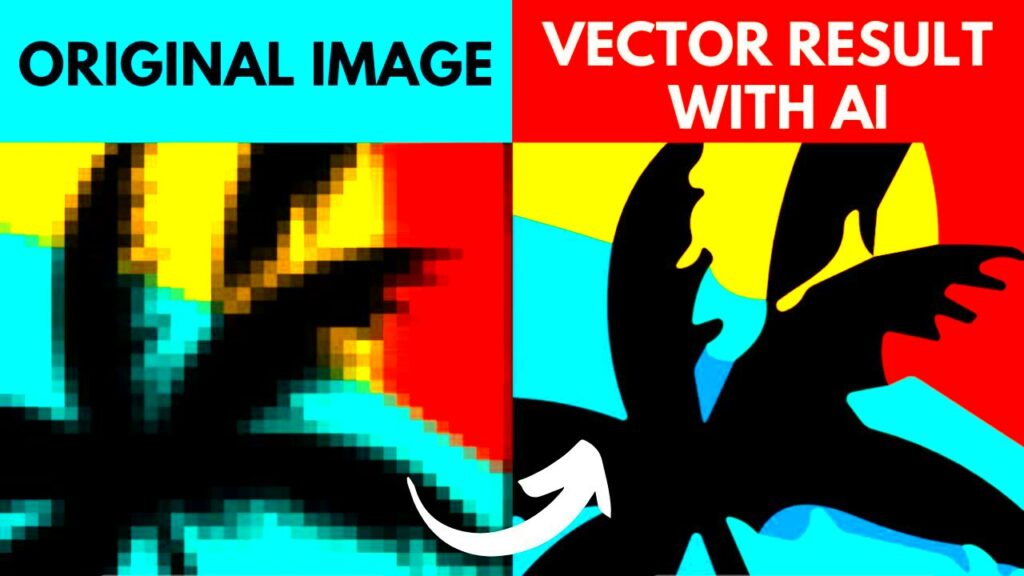
Have you ever attempted to stretch an image only to find it becoming pixelated and blurry? This is a challenge often encountered with images such as JPEGs and PNGs. In contrast vector images are composed of paths instead of pixels. This means that regardless of how much you enlarge them they maintain clarity and sharpness. Whether you're creating a billboard or a business card vector images guarantee that your designs appear polished, at any size.
Here are some typical situations where you may require vector graphics
- Logo Design: A logo should look sharp, whether it's on a small website or a massive banner.
- Print Materials: Brochures, flyers, and posters often require resizing, and vector images guarantee the best quality.
- Website Graphics: Using vectors on websites ensures faster load times and smoother visuals.
Ive discovered that using vector images for my personal projects such as creating greeting cards or designing t shirts gives everything a more professional touch. Not to mention it helps you avoid that annoying blurry look!
Also Read This: How to Download YouTube Videos Legally and Safely
How to Convert Canva Images to Vector Format
Now that we've discussed the benefits of using vectors let's dive into the details of how to convert Canva images into vector format. Unfortunately Canva doesn't offer a direct export option to SVG or EPS which are widely used vector formats. But don't fret it's not an impossible task! There are several methods to achieve this and I'll walk you through the process.
Here’s a simple step-by-step process:
- Create your design in Canva. Take your time and make it as detailed as you like. Don't worry about size—vectors take care of that later.
- Download your design in PNG format with a transparent background. This step is crucial, as it ensures your image doesn't lose any important details.
- Use a free online tool or software like Adobe Illustrator to convert the PNG to SVG format. Simply upload your PNG and convert it to a vector image.
- Once converted, save your new vector file and you’re done! You can now resize and edit the vector image without losing quality.
I know it seems like a process but trust me, it's totally worth it. When I first transformed one of my Canva creations into a vector it felt like pure magic. In an instant I could use it for everything, from business cards to banners and even my website all without worrying about compromising its quality. If you love seeing your designs showcased everywhere this is a true game changer.
Also Read This: How Shutterstock Images Work and How to Make the Most of Them
Best Practices for Working with Vector Files
When you begin using files, you’ll discover that they operate on a level distinct from regular images. There’s an art to working with them, particularly if you aim to preserve their integrity and versatility. Throughout my journey I’ve picked up some tips that I wish I had known, when I first got started.
Here are some best practices I’ve gathered:
- Always keep a master file: Whenever you create or convert a vector image, save the original file in its native format (like SVG or EPS). You might need it later for edits, and it's better to have an untouched version.
- Don’t overcomplicate your designs: Vectors are great because they’re scalable, but adding too many details can make the file unnecessarily heavy. Stick to simple, clean lines when possible.
- Use layers effectively: Working with layers helps you manage complex designs without getting lost. It's especially useful when you need to edit only a specific part of the image.
- Convert text to outlines: If your design includes text, it’s a good idea to convert it to outlines before sharing. This ensures the text looks the same on any computer, even if they don’t have the same fonts installed.
I still recall the moment when I neglected to save a file. I needed to tweak a logo slightly but discovered that I only had the flattened version available. That single error resulted in me spending hours on revisions. Ever since that incident I’ve been careful not to repeat it.
Also Read This: Find Starred Templates on Canva Easily
Benefits of Using Vector Images for Your Designs
I can’t emphasize enough the advantages of using vector images, particularly in the fields of design and printing. In the early days of my graphic creation journey I relied on raster formats such as PNGs and JPEGs. While they were user friendly I noticed a decline in quality whenever I attempted to resize an image. That’s when I made the switch to vectors and it has revolutionized my work ever since.
Here’s why vector images are so powerful:
| Benefit | Explanation |
|---|---|
| Scalability | Vector images can be resized indefinitely without any loss of quality. Whether you’re printing a small business card or a large billboard, the image remains sharp. |
| Smaller File Sizes | Because vectors are made up of paths instead of pixels, they often have smaller file sizes compared to high-resolution raster images. |
| Easy Edits | With vectors, you can easily edit individual elements without affecting the rest of the design. This is especially useful if you need to make quick adjustments. |
| Clean and Professional Look | Vectors are known for their crisp lines and smooth curves, which give your designs a polished and professional appearance. |
For a clients banner design I utilized vector images and their reaction to the crispness of the visuals even when blown up was nothing short of amazing. Theres a certain quality in the intricacies that truly sets your work apart.
Also Read This: Alamy vs Shutterstock Which Stock Photo Platform Is Better
Common Mistakes to Avoid During Image Conversion
While turning images into vectors may appear simple at first glance it can be tricky and mistakes can easily mess up the end result. I’ve had my moments of error and I’ve discovered through experience what to steer clear of. Here are some pitfalls to watch out for;
- Not choosing the right format: Some people confuse raster formats like JPEG or PNG with vector formats. Always make sure you’re exporting or converting to formats like SVG, EPS, or PDF. Using the wrong format can result in pixelation.
- Ignoring transparency: If your design requires a transparent background, make sure to save it in a format that supports transparency. Otherwise, you’ll end up with an unwanted white background.
- Overcomplicating your design: While it’s tempting to add tons of details, especially with vectors, too many points or curves can make the file too heavy and difficult to edit. Keep it simple for smoother performance.
- Forgetting to outline fonts: If your vector contains text, it’s crucial to convert the fonts to outlines. This way, the design remains consistent, regardless of the viewer’s device or installed fonts.
- Not double-checking the resolution: Although vectors don’t rely on pixels, any embedded raster images in your design do. Always make sure these images are high-resolution before converting to avoid a blurry mess.
There was an instance when I transformed a logo into a vector format but completely overlooked outlining the text. When I presented it to the client the text appeared distorted on their computer. Although it was an error it could have jeopardized the project for me. Nowadays I take extra care to review every aspect before clicking that “convert” button!
Also Read This: Boosting Your Earnings from Selling on Shutterstock
FAQs about Canva Vector Image Conversion
When you begin looking into converting vector images using Canva, it’s normal to have some questions. I recall feeling a bit confused by the terms when I gave it a shot for the time. Let’s address some common inquiries that many of us tend to have.
1. Can I directly export vector files from Canva?
Regrettably, Canva does not support exporting directly to formats such as SVG or EPS. Nevertheless you can save your design as a PNG or PDF and utilize conversion tools to transform it into a vector. While it requires an additional step the quality you achieve makes it worthwhile.
2. Are all designs suited for vector conversion?
Not all designs lend themselves to being turned into vectors. Intricate gradients or highly detailed pictures don’t translate effectively. On the hand logos, icons and text oriented designs are ideal for vector formats. I’ve found that sticking with designs tends to yield better results.
3. Do I lose quality when converting a Canva image to a vector?
Actually, you get more freedom with vector images. They have the advantage of being independent of resolution. When you change your design into a vector format it stays sharp no matter how big or small you make it. I remember using a vectorized logo for a website and a big poster and it appeared flawless in both instances.
4. Can I edit a vector file after conversion?
Absolutely, one of the key benefits of using vector files is their versatility. After transforming your Canva design into a vector format you can easily edit it in software such as Adobe Illustrator or Inkscape without compromising the image's quality. I frequently make adjustments after the conversion to add that finishing touch.
5. What’s the best format for printing vector images?
EPS and PDF are commonly used formats for printing. They guarantee that the design stays true to its quality no matter where it gets printed. I recall utilizing EPS files to print t shirts and the design always turned out sharp.
Conclusion on Canva Vector Image Conversion
To sum up being able to convert images in Canva is a useful talent to possess, particularly if you value the flexibility and quality of your creations. Although Canva doesn’t provide a direct option for exporting vectors the alternative method is straightforward. The capability to resize your designs without sacrificing sharpness can significantly impact whether you’re designing logos, posters or digital art. While it requires some additional work the end result is worth it with visuals that are polished and impressive.