Canva has emerged as a go to platform for those of us looking to craft eye catching visuals without the necessity of expertise. I still vividly recall my initial experience with Canva I was taken aback by the extensive range of features it provided. Whether it was for social media content, brochures or slideshows it felt like a gold mine for creators. What truly distinguishes Canva is its intuitive design making it accessible, to anyone – be it students or working professionals – eager to explore their creative side.
Canva offers a collection of templates, images and fonts to help you find the perfect components for your project. Its user friendly drag and drop functionality streamlines the design process enabling effortless personalization. You can conveniently import your photos modify hues and play around with arrangements all without feeling like you're struggling against the program.
Canva is not just a tool for making stunning visuals. Its a platform that brings your concepts to reality. I frequently utilize it for endeavors such as crafting invitations for family get togethers or creating collages to cherish my travel experiences. Every creation feels like a chapter of my narrative and Canva assists me in expressing it through imagery.
To put it simply, no matter if you’re an experienced designer or just starting out Canva provides you with the resources to showcase your creativity efficiently. Let’s take a closer look at one of its functionalities that can enhance your designs – text wrapping around visuals.
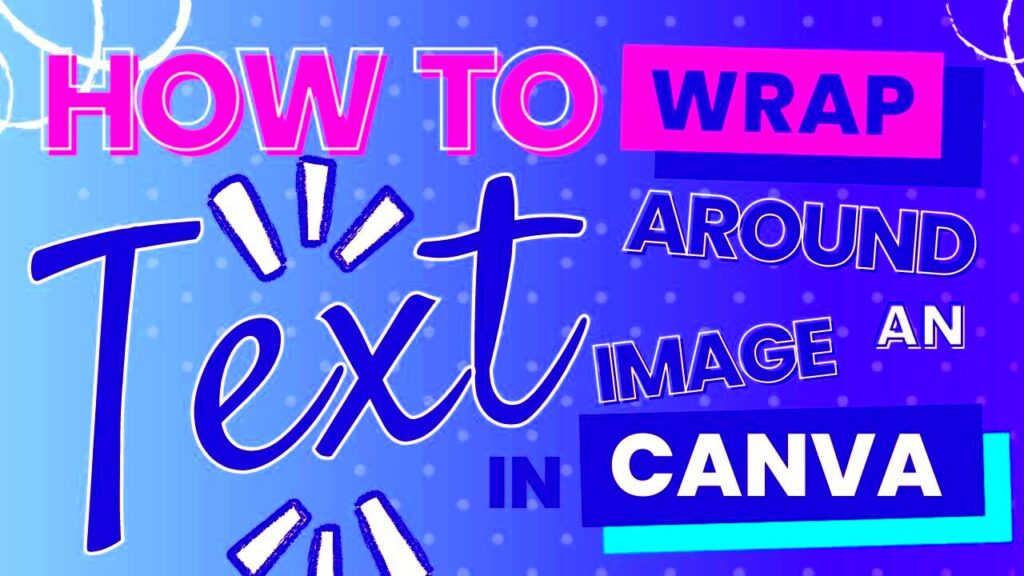
How Text Wrapping Around Images Works in Canva
Text wrapping is an awesome tool that lets you seamlessly integrate text with images for a more polished and captivating look. The moment I experimented with this feature I felt like I had discovered a whole new realm of creativity. It not boosts the aesthetic of your design but also aids in conveying your message in a way.
To grasp its functionality envision it as a dialogue between your text and visuals. When you insert an image into your design the text has the ability to reposition itself to achieve a balanced arrangement. This proves especially beneficial for materials like flyers, brochures and social media content where space is at a premium.
Canva simplifies this process for you. You have the flexibility to position your image on the left, right or center and the text will seamlessly adapt to your choice. Its akin to having a dance partner who anticipates your moves and responds gracefully.
Let's discuss how the way text wraps can impact your overall design.
- Visual Balance: Wrap text to create a balanced look that draws attention.
- Readability: Improve text flow and make your content easier to digest.
- Creativity: Experiment with different layouts to express your style.
Basically text wrapping goes beyond being a practical feature; it serves as a way to let your thoughts flow smoothly.
Also Read This: Giving Attribution on 123RF: A Guide
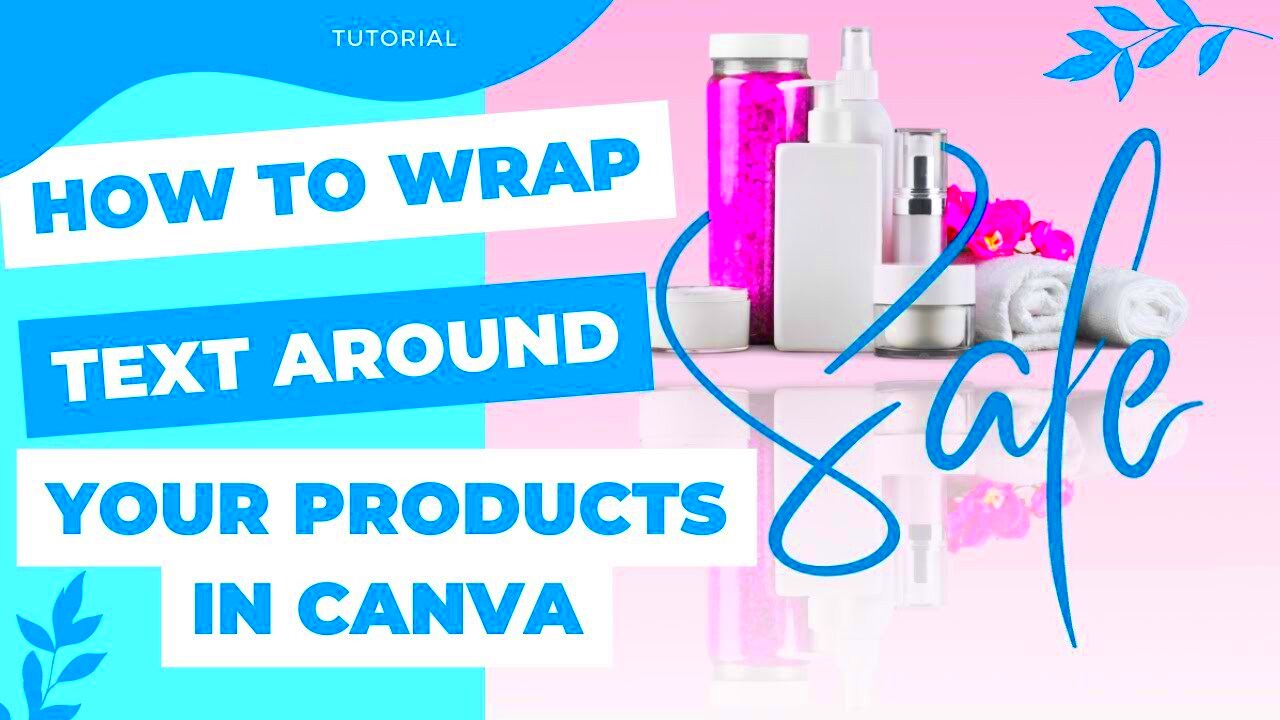
Step-by-Step Guide to Wrapping Text Around Images
After grasping the significance of text wrapping, its time to dive into a practical walkthrough on how to achieve it using Canva. I remember feeling both thrilled and a bit anxious during my initial try at this but it turned out to be easier than I had anticipated.
To wrap text around an image in Canva follow these steps
- Open Your Design: Start by selecting a template or a blank canvas in Canva.
- Add Your Image: Upload your image or choose one from Canva’s library. Drag it onto your canvas.
- Adjust Image Position: Click on the image and use the alignment options to place it on either the left or right side of the text.
- Add Text Box: Click on the 'Text' option in the sidebar and choose your preferred text style. Drag the text box next to your image.
- Wrap Text: As you type or paste your text, notice how it wraps around your image. If necessary, adjust the size and position of your image for better wrapping.
- Fine-Tune Your Design: Play with font sizes, colors, and spacing to create the perfect look. Remember, balance is key!
- Preview and Download: Once satisfied with your design, preview it to ensure everything looks great before downloading.
And that’s all there is to it! By following these easy steps you can become proficient in text wrapping using Canva. Personally I’ve noticed that playing around with various designs not only enhances my abilities but also adds an element of fun to the process.
Also Read This: How to Add Featured Channels on YouTube to Boost Your Channelâs Visibility
Tips for Enhancing Your Canva Designs with Text Wrapping
Once you’ve mastered the art of wrapping text in Canva it’s time to dive into some tips to elevate your designs. I still recall the excitement I felt when my first design started taking shape and I discovered that subtle adjustments could have a big impact. Here are a few suggestions that have proven to be effective for me
- Experiment with Fonts: Choosing the right font can change the entire feel of your design. I often mix and match different fonts for headings and body text to create a dynamic look. Canva offers a plethora of font options; play around until you find the perfect combination.
- Use Contrast Wisely: Ensure that your text stands out against the background. I once made the mistake of using light text on a light background, and it was nearly invisible. Use contrasting colors to enhance readability and draw attention.
- Incorporate White Space: Don’t be afraid of leaving some empty space. It can help your design breathe and make your text wrapping more effective. I always remind myself that less can be more.
- Adjust Line Spacing: Experiment with line spacing to make your text easier to read. Increasing the space between lines can improve readability, especially in dense text areas.
- Add Visual Elements: Include shapes or icons around your text to create interest. These can guide the viewer’s eye and complement your text wrapping beautifully.
By incorporating these suggestions you not only improve the overall look but also infuse a personal element that showcases your distinct taste. I’ve come to realize that design goes beyond mere visuals; it’s about communicating a message that strikes a chord with people.
Also Read This: What Is the Royal Rumble Streaming On in 2024
Common Issues and How to Fix Them
While Canva simplifies the design process you may come across some challenges. I recall having moments of frustration when things didn’t unfold as expected but those experiences contribute to the journey. Let’s discuss some issues you might encounter and ways to overcome them.
- Text Not Wrapping Properly: Sometimes, the text might not wrap around the image as expected. This could be due to the image's size or positioning. Try resizing the image or adjusting its placement until the text flows smoothly around it.
- Overlapping Text and Images: If your text overlaps with images, it can make your design look cluttered. Make sure to give enough space between your text and images. Utilize margins and padding to create a clean layout.
- Fonts Not Displaying Correctly: Occasionally, a chosen font may not appear as expected, especially if you're sharing your design with someone who doesn't have the same font installed. Stick to Canva’s default fonts to ensure consistency across devices.
- Colors Looking Different: The colors you see on your screen may look different when printed. I’ve experienced this firsthand. Always test your designs with a print preview to ensure colors appear as intended.
By recognizing these problems you can address them effectively and improve your design journey. Keep in mind that every designer has encountered these hurdles; its part of the process of growth and development.
Also Read This: Build Flowcharts with Canva Flowchart Template
Real-Life Examples of Text Wrapping in Use
Witnessing the magic of text wrapping in motion can be quite captivating. I frequently catch myself scrolling through platforms or flipping through pamphlets marveling at the seamless blend of text and visuals. Here are a few instances that highlight the impact of text wrapping.
- Event Invitations: Many event invitations use text wrapping to create a cohesive look. For instance, a wedding invitation can have a couple’s photo on one side, with the details wrapped around it, creating an elegant and personal touch.
- Business Presentations: In professional settings, text wrapping helps convey information clearly. Imagine a presentation slide featuring a product image on one side, with descriptive text wrapping around it, making it easy for the audience to follow along.
- Social Media Posts: Engaging social media posts often use text wrapping to create eye-catching visuals. I’ve seen posts where the text wraps around an image of a delicious dish, making the content more appealing and shareable.
- Brochures and Flyers: These marketing materials utilize text wrapping to guide the reader’s eye through the content. For example, a travel brochure may feature scenic images alongside travel tips, with the text gracefully wrapping around the visuals.
These instances showcase how adaptable text wrapping is and underscore its significance in conveying messages effectively. While I keep exploring my creative concepts I find it fascinating how text wrapping has the power to elevate everyday designs into remarkable ones.
Also Read This: How Much You Can Earn from Shutterstock and Maximize Your Profits
Exploring Alternatives to Canva for Image Editing
Canva is undoubtedly a great design tool, but there are other options worth considering. Throughout the years I’ve experimented with different design software, each offering its own set of features and idiosyncrasies. Exploring alternatives can be a breath of fresh air and help you find the one that aligns more closely with your specific requirements. Here are some noteworthy alternatives to Canva that I’ve discovered to be quite useful.
- Adobe Spark: This user-friendly platform allows you to create stunning graphics and videos. I appreciate its integration with Adobe Creative Cloud, which provides access to professional design resources. The interface is intuitive, making it easy for anyone to jump in.
- Visme: If you're looking for infographics and presentations, Visme is an excellent option. I love how it combines templates with data visualization tools, allowing you to create informative yet visually appealing content.
- Piktochart: Known for its infographic capabilities, Piktochart offers a range of templates that can transform data into engaging visuals. I often use it for reports or educational content where clear communication is crucial.
- Snappa: Snappa provides quick access to stock photos and graphics. I find it particularly useful for social media posts, as you can create eye-catching designs in minutes without a steep learning curve.
- Figma: While primarily a UI/UX design tool, Figma’s collaborative features make it an excellent choice for team projects. I’ve enjoyed using it for brainstorming sessions where instant feedback is invaluable.
Looking into these options has broadened my design skills and sparked my creativity. Every platform offers its unique advantages and discovering the one that suits you best can greatly improve your design journey.
Also Read This: Optimal Dimensions for LinkedIn Banner Images
Frequently Asked Questions
Like with any tool its normal to wonder about Canva and what it offers. When I began using Canva I had a lot of questions and even now I occasionally look for answers. Here are some commonly asked questions that can help clear up misconceptions.
- Can I use Canva for free? Absolutely! Canva offers a robust free version that provides plenty of templates and design elements. However, some features and assets are available only with the Pro subscription.
- Can I download my designs in different formats? Yes, Canva allows you to download your designs in various formats, including PNG, JPG, and PDF. I often choose PDF for printing to ensure high quality.
- Is there a limit to how many designs I can create? There is no limit to the number of designs you can create on Canva. Feel free to unleash your creativity without worrying about restrictions!
- Can I collaborate with others on my designs? Yes, Canva makes collaboration easy. You can share your design with others, allowing them to view or edit in real-time, which I find especially helpful when working on group projects.
- How do I access my designs later? Your designs are saved in your Canva account, so you can access them anytime by logging in. I appreciate this feature, as it makes revisiting old projects a breeze.
Getting a clear understanding of these questions can enhance your Canva journey making it more seamless and enjoyable. Dont hesitate to ask for assistance and grow as you go!
Wrapping Up Your Canva Experience
As we wrap up our journey with Canva I find myself reminiscing about the multitude of designs I’ve crafted throughout the years. My experience with this tool has been a mix of hurdles and triumphs. Canva has shown me that design goes beyond mere visuals; it’s a way to convey stories and establish connections with people through imagery.
No matter if you’re working on a project for yourself, a company or just for the sake of it the important thing is to let your imagination flow and have fun along the way. Here are some final suggestions to make your journey even better.
- Practice Regularly: The more you use Canva, the more comfortable you’ll become. Try different templates, layouts, and styles to find what resonates with you.
- Seek Inspiration: Don’t hesitate to explore other designers’ work. Platforms like Pinterest and Behance can provide fresh ideas and motivate you to push your creative boundaries.
- Stay Updated: Canva frequently adds new features and templates. Keep an eye out for updates to take advantage of the latest tools available.
- Join the Community: Engage with other Canva users through forums and social media. Sharing experiences and tips can lead to new discoveries and friendships.
At the end of the day, using Canva should showcase who you are and how imaginative you can be. I’ve relished every step of this adventure and I wish you the same happiness in your creations. Keep in mind that the universe is your blank slate so venture out and craft something truly stunning!