Canva has become a tool for us whether were creating a birthday poster for a friend or putting together a business presentation. One aspect in design is the resolution of images. But what does that actually entail? In essence image resolution indicates the level of detail an image possesses. The greater the resolution the superior the image quality. This impacts the sharpness and clarity of your designs particularly when they are printed or displayed on various screens.
Why Image Resolution Matters for Your Projects
Imagine this scenario You pour your time into designing a flyer for an upcoming event. You cant wait to print it and show it to your friends. But when you finally see the printed copy it appears fuzzy and pixelated. It’s a disappointment right? This usually happens due to image quality. Let me explain why resolution matters.
- Clarity: Higher resolution images ensure that every detail pops, making your designs look professional.
- Print Quality: If you're printing your designs, low resolution can lead to disappointing results. A resolution of 300 DPI (dots per inch) is usually recommended for print.
- Versatility: High-resolution images can be resized without losing quality, giving you flexibility in how you use them.
During my initial experiences in design I encountered this lesson through a not so pleasant experience. I crafted a stunning poster for a local event but unfortunately I discovered too late that the quality of my images was inadequate. The sense of disappointment was felt by both myself and those who relied on my work. Therefore being mindful of selecting the resolution can spare you from facing a similar outcome.
Also Read This: How to Clean Your Face in Adobe Photoshop 7.0
Steps to Change Image Resolution in Canva
Having grasped the significance of image resolution lets explore the steps to modify it in Canva. The procedure is simple and you can easily make tweaks with just a few clicks. Here’s a guide on how to do it:
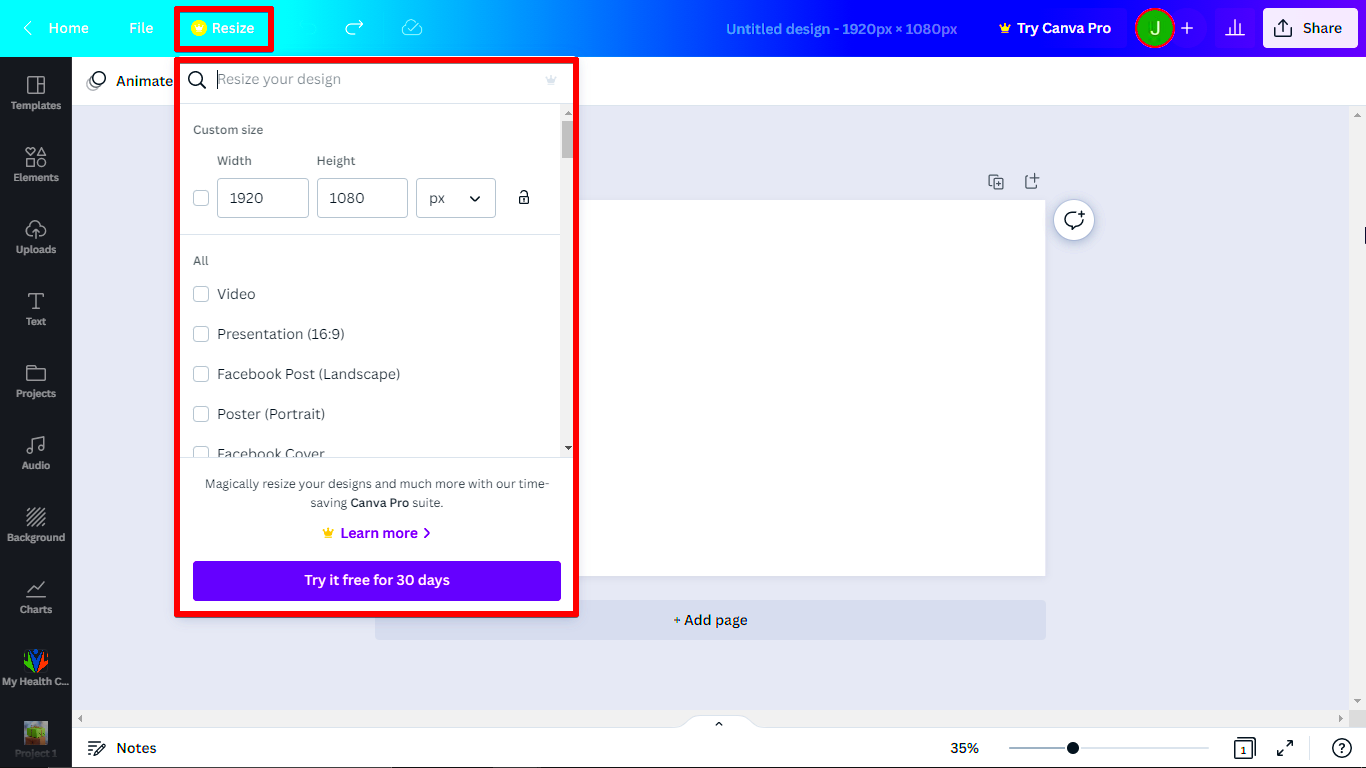
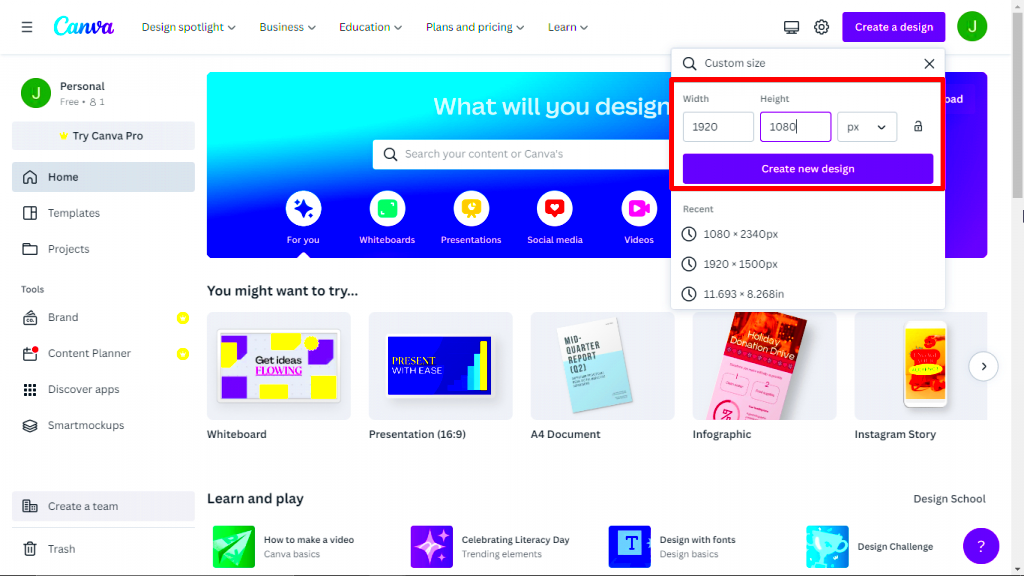
- Open Your Design: Start by opening the design you want to modify in Canva.
- Click on the Image: Select the image you wish to change. A toolbar will appear above.
- Adjust the Size: Use the corner handles to resize the image. Keep in mind that enlarging a low-resolution image can lead to pixelation.
- Download in High Resolution: When you're ready to download, click on the 'Download' button. Choose the file type and ensure you select the highest quality option available.
By adhering to these guidelines you can safeguard the integrity of your designs, regardless of whether they're showcased digitally or in print. This minor investment of time can significantly impact the end result of your creations!
Also Read This: Understanding Rumble Strips and Their Role in Road Safety
Choosing the Right Resolution for Different Uses
When it comes to how clear an image is one size definitely doesn’t work for everything. The perfect resolution really depends on what you’re making. Whether you’re putting together something for social media printing a brochure or creating an eye catching poster it’s crucial to know the right resolution for each purpose. Back in my early design days I made the blunder of using image resolution on different platforms and was let down by the outcome. Lets dive into the details.
Here’s a handy guide to help you choose the right resolution:
| Use Case | Recommended Resolution |
|---|---|
| Social Media Posts | 72 DPI (dots per inch) |
| Web Graphics | 72 DPI |
| Printed Flyers | 300 DPI |
| Large Format Prints | 300 DPI or higher |
For example while working on a poster for my cousins wedding I realized that using an image was crucial to capturing every detail beautifully in print. In contrast when it came to my social media campaigns I discovered that 72 DPI was more than sufficient allowing for quick load times without sacrificing too much quality. By adjusting your resolution according to your requirements you can craft designs that not look visually appealing but also fulfill their intended function, seamlessly.
Also Read This: How to Ethically Secure a Telegram Account
Common Issues When Changing Image Resolution
Adjusting the resolution of an image may appear to be a task at first glance but if not executed properly it can result in a range of problems. I recall staying up late one evening on a project and discovering that my images had turned pixelated after resizing. It’s quite exasperating, dont you think? Lets delve into some challenges you may face when modifying image resolution.
Here are some issues to watch out for:
- Pixelation: Enlarging a low-resolution image can make it appear blurry or pixelated, diminishing the overall quality.
- Loss of Detail: Reducing the resolution of an image may result in the loss of important details, making it unsuitable for your needs.
- Inconsistent Quality: Using images with varying resolutions in a single design can lead to an unprofessional look.
- File Size Concerns: High-resolution images can create large files, leading to storage issues or slow loading times on websites.
To steer clear of these traps, careful planning is key. I’ve discovered the importance of verifying the resolutions of my images before starting a project. By staying aware of these challenges, you can spare yourself from troubles down the line and make sure your creations stand out.
Also Read This: Perfect Your CV with Canva CV Templates
Using Canva Image Downloader for High-Quality Images
If you want to take your Canva designs to the level the Canva Image Downloader can really make a difference. I still remember the moment I discovered this tool it was such a breeze to get top notch images for my projects. In this article well delve into how you can leverage this tool to always have access to the best images for your needs.
Steps to Use Canva Image Downloader:
- Access the Tool: Go to the Canva Image Downloader page on ImgPanda.com.
- Select Your Images: Browse through the images you want to download. The high-resolution option will ensure you get the best quality.
- Download: Click on the download button, and select your desired format and resolution.
- Incorporate into Your Designs: Once downloaded, you can easily upload the images into Canva and use them in your projects.
Incorporating the Canva Image Downloader into my workflow has proven to be crucial for my design endeavors. It offers a wide range of images that align seamlessly with my creative vision. Whether I'm working on visuals for an academic assignment or crafting invitations for a family event this tool has been instrumental in upholding my quality standards. With a few simple clicks you can unlock a treasure trove of stunning visuals that elevate your artistic projects.
Also Read This: How to Go Pro Behance
Tips for Optimizing Images after Changing Resolution
Congratulations on successfully changing the resolution of your images! Well done! But hold on there’s still more to do to make them look their best. After adjusting the resolution optimizing your images can greatly impact the final result whether you plan to use them online or in print. I discovered this valuable lesson while working on a presentation for my college project. I assumed I was finished once I changed the resolution but I soon realized that my images required some additional adjustments. Here are a few suggestions to take your images to the level.
Here are some effective strategies:
- Use Image Compression: Tools like TinyPNG or Compressor.io can reduce file size without losing quality, making your images load faster online.
- Adjust Brightness and Contrast: Sometimes, an image might look flat after resizing. Tweaking the brightness and contrast can bring your images to life.
- Sharpen Your Images: After changing resolution, images can appear a bit blurry. Applying a sharpening filter can help enhance the details.
- Consider File Formats: Save your images in the appropriate format. JPEG is great for photographs, while PNG works well for graphics with transparency.
These suggestions have really improved my design work. I recall an instance when I rushed to post an image for a social media campaign without fine tuning it beforehand. The outcome was a blurry disaster that barely reflected my brand. Nowadays I make it a point to optimize my pictures to ensure they always appear at their best. Believe me putting in some effort can make a difference in producing eye catching visuals.
Also Read This: Creating Unique Wall Hangings at Home with Dailymotion Videos
FAQs About Canva Image Resolution Changes
As we explore the realm of image resolution in Canva it’s normal to have some queries. Throughout the years I’ve come across numerous questions from friends and fellow designers and I’ve discovered that tackling these common concerns can assist others in steering clear of mistakes. Here’s a compilation of questions regarding adjusting image resolution in Canva.
Common FAQs:
- What is the best resolution for images in Canva?
The best resolution depends on your use case. For print, aim for 300 DPI, while 72 DPI is sufficient for digital use. - Can I increase the resolution of an image in Canva?
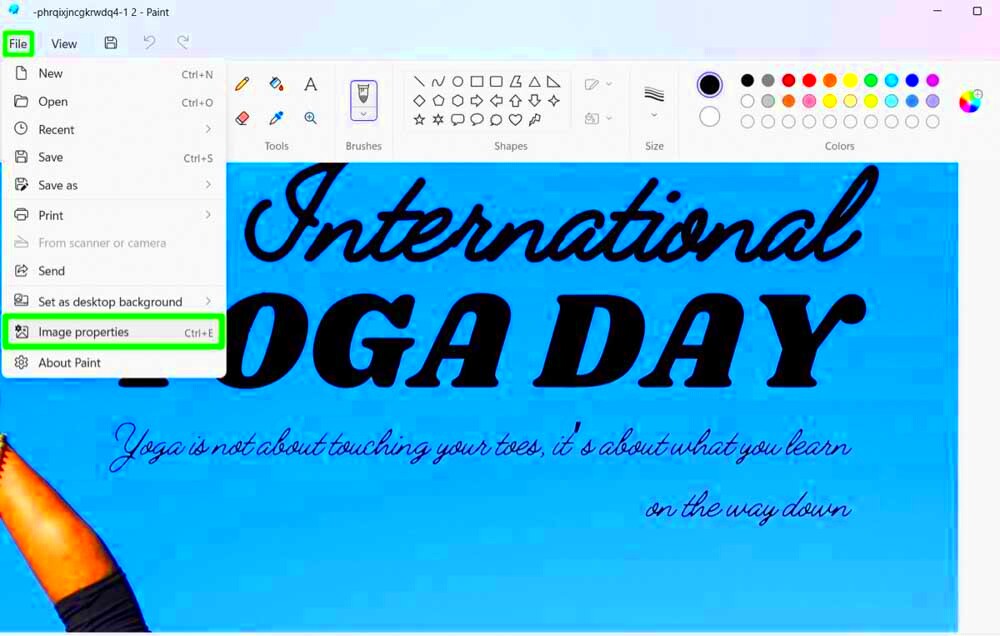
Yes, you can change the resolution, but increasing a low-resolution image too much can result in pixelation. - How do I know if my image is high-resolution?
Check the image properties or dimensions; images should ideally be at least 1200 pixels wide for good quality. - Can I resize images without losing quality?
Yes, but resizing down typically preserves quality better than enlarging.
By tackling these queries I have been able to assist numerous friends who frequently found themselves bogged down by the intricacies of design. Therefore feel free to search for solutions and deepen your grasp on image resolution. Information is a tool, particularly in crafting beautiful visuals!
Conclusion on Adjusting Image Resolution in Canva
To sum up changing the resolution of images in Canva is more than a technical ability; it plays a role in the design process. Looking back on my experience I see how much progress I’ve made since those early challenges with pixelated pictures and unclear layouts. Recognizing the importance of resolution has given me the power to produce visuals that are more effective and meaningful.
Keep in mind that selecting the resolution that suits your requirements is crucial enhancing your images afterwards and continuously expanding your knowledge. Canva is an amazing tool with endless possibilities and by mastering image resolution you can tap into its capabilities. Whether you're creating social media content, promotional materials or personal projects investing time in understanding and adjusting resolution will elevate your designs and make a lasting impact. So don't hesitate to try things out your creativity is worth it!